


A Long Time Ago...(A TerrainFest 2023 Blog)


Episode I: All About That Base
I had an idea/vision board prepped for this project but I think I want to be a bit loose with it. After all, Rule #4 – Have fun!
So lets just dive straight in.
One of the things I love about the core box terrain is it includes two large buildings that remind be of the of the bases you’d have in old school first-person shooters, like the original Halo. I could imagine that, in a Star Wars-theme PVP game, you would spawn in at one base while your opponents spawned in at the other.
The one thing I don’t like about the core box terrain is that the buildings’ profile just stops flat on the mat. There isn’t anything blending the terrain into its surroundings. Granted, this probably makes it usable on multiple style boards, but it’s boring. Also, while highly detailed, the plastic is super lightweight and could use a little something to keep in better grounded.
Step 1: Giving Our Bases A Base
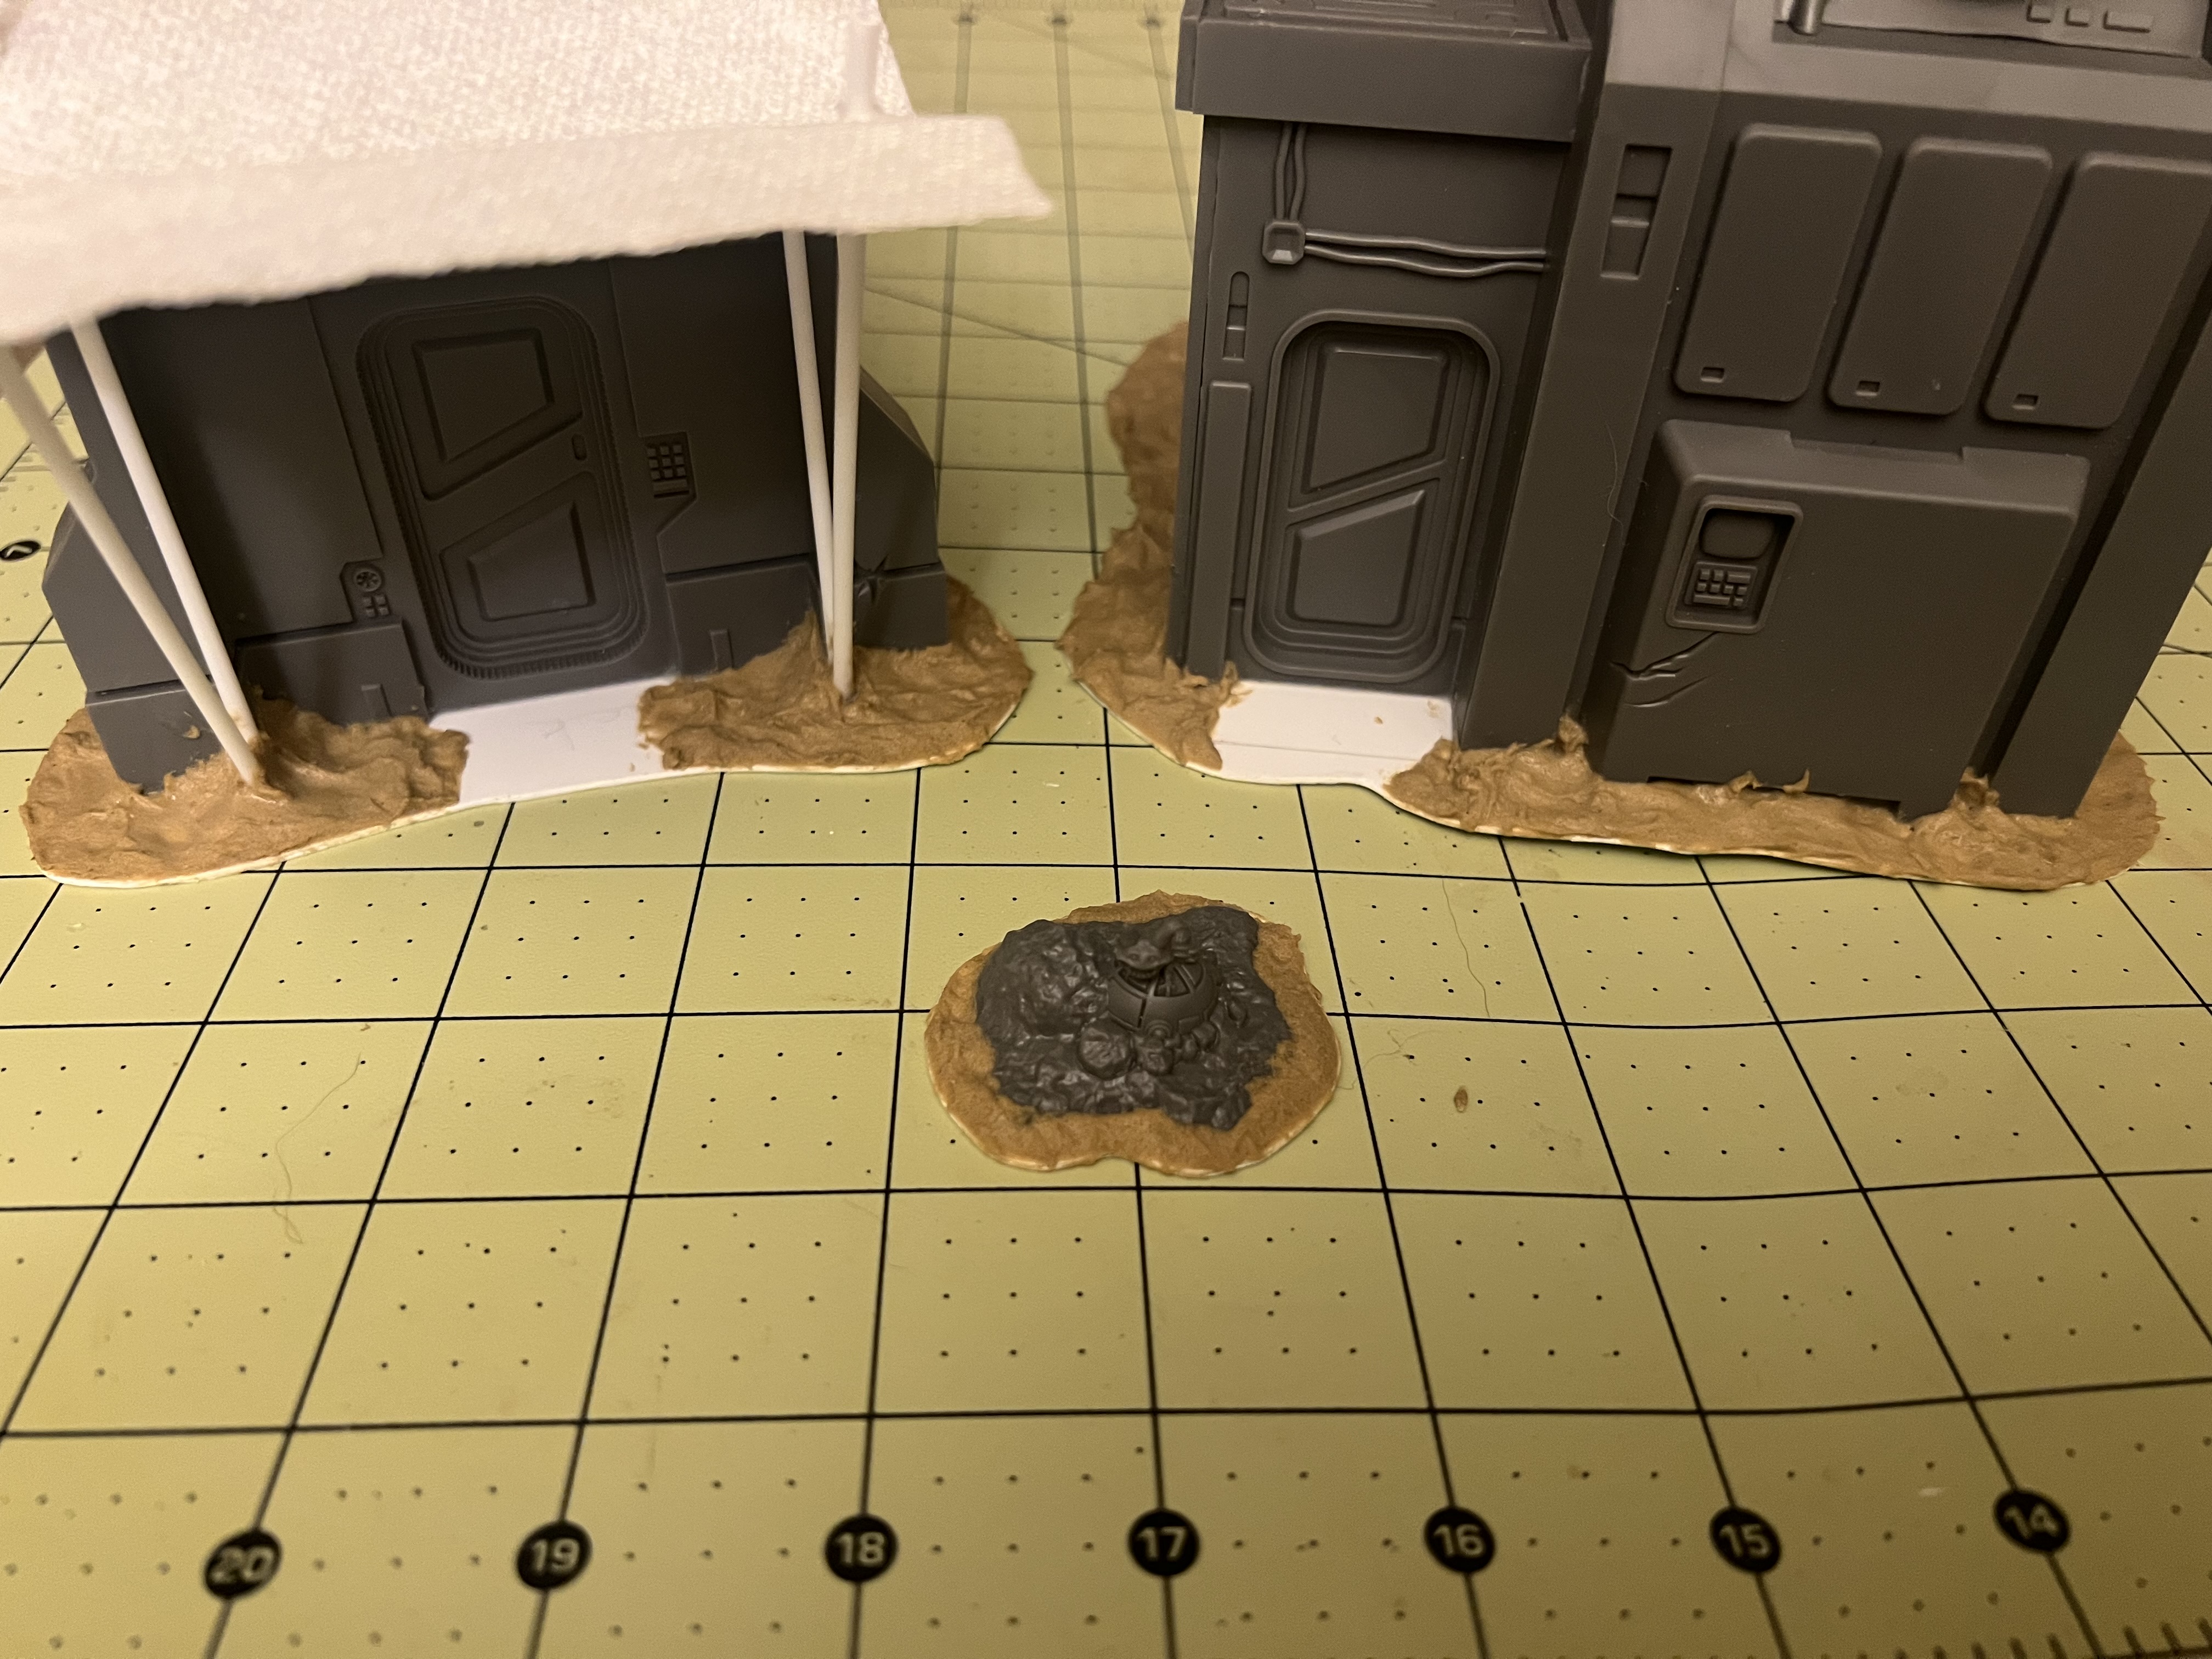
For the first step, I used the Polystyrene Sheets to give the two main buildings a bit of a base. This will give us stability on the tabletop as well as give us a canvas to work with.
Supplies used:
- .040″ (.10cm) Polystyrene Sheet (x1)
- .093″ (2.4mm) Polystyrene Tube (x2)
- Huge Miniatures Texture Paste – Desert
- Plaster Rocks
- Super Glue
- Scissors
- Sculpting tool or old paint brush
- Sandpaper (or something to file down some edges)
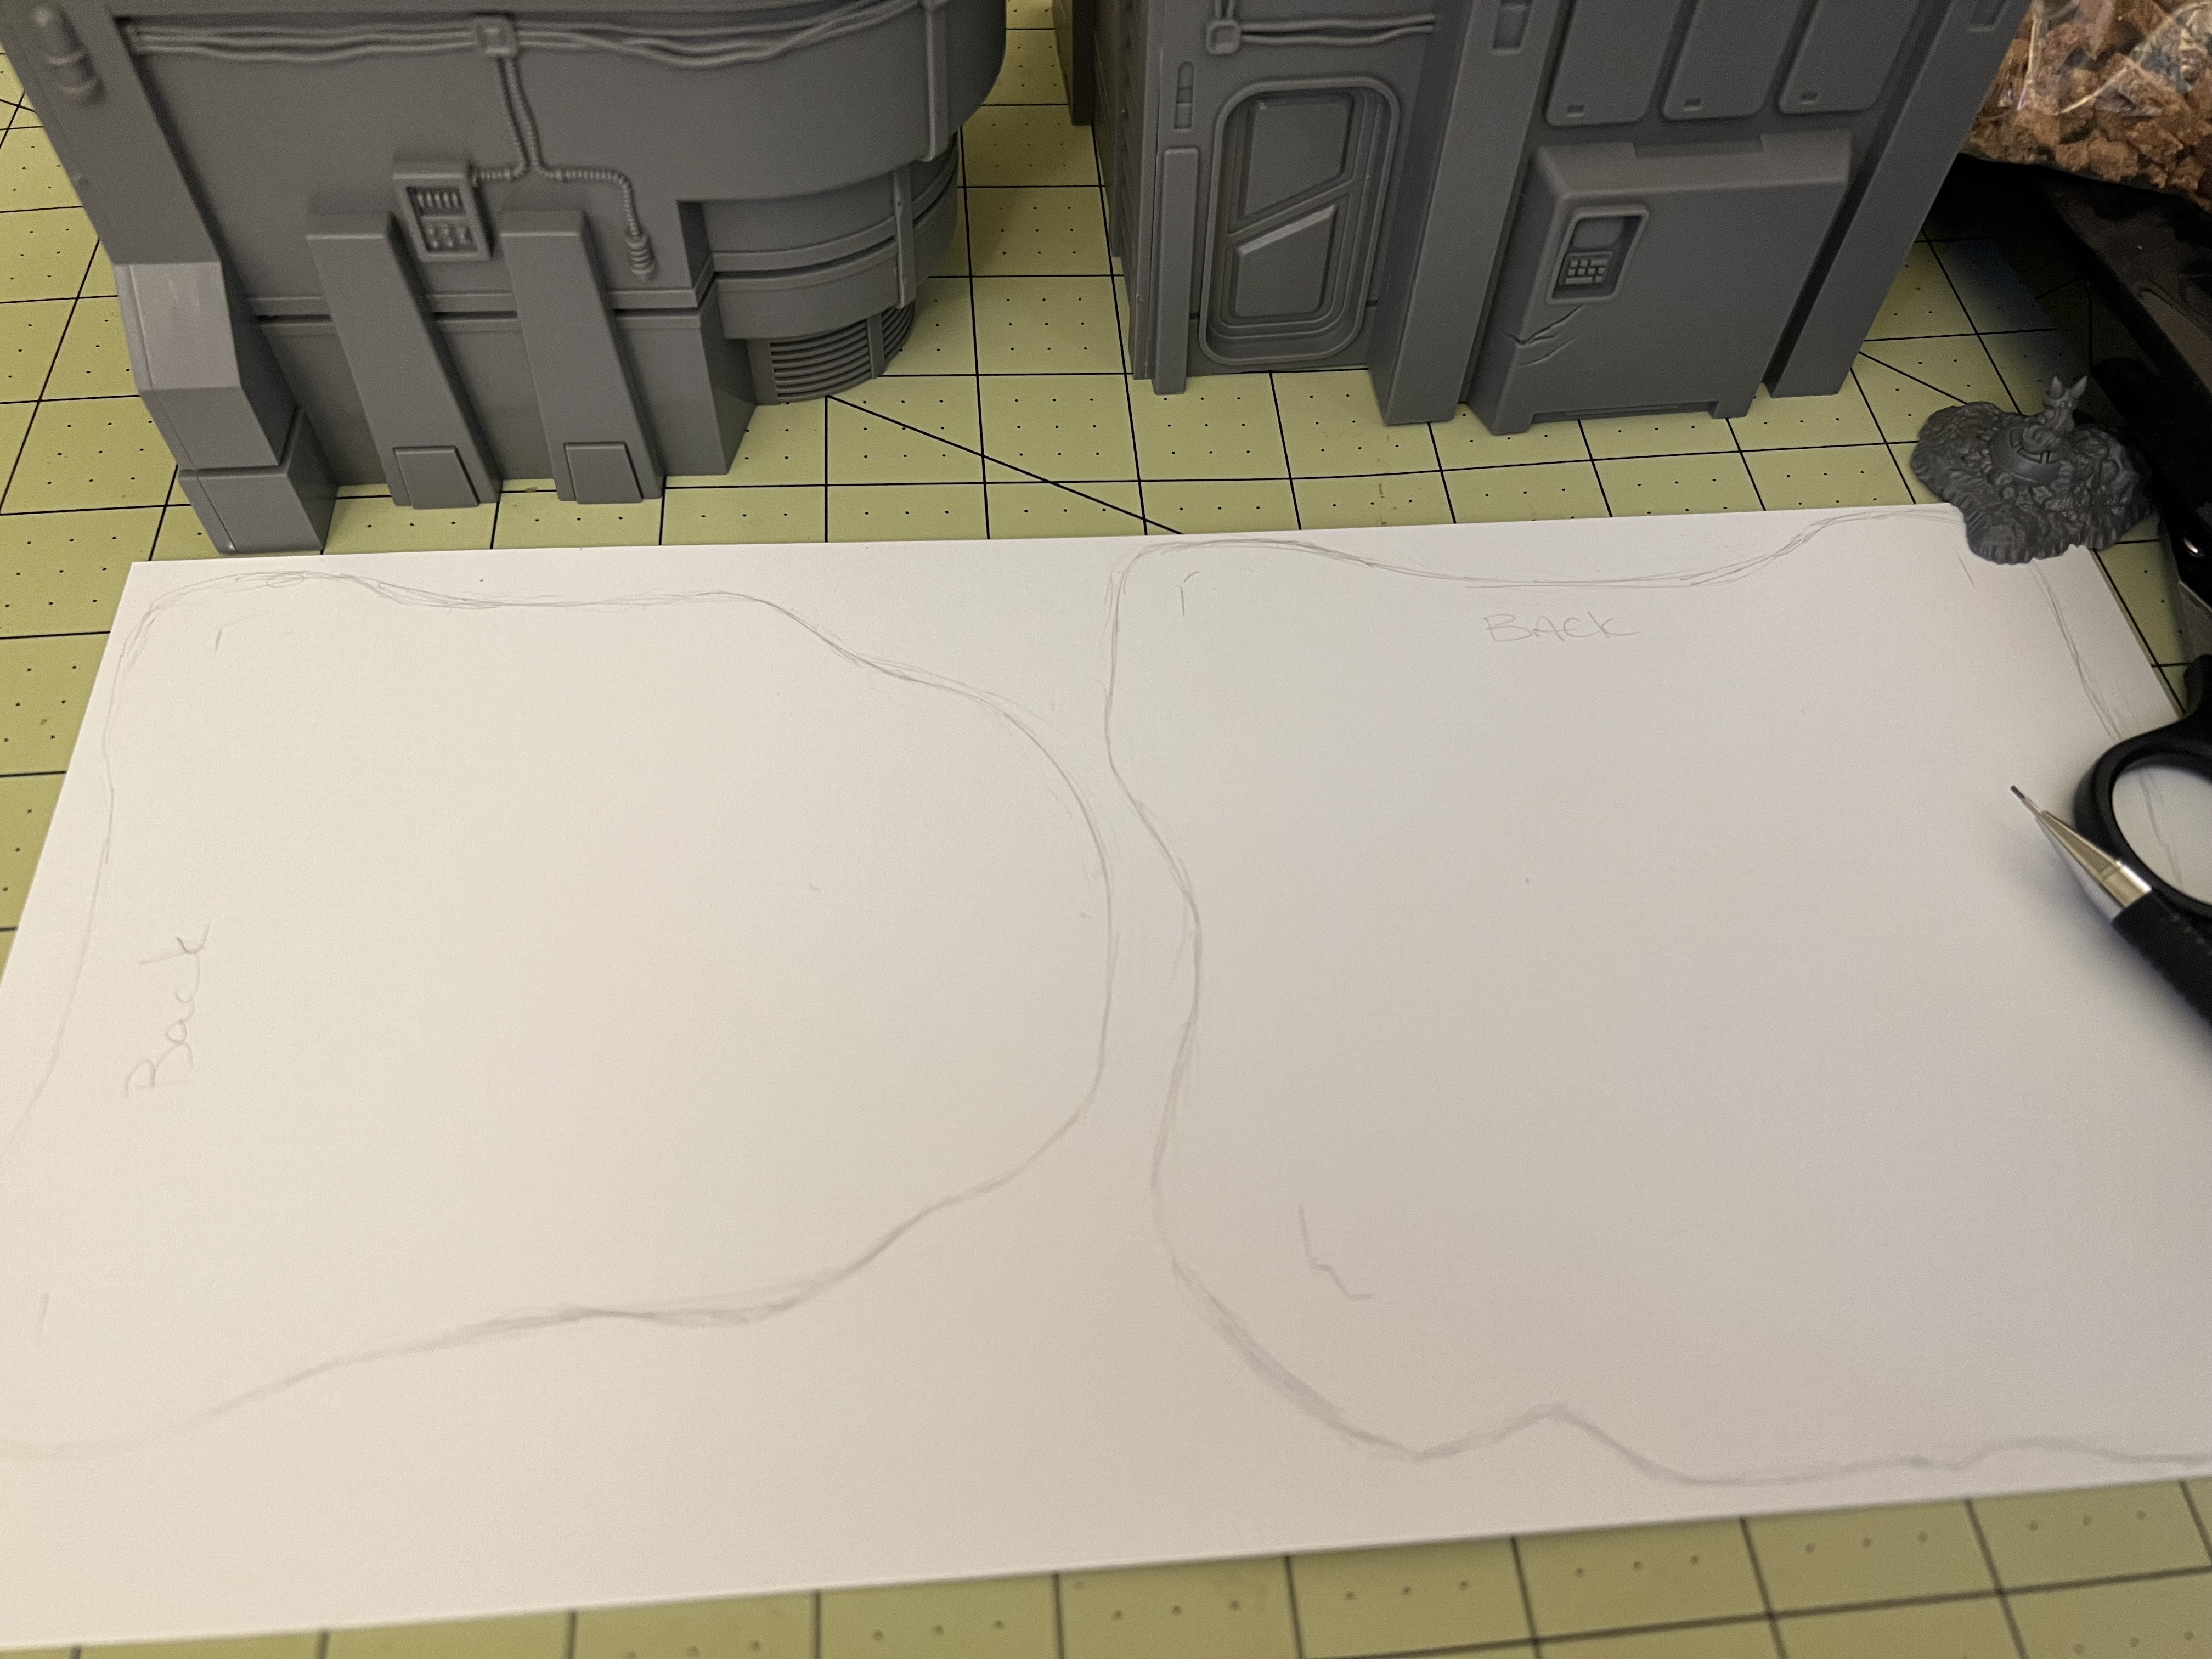 First thing I did was trace the out line of the building (with some extra space between them and the edge of the sheet).
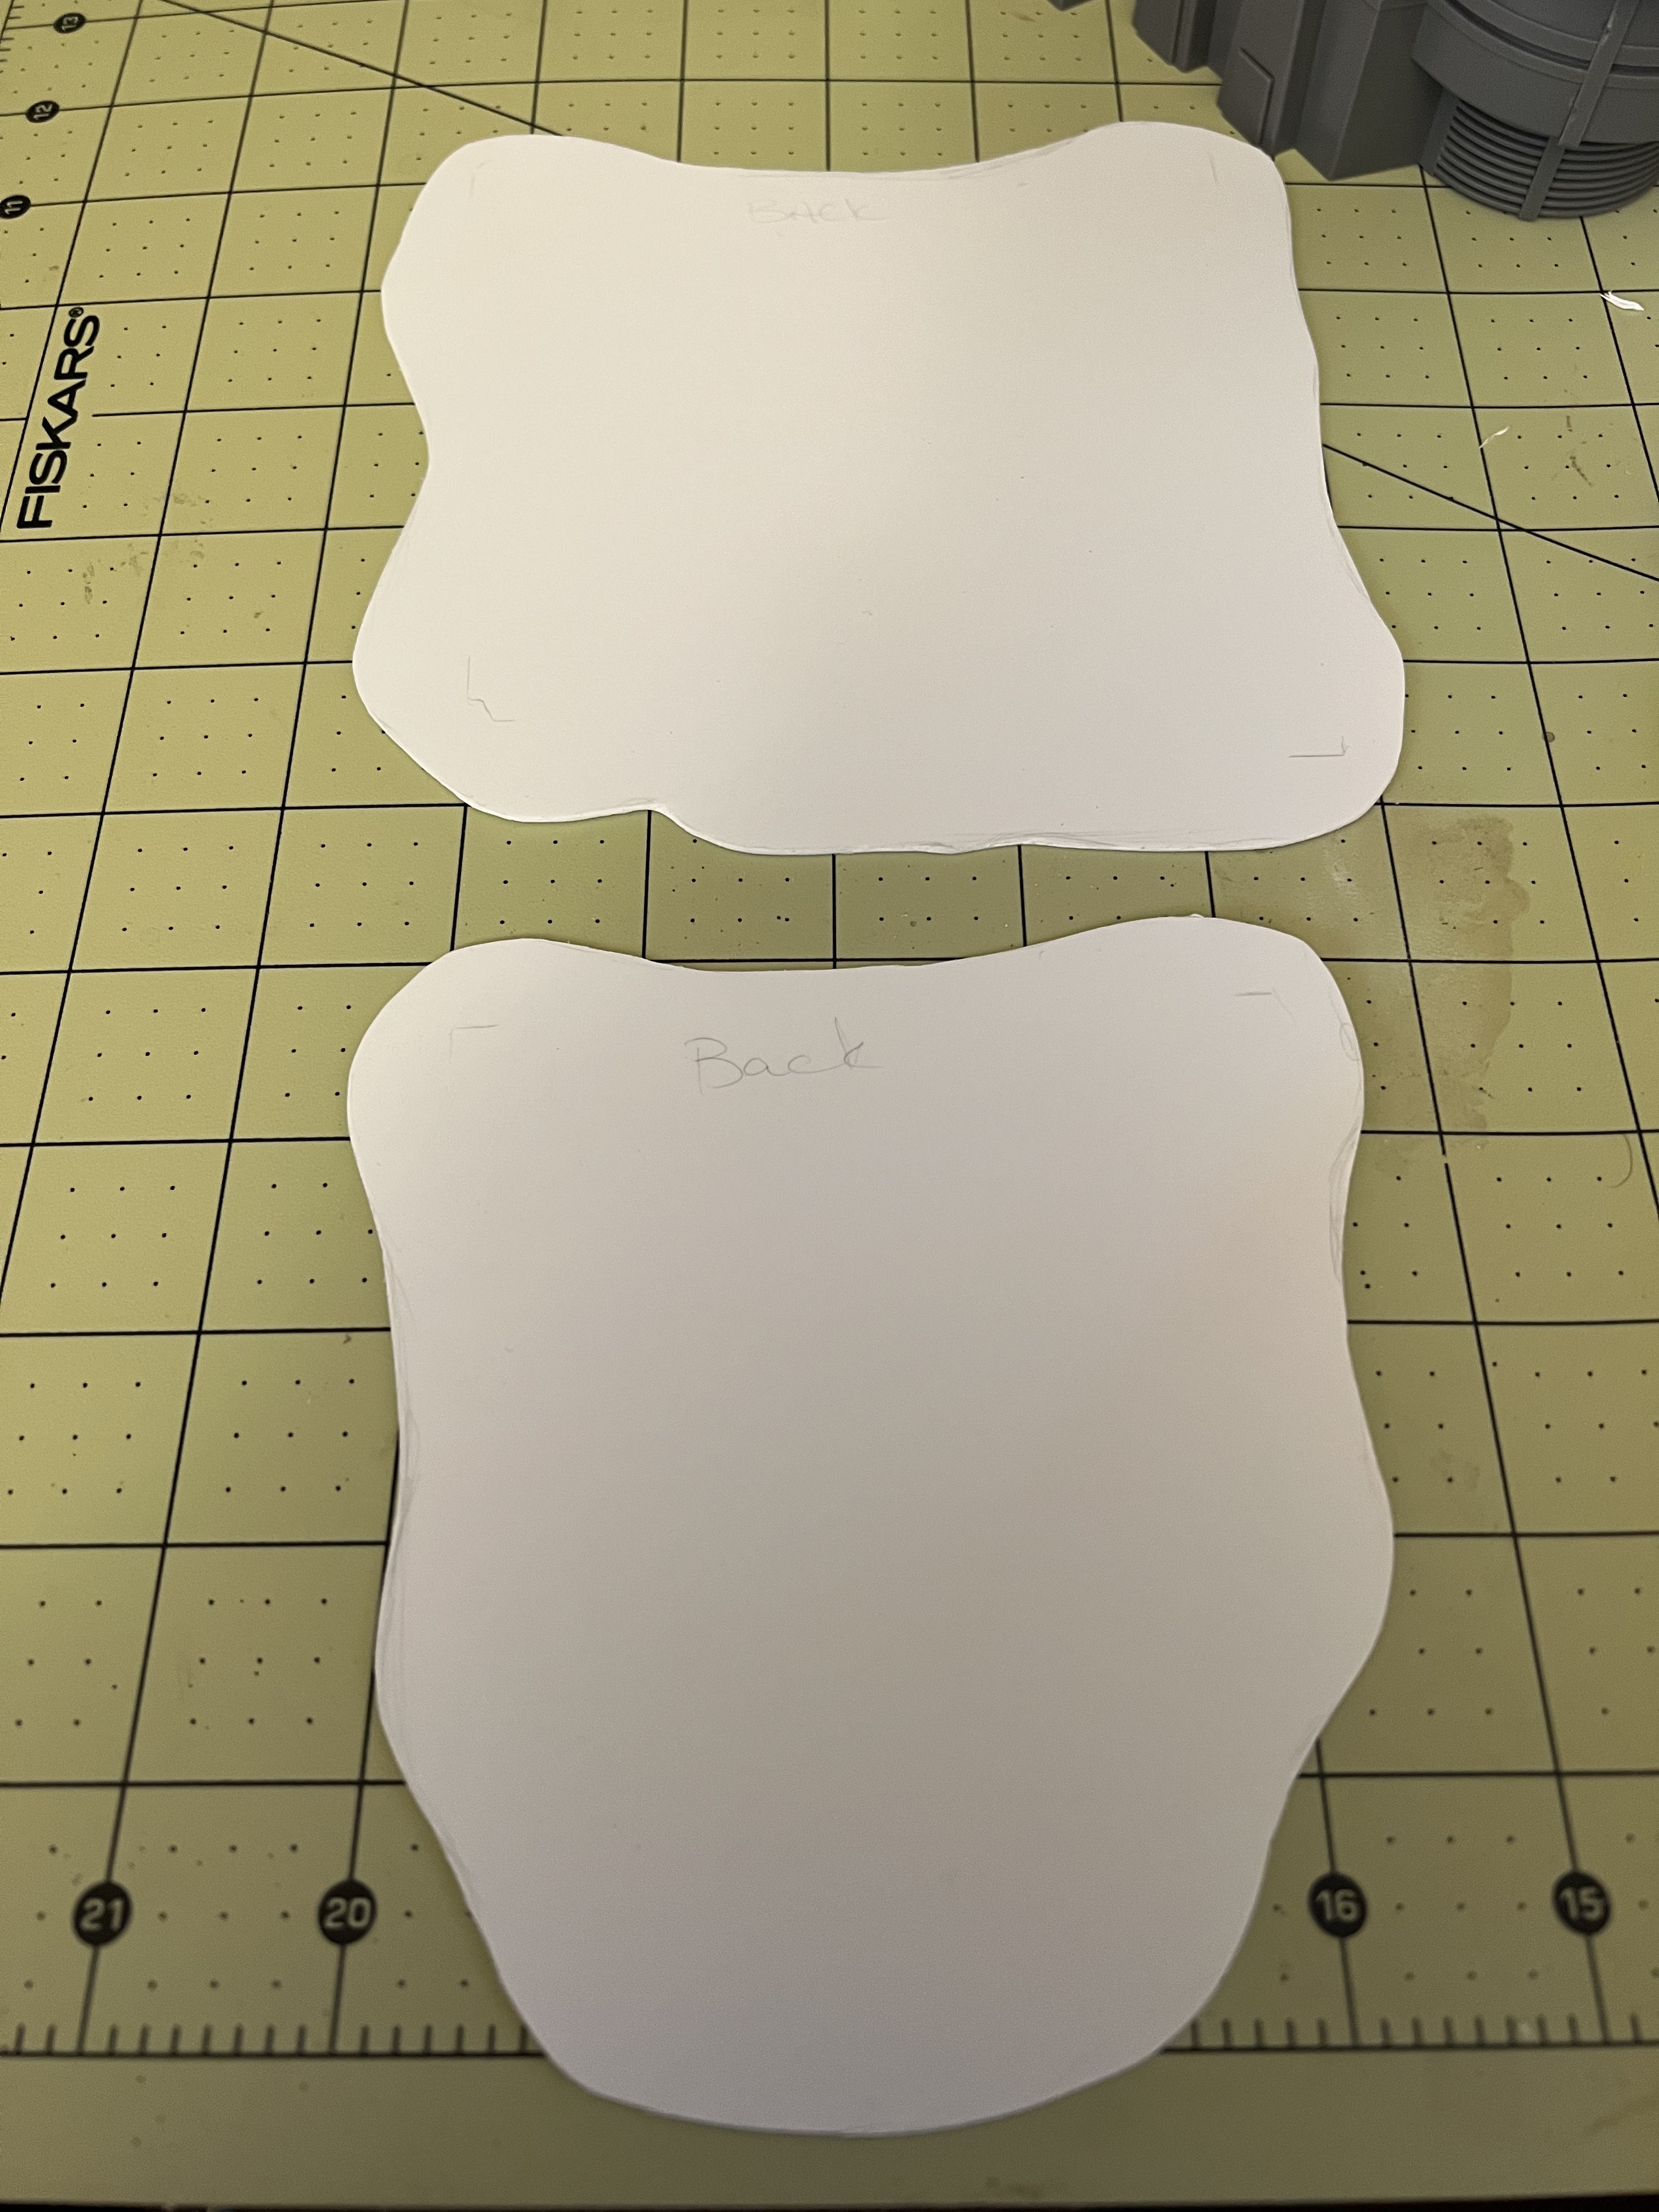 After cutting them out, I sanded down the edges to give it a nice smooth feel.
 A little super glue and they are ready for the next step!
Step 2: Finding Some Shade
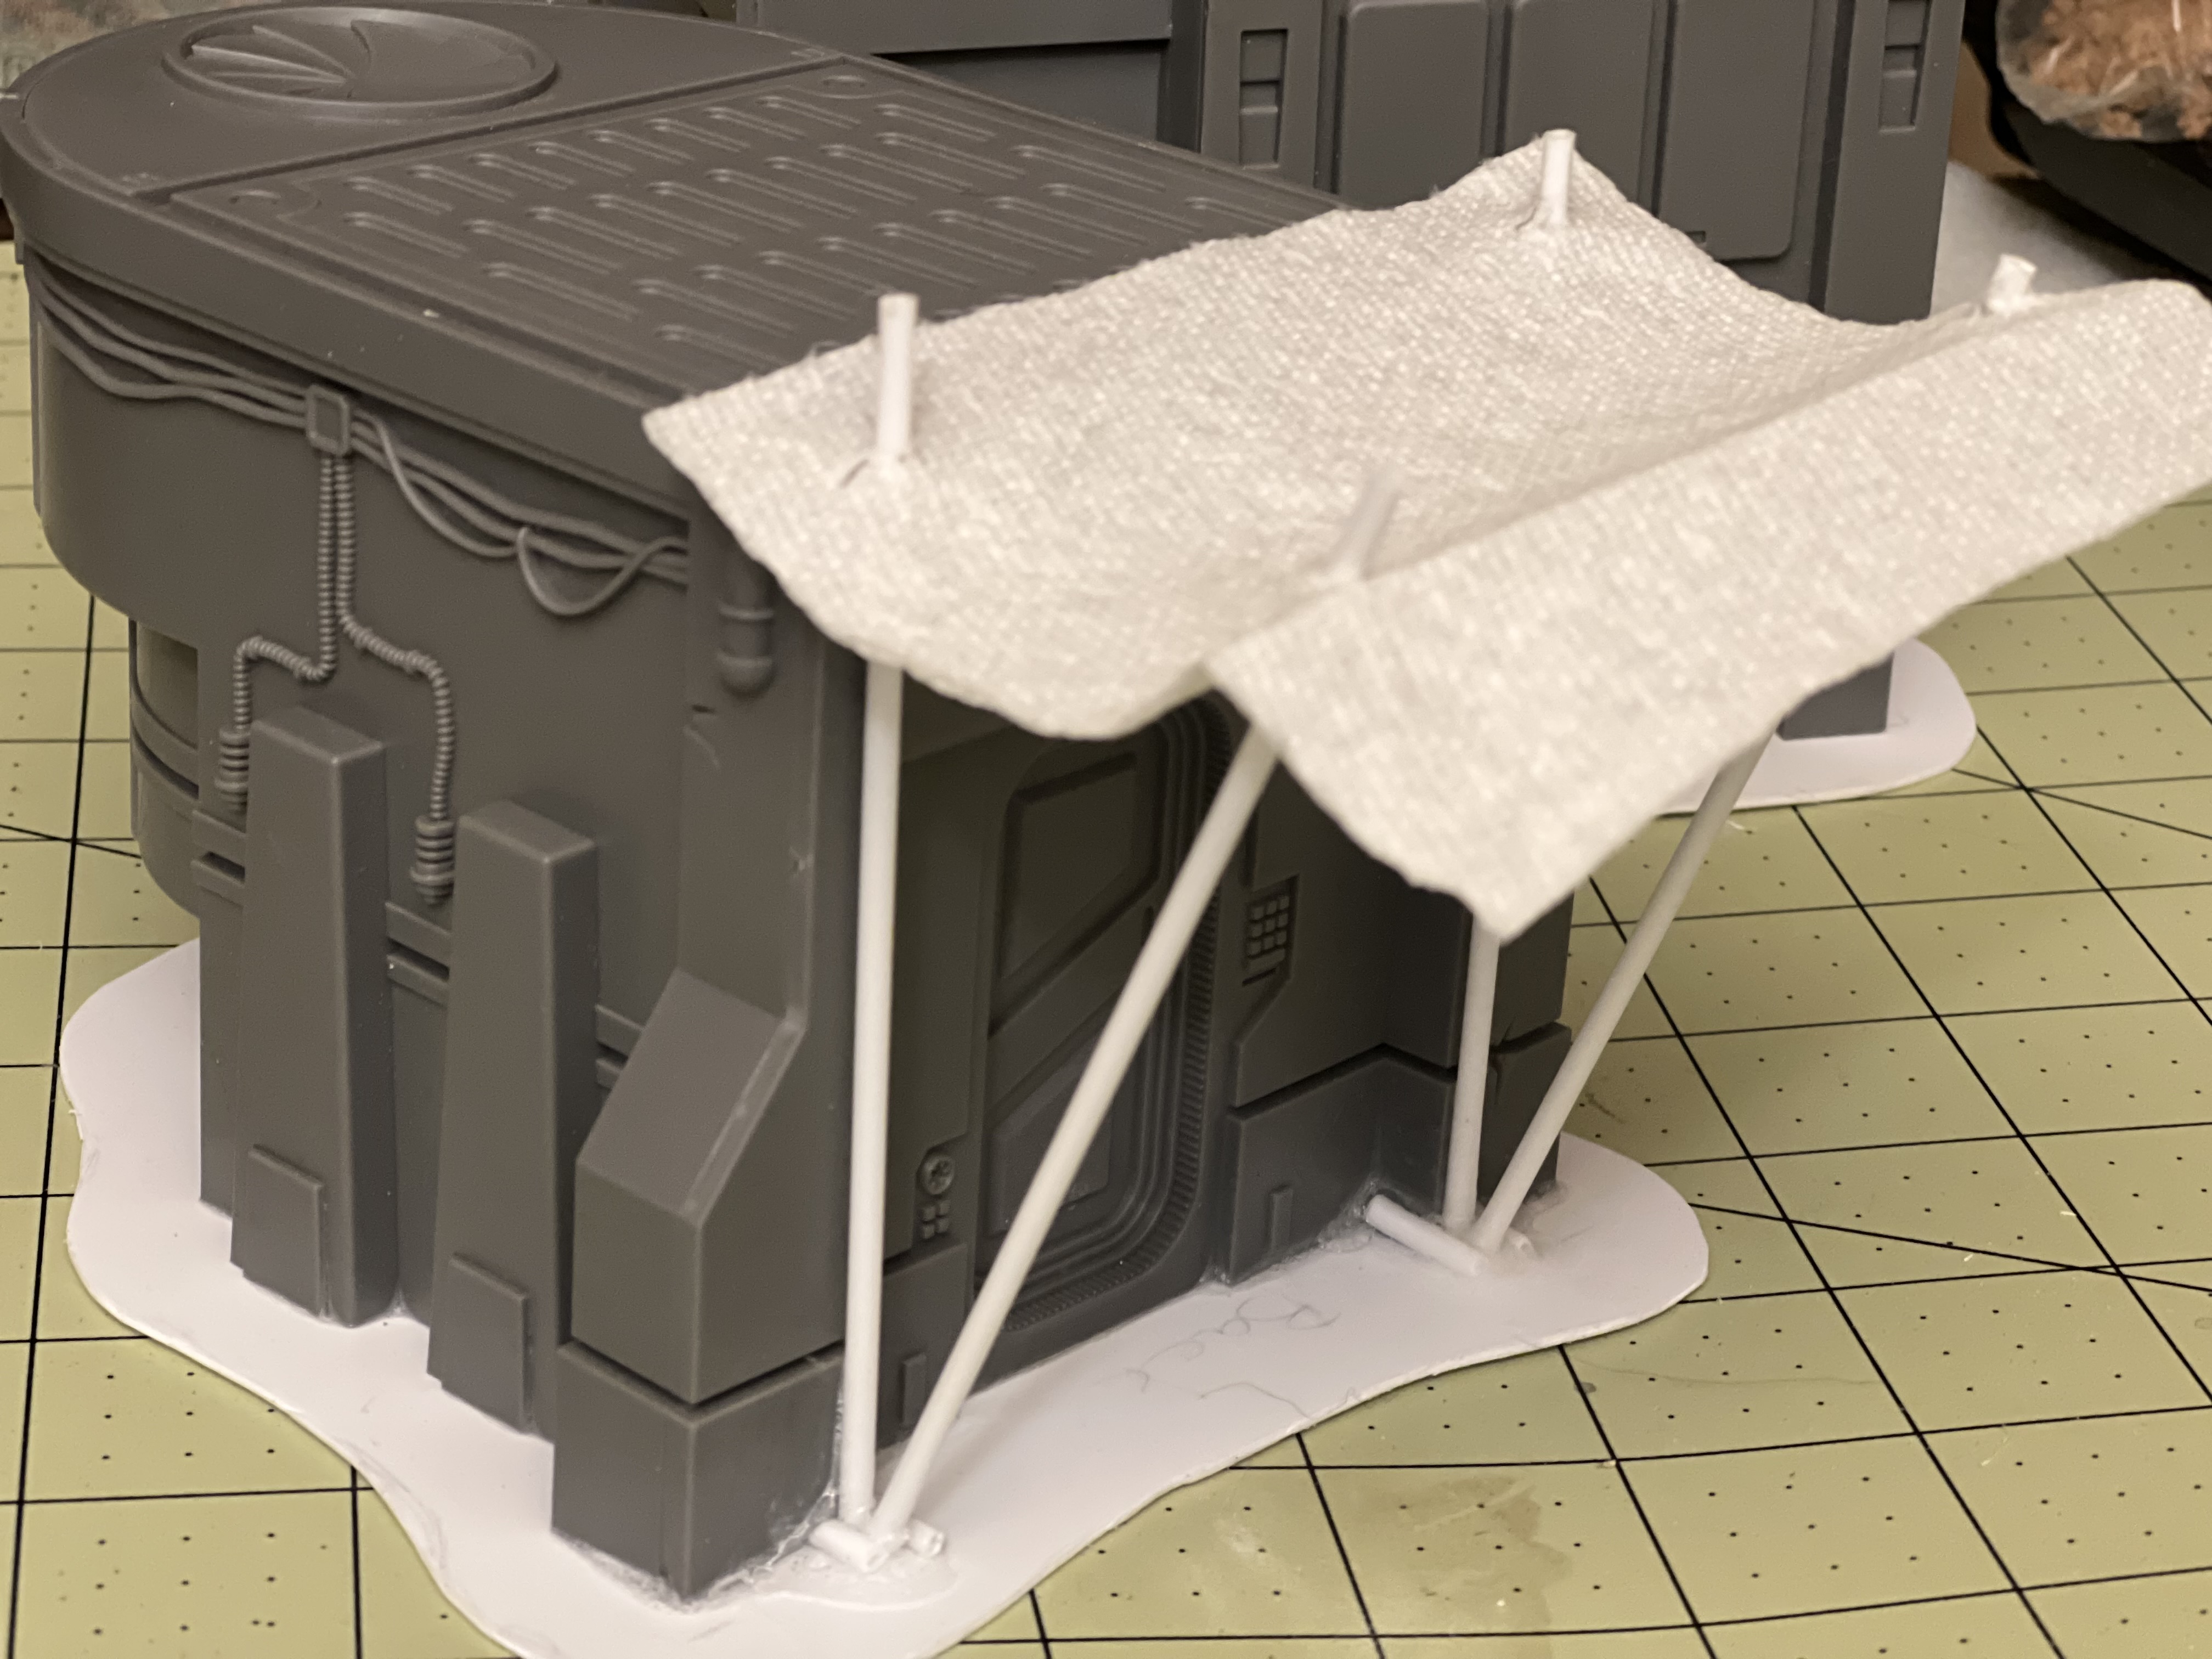
For each of the bases, I wanted to give them a little something extra to make them unique. For one of them, I decided to give them a canopy over the entrance to add some flair and texture to the model. Of course I completely forgot to take pictures/measurements when cutting them.
To be quite frank, I just went with rule of cool. I wasn’t too specific on the length, I just wanted something that felt right.
Please ignore the paper napkin acting as a canopy. I’m debating between a couple fabric solutions but can come back to that at a later date.

Step 3: Adding Sand
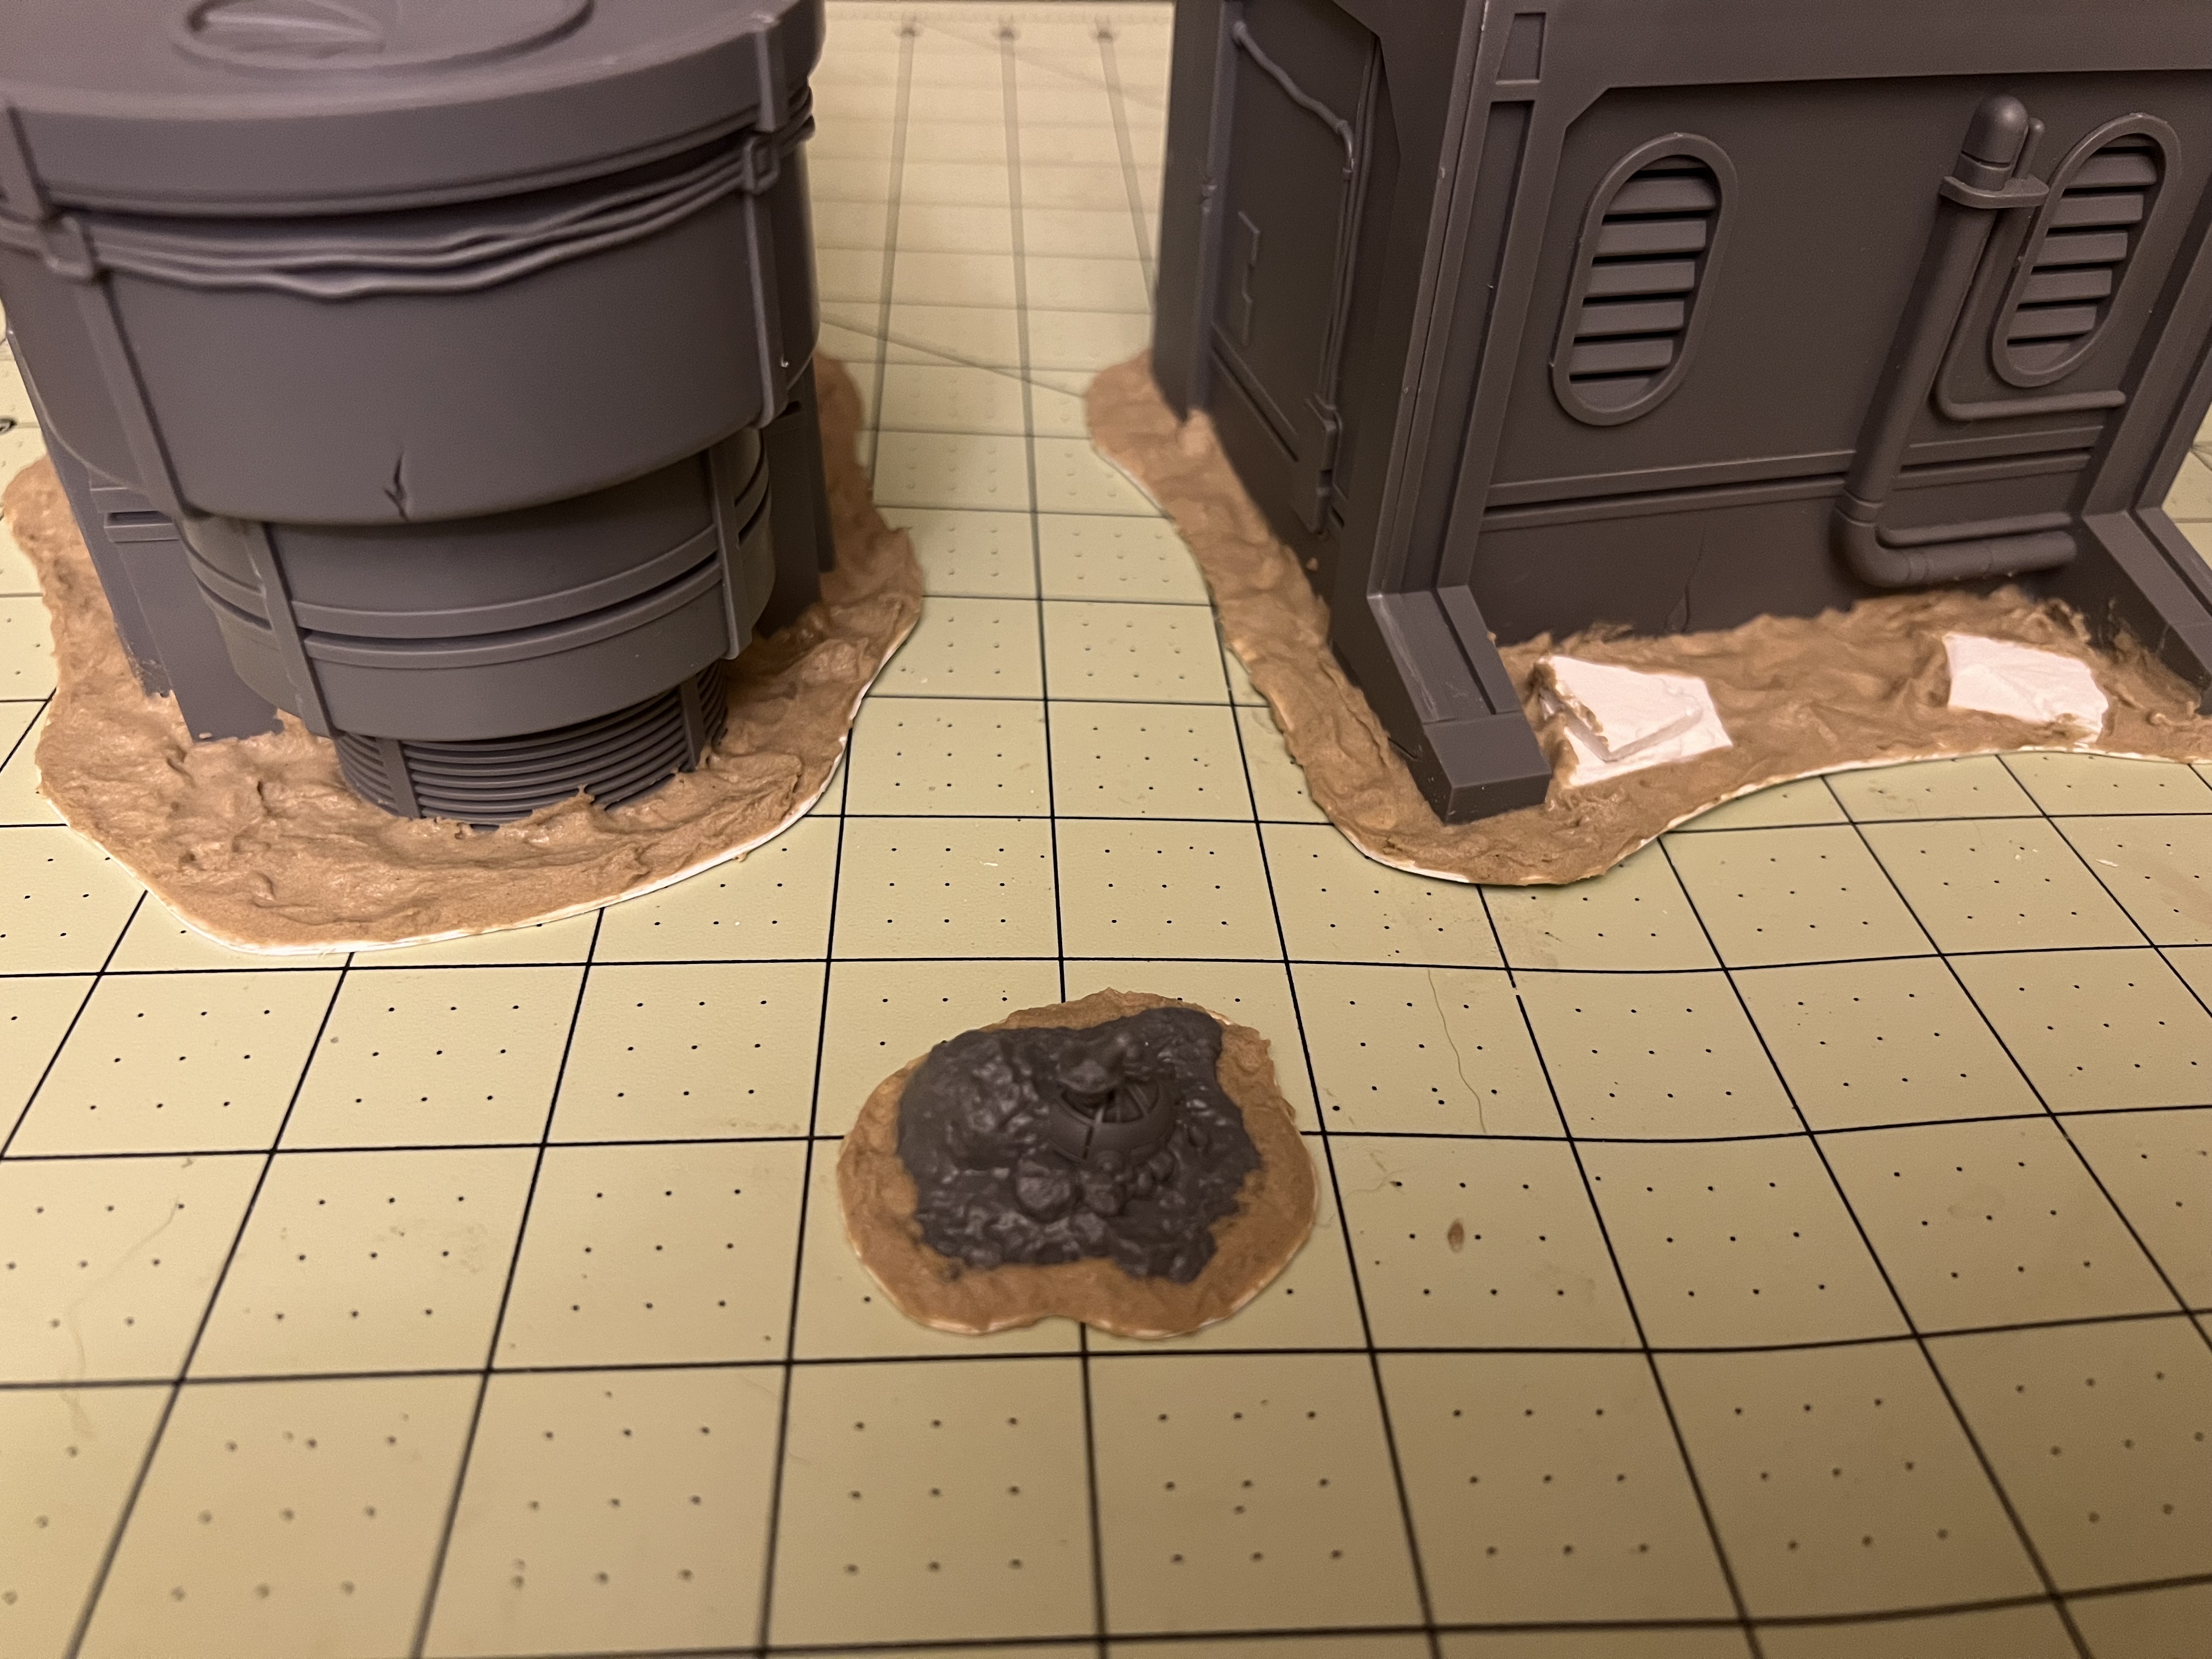
With everything glued into place, I added the Huge Miniatures: Texture Paste – Desert all over the bases. Using a sculpting tool, I made sure to push the paste up into the corners of the models to give the impression the wind has pushed the sand into the corners or cracks in the wall.
Optional: Before adding the texture pasted to the back of the base without the canopy, I glued down a couple of the plaster rocks. I wanted both bases to have a little unique detail or feature.
That should be about it for now. The texture paste takes a little bit of time to cure and harden. Once that is done, my next step will be to add a bit more texture via the Fine/Medium Ballast before I move onto priming. My next update should cover that.
One last thing. It was pointed out to me by my closest group of friends, that my last project blog (the Space Marine) was a bit…well…of a downer. I hope the energy and emotions I have for this project our showing through these entries. In case they aren’t, have a chuckle on me:
Did you hear that they actually nominated a scarecrow for the 2024 Noble Peace prize?! Evidently, it was outstanding in its field.


Could you slather the napkin in a pva solution so it dries firm, but still has a fabric-like texture?
I think that would be a stellar solution. What I was thinking was to possibly use something simply to burlap so I could tea dye it the right shade, then bleach it in the sun to give it a natural look. I’m still not sure, though.
Also, not to sound like a fanboy, but thank you even looking at my project! I absolutely love all your work.The Terrainfest project is bonkers and I wished anything I painted looked half as good as your Away Mission models.