


Objective Markers


IT HAS BEGUN!

Welcome to my project, weary traveller!
In 40k 10th edition, the game is mostly played with missions using objective control.
Each objective;
- is 40mm diameter
- models cannot stand on them
- has a 3″ radius of control
More specifically, I’m enjoying small Combat Patrol games with my son and friends. These are games that use just the contents of a Combat Patrol box and include an ability casually called ‘sticky objectives’. When the main troops (with ‘Battleline’ keyword) take hold of an objective, they retain control even if they wander off… until the enemy captures it.
So, I thought… what’s a good way to track sticky objectives and objectives overall?
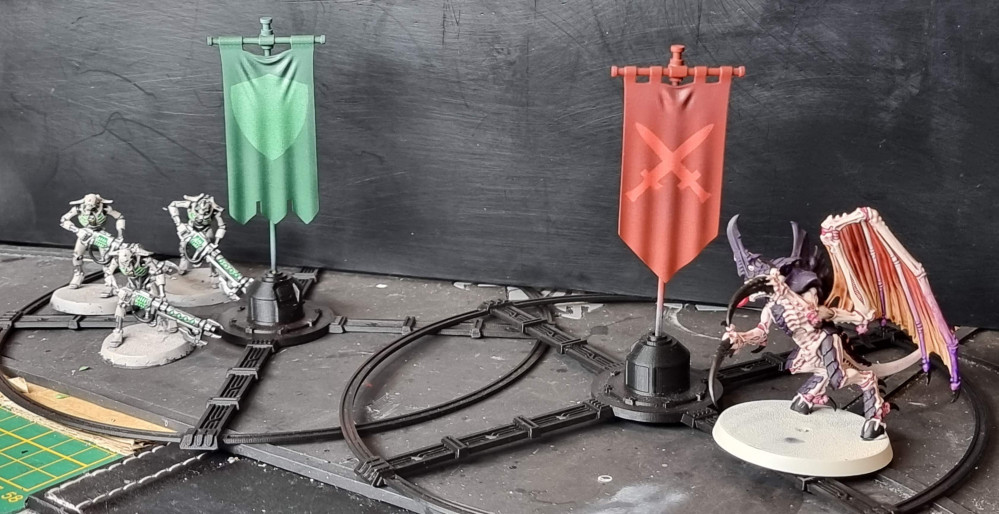
This project will see me take the following beautiful banner objective markers shown below from Udos3DWorld, make an adjustment (replace the pole with a brass one) and paint them using a DIY stencil.
The initial plan is to create a set of 6-8 for the Attacker and Defender. Beyond that, faction specific sets for my armies.
The tools I’m using;
- blender (modelling software) – I used blender to modify the banners. Note: I have no idea how to use blender!
- onshape (modelling software) – I used onshape to make my own objective marker pucks (a precursor project I’ll share). Note: I’m a beginner user of onshape.
- FDM printer (Prusa i3 Mk3S+) – I used my FDM printer to print the bases. I use PrusaSlicer as slicing software.
- Resin printer (Elegoo Saturn) – I used my resin printer to print the banners. I use Lychee as slicing software.
- Cutting Plotter (Cricut Maker 3) – I’m using my cutting plotter to cut out stencils for banner logos.
- Airbrush for painting.
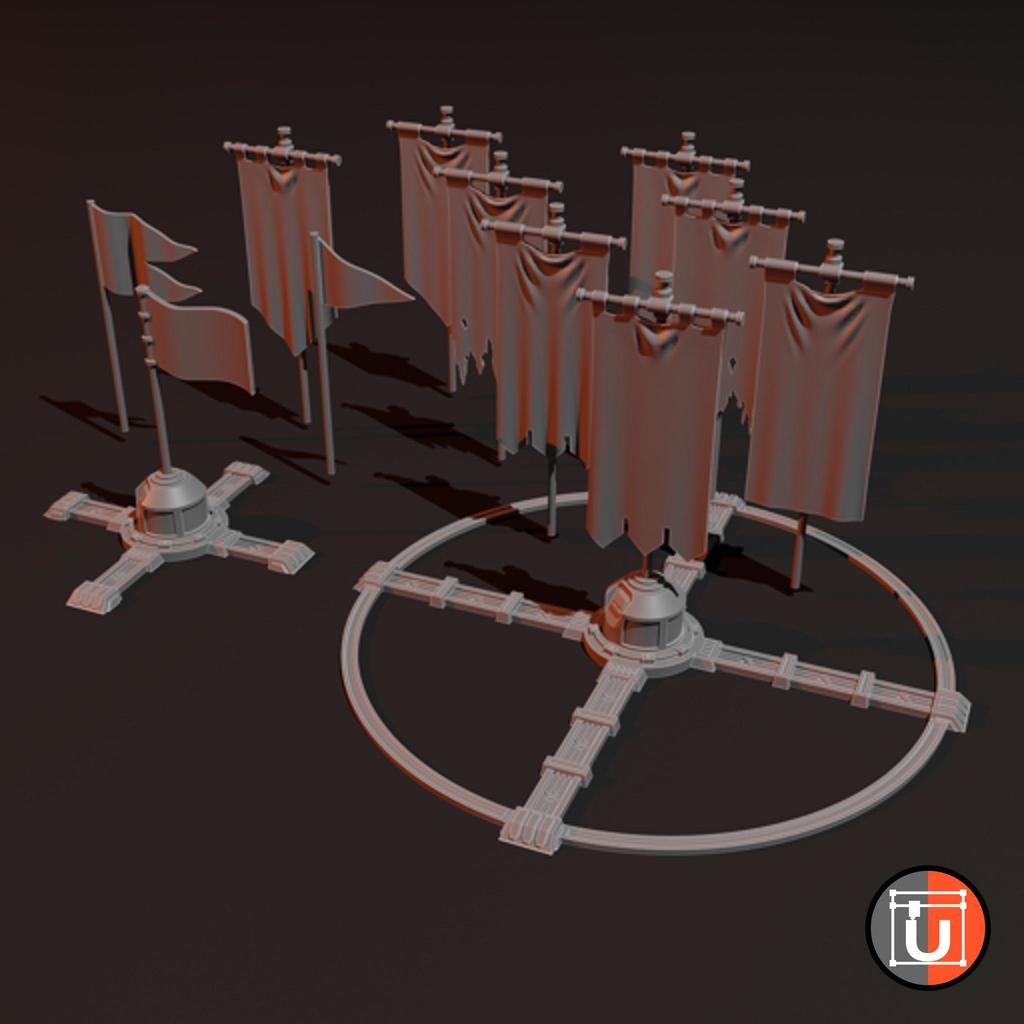 Banners from Udos3DWorld
The Plan
- Modify the banners to remove the pole. As I’m printing these in resin, I’m not comfortable with the strength of the skinny pole. So I want to remove the pole, create a hole in the top and add brass rod for the pole instead.
- Prepare and print the pole-less banners.
- Create stencils using the Cricut and Mylar sheets.
- Assemble banners.
- Prime banners and bases.
- Paint.
- Play.
One concern I currently have, is that the mylar is fairly stiff; bendy, but stiff. Being able to bend it around the contours of the banners for airbrushing the pattern, will be a challenge. I foresee it being an issue with keeping the stencil tight against the banner a challenge. One thought is to use some sort of temporary glue. Maybe a liquid mask might work as glue that can be removed easily later. The mylar is fairly smooth, so adherence might be an issue, although I can sand it a little. The mylar I have is 7.5mil, I’ve just ordered 4mil, which might be better (arrives 19th Oct).


Sweet, pop a cover image on your project so peeps get an idea of what your up too 🙂