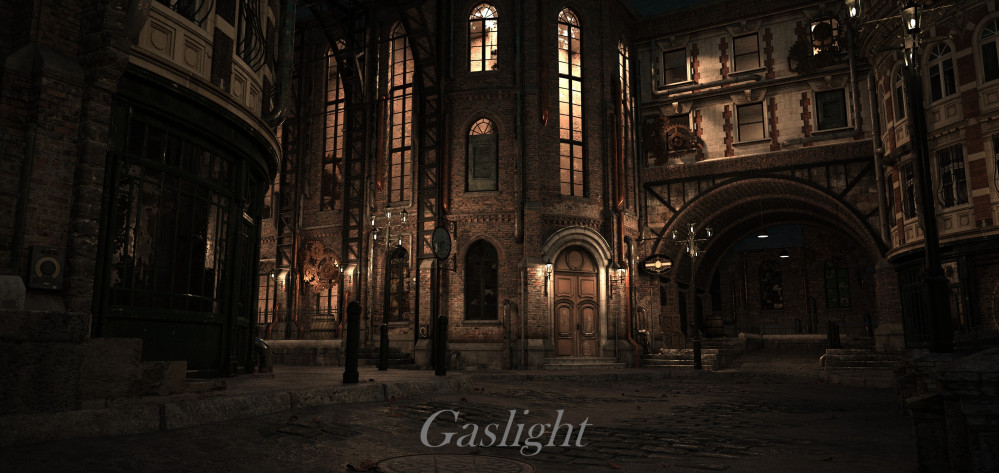
Gaslight
Making walls
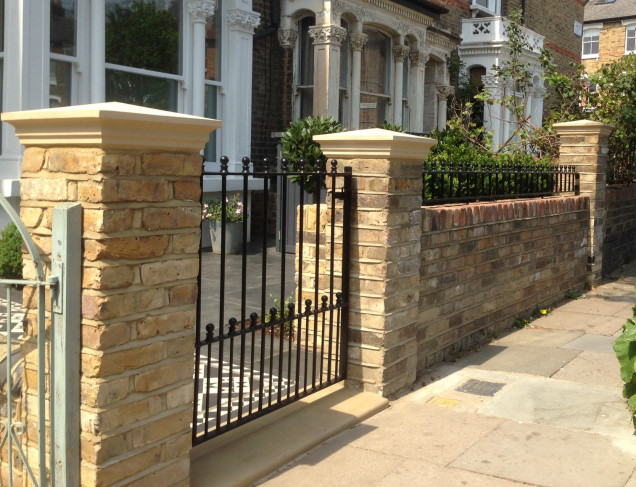
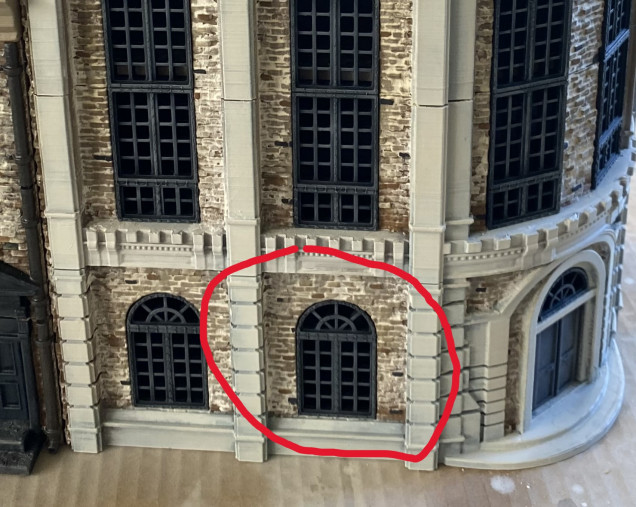
I want to make some free-standing or perimeter walls that I can move around and want them to fit the same aesthetic as the rest of the walls.
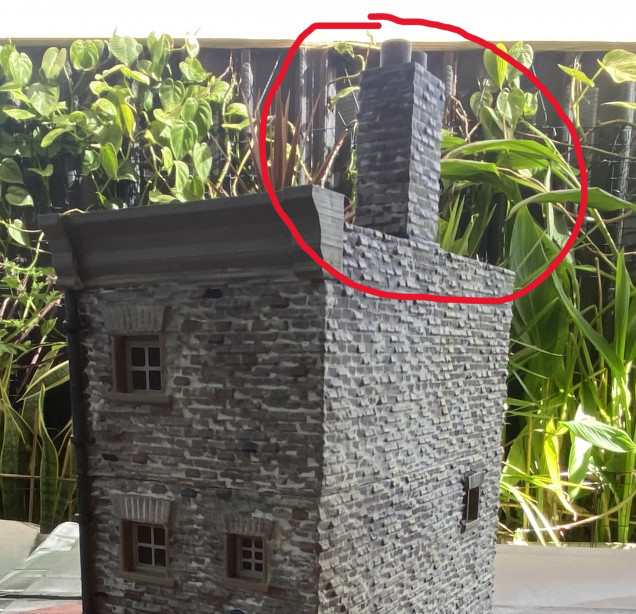
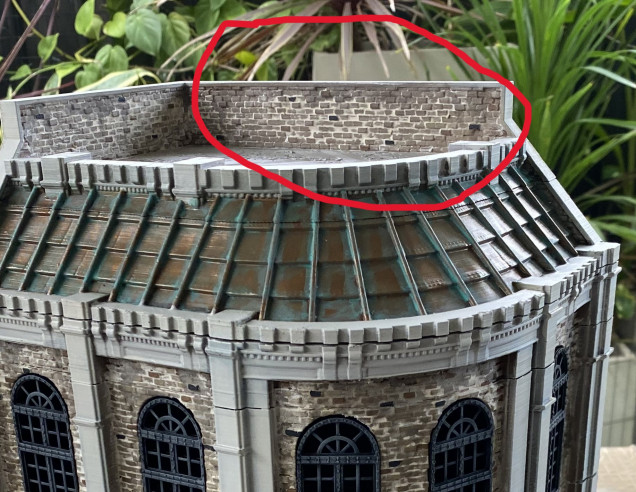
to do this I will use parts from existing STL’s and cannibalize the bits I think I could use.
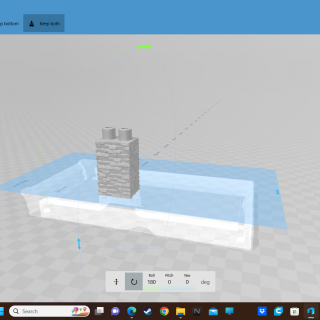
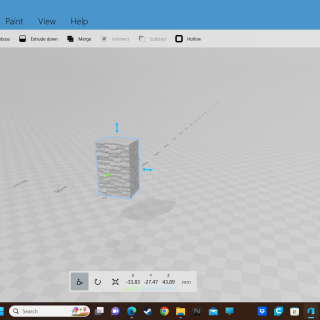
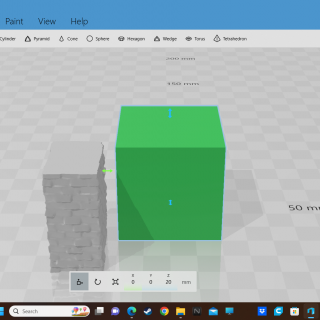
Now I have identified the bits I think I can use it’s just a matter of opening the STL in 3D Builder and using the ‘split’ function to cut away all the bits I don’t need.
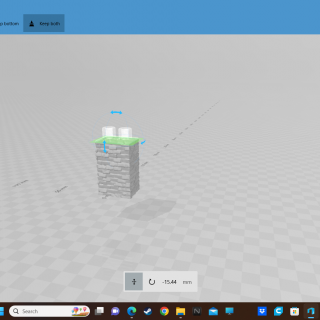
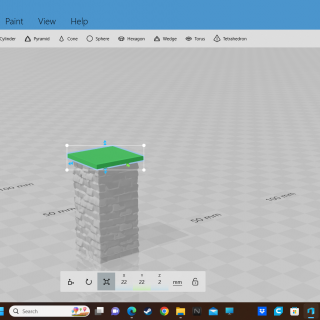
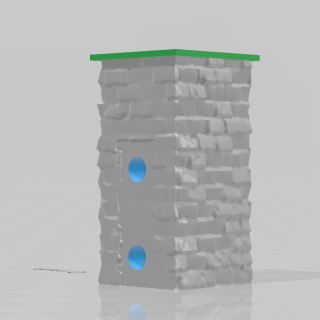
The next step is the ‘settle’ the remaining piece on the ground and resize its width and depth. The height you can adjust by using the ‘split’ function to remove brick layers. Add a cube or whatever shape you want as a topper and place it on top of the pillar.
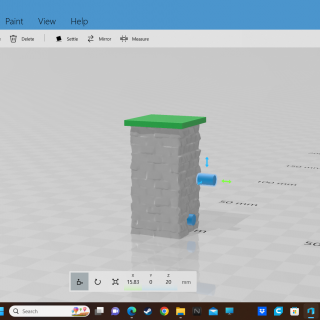
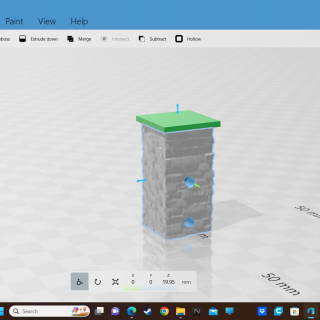
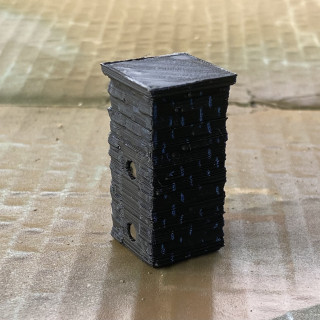
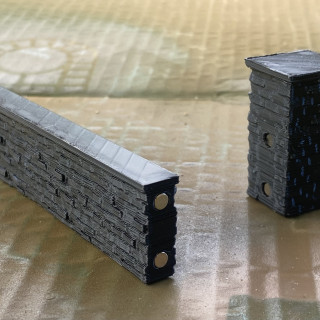
As I intended to magnetise the walls, I made some little pegs a little longer than the size of the magnets I intended to use I positioned where the magnets would be and then used the ‘Subtract’ function to remove them. This then leaves a perfect hole for the magnets and means they will always be in the same place on each pillar I print.
Finally, I inserted the wall I was going to use into the pillar and also ‘Subtract’ that, so it leaves a nice indent for the wall to fit snugly in.
Obviously, this is just a quick run-through of something really basic but should give an idea of what you can do.
I may add an additional magnet hole in the middle of the top to allow different toppers to be swapped in and out.
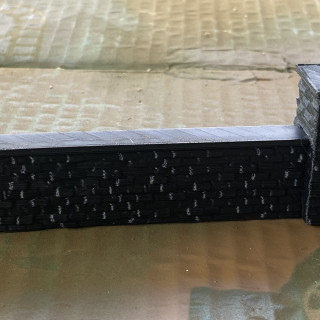
For the actual ‘walls’ sections I may do some with flat tops and some with little grooves to add railings.
Either way, I will save the files so that I can quickly and easily replicate the pieces whilst also having the option to go in and alter bits to make some pieces unique.
Next up is to run a few quick test prints to see if it all works.


![TerrainFest 2024 Begins! Build Terrain With OnTableTop & Win A £300 Prize! [Extended!]](https://images.beastsofwar.com/2024/10/TerrainFEST-2024-Social-Media-Post-Square-225-127.jpg)




Leave a Reply