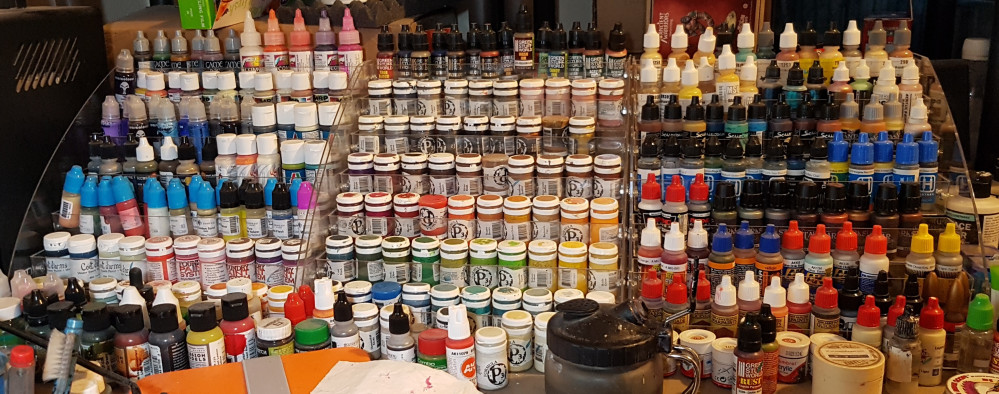
The Final Push - Lawnor approaches 100% painted
How To Make Mortal Gods Movement Trays
A friend of mine has a Mortal Gods starter set and says it’s fun and wants to play. I’ll give any game a go if I don’t have to buy anything before trying it. MG is mini agnostic, and while its mostly historical, it has an optional Mythic element to it. Any time I buy in to a new game I look to see if I can get an undead faction for it as a lot of games have undead and this means if I end up dropping the game I can always combine those models for mini agnostic rule sets, just like this. This means I already have more than enough Undead to put together a couple of armies for this.
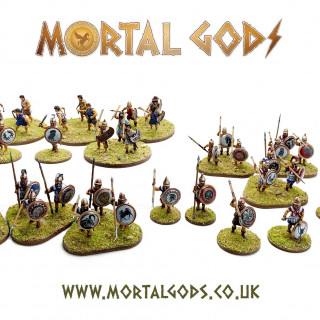
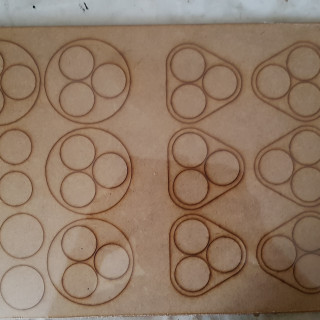
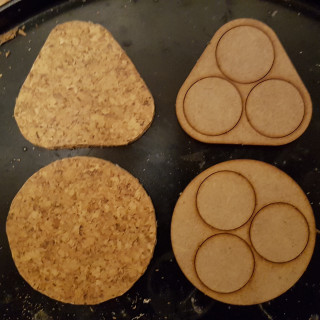
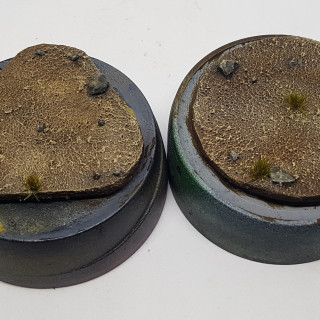
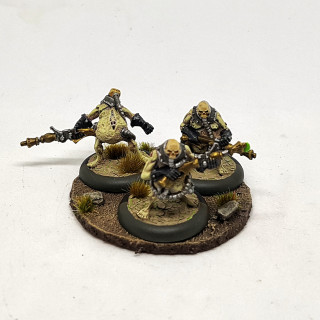
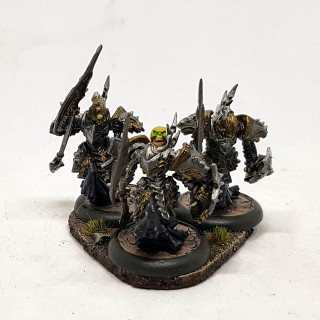
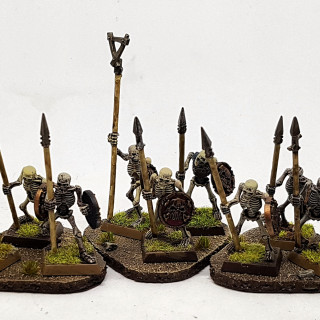
What I don’t have is the movement trays. Here’s some pics of what they look like in use, and what they look like fresh from my friends box, ready to be used as templates to make my own from.
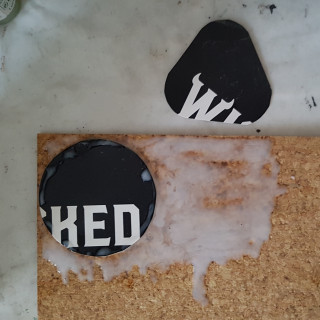
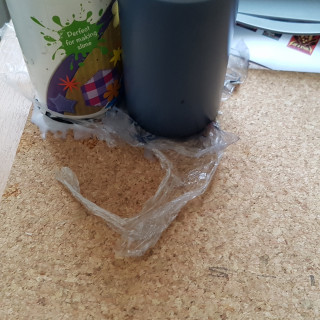
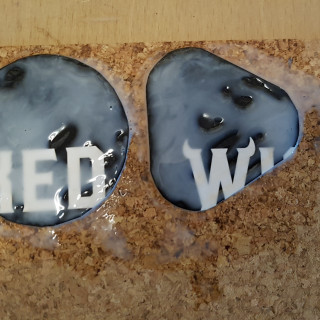
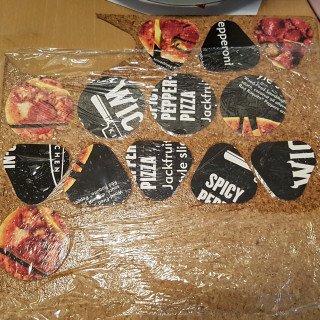
So I popped out the squares and triangles and drew around them on the back of a pizza box. I cut them out and used PVA mixed with a touch of water to glue them to a thin cork tile. I bought a 5 pack a long time ago to decorate bases. a 5 pack of tiles lasts a looong time in this hobby. The tiles had a glossy side so I sanded that down a bit so glue would stick better to it, although I glued the card to the other side. The card didn’t quite want to sit flat, so I put some cling film over them and rested something heavy on top of that. once everything was fully dry, I mixed up some more PVA and water and applied this over the top of the card and cork, painting outside the lines. It was left for a couple of days and then cut out with a good pair of scissors.
The card backing does more than just provide a template to cut around. Cork is fragile. Card is fragile. However, they are weak in different ways, so they strengthen each other. Soak them both with PVA and they get stronger still. Composite materials are stronger than the parts they are made of.
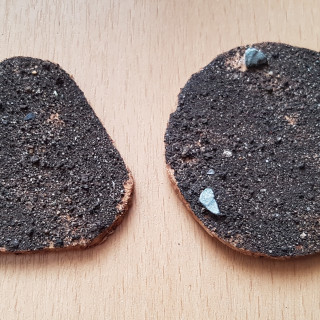
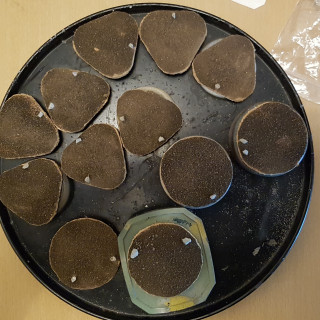
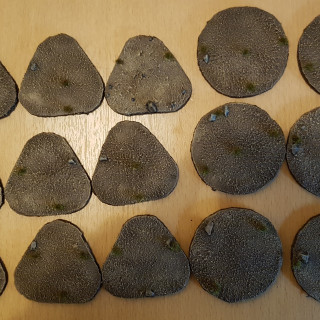
I plan on using models from multiple ranges on a mix of square and round bases of different sizes. As such, I chose not to cut holes in my trays as I’d have to make trays for each base type that way. I do know that the largest base I’m likely to use will be 30mm rounds, so I grabbed 3 and drew around them on these trays. I then glued a few rocks in places outside these markings. I then glued a fine layer of mud over the cork. A day later I sealed it all in with watered down PVA glue. A couple of days later I painted everything with a base coat of brown emulsion paint over spayed primer, and then painted them as per normal. I then put the 3 20mm bases back on top and added some tufts anywhere that wasn’t covered and seemed appropriate, but not too repetitive. They were all varnished once everything was dry. I was happy with the end result so I made a few more.
These took very little time or effort to make, but require lots of long drying times. I used up perhaps half a floor tile to do this. They are surprisingly sturdy too, although some of that has to come down to their compact size and shape. I am not sure this would hold up for a large rectangular tray for Kings of War, but I might give it a try some time. I have more than enough cork tile left over. I’m open to other ideas about how to make larger trays using junk I might be able to find lying around the house. I’ve always felt a thin sheet of suitable plastic must be something I can get from packaging without needing to buy especially, but I’ve never found anything appropriate. perhaps you can think of something?
Maybe this should be it’s own project? Should I copy and paste it?


![TerrainFest 2024 Begins! Build Terrain With OnTableTop & Win A £300 Prize! [Extended!]](https://images.beastsofwar.com/2024/10/TerrainFEST-2024-Social-Media-Post-Square-225-127.jpg)




Leave a Reply