


A Scattering of Terrain


Welcome to the Jungle part 2
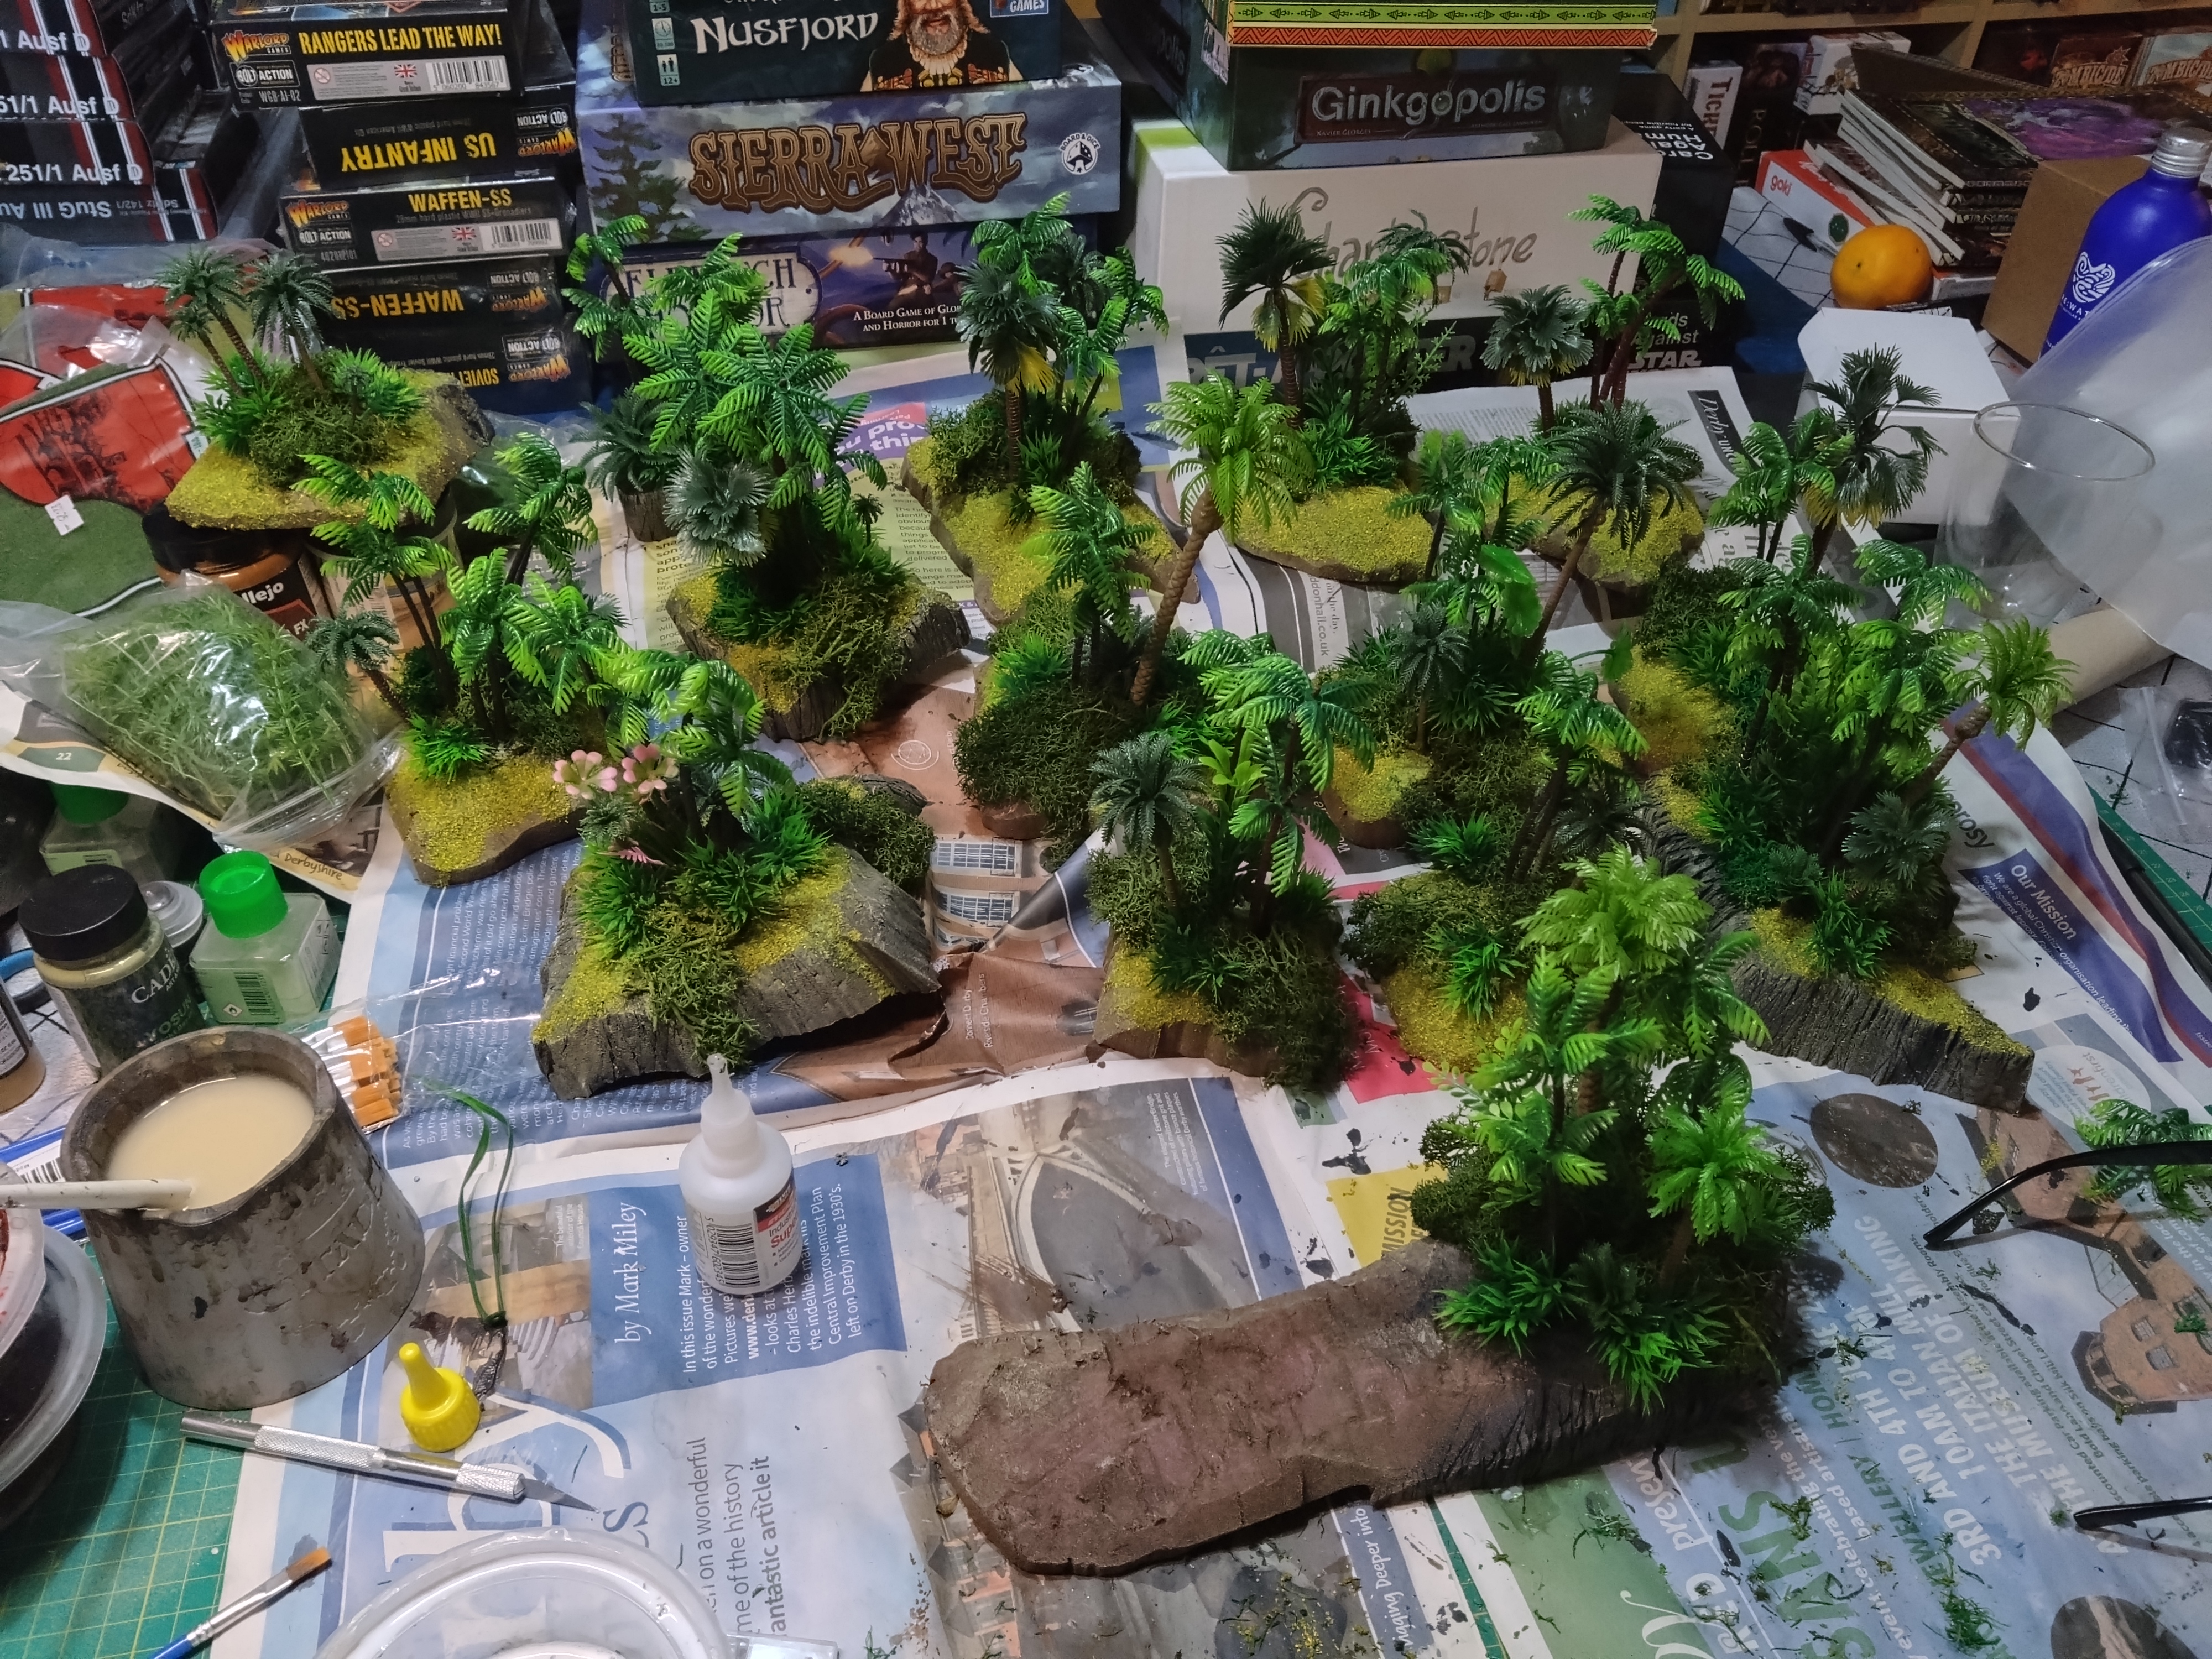
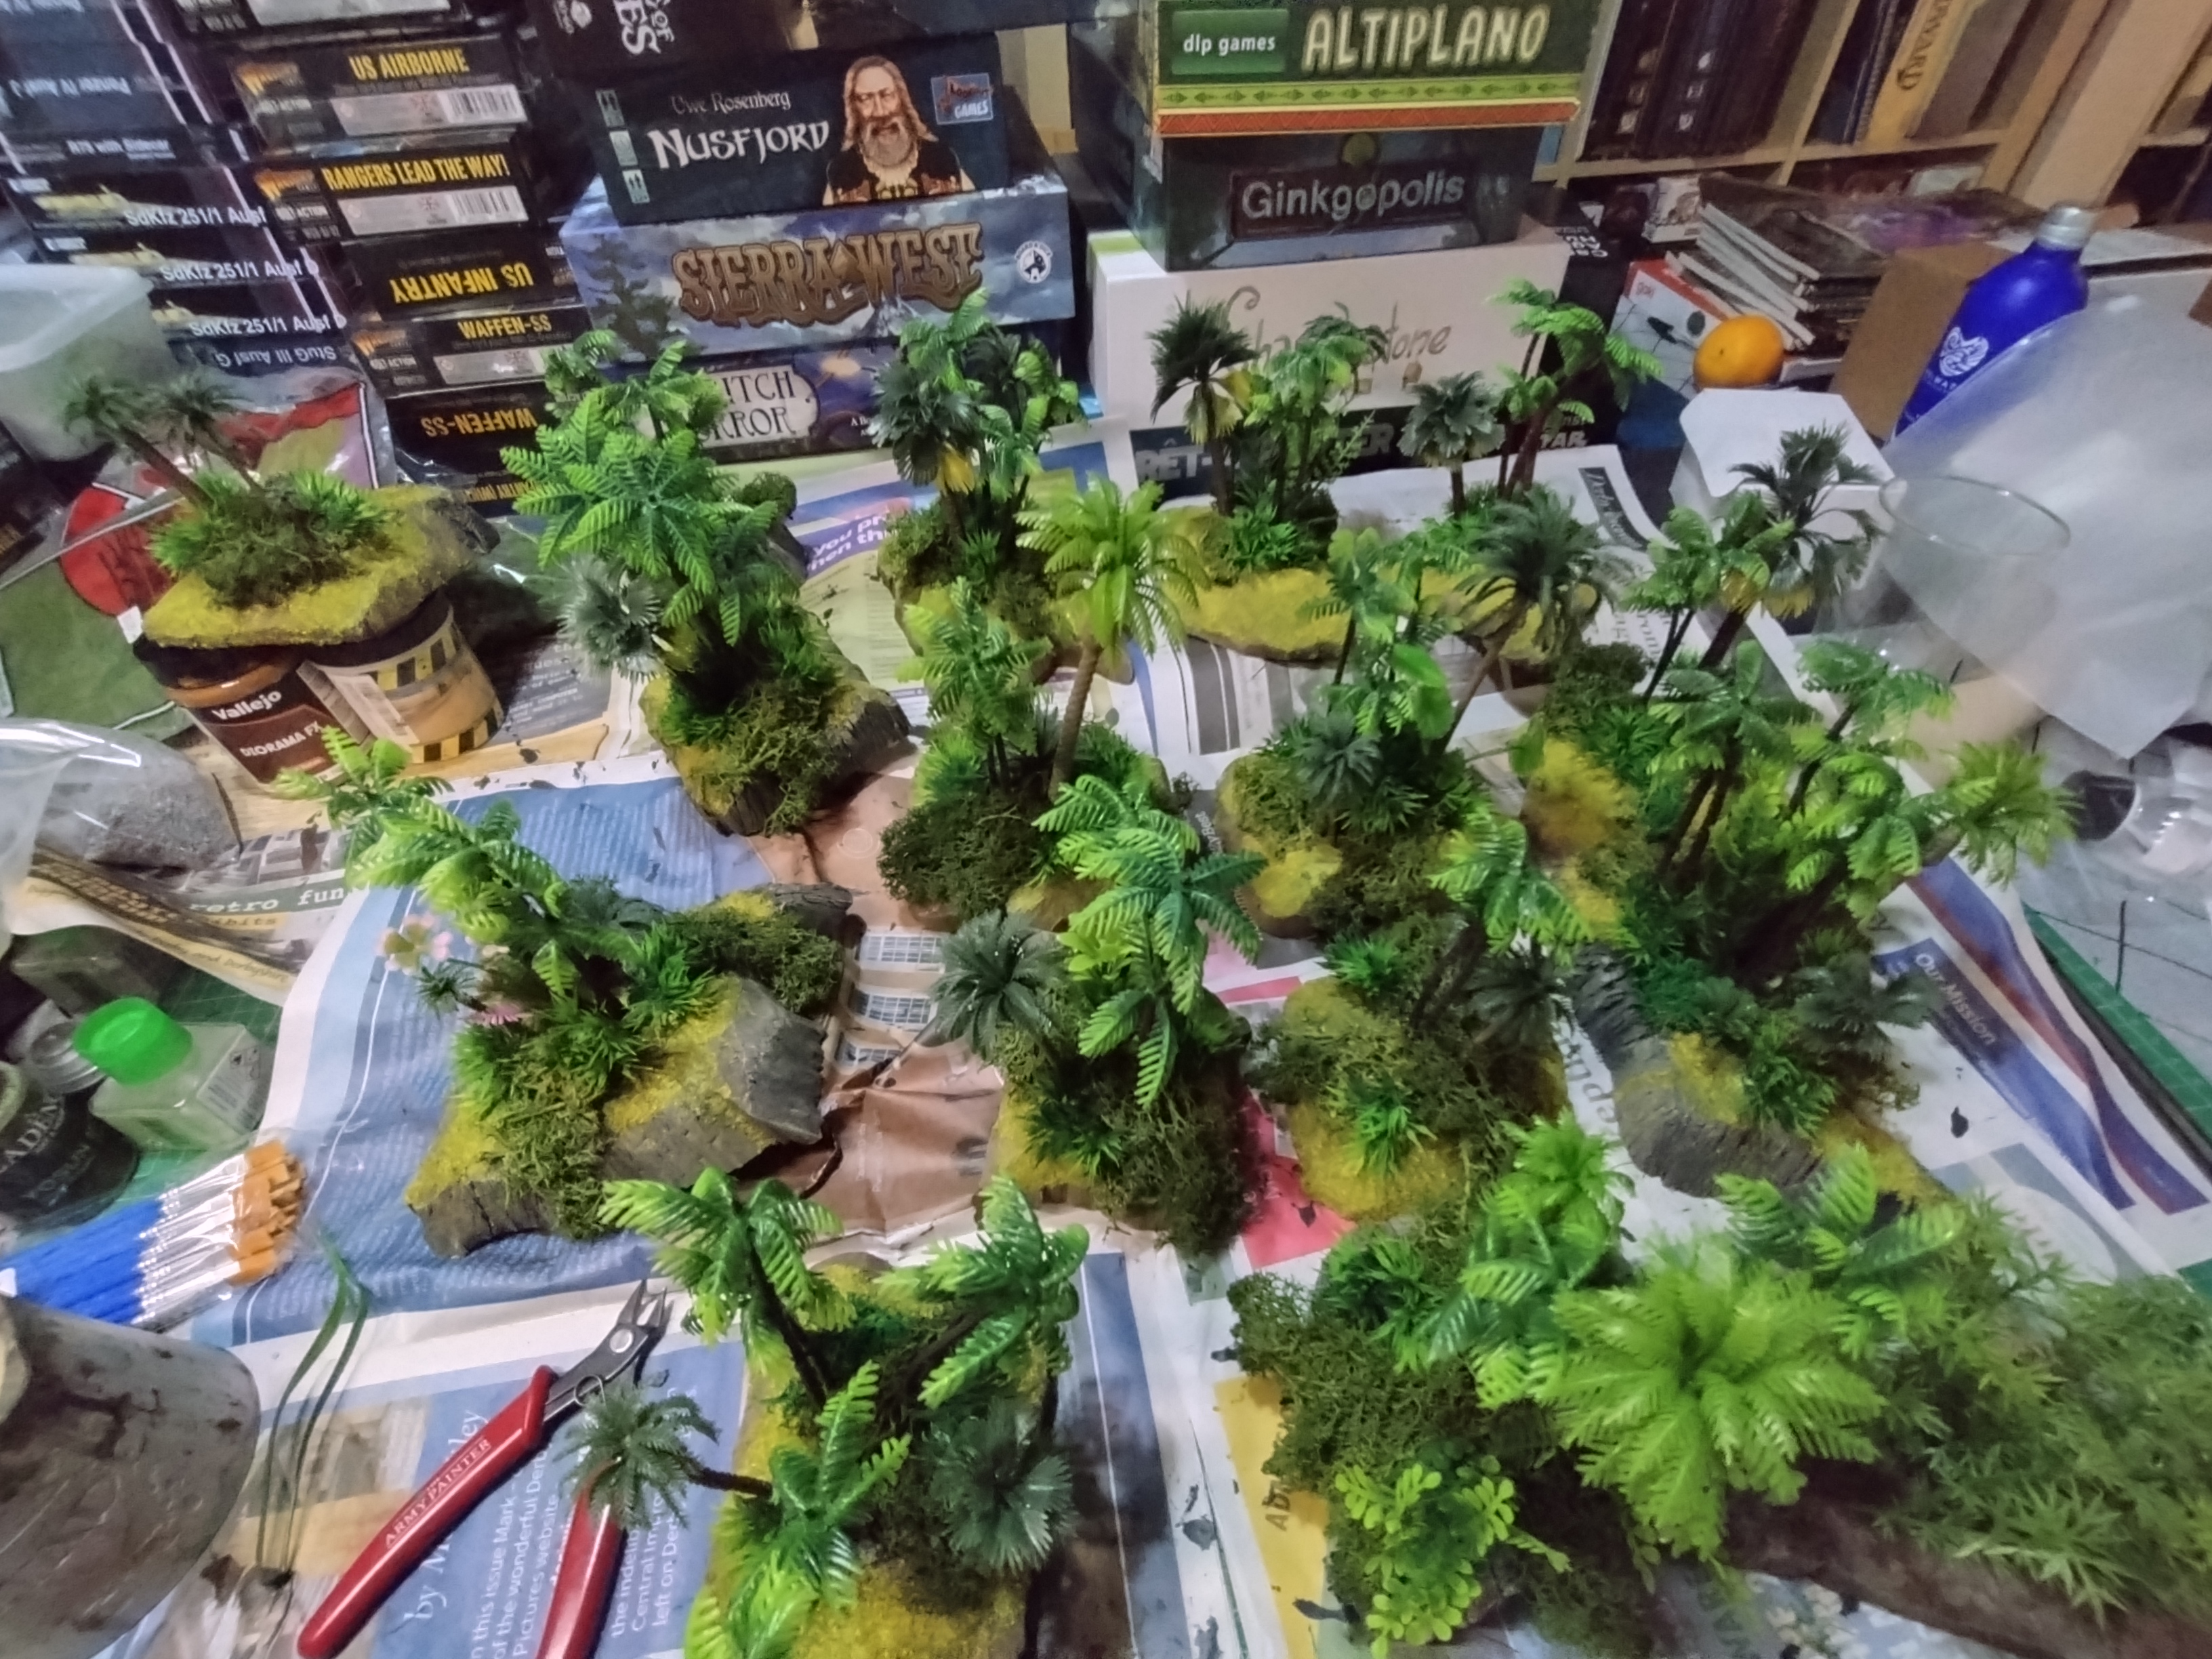
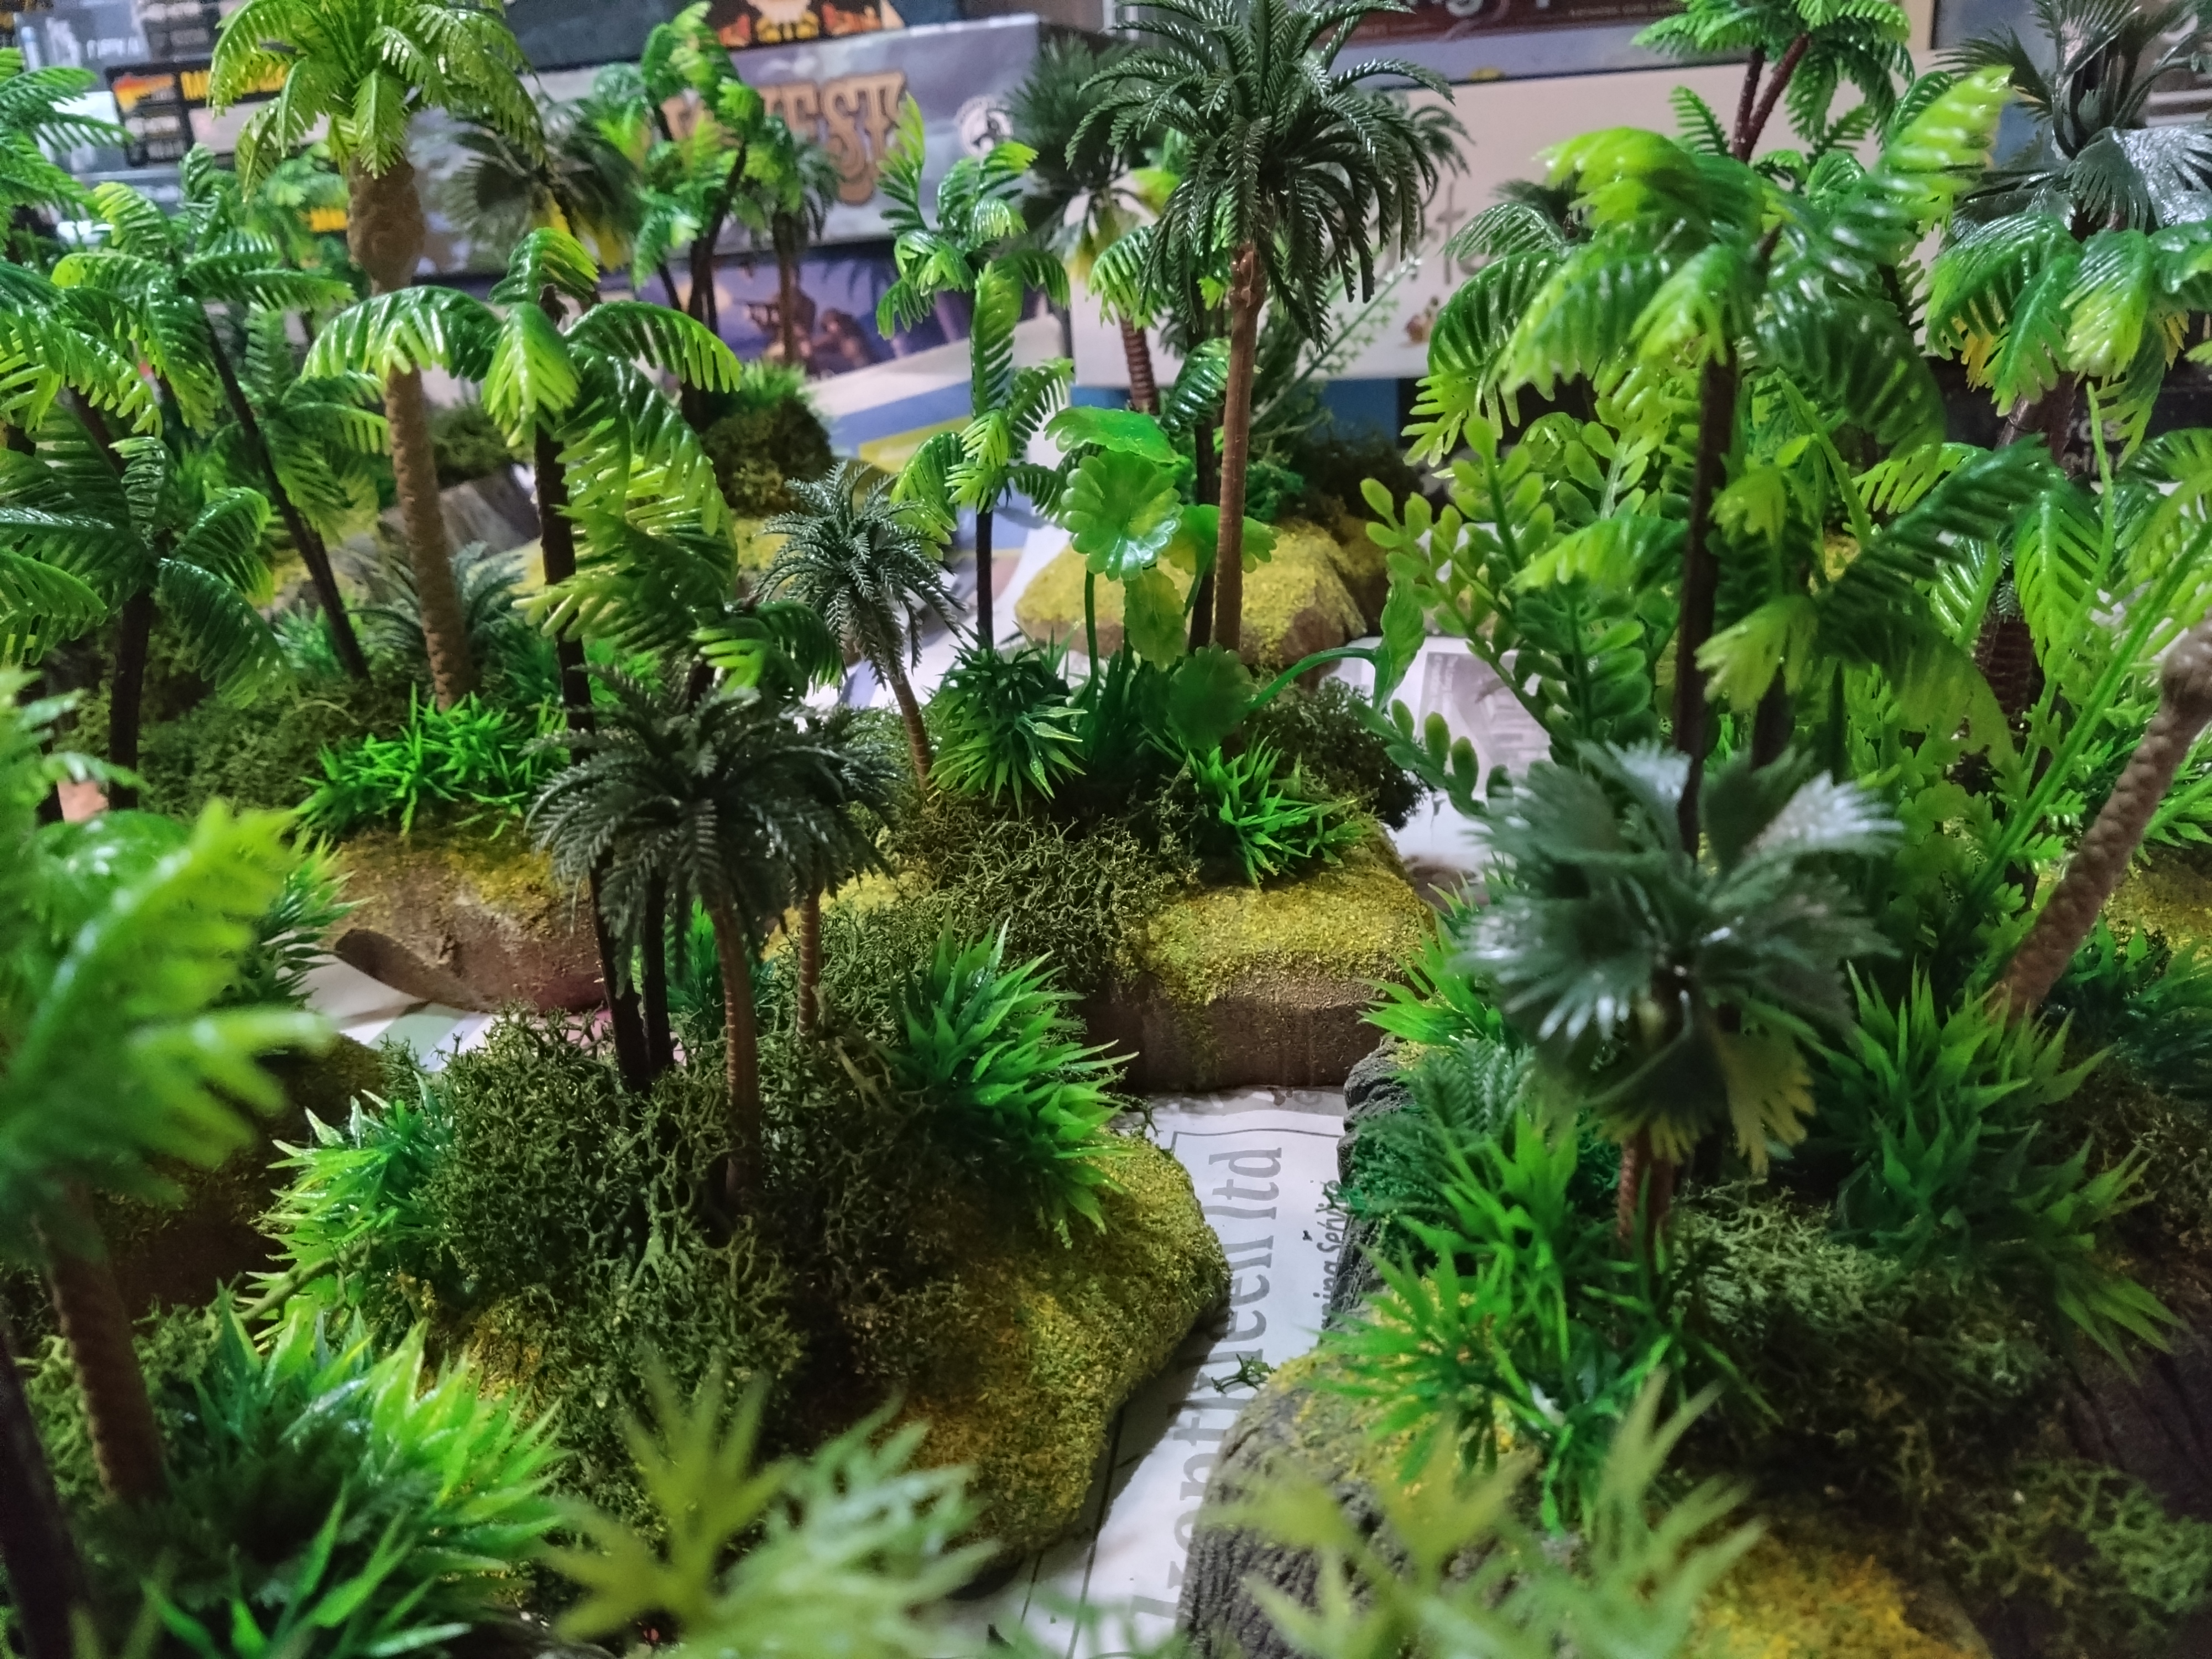
After visiting Britcon and seeing all the amazing jungle tables I was inspired to make some more terrain. Jungle terrain is so easy and fun to make, heck I may even start making-to-sell.
It’s easy enough to put together, if you have all the ingredients, you could comfortably bang out enough to cover a 4×4 in a weekend.
Ingredients used in this batch:
3omm XPS foam
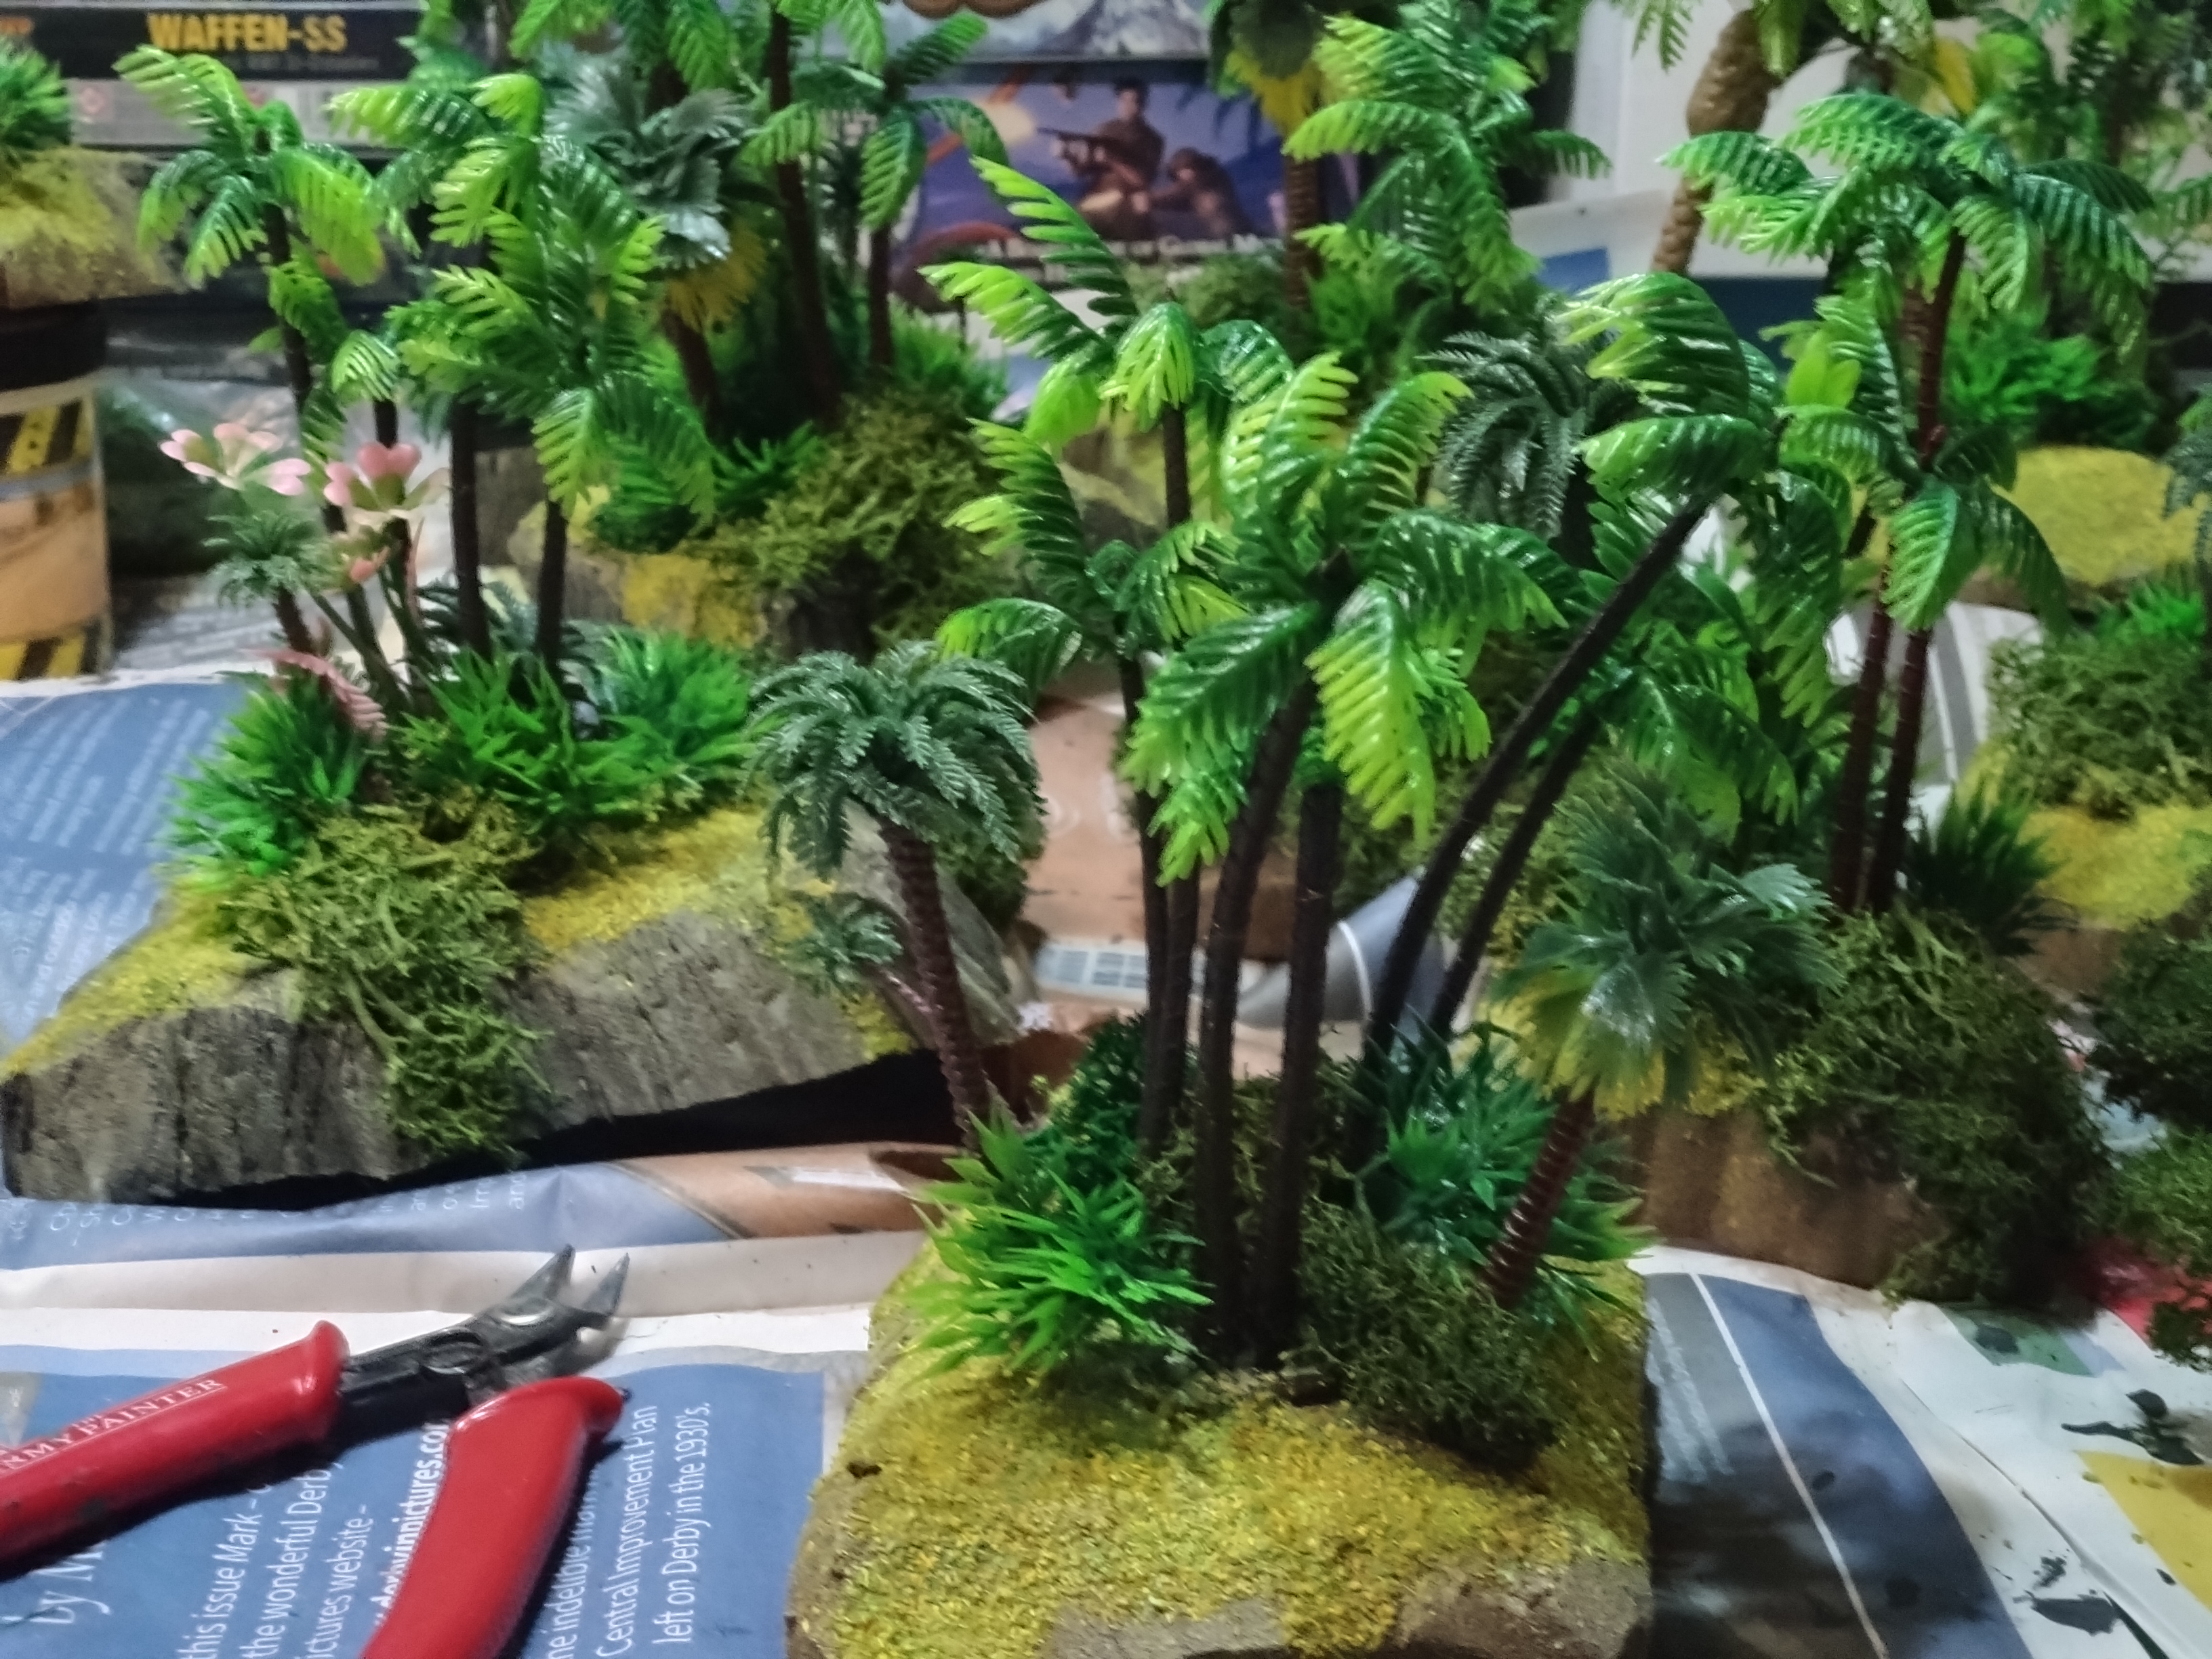
Plastic palm trees
Aquarium grass
A few aquarium plants
Some dyed reindeer moss
Some fine summer flock
PVA glue
Green stuff
Basing glue (watered down pva does the trick as well)
IPA (the clear stuff, not the delicious beverage)
Brown/Black/White acrylic paint (use the school style stuff, not your nice paints)
Texture paint (optional, my earlier build had to visible flat mdf bases that I needed to give a bit more surface interest, alternately I could of grouted and painted, but I am style learning how to handle grout).
An OLFA knife
A lot of superglue
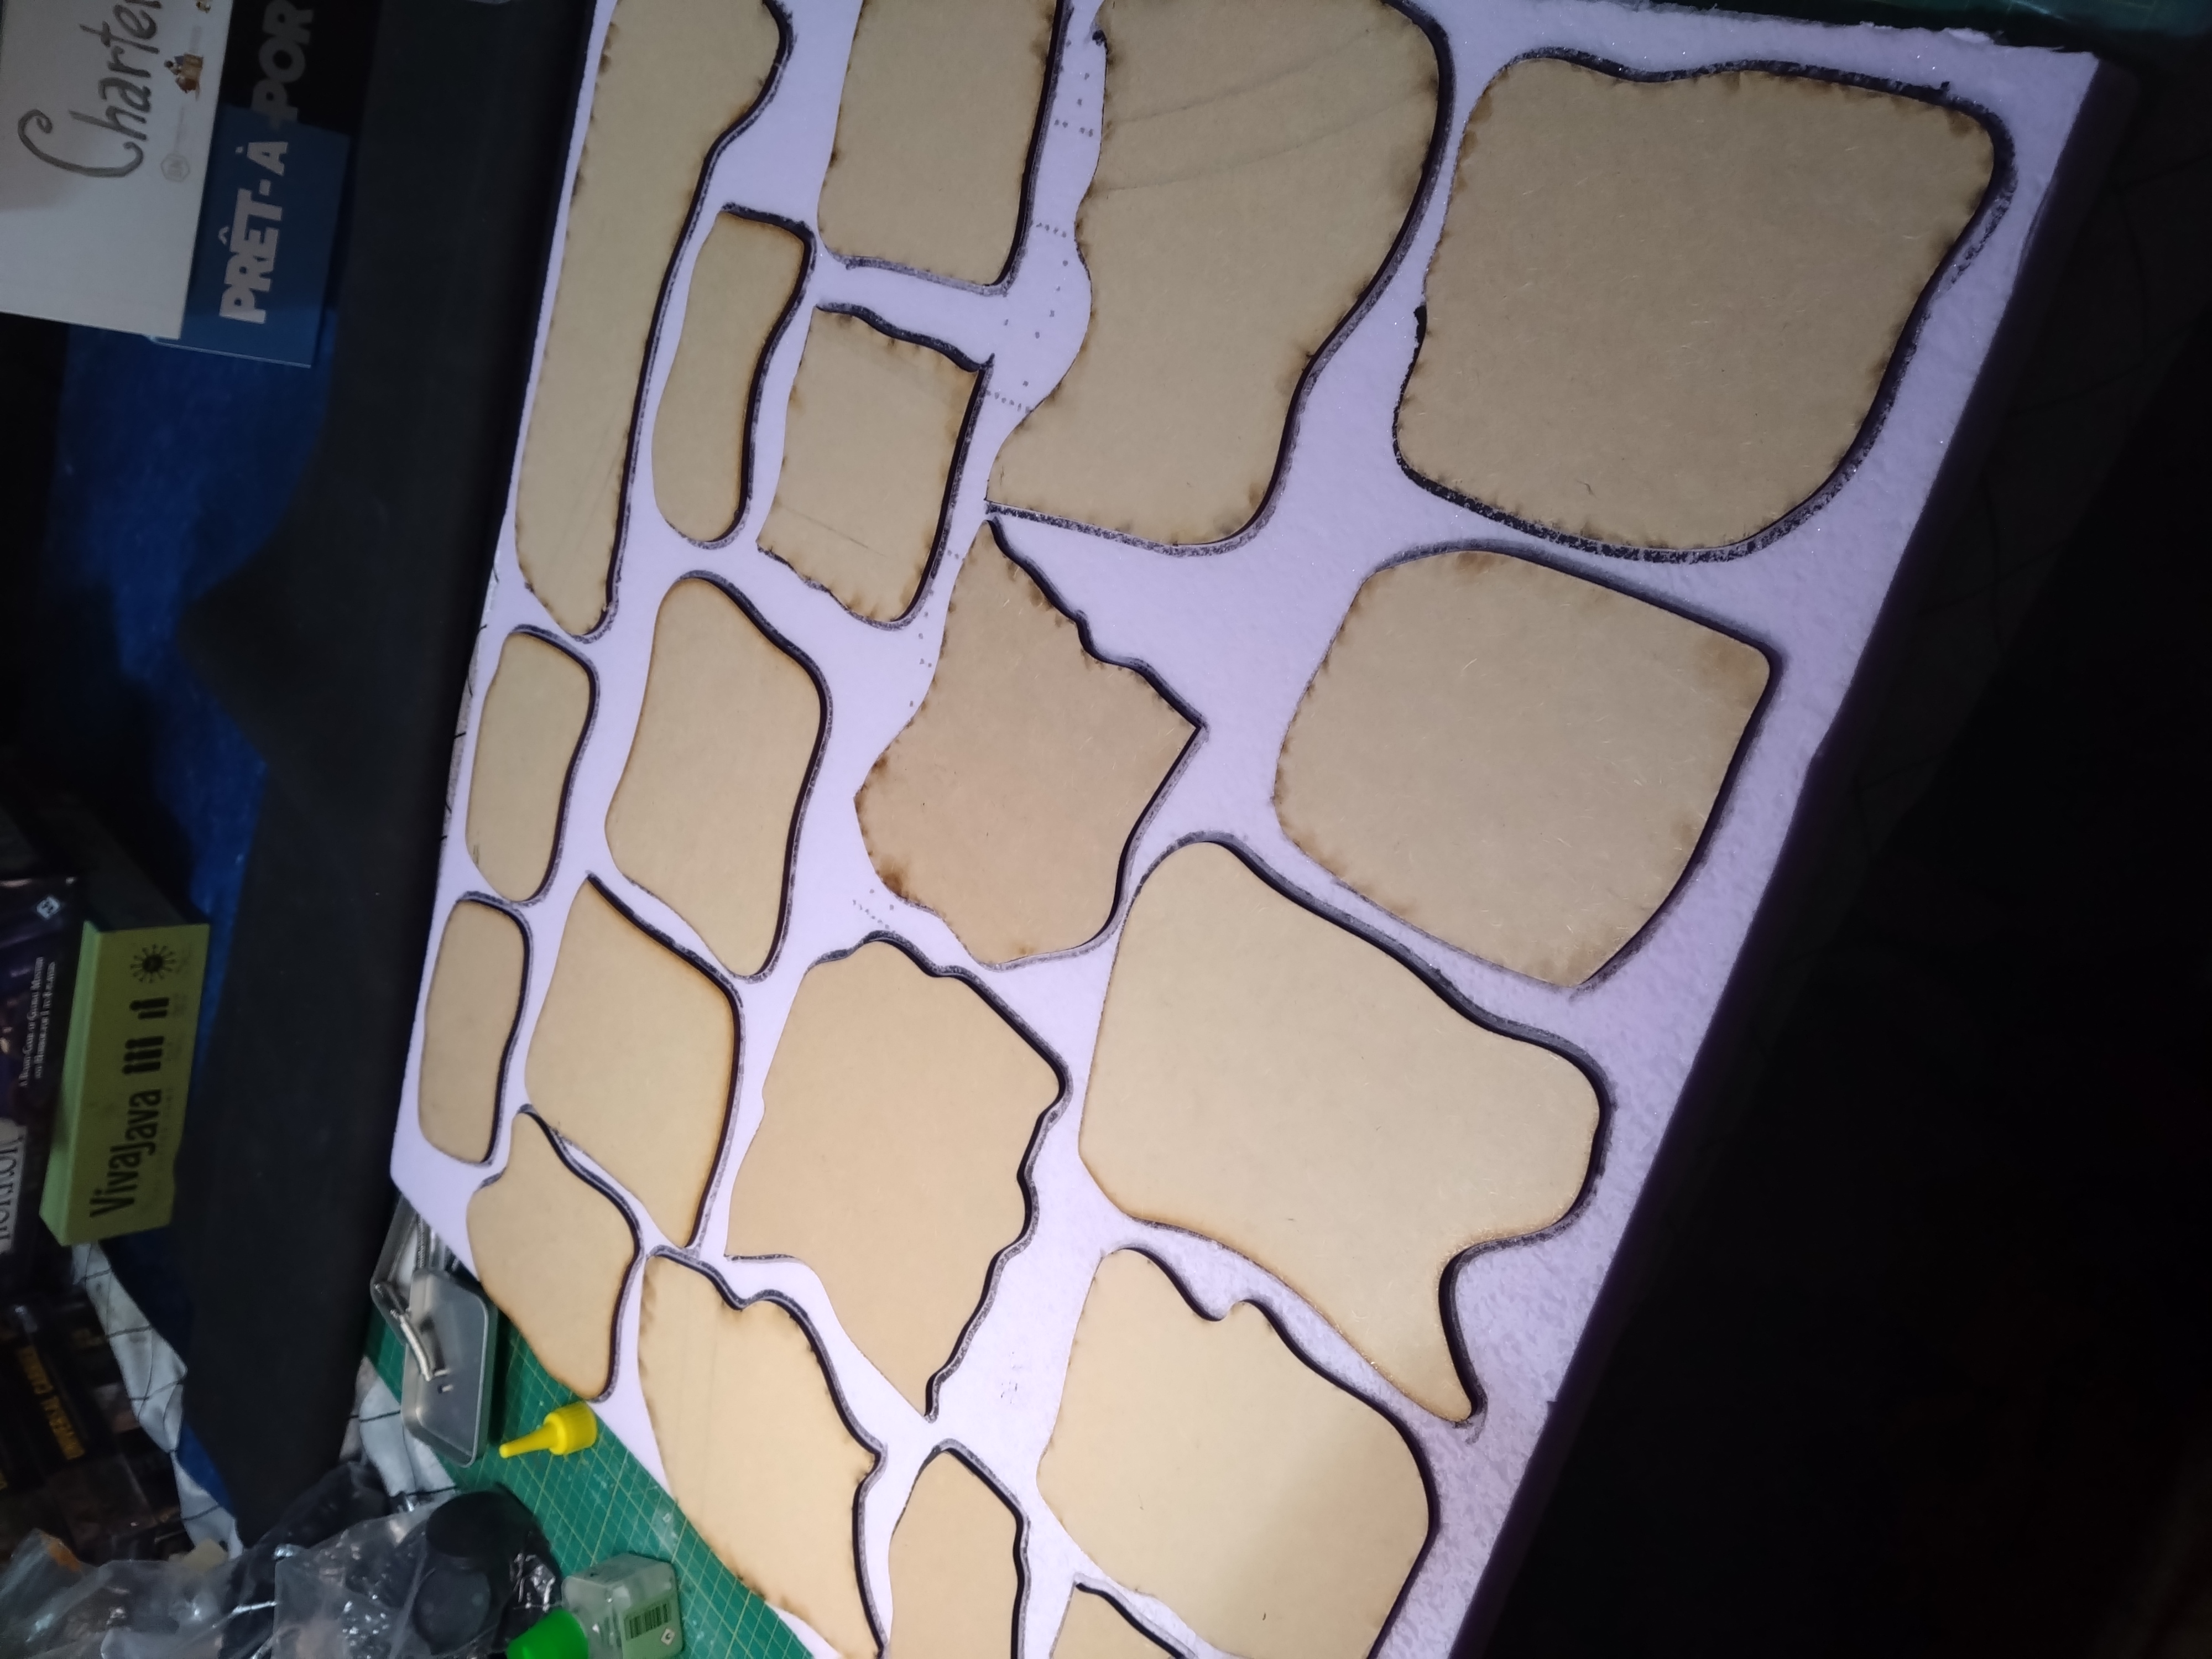
Rather than use the mdf bases themselves I used them as stencils. 30mm XPS is chunky enough to sit on its own. Once I had drawn out the shapes, obviously if you don’t have bases then freehand works just fine. Next I used a hot wire cutter to chop out the shapes. If you’re doing rocky outcrops as opposed to mounds of earth then use the opportunity with the cutter to work in some more jagged textures . Once you have cut out your shapes then I’d recommend clearing the excess away, as the next step gets messy.
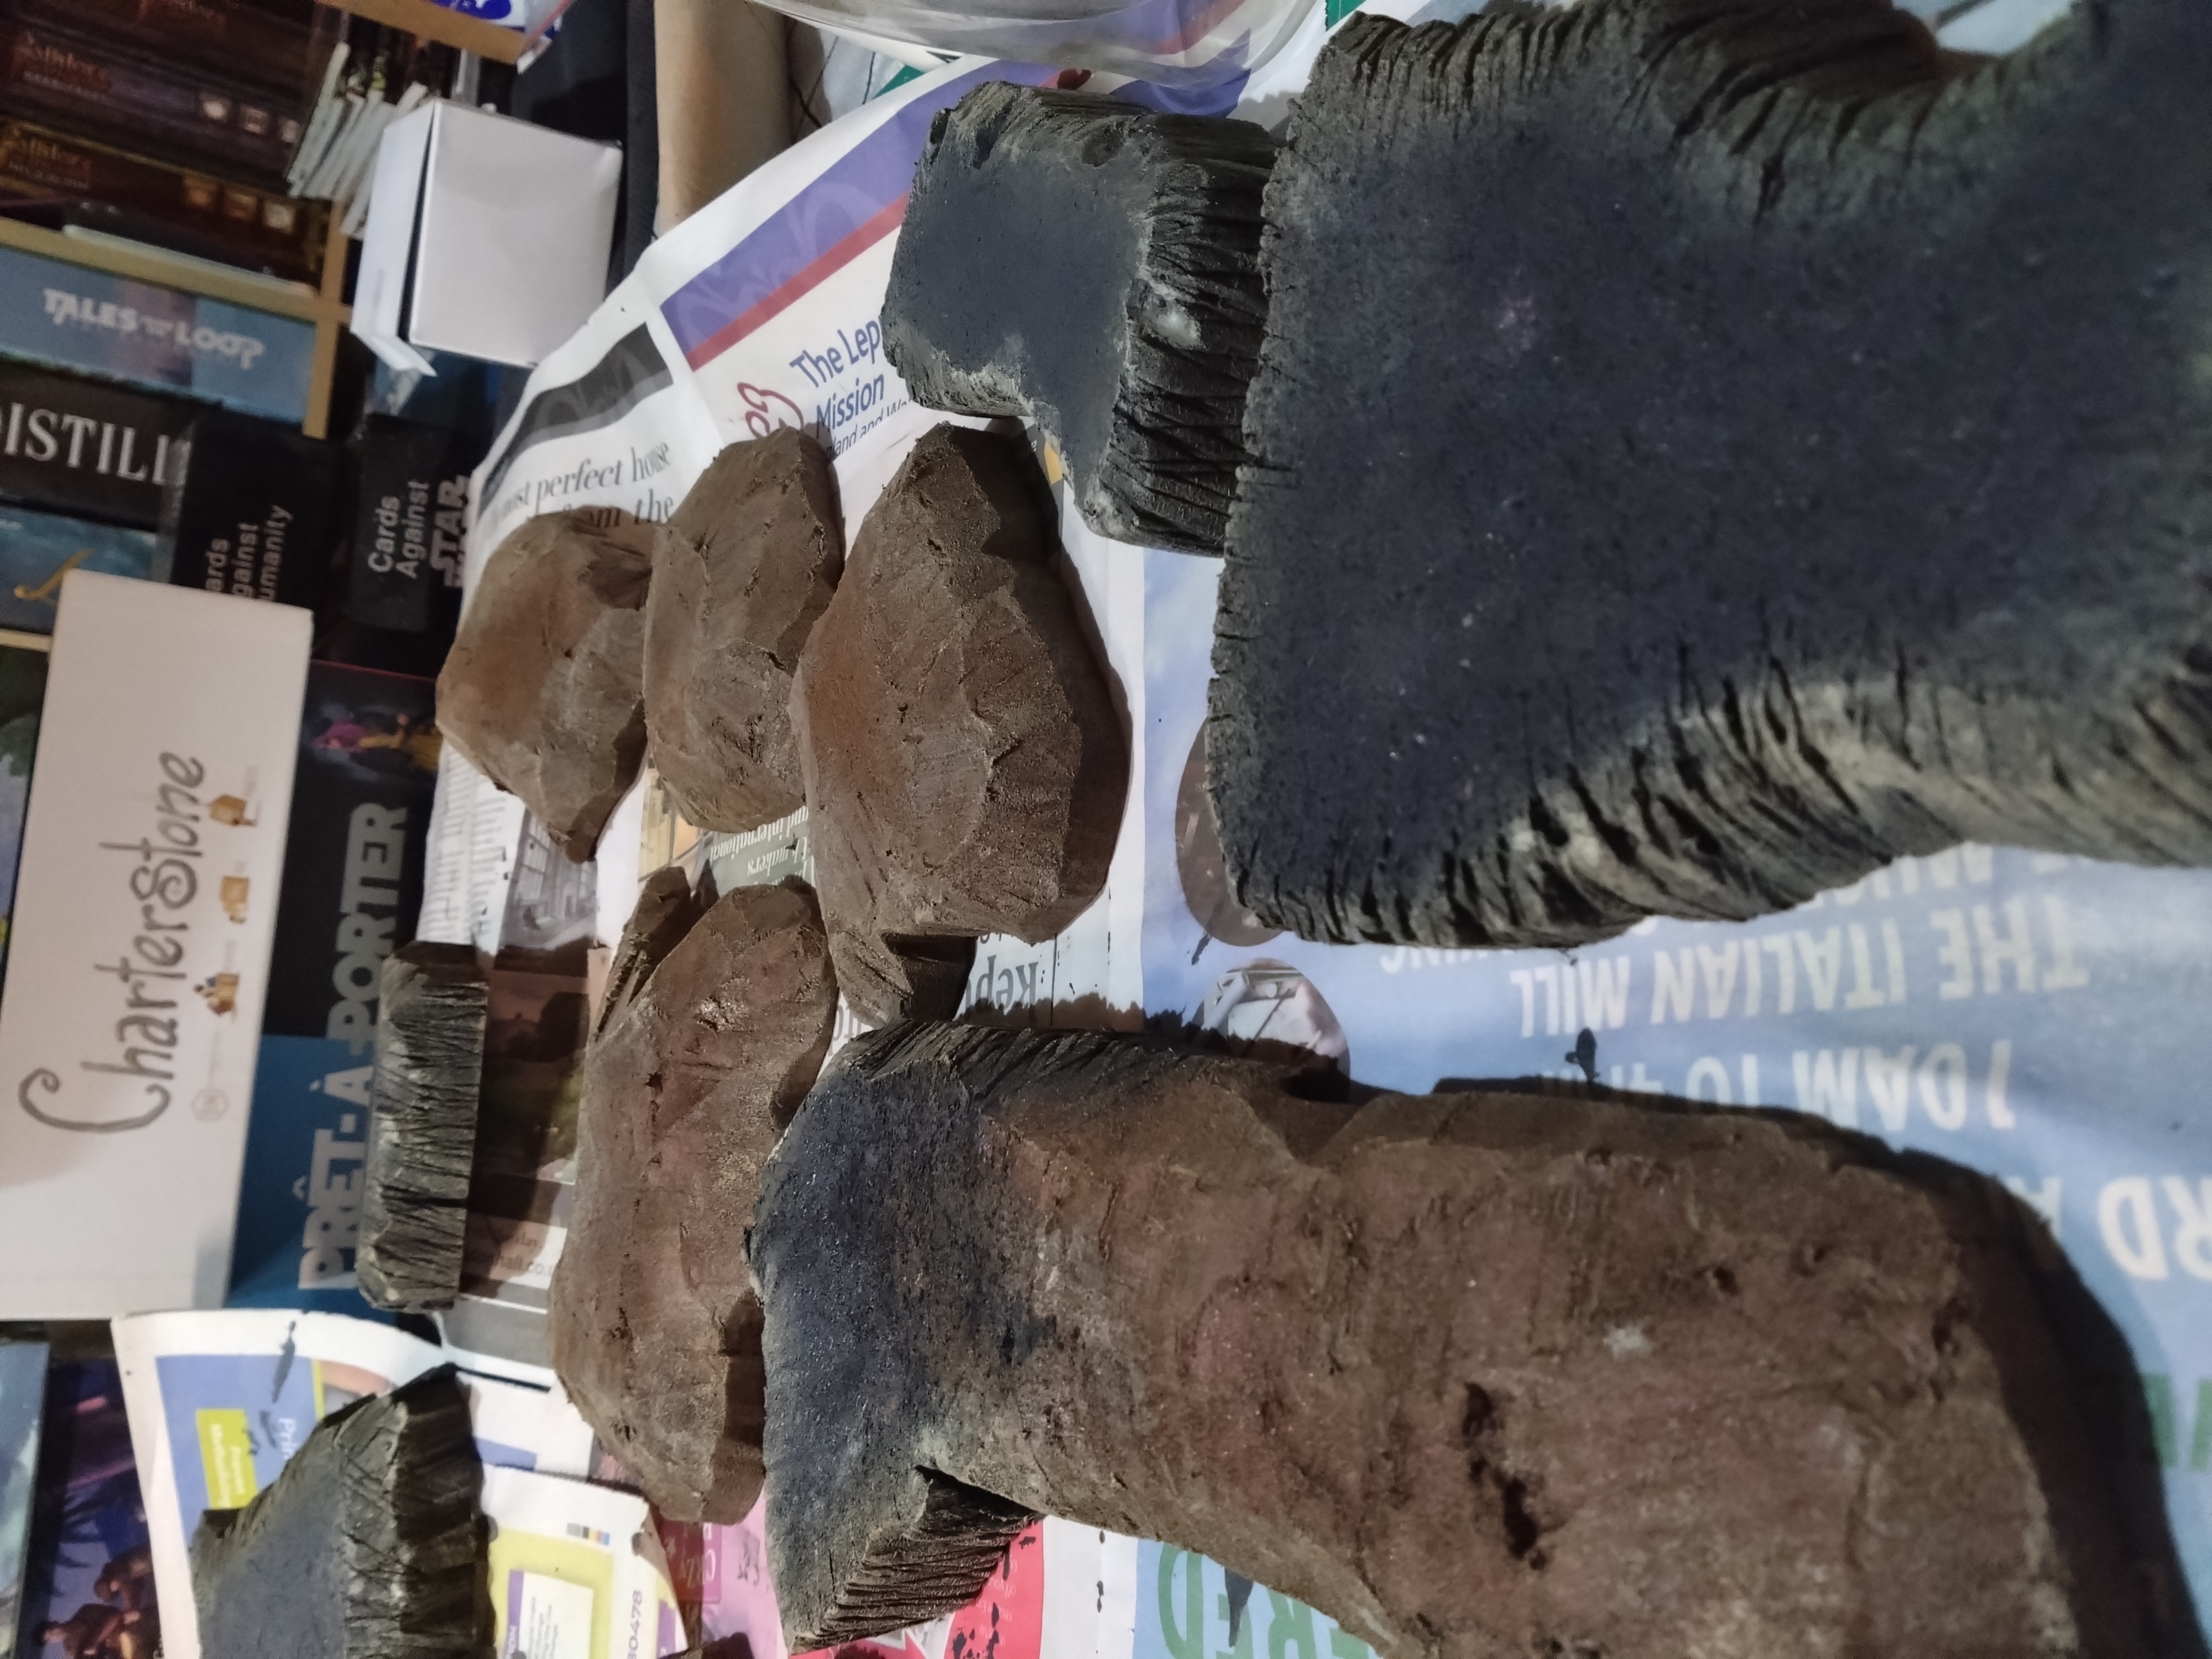
At this stage I had to make a decision on whether a piece was going to be a mound or a rockier outcrop.
For mounds, I careful smoothed the pieces down using the OLFA as a peeler almost.
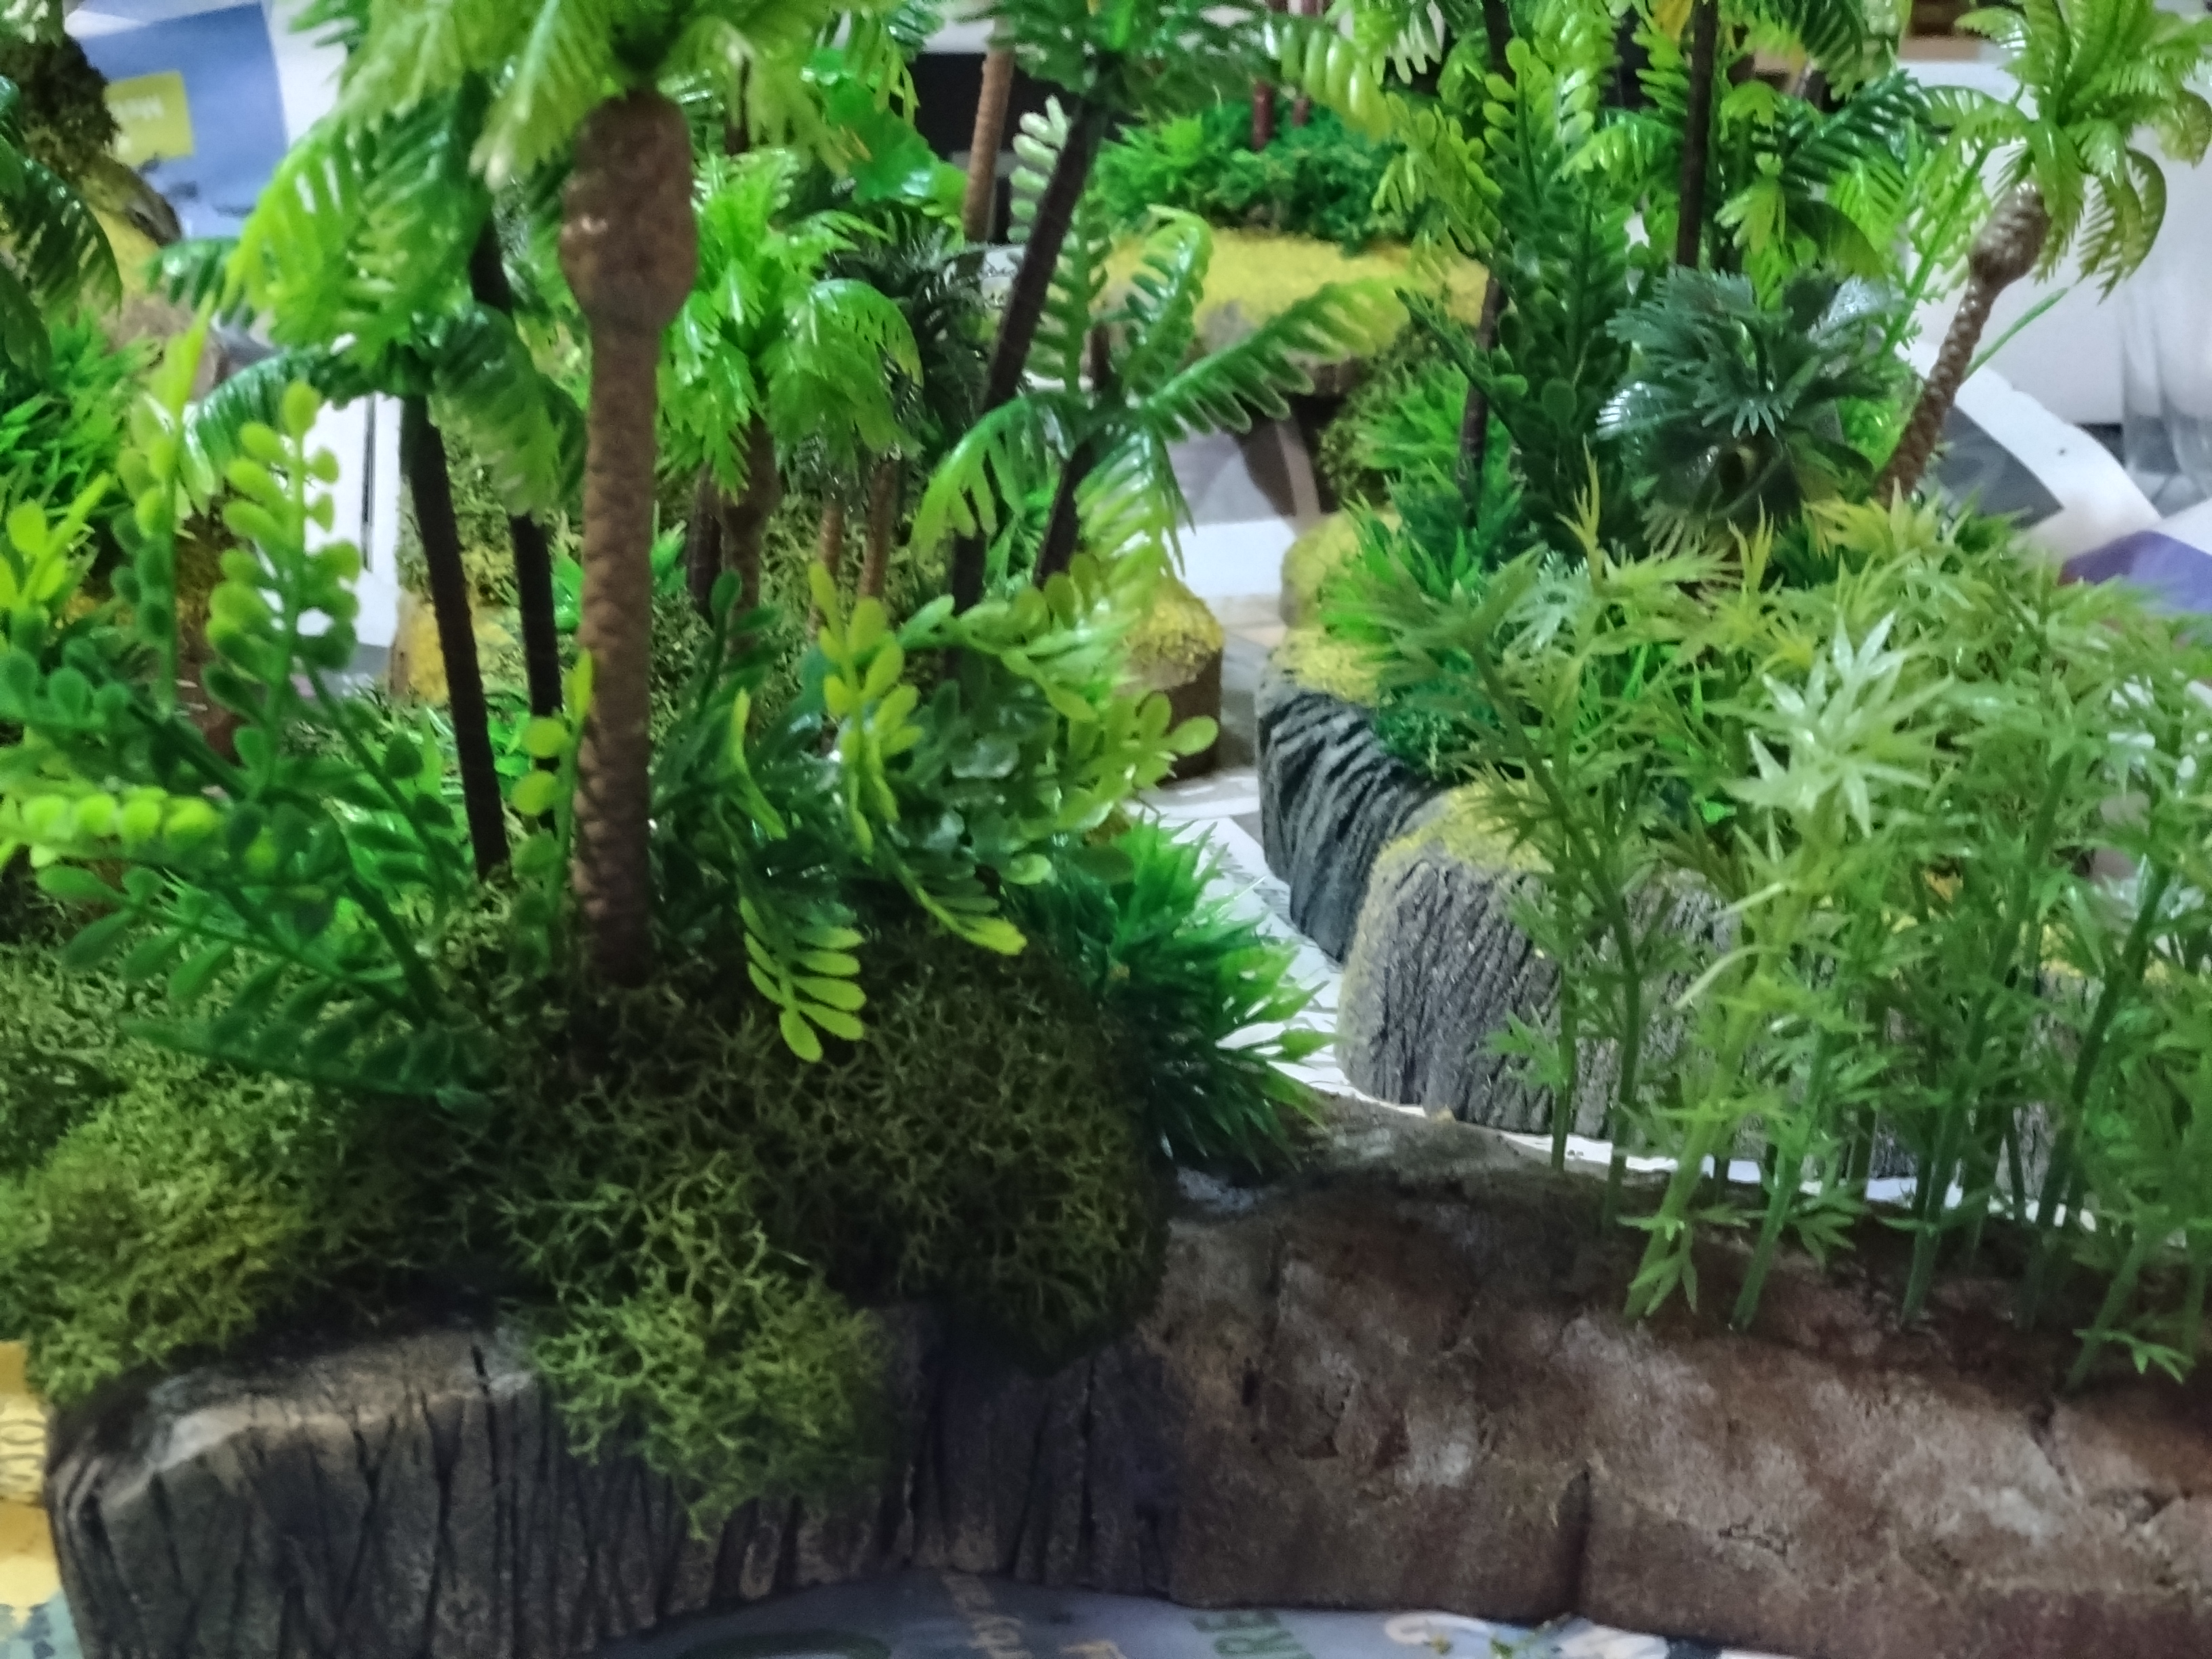
For rocks I used the same knife ,but used scoring along the sides and to round out the top a little I basically walloped the edge with the knife to create a more broken edge.
Health and Safety: Please be careful when twatting things with a big knife. You’re welcome.
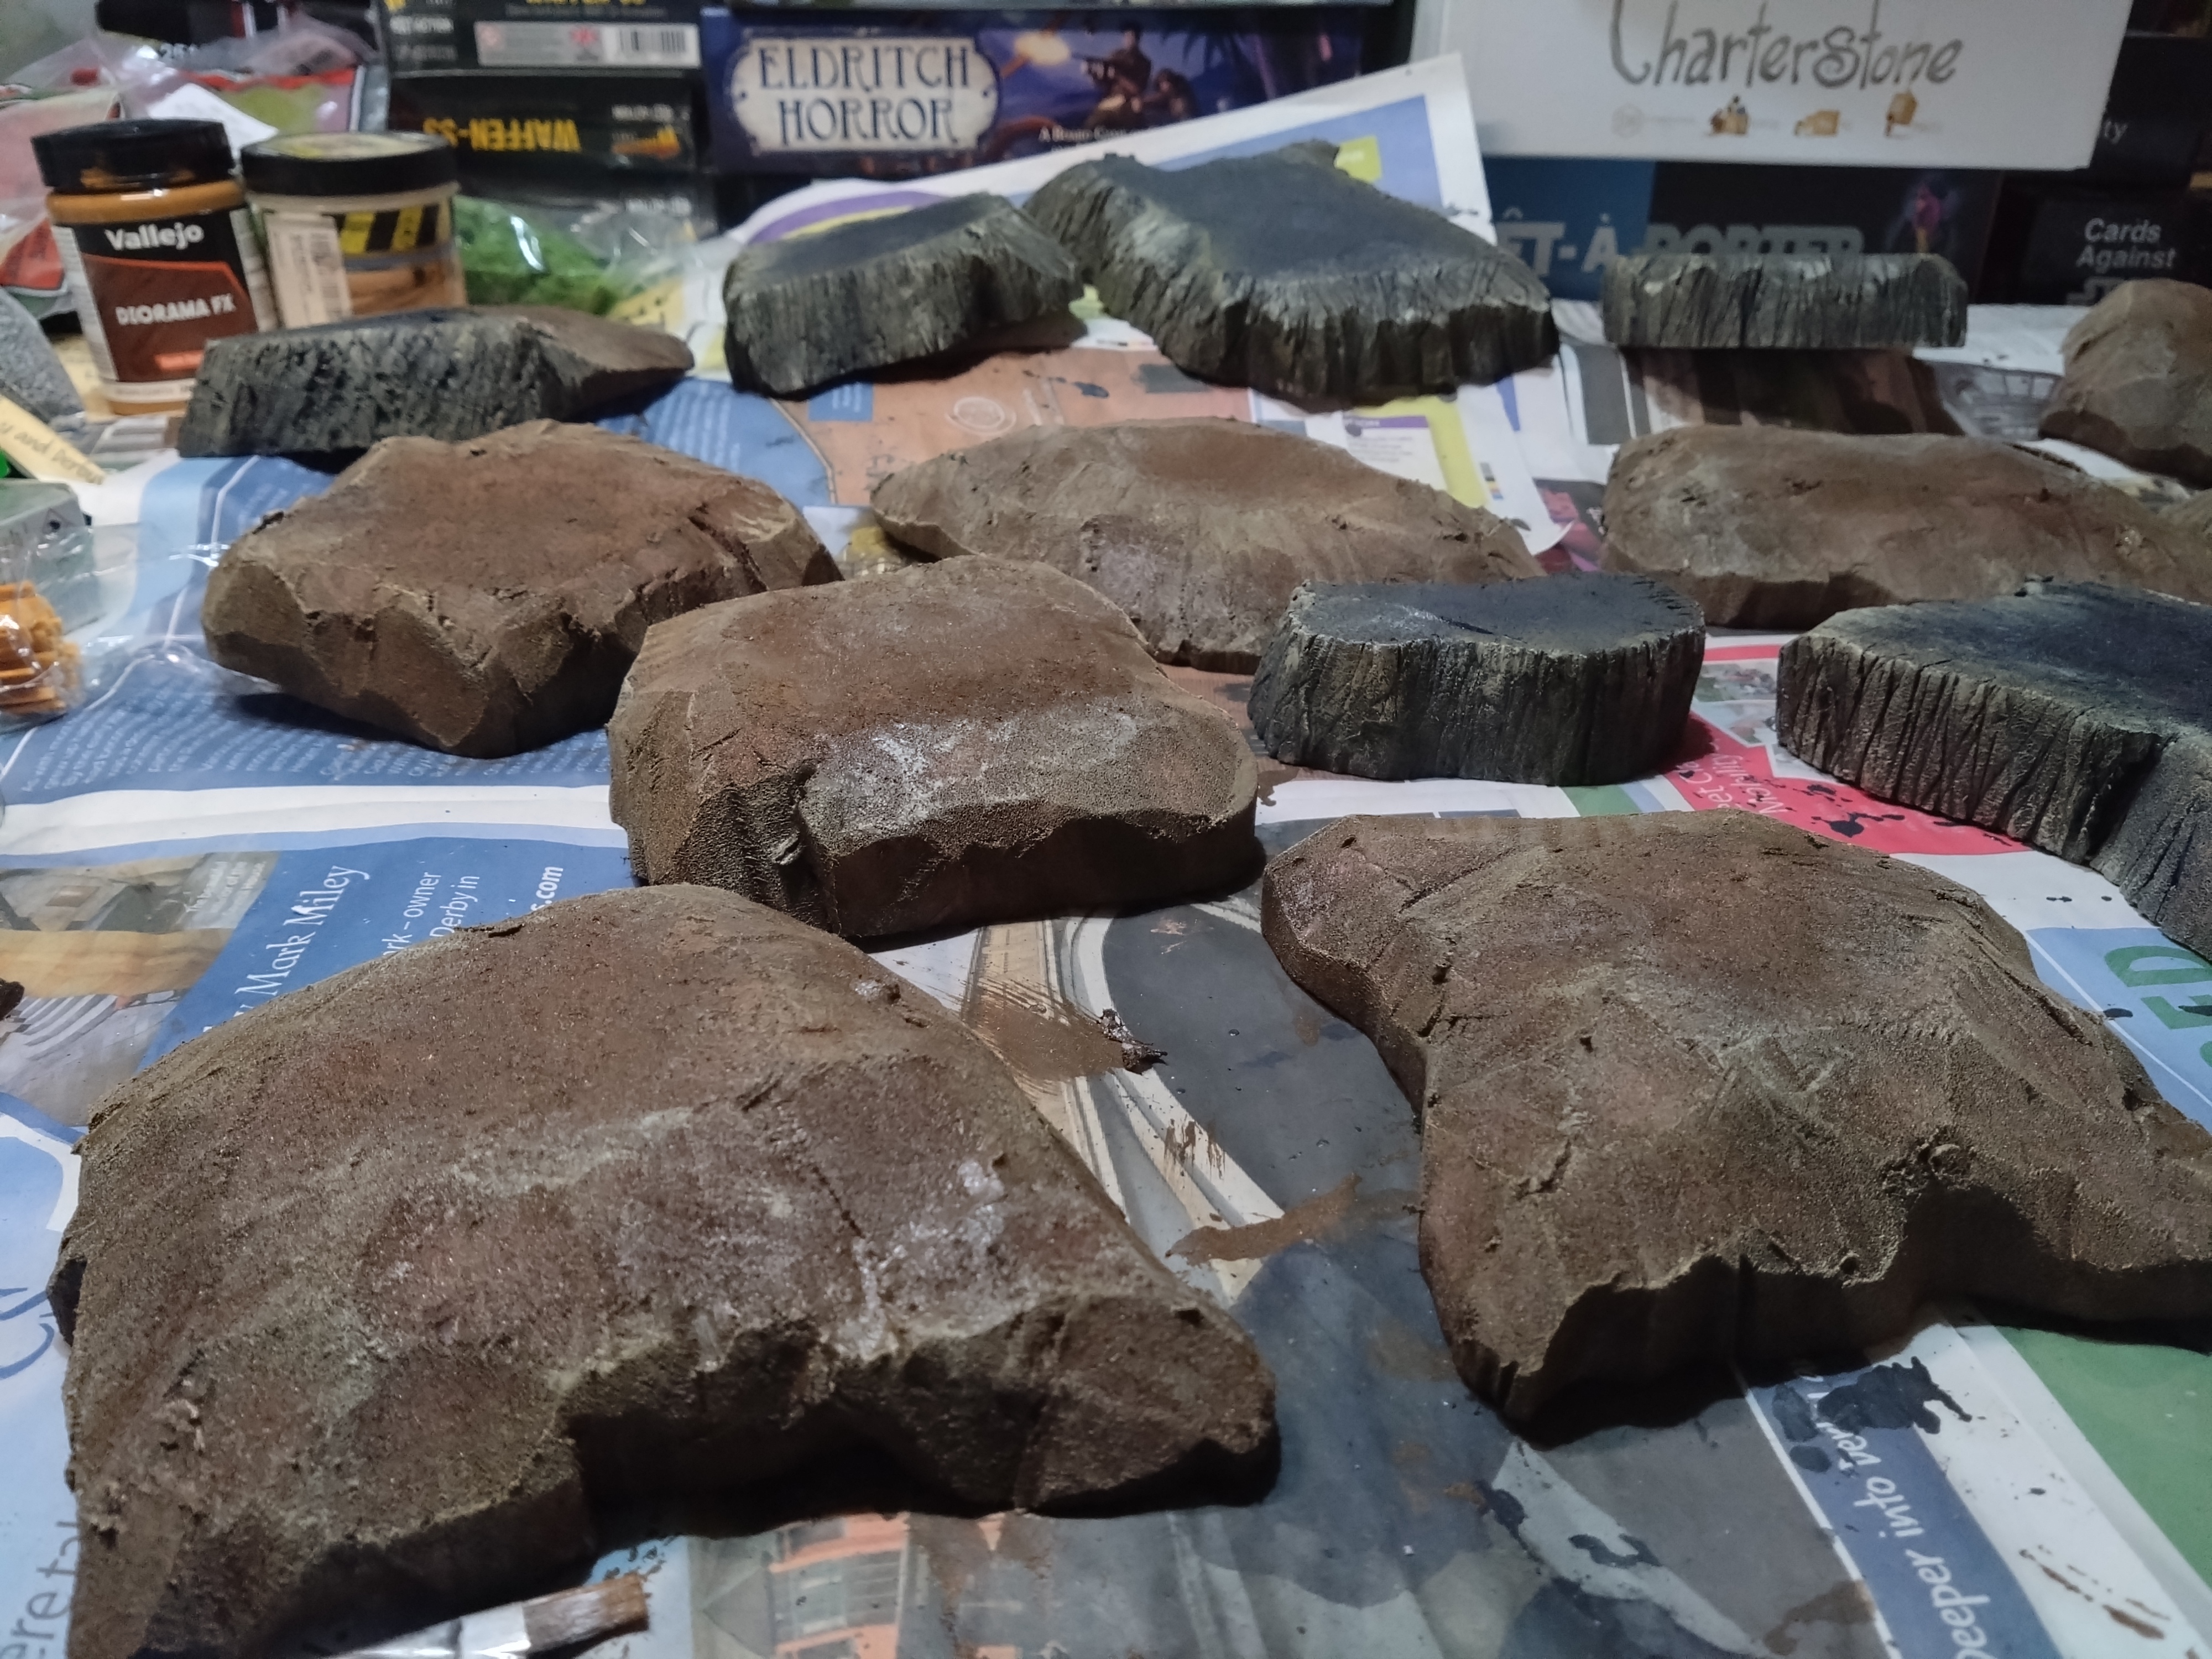
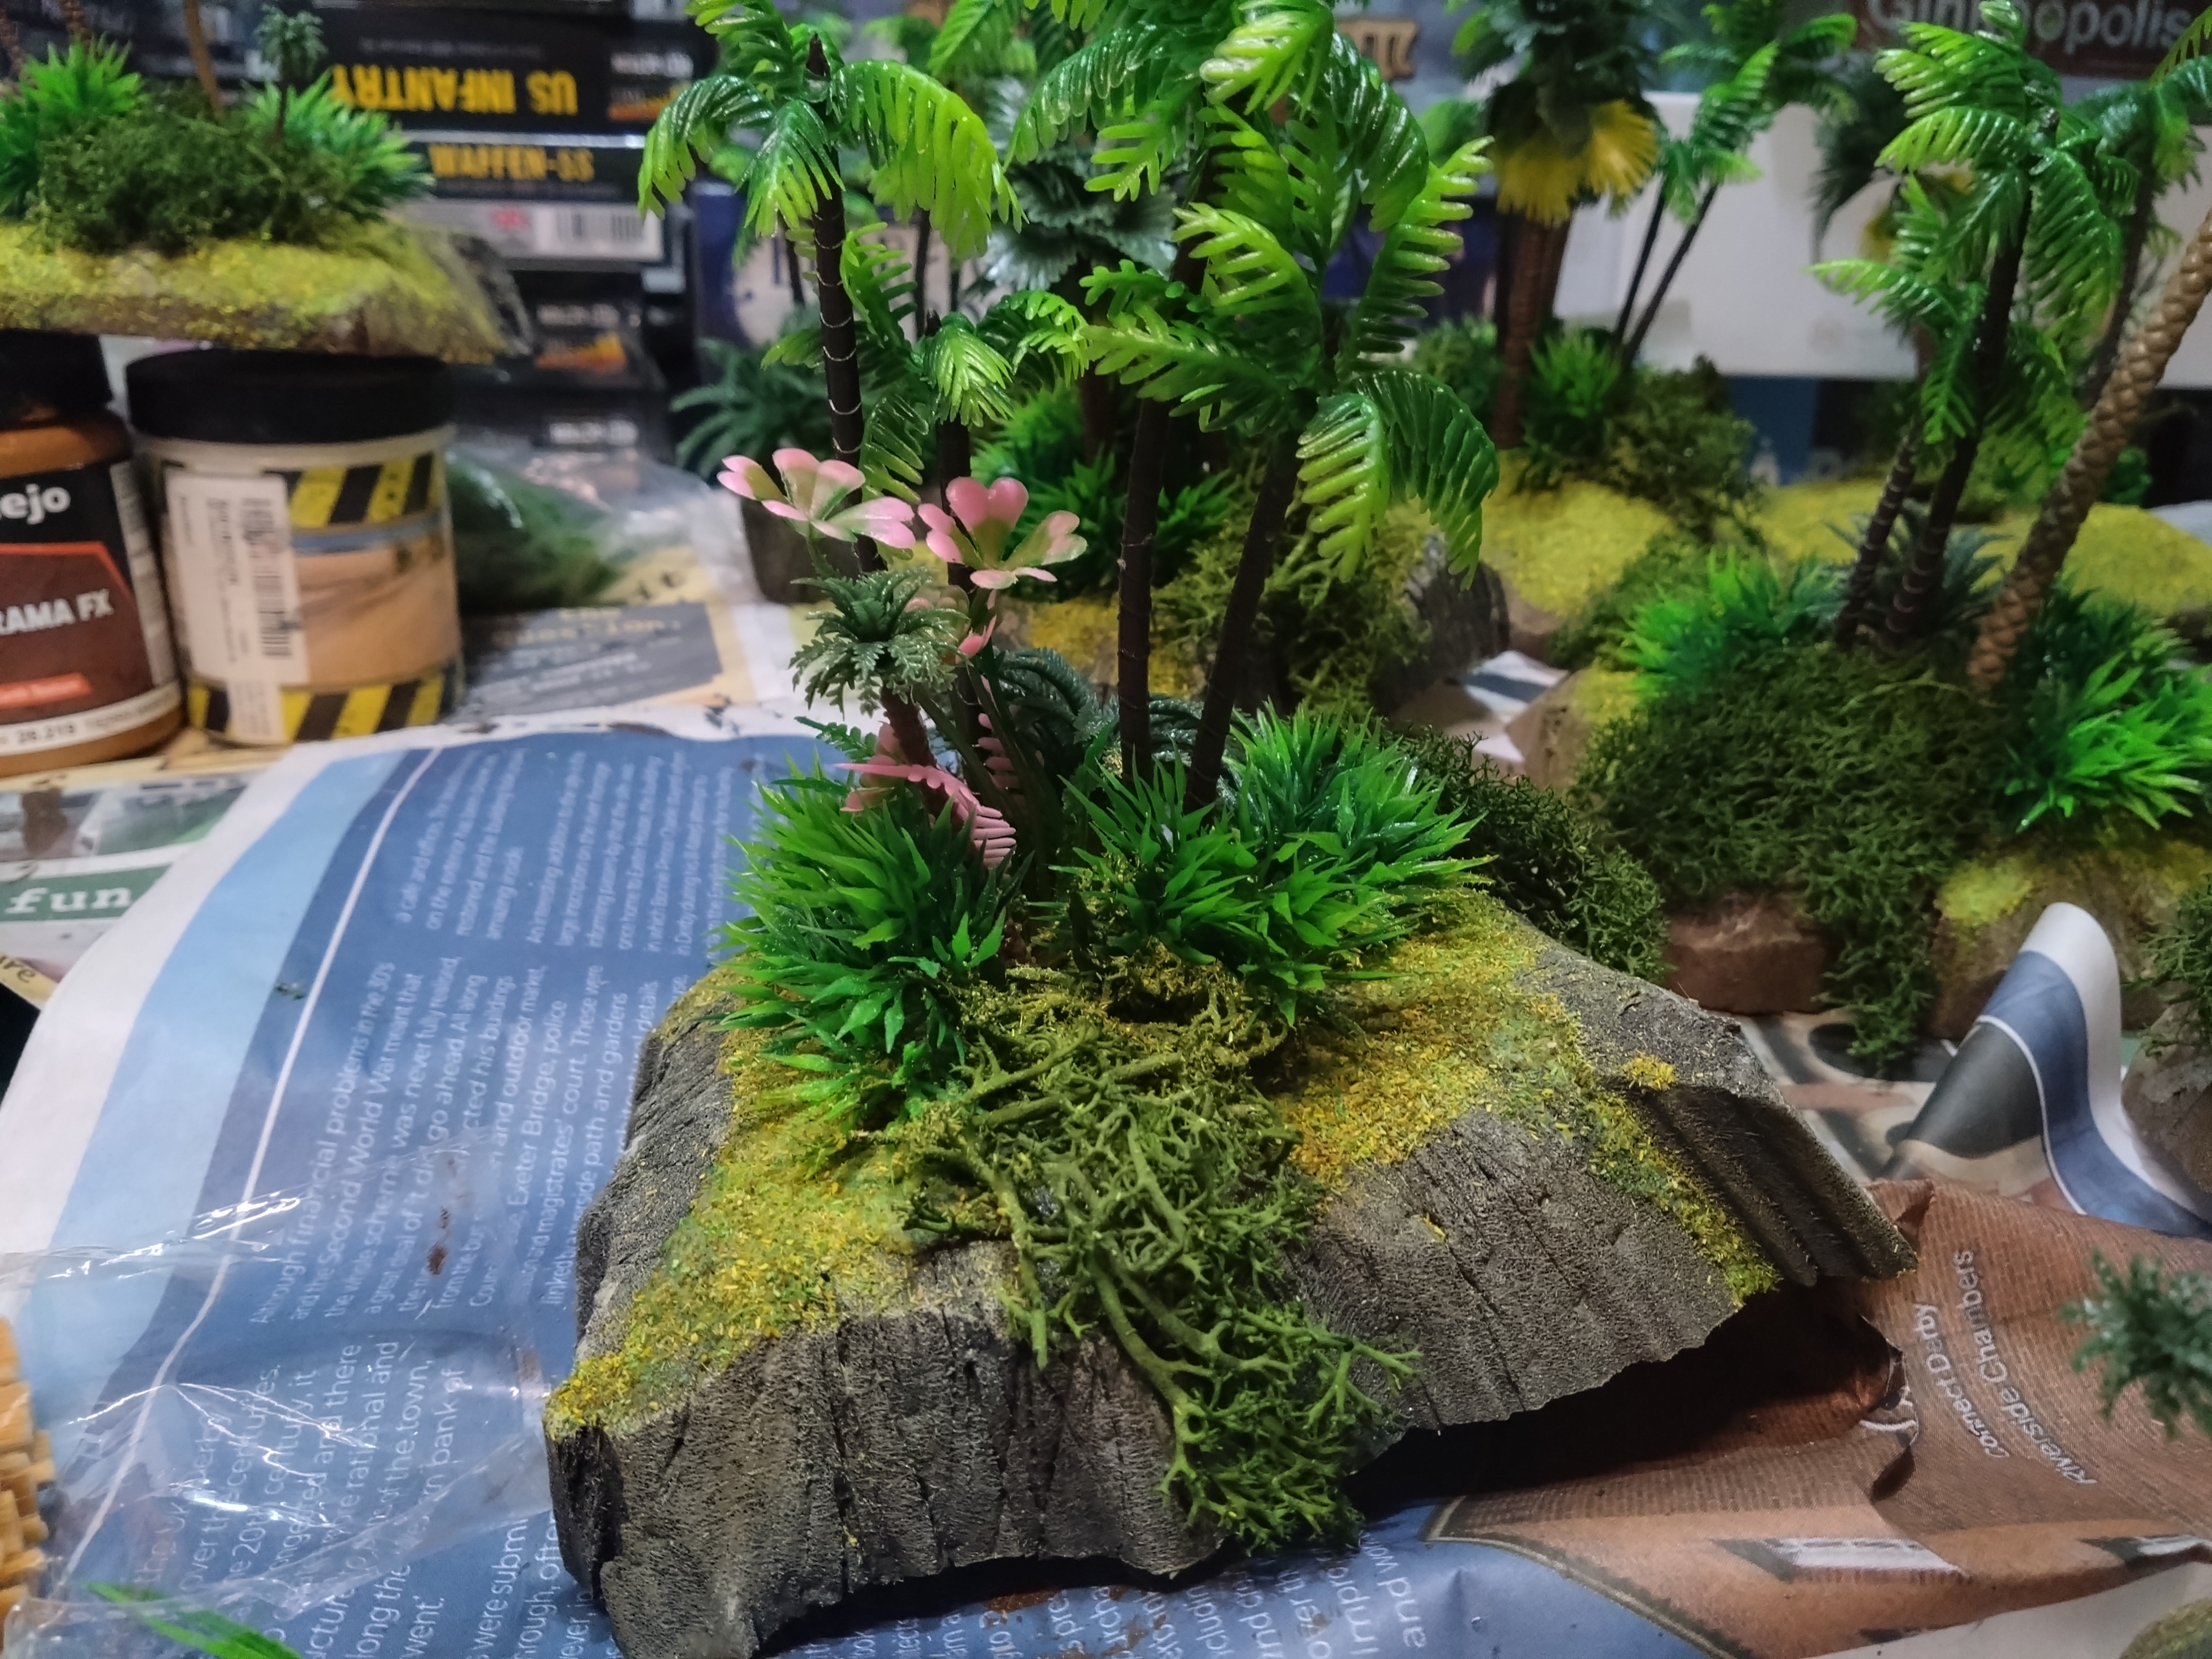
Next up, paint. I used grey on the outcrops, and a mixture of a light mud texture paint (AK or Vallejo) and dark brown cheap acrylic paint. This is a good time to consider the colour of the mats and tables you plan to play these pieces on, if you can get the colours pretty similar then it will fool your eyes and bring the table together better.
Mixed into the paint was some PVA glue, this is gives a more protective layer and if for any reason you want to have at your creation with a rattlecan further down the line.
I then did a little drybrush over the top. You can really go to town at this point with textures and brushes. I might do a separate chapter on a deluxe model, if there’s interest.
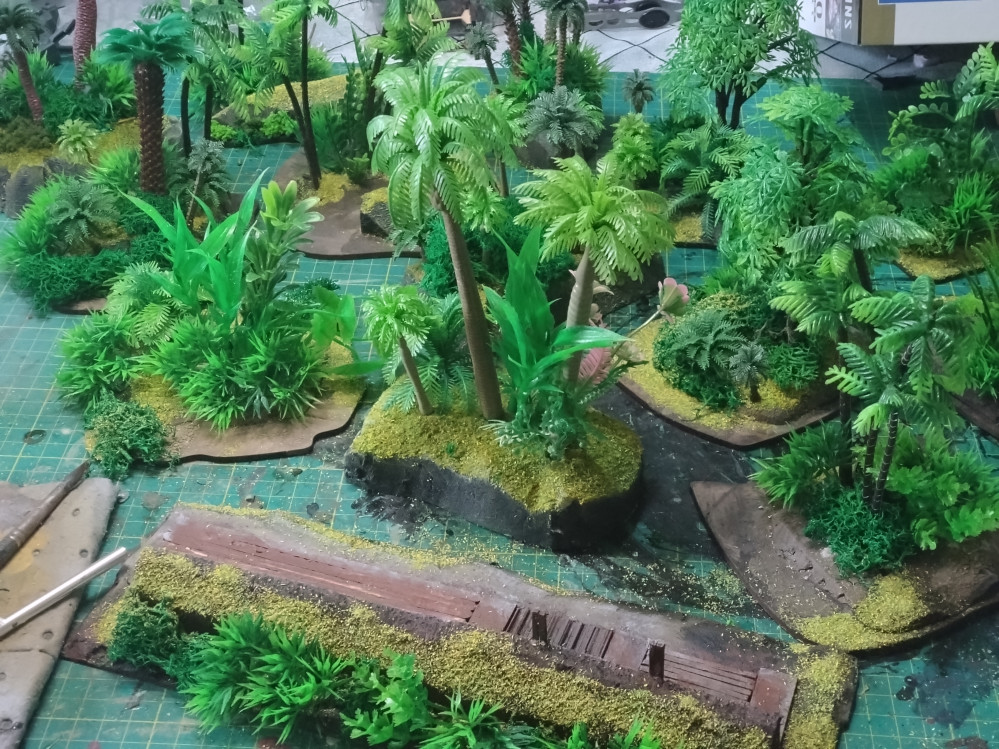
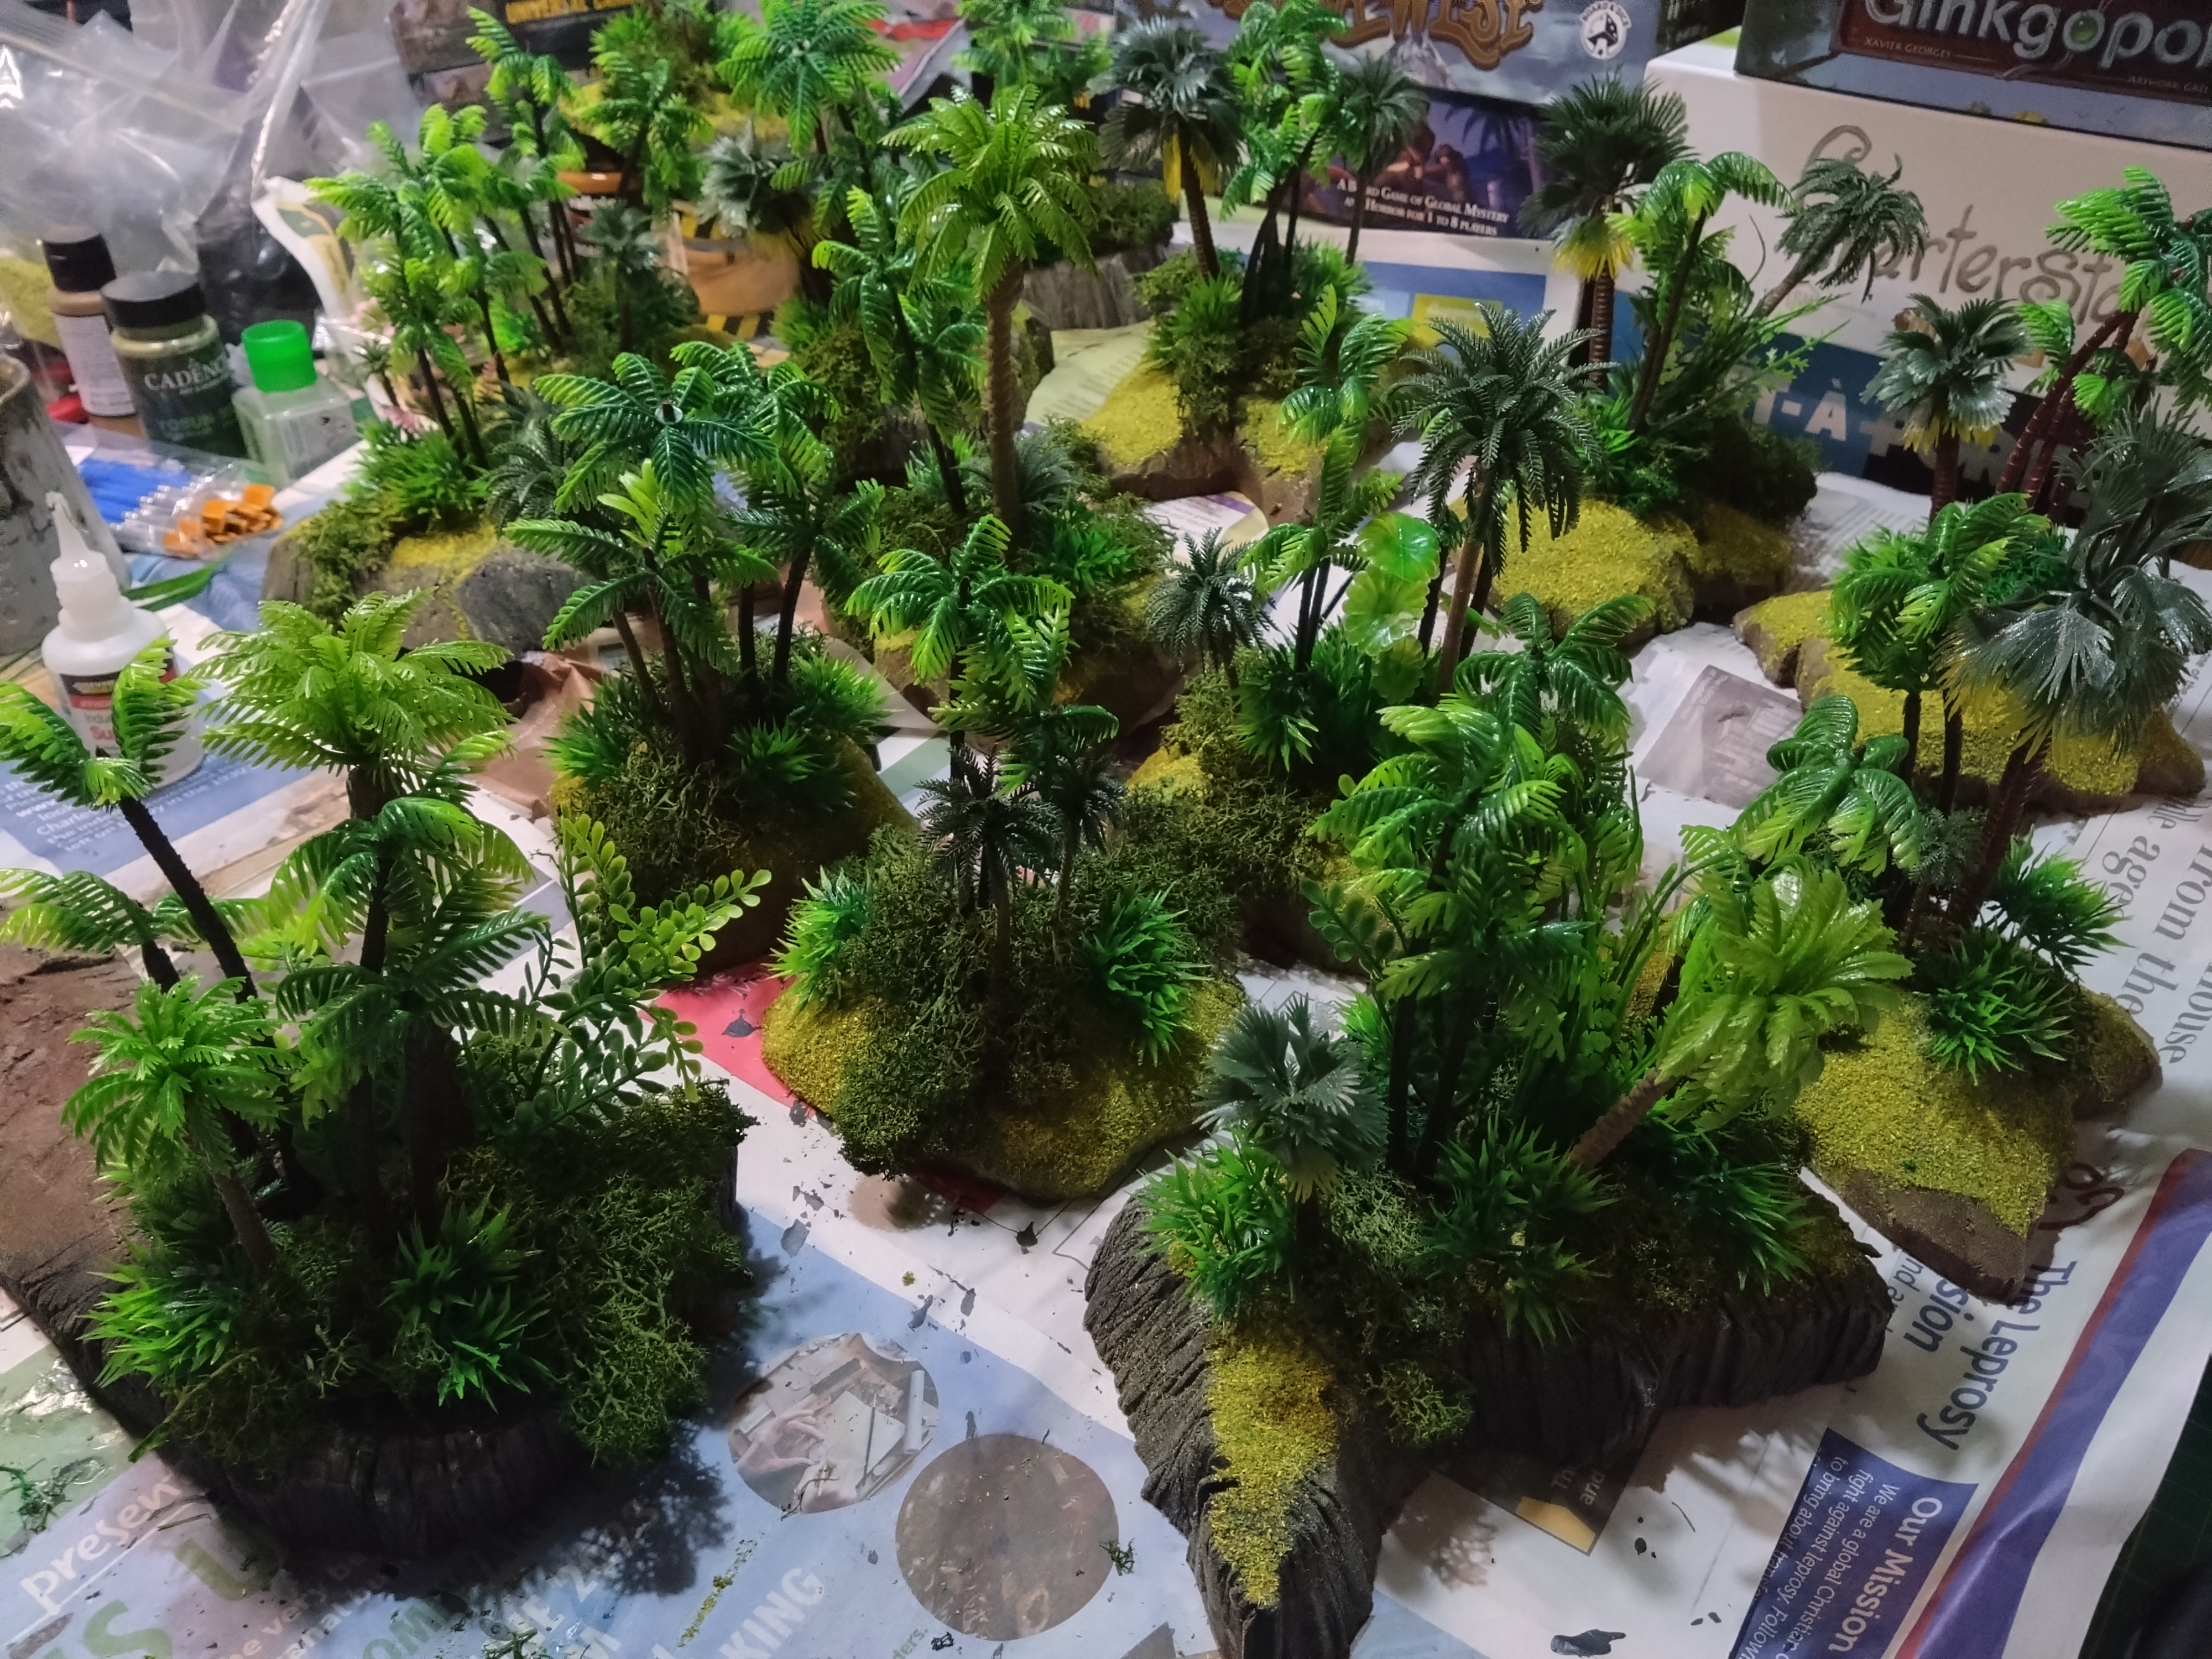
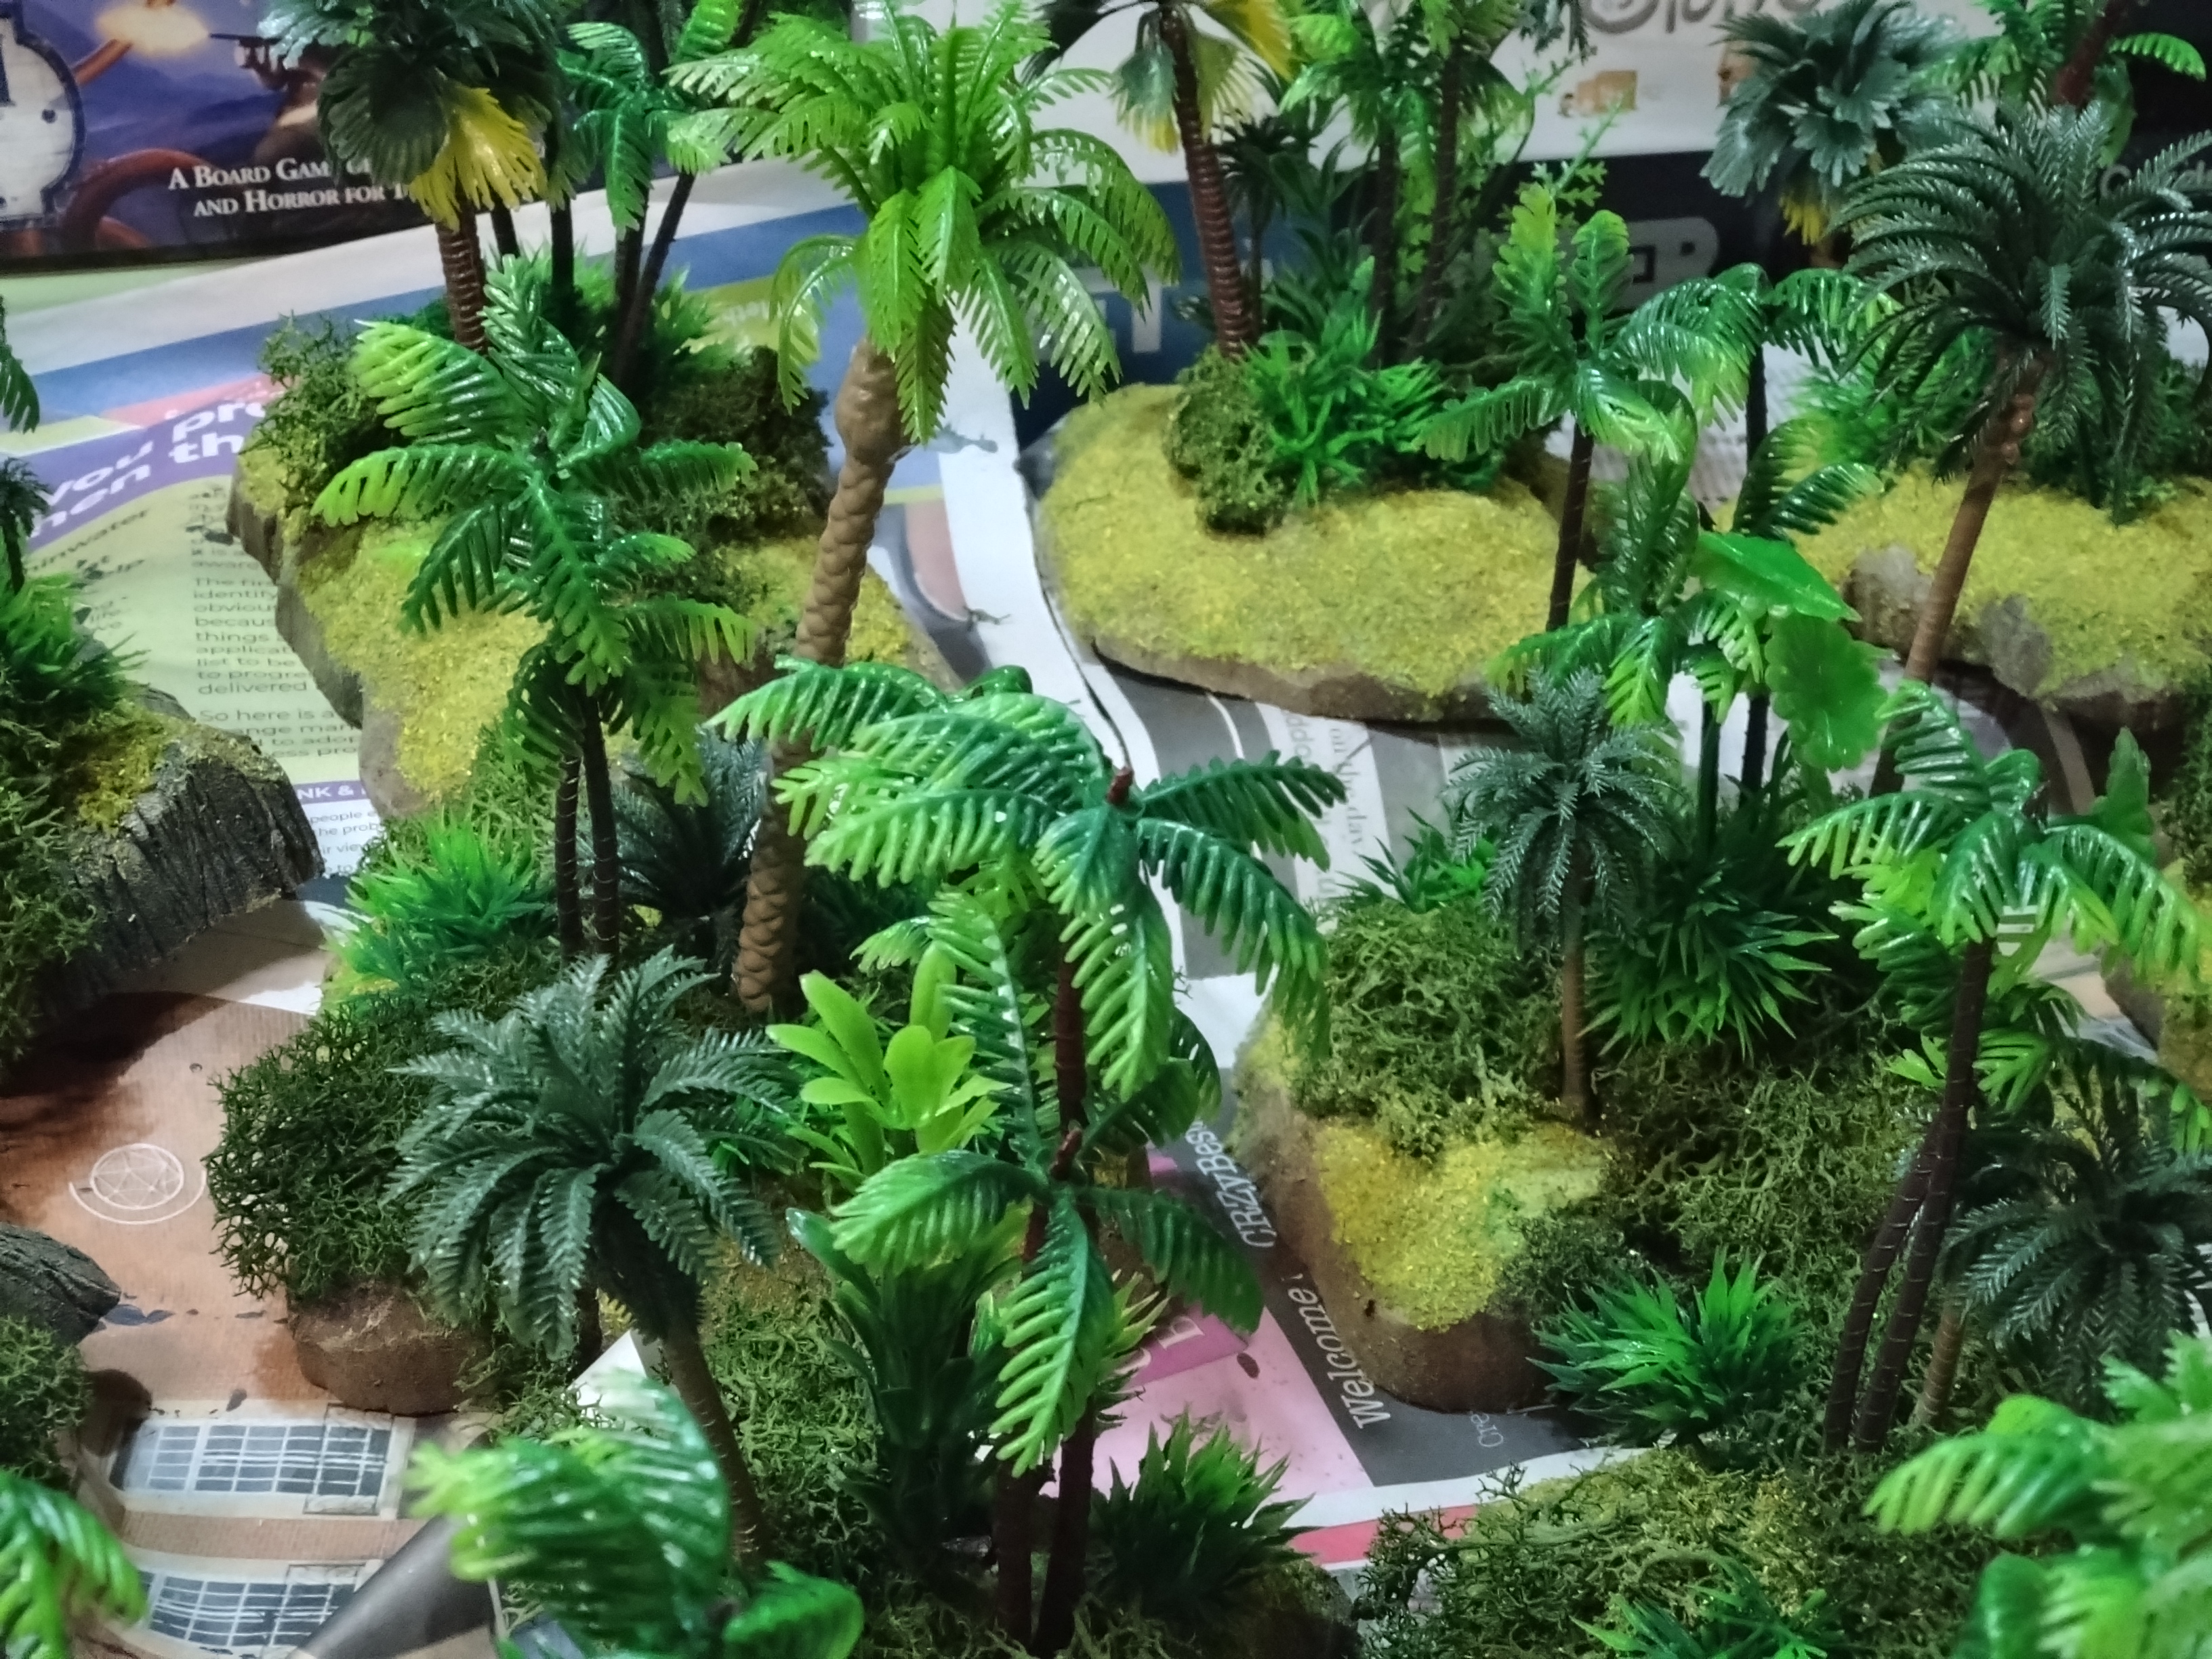
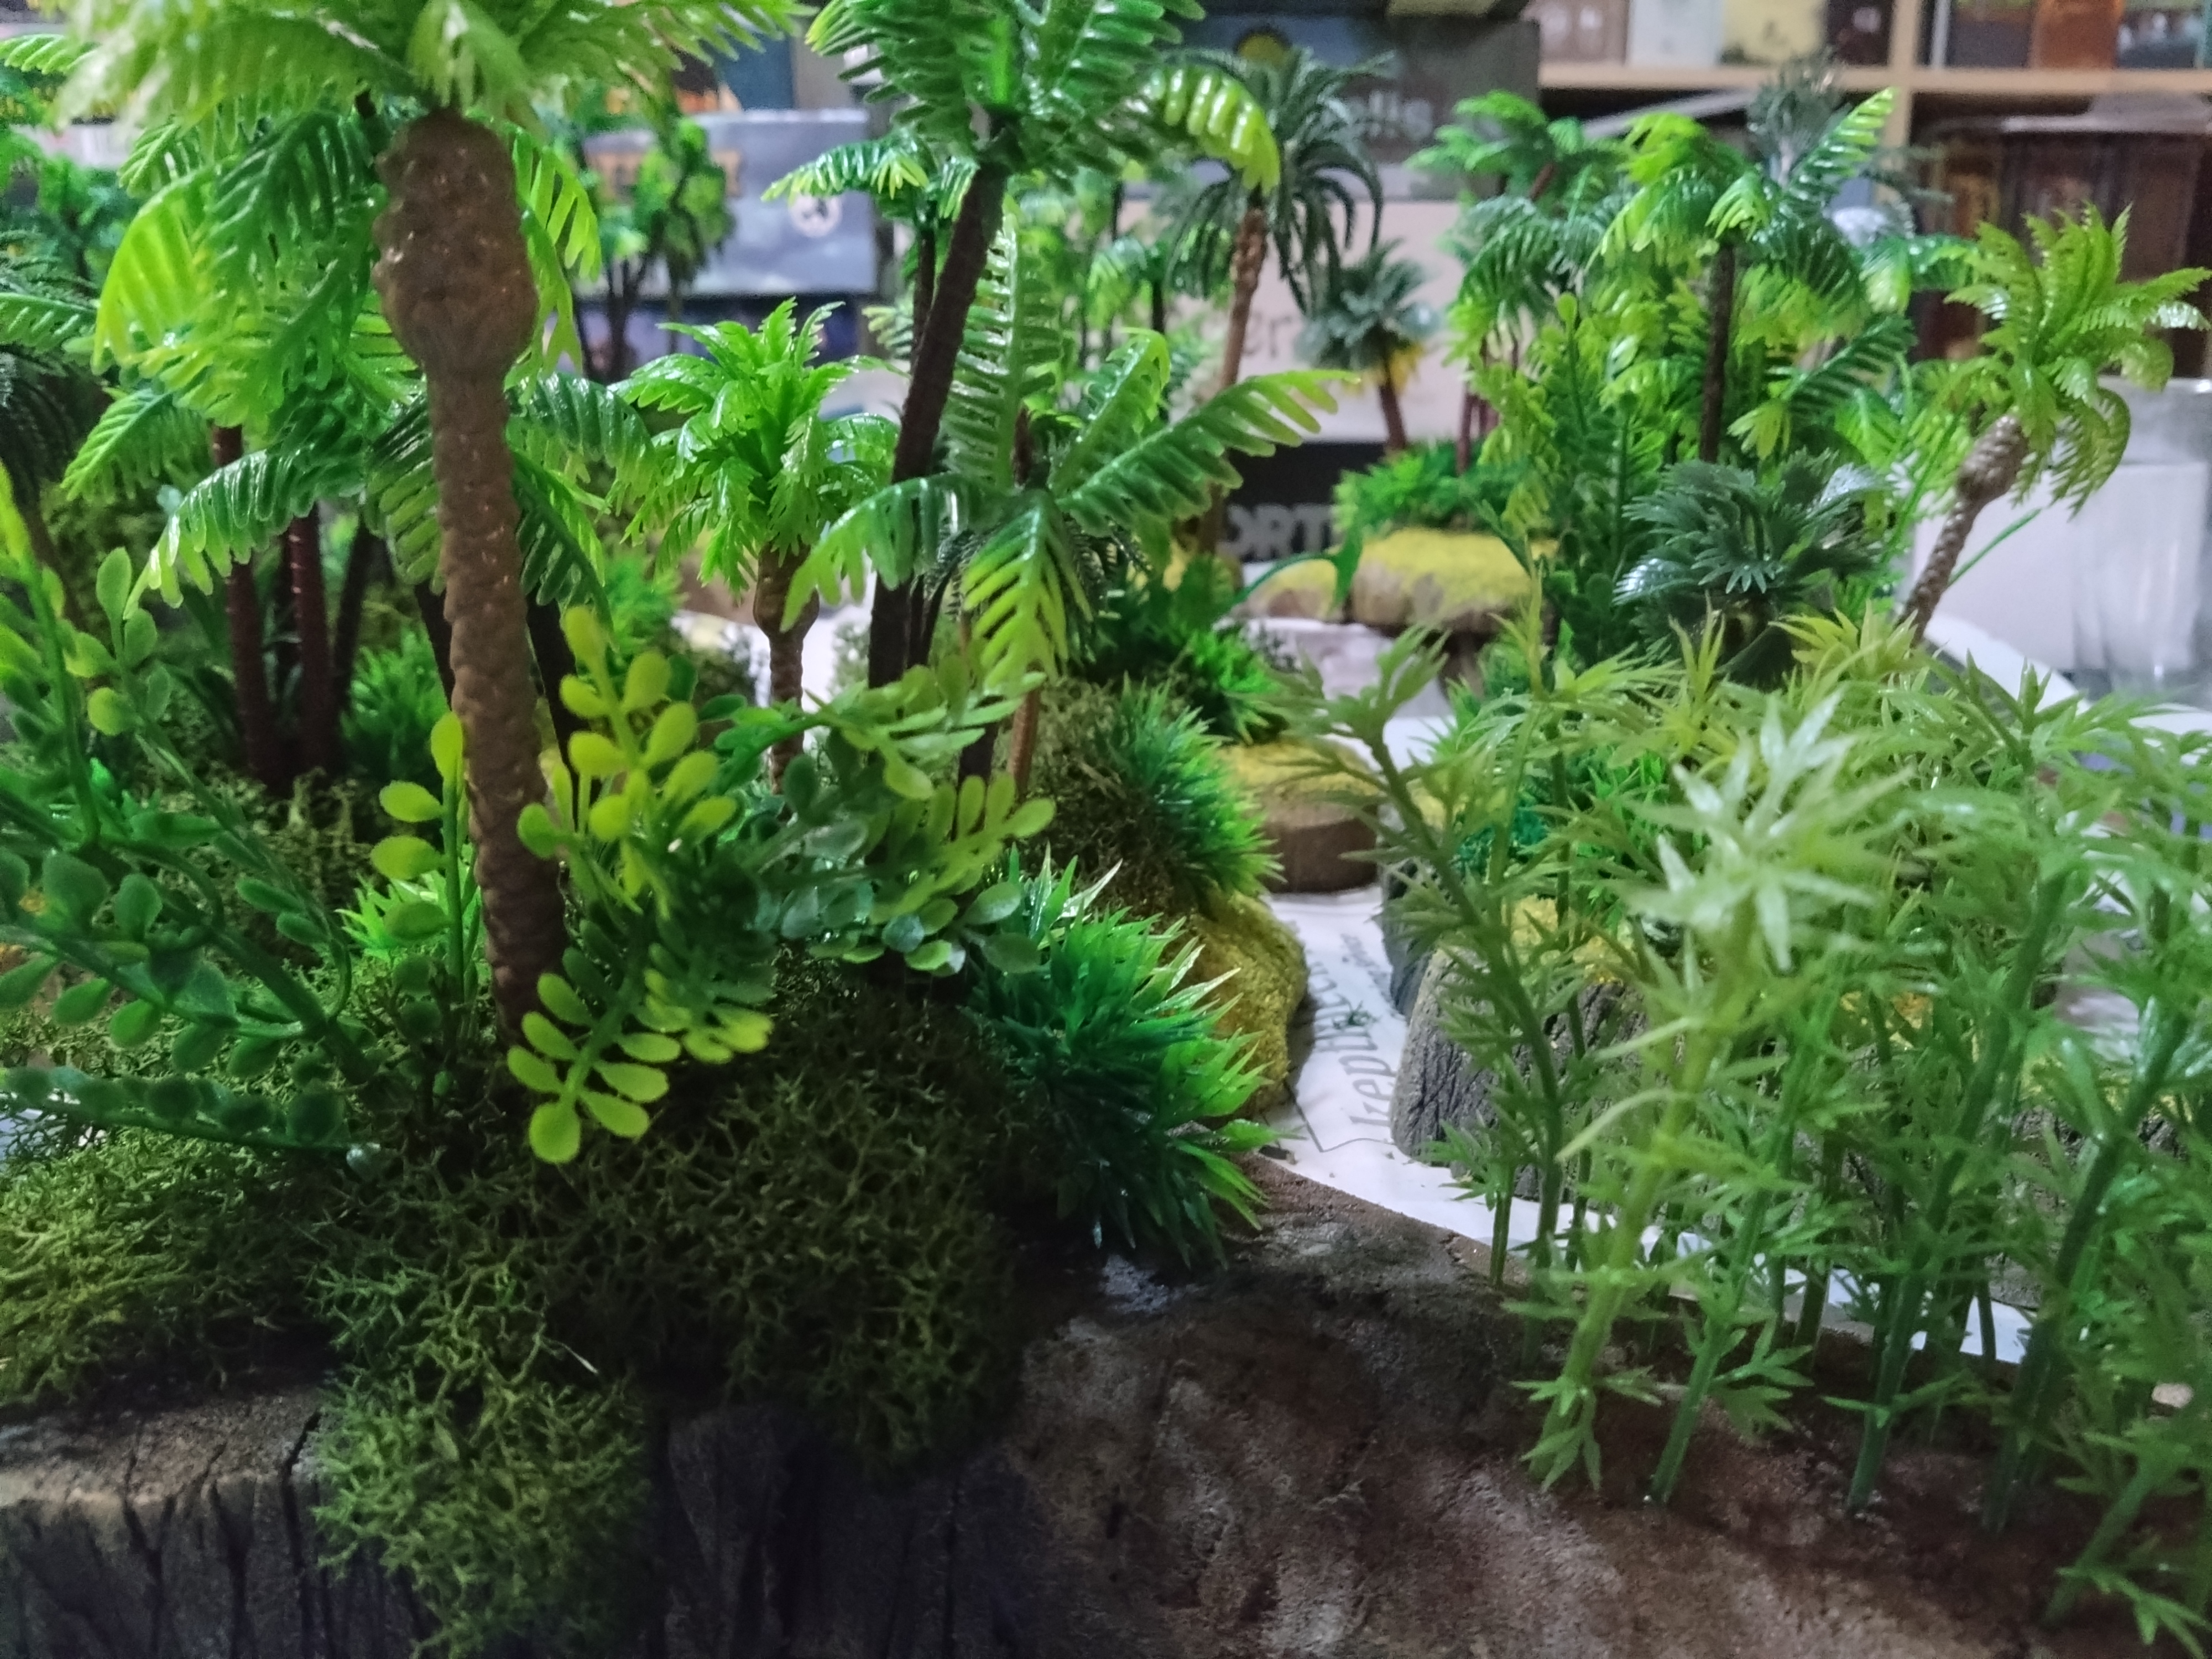
I hadn’t taken any pictures of building the pieces up from here as it’s a quick process. Firstly I super glued and used a bit of green stuff to attach the palm trees. Next I take the aquarium grass and attach it with some green stuff, the grass is the small spike bushes, next I add any other aquarium plants, the bases tend to look crappy on these so I will hide them in the middle of the palm tree. Then finally I glue on the reindeer moss, this covers a lot of sins, don’t be afraid to rip this stuff up to get the shape you need. Hobby shops tend to charge a lot for this stuff, you can pick up cheap bags but your colour choice is usually limited. In this instance I got a couple of bags from Temu as they were decent shades.
Of course you can always dye your own.
That should all dry pretty quickly. Next step is get some flock on it, I used a basic summer meadow flock. Doing the flock at this juncture basically means you use less. Once that is on I drop some IPA on it, which helps keep it in pace. If you have come up with your own fancy flock blend , please note at this juncture colours can run onto other things.
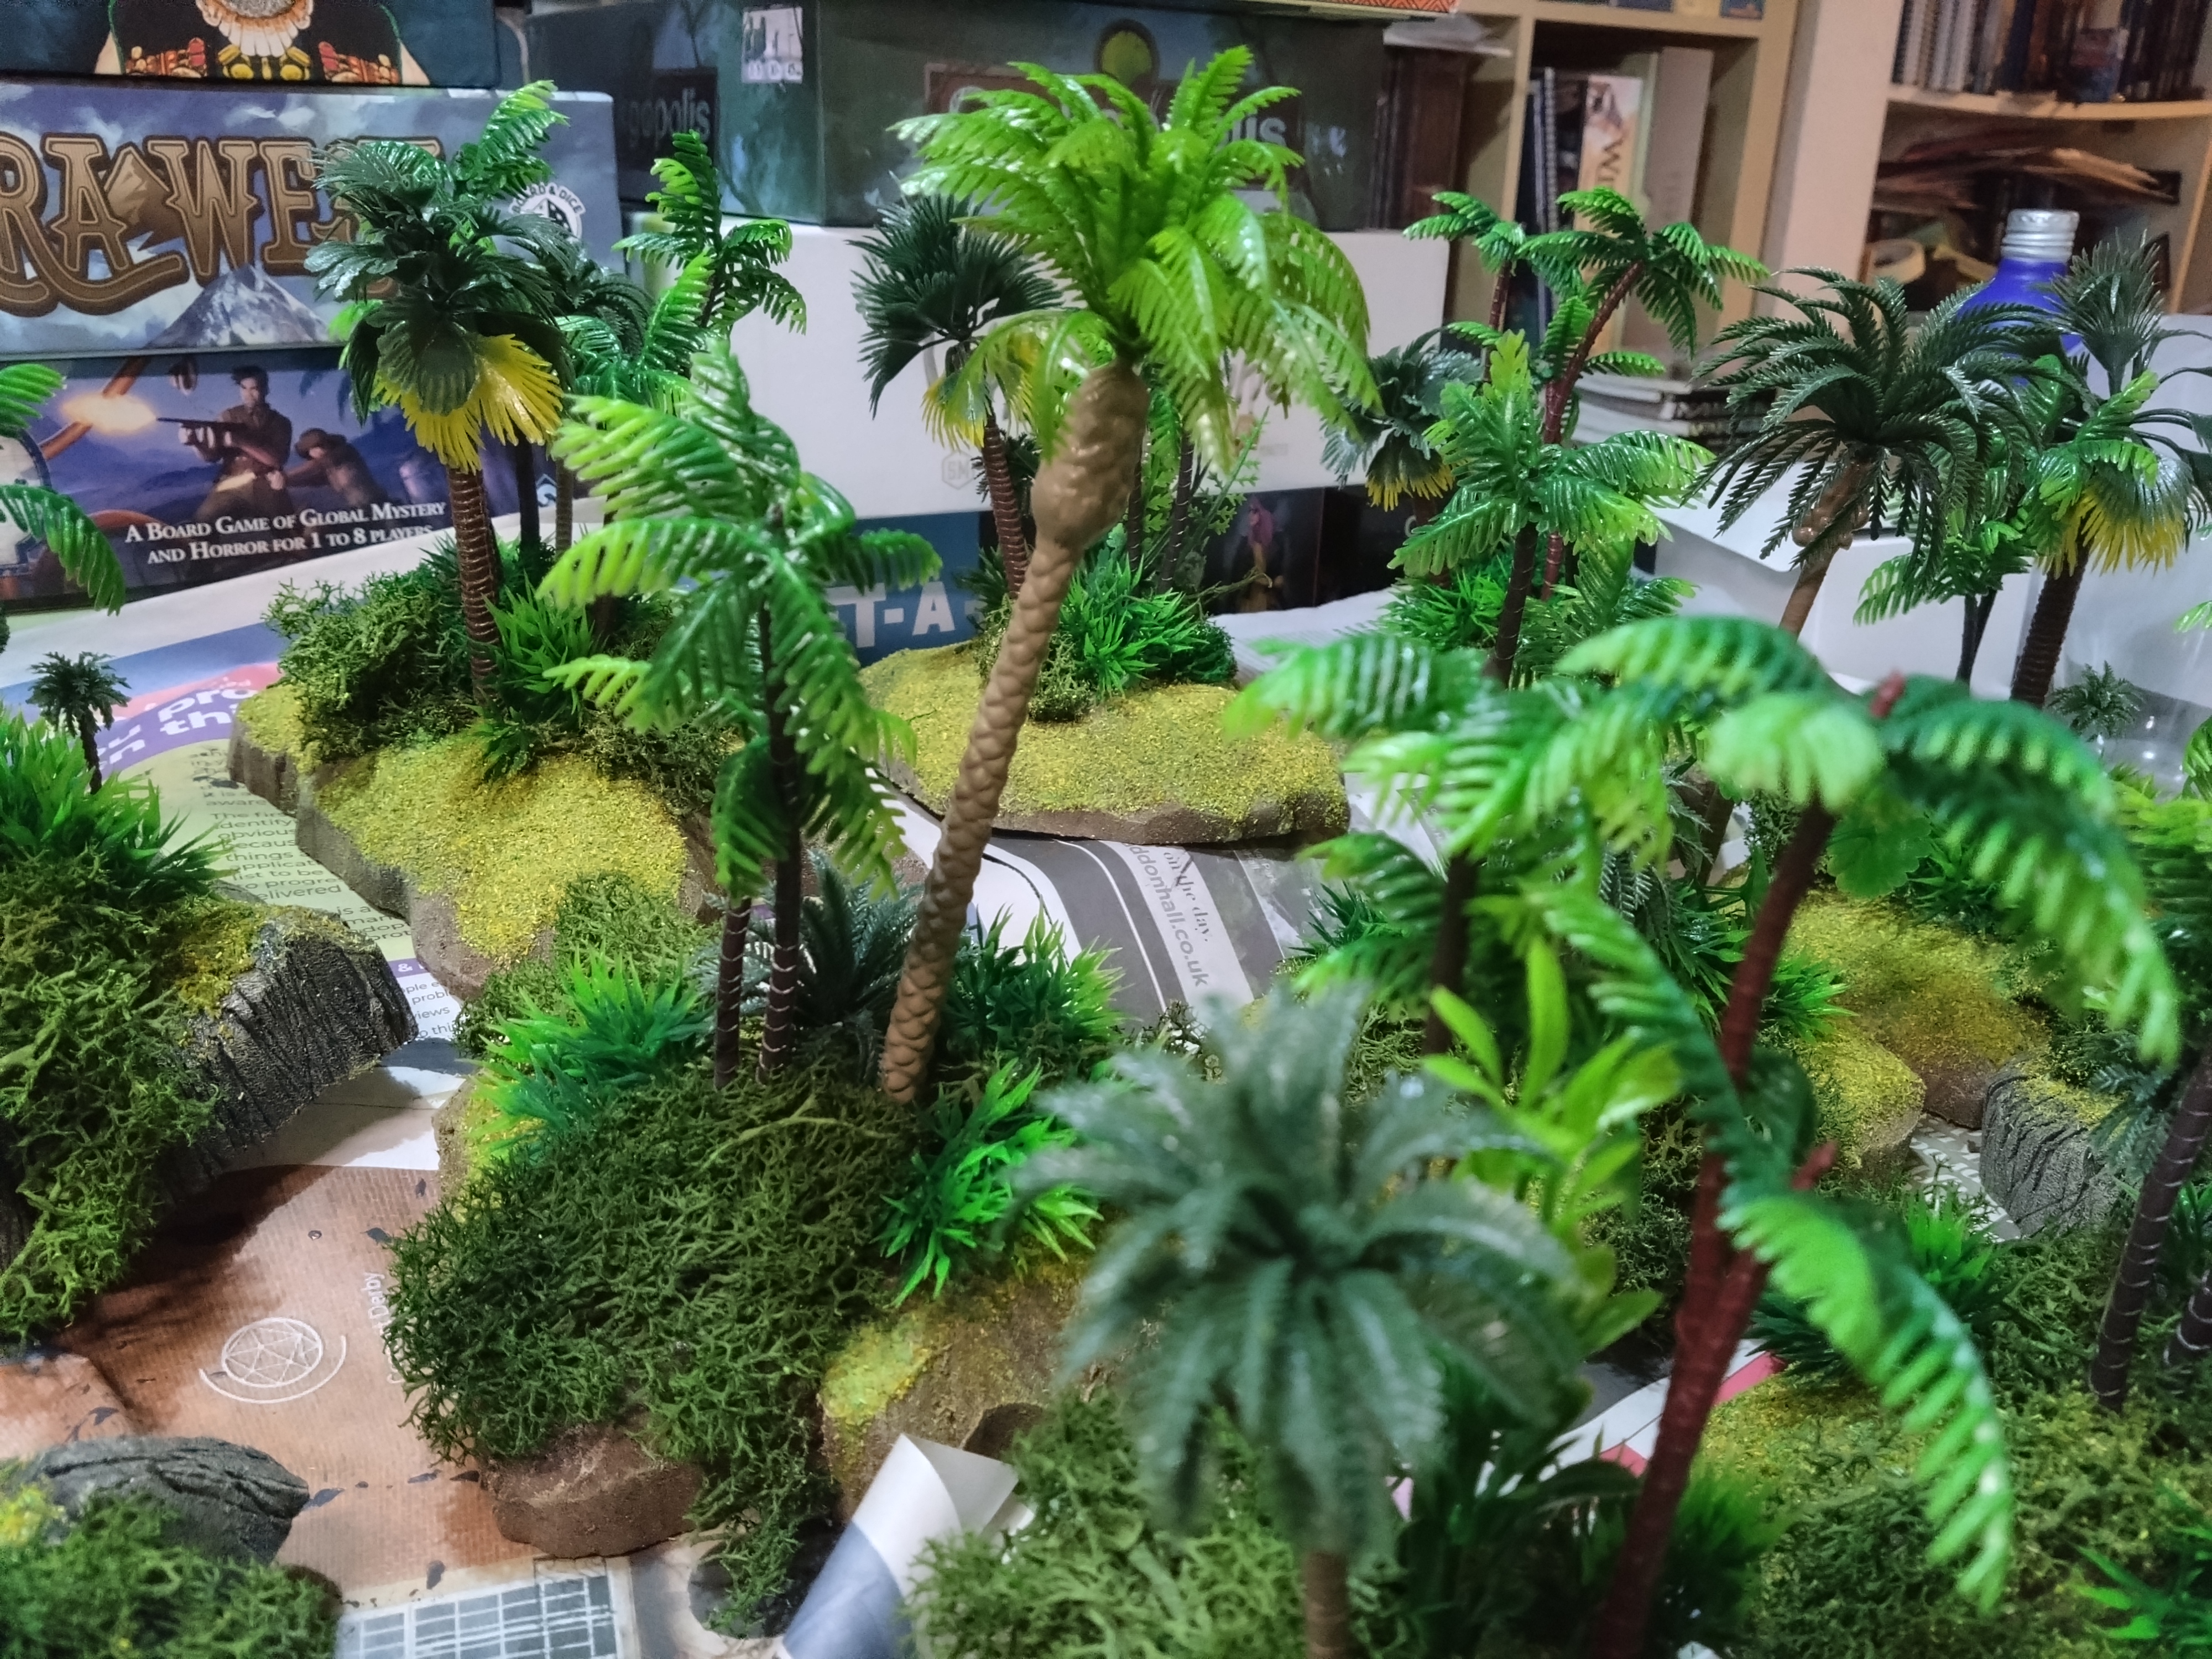
Once all that has dried of a bit I blast the whole thing with matt varnish, ne because it adds a bit more protection and two, it can reduce the sheen of your plastic plants.
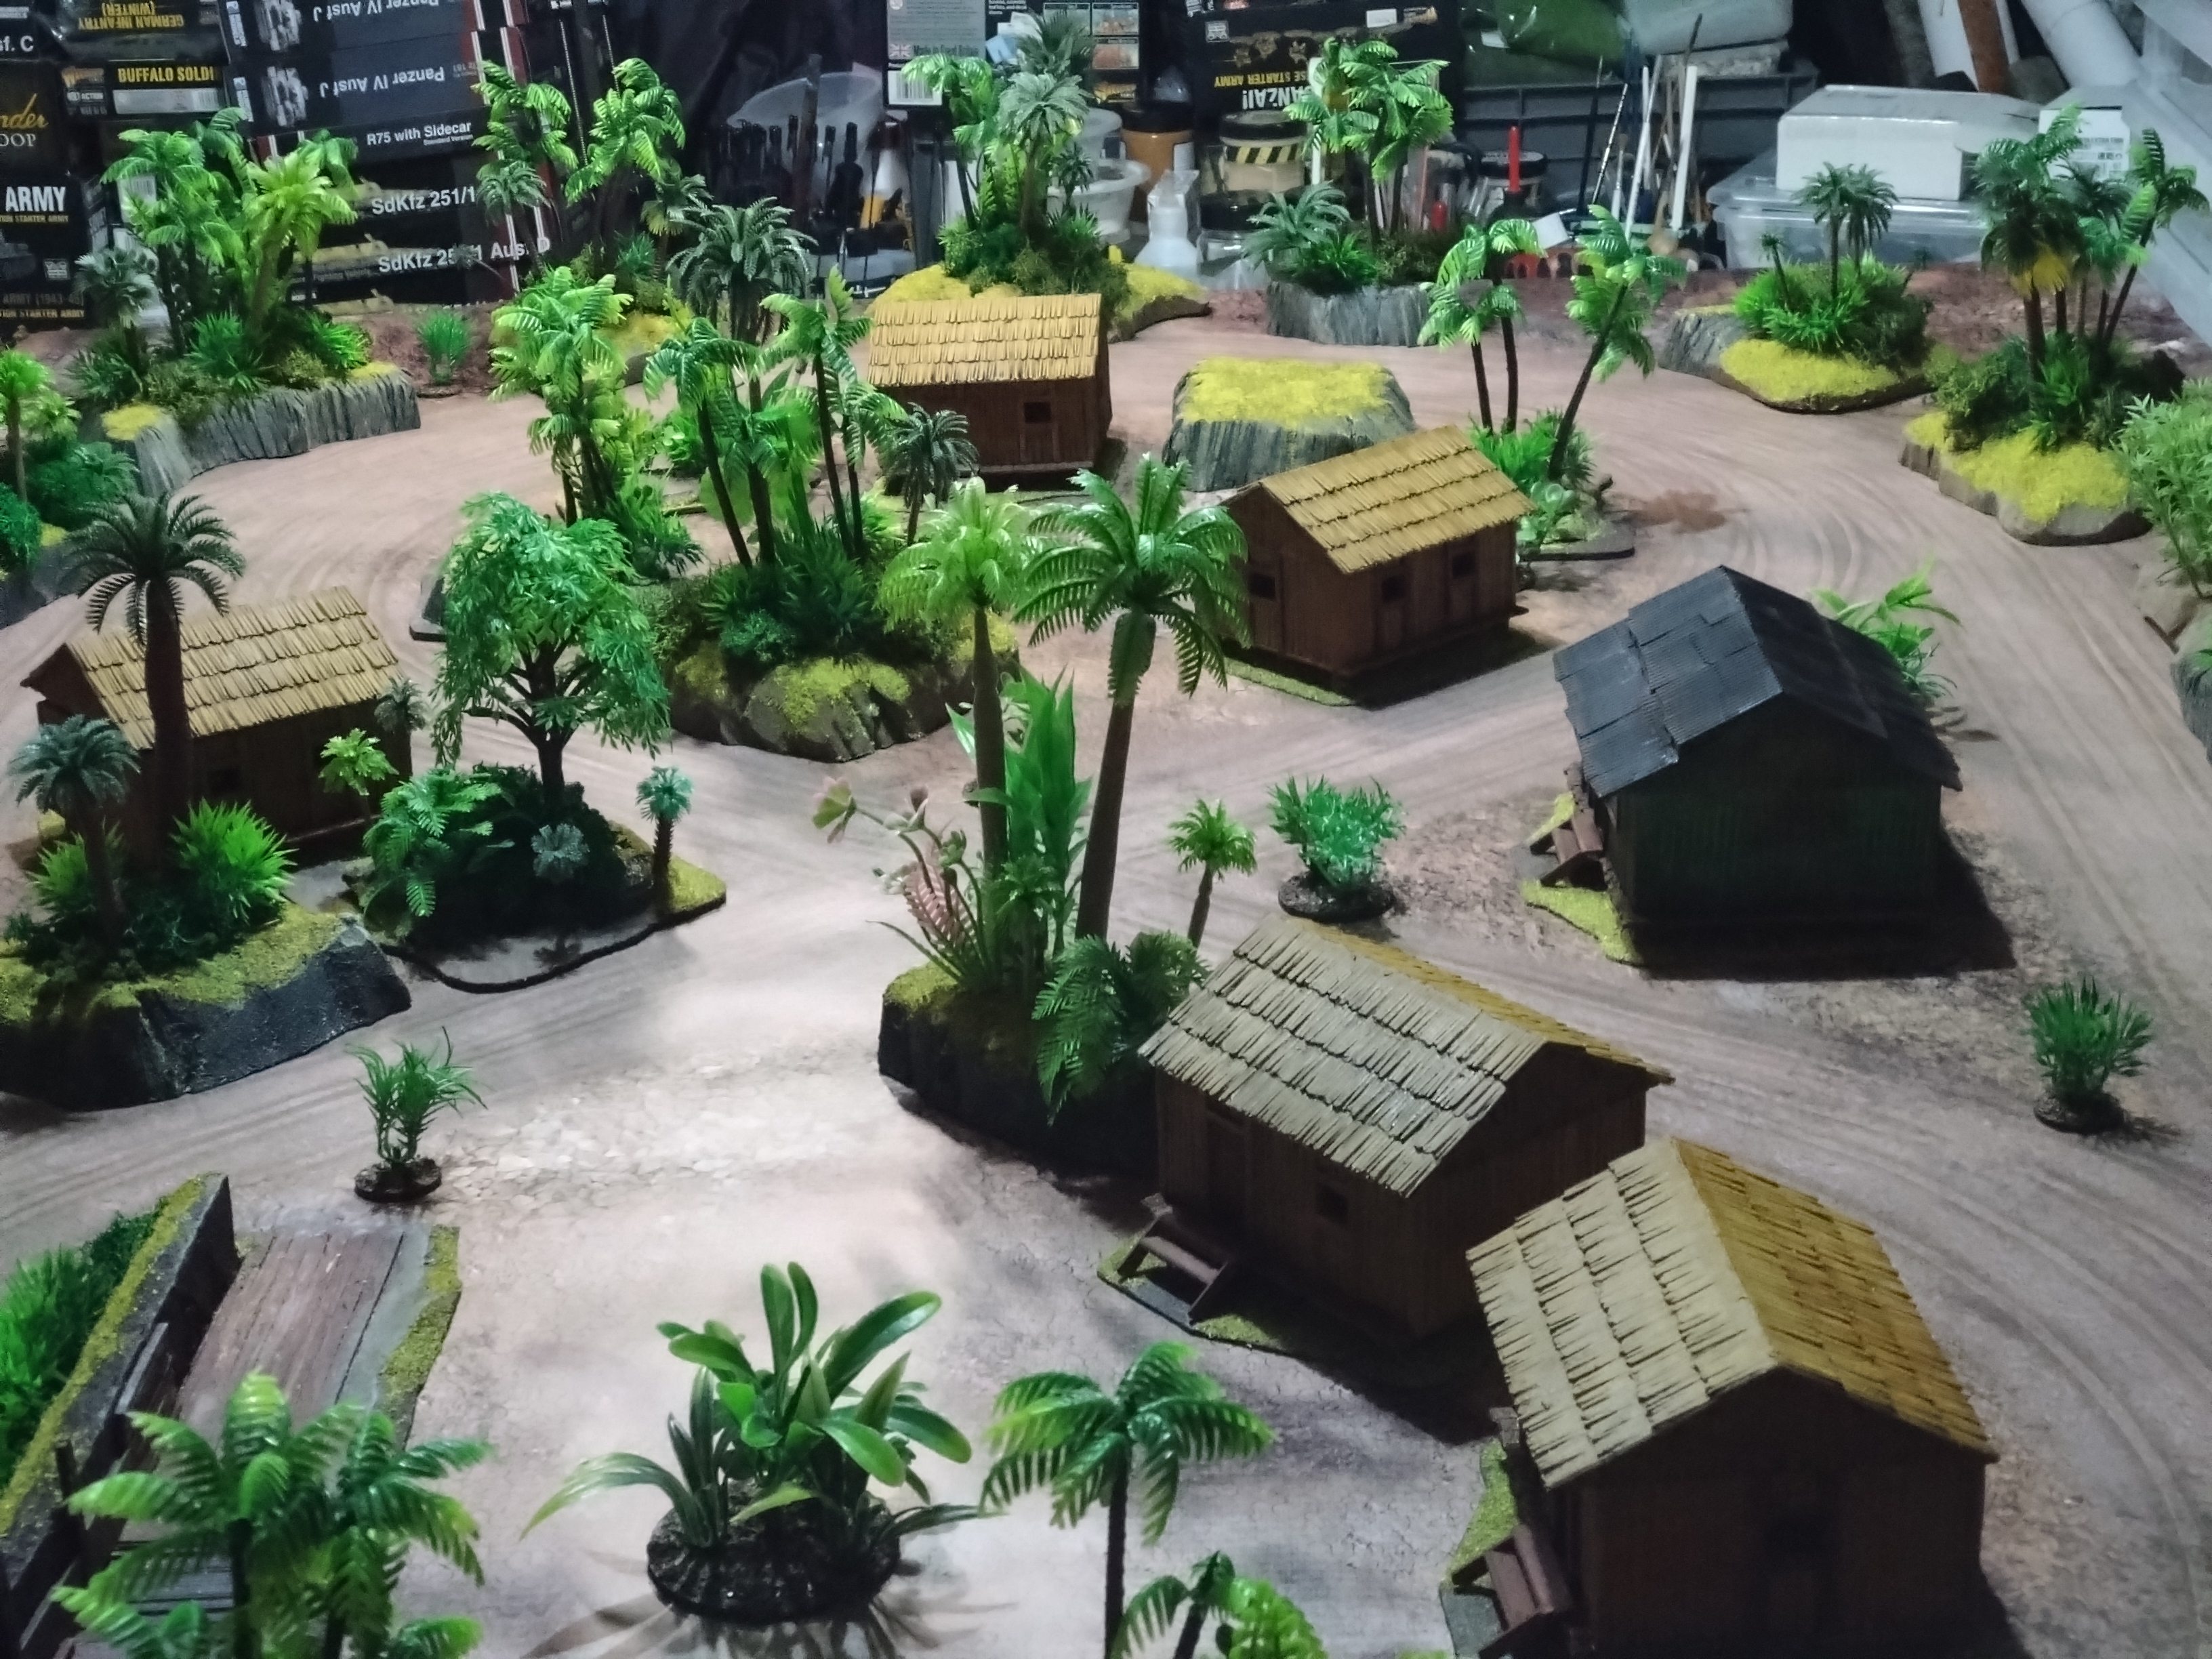
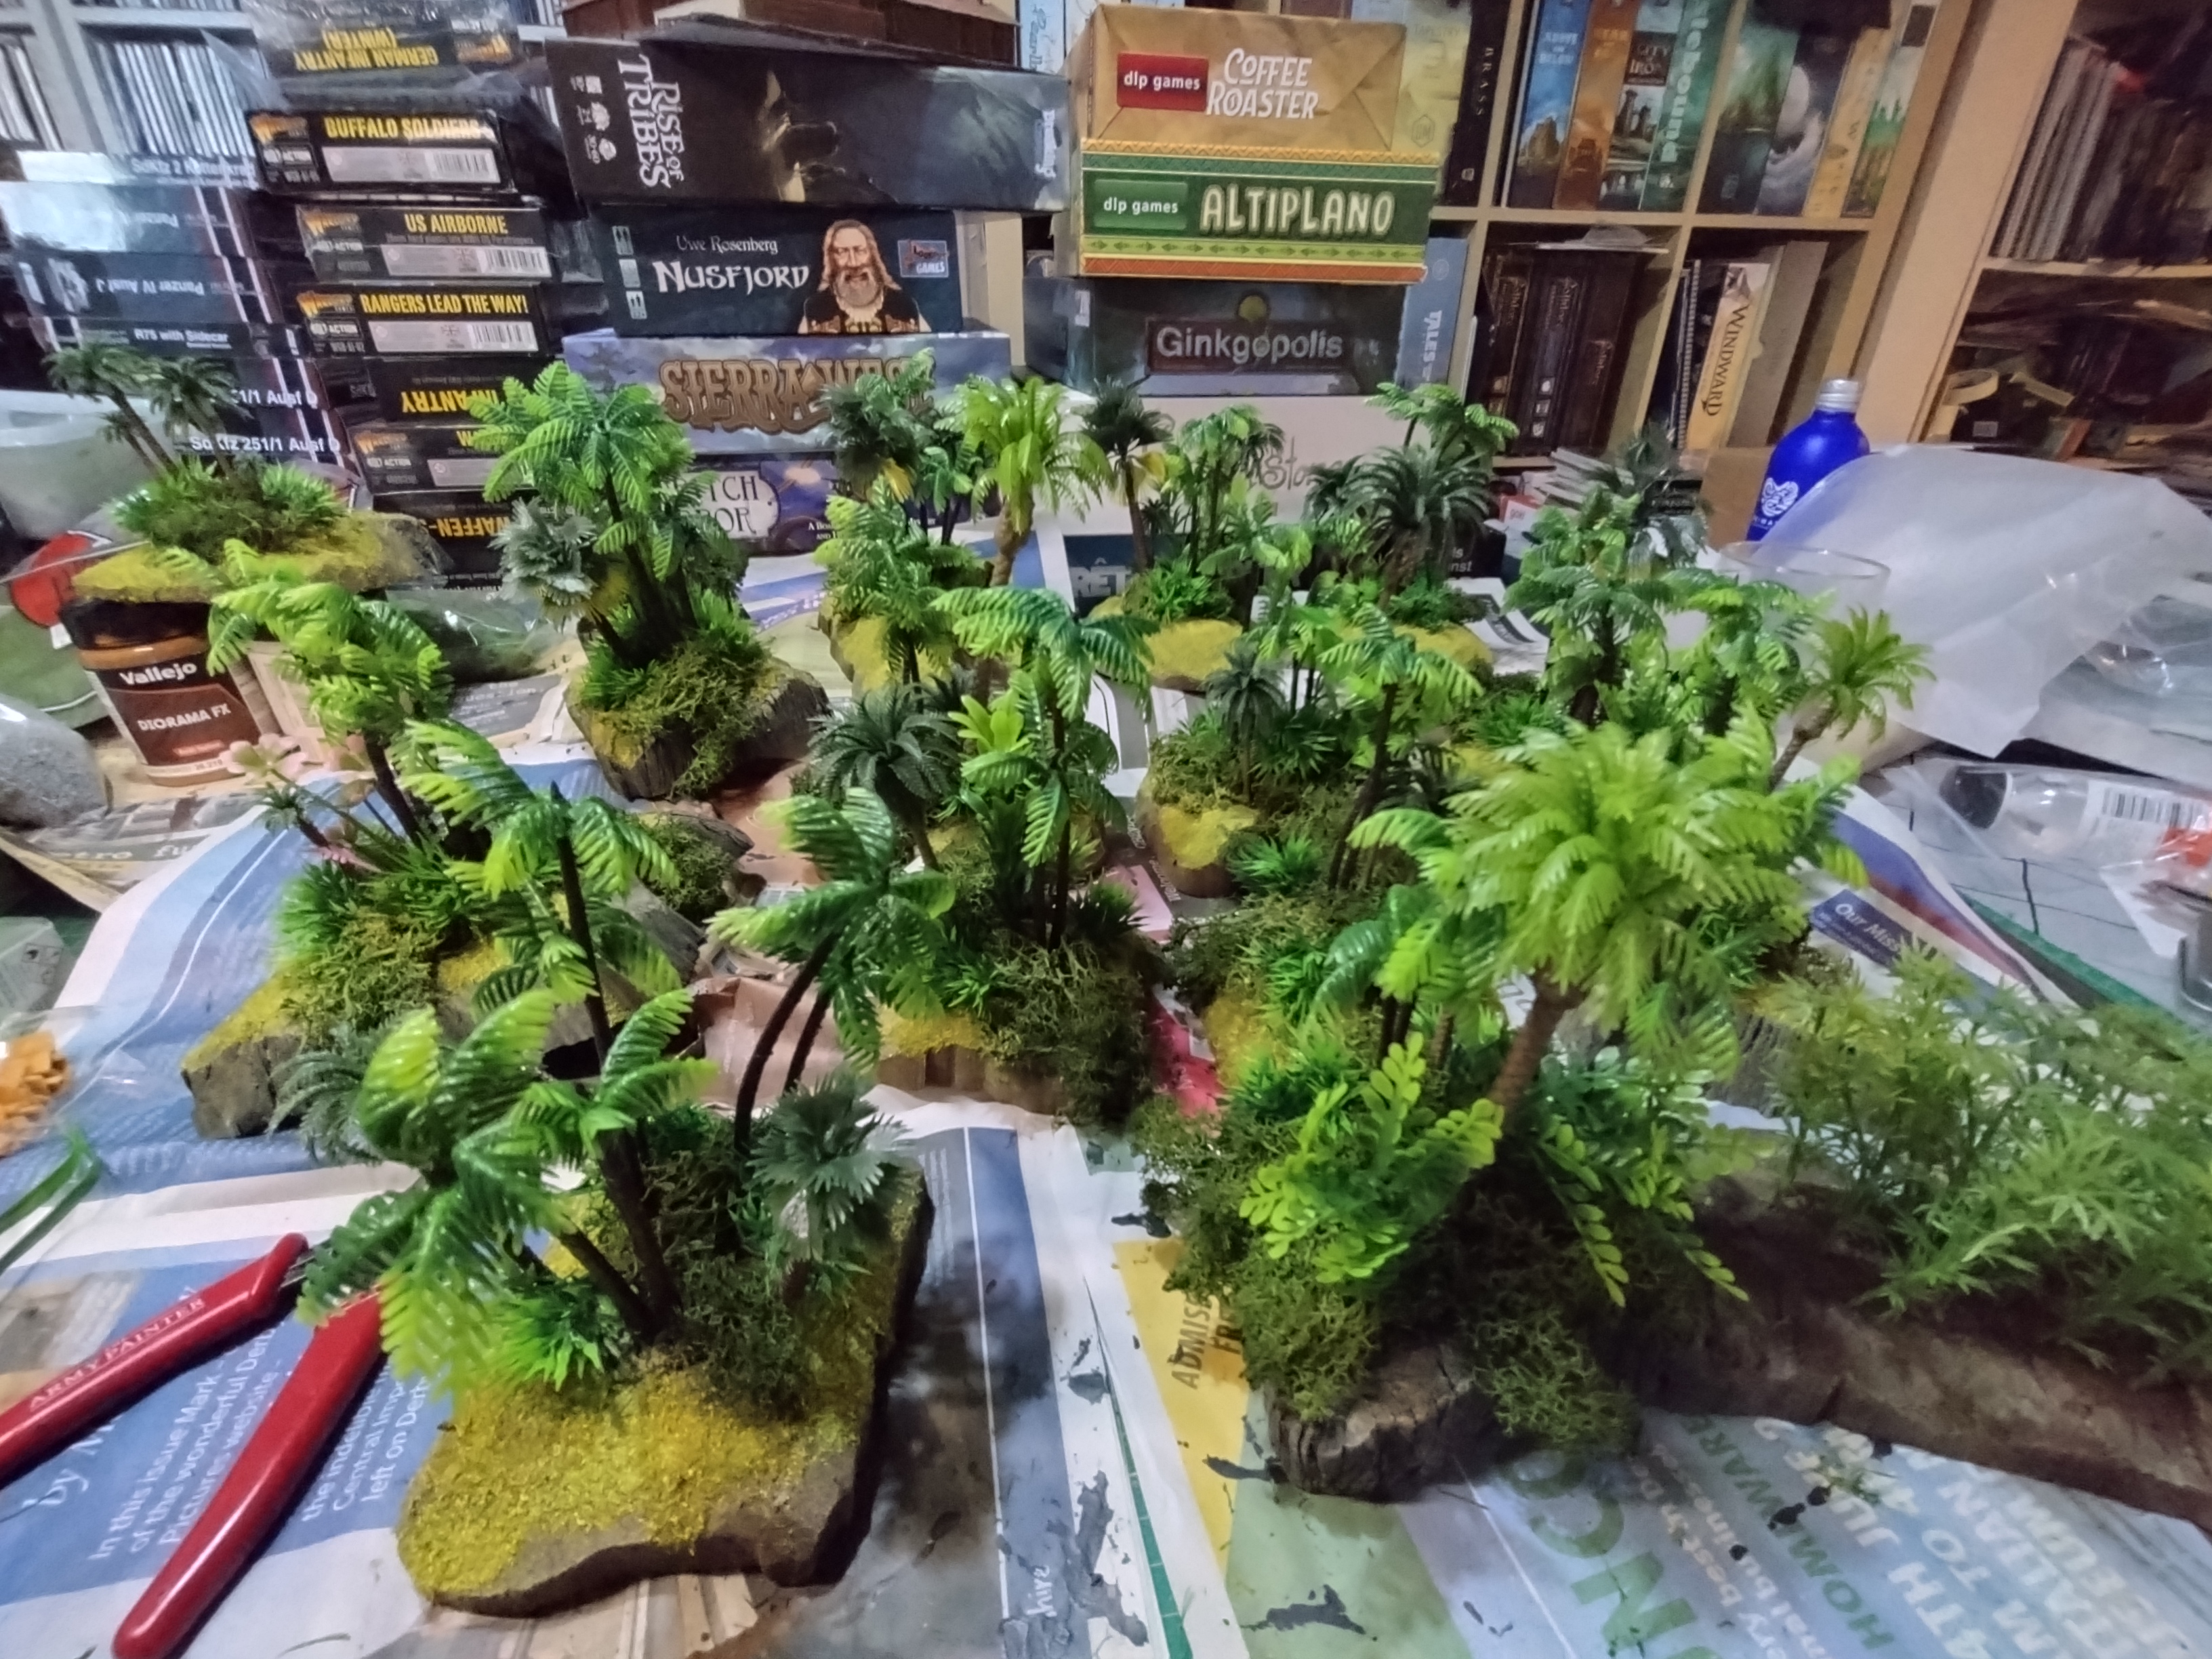
So there you go, fast and easy jungle terrain. There’s loads more you could do to it , but for a quick weekend project it’s not a bad result.


Beautiful project! Just what I needed to get inspired on my Blood and Plunder jungle table. Thank you 🙂