Dungeons & Lasers Kickstarters
25Kg of plastic, where to start? A brief introduction to the madness!
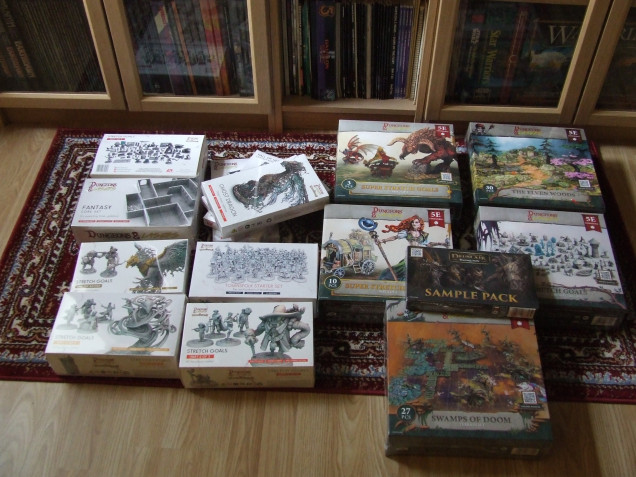
Back in May 2021 I was enticed into backing the D&L Woodhaven Kickstarter project primarily to get the town streets packs but also because of the very useful town dwellers pack that was also on offer, thus started the descent into madness with this project! What originally was to be a fairly mundane purchase soon turned into something more epic due to the frankly insane bonuses that were available. Even before getting this package I had my arm twisted by the next KS campaign for the Encounters range, for which thankfully, I didn’t go overboard! Low and behold when the Woodhaven KS arrived I found myself staring at a very large box containing 20Kg of plastic, so as with many other KS’s this was placed in a “safe place” unopened. Earlier this year the Encounters boxes arrived, this was another 5Kg of plastic, so with storage space getting a bit tight I knew I had to do something about it!
For once I though the best place to start was actually on what I had really liked about the Woodhaven KS, the town streets.
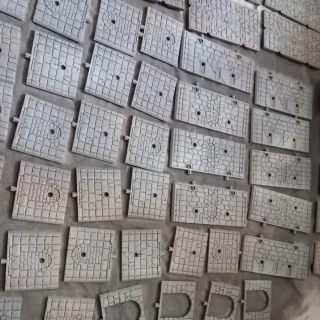
I started the streets with the original idea of keeping it simple! Especially as cutting the tiles off the sprues and trimming off the slight mould lines from the sides had taken up pretty much the entire day.
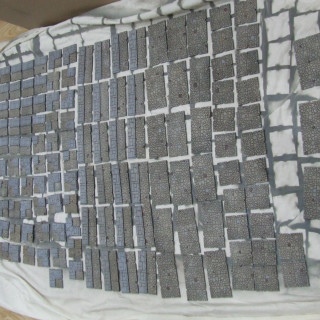
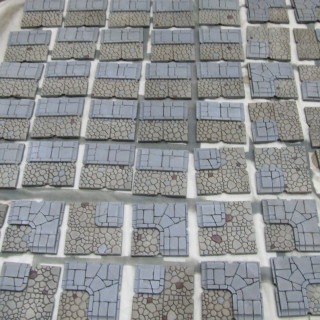
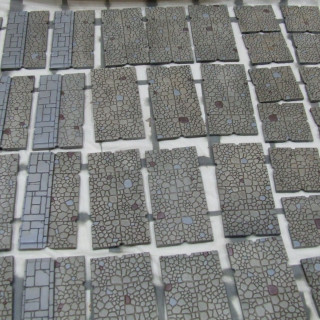
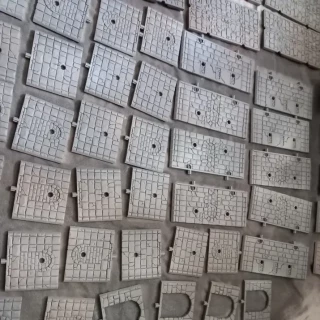
With that in mind, at least initially, I laid out an old sheet on the floor of my gaming room, placed out all the tiles and sprayed them first with a dark grey, Halford Primer, then with various other shades of grey I had, followed by flesh and finally a dusting of white. Please Kids don’t do this at home! Make sure you spray outside or at least have very good ventilation! Unfortunately at this stage I forgot to take any pictures….. I wonder why?!!!
Some days later when the house smelt less of paint I then gave everything a coat of Army Painter Strong tone dip, thinned down with a little white spirit as I still wanted the subtle shades to be visible. Once again do not copy my bad habits and make sure you are in a well ventilated area for this stage! As previously I forgot to take any pictures at this stage!
The results were a little more drab than I had planned on, the dip application was a little too heavy and this is where the madness truly started!
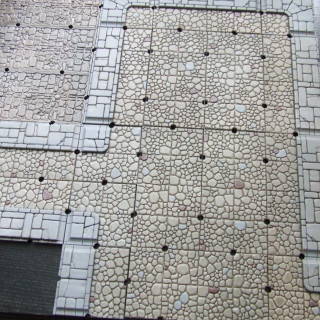
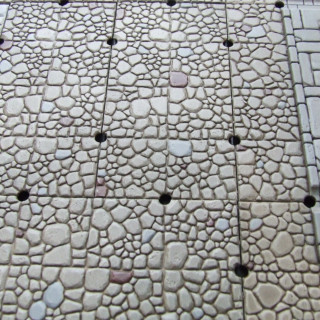
Firstly I gave the footway paving stones a heavy dry brush with medium grey and that then drew my eyes immediately to the almost monotone nature of the cobble stones, so I individually picked out a few cobbles in the medium grey, then some in dark grey, brown and a very few in an off white before lightly dry brushing everything with off white. The whole process had turned out to be much more time consuming than I had originally envisioned but I had the first 4 boxes complete!
Making things simpler!
I then moved on to the basic dungeon packs, well I should say just 1 of them!
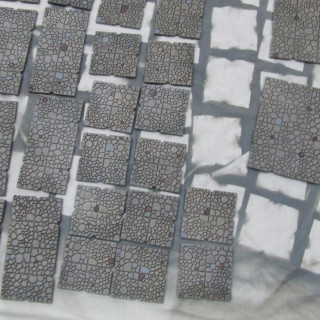
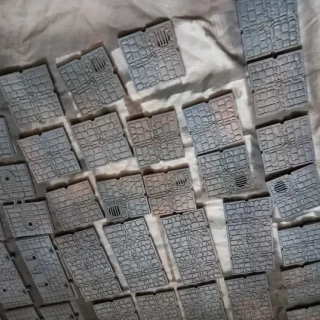
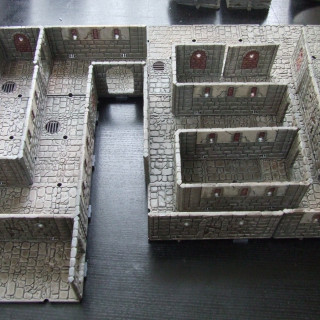
As before I sprayed everything with mid grey primer, followed by my remaining greys, flesh and white, this time I took a picture!
I gave everything then a coat of more heavily thinned Army Painter Strong tone dip.
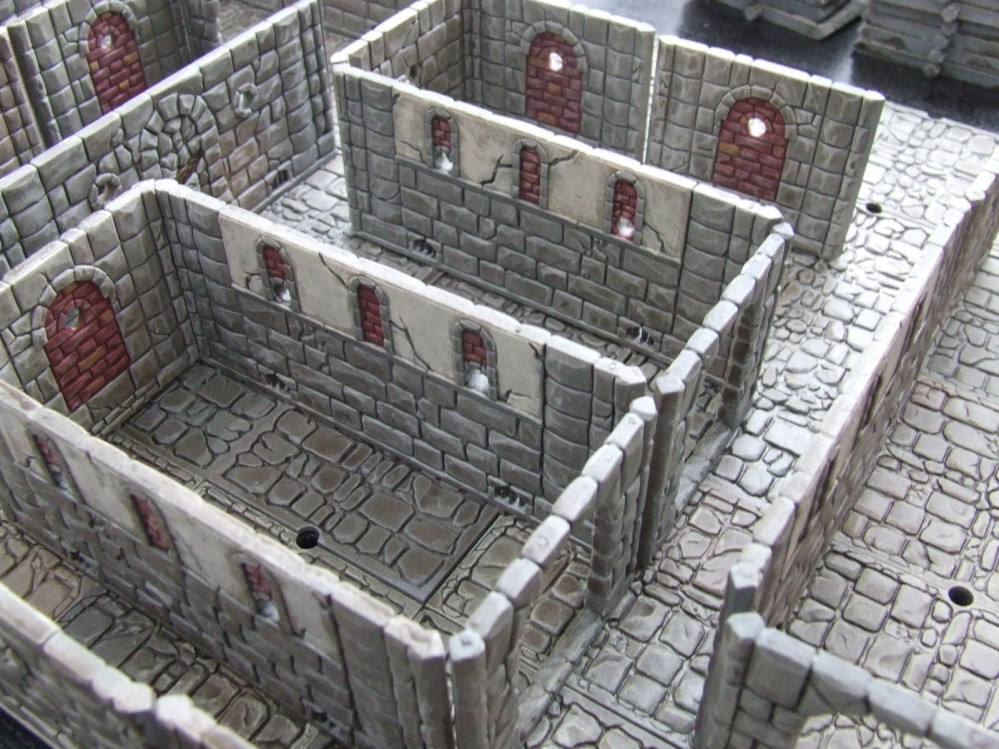
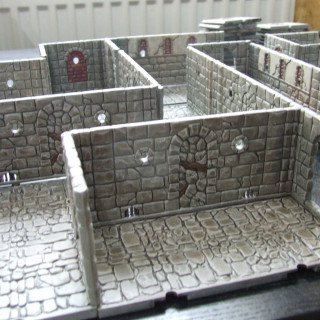
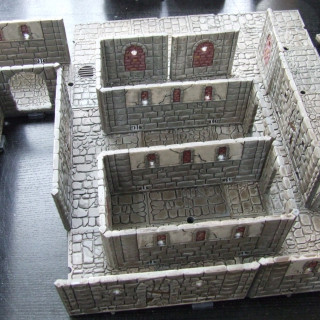
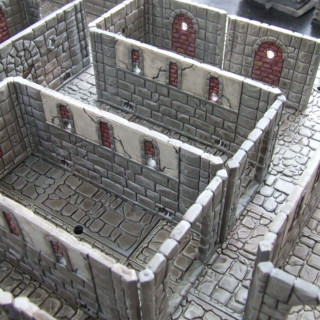
I then moved on to the detailing. So that I kept at least a small dose of my sanity, sewer grates/ iron bars were given a coat of tin bitz. For the brickwork I mixed together Slaughter Red and Dark Wood Speed paints, with a little yellow added to the mix for a few lighter individual bricks, not that many! The plaster was just given a heavy dry brush in an old Colour Party “cream” I had sitting around, can’t say which one as I painted over the number on the lid many moons ago! The final touch was to add Dark Wood speed paint to the few bits of timber work littered about on the walls, and give everything a very light dry brush with a mix of the cream and white.
So that is the stage I am at with this. Its a start, but there is still plenty of terrain madness still to come, that’s before I even start on the hundreds of townsfolk, monsters and other bits that came in the 3 large stretch goal boxes just for Woodhaven!




Leave a Reply