


Operation: Spidicules


Start
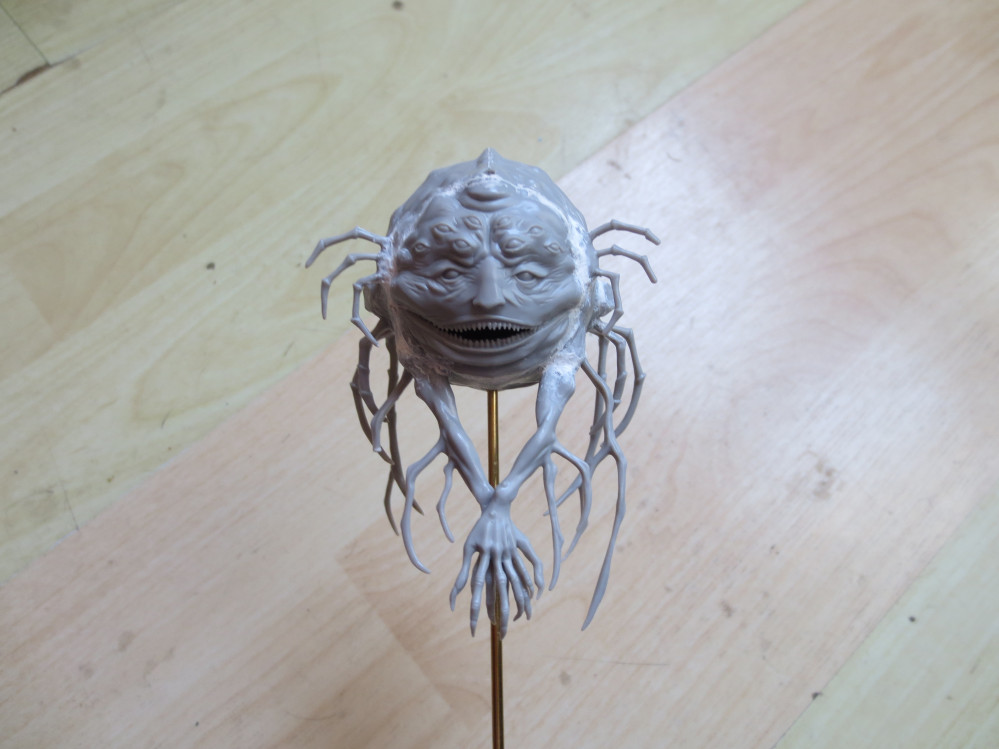
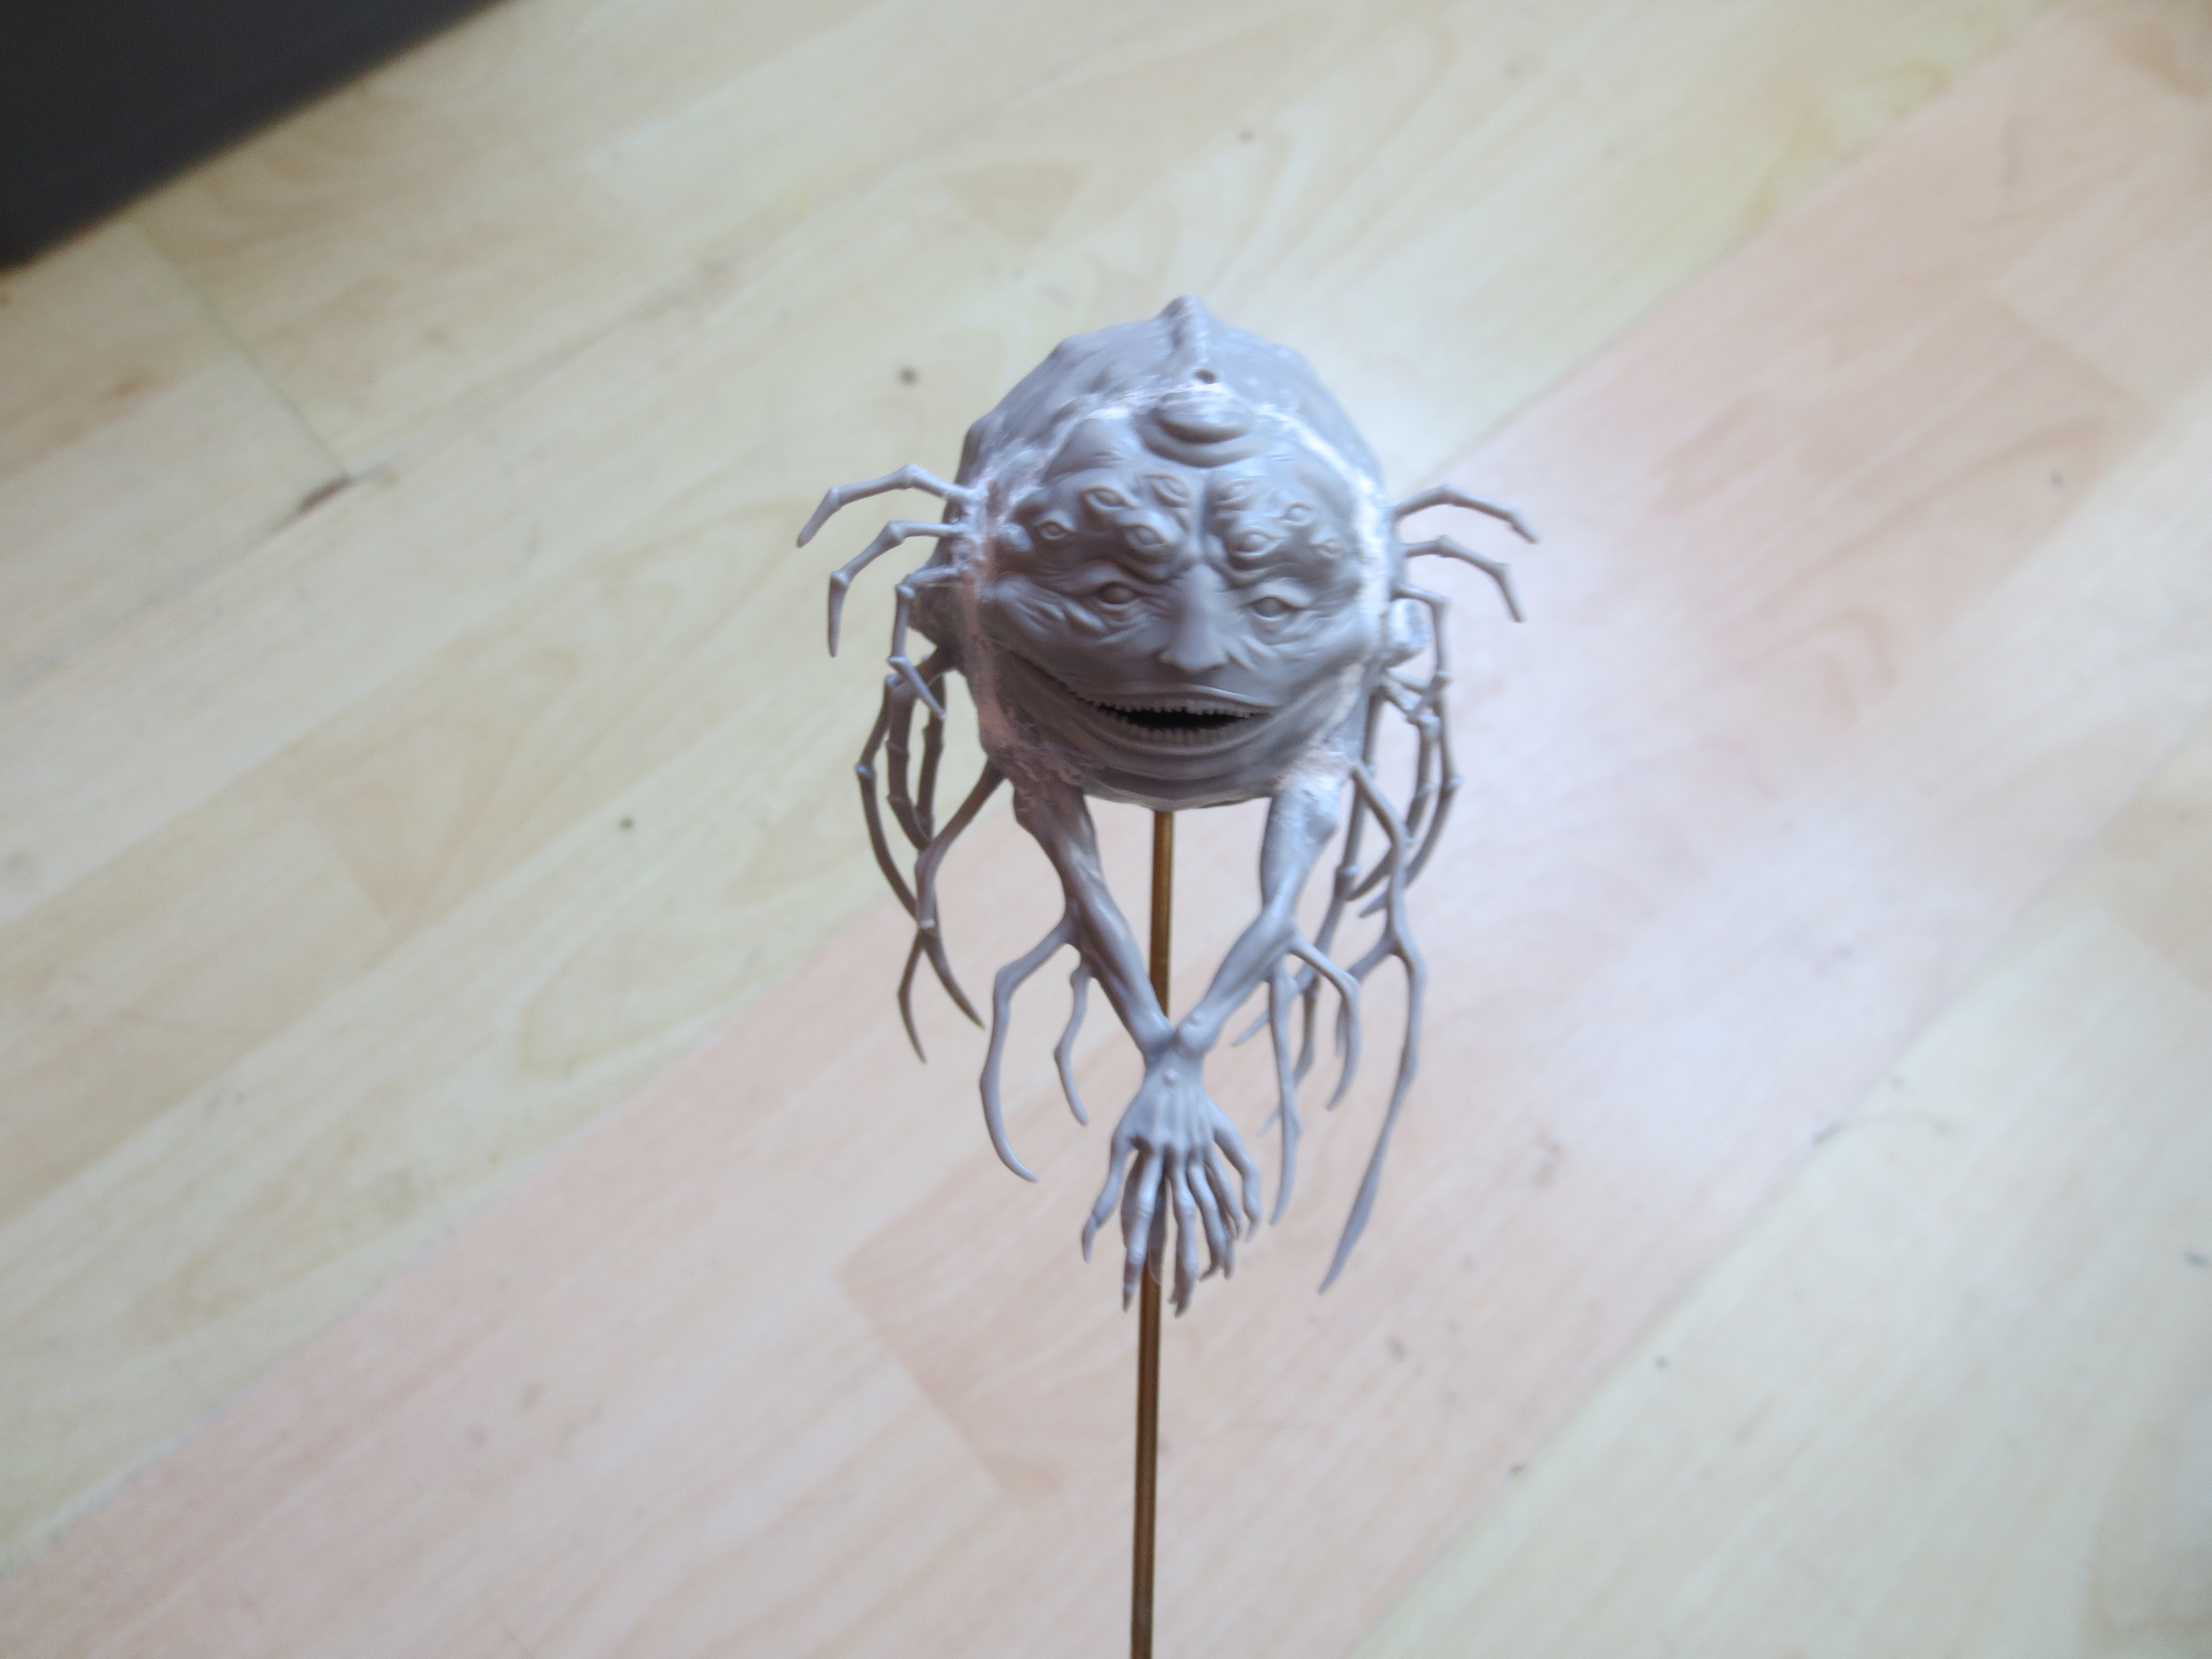
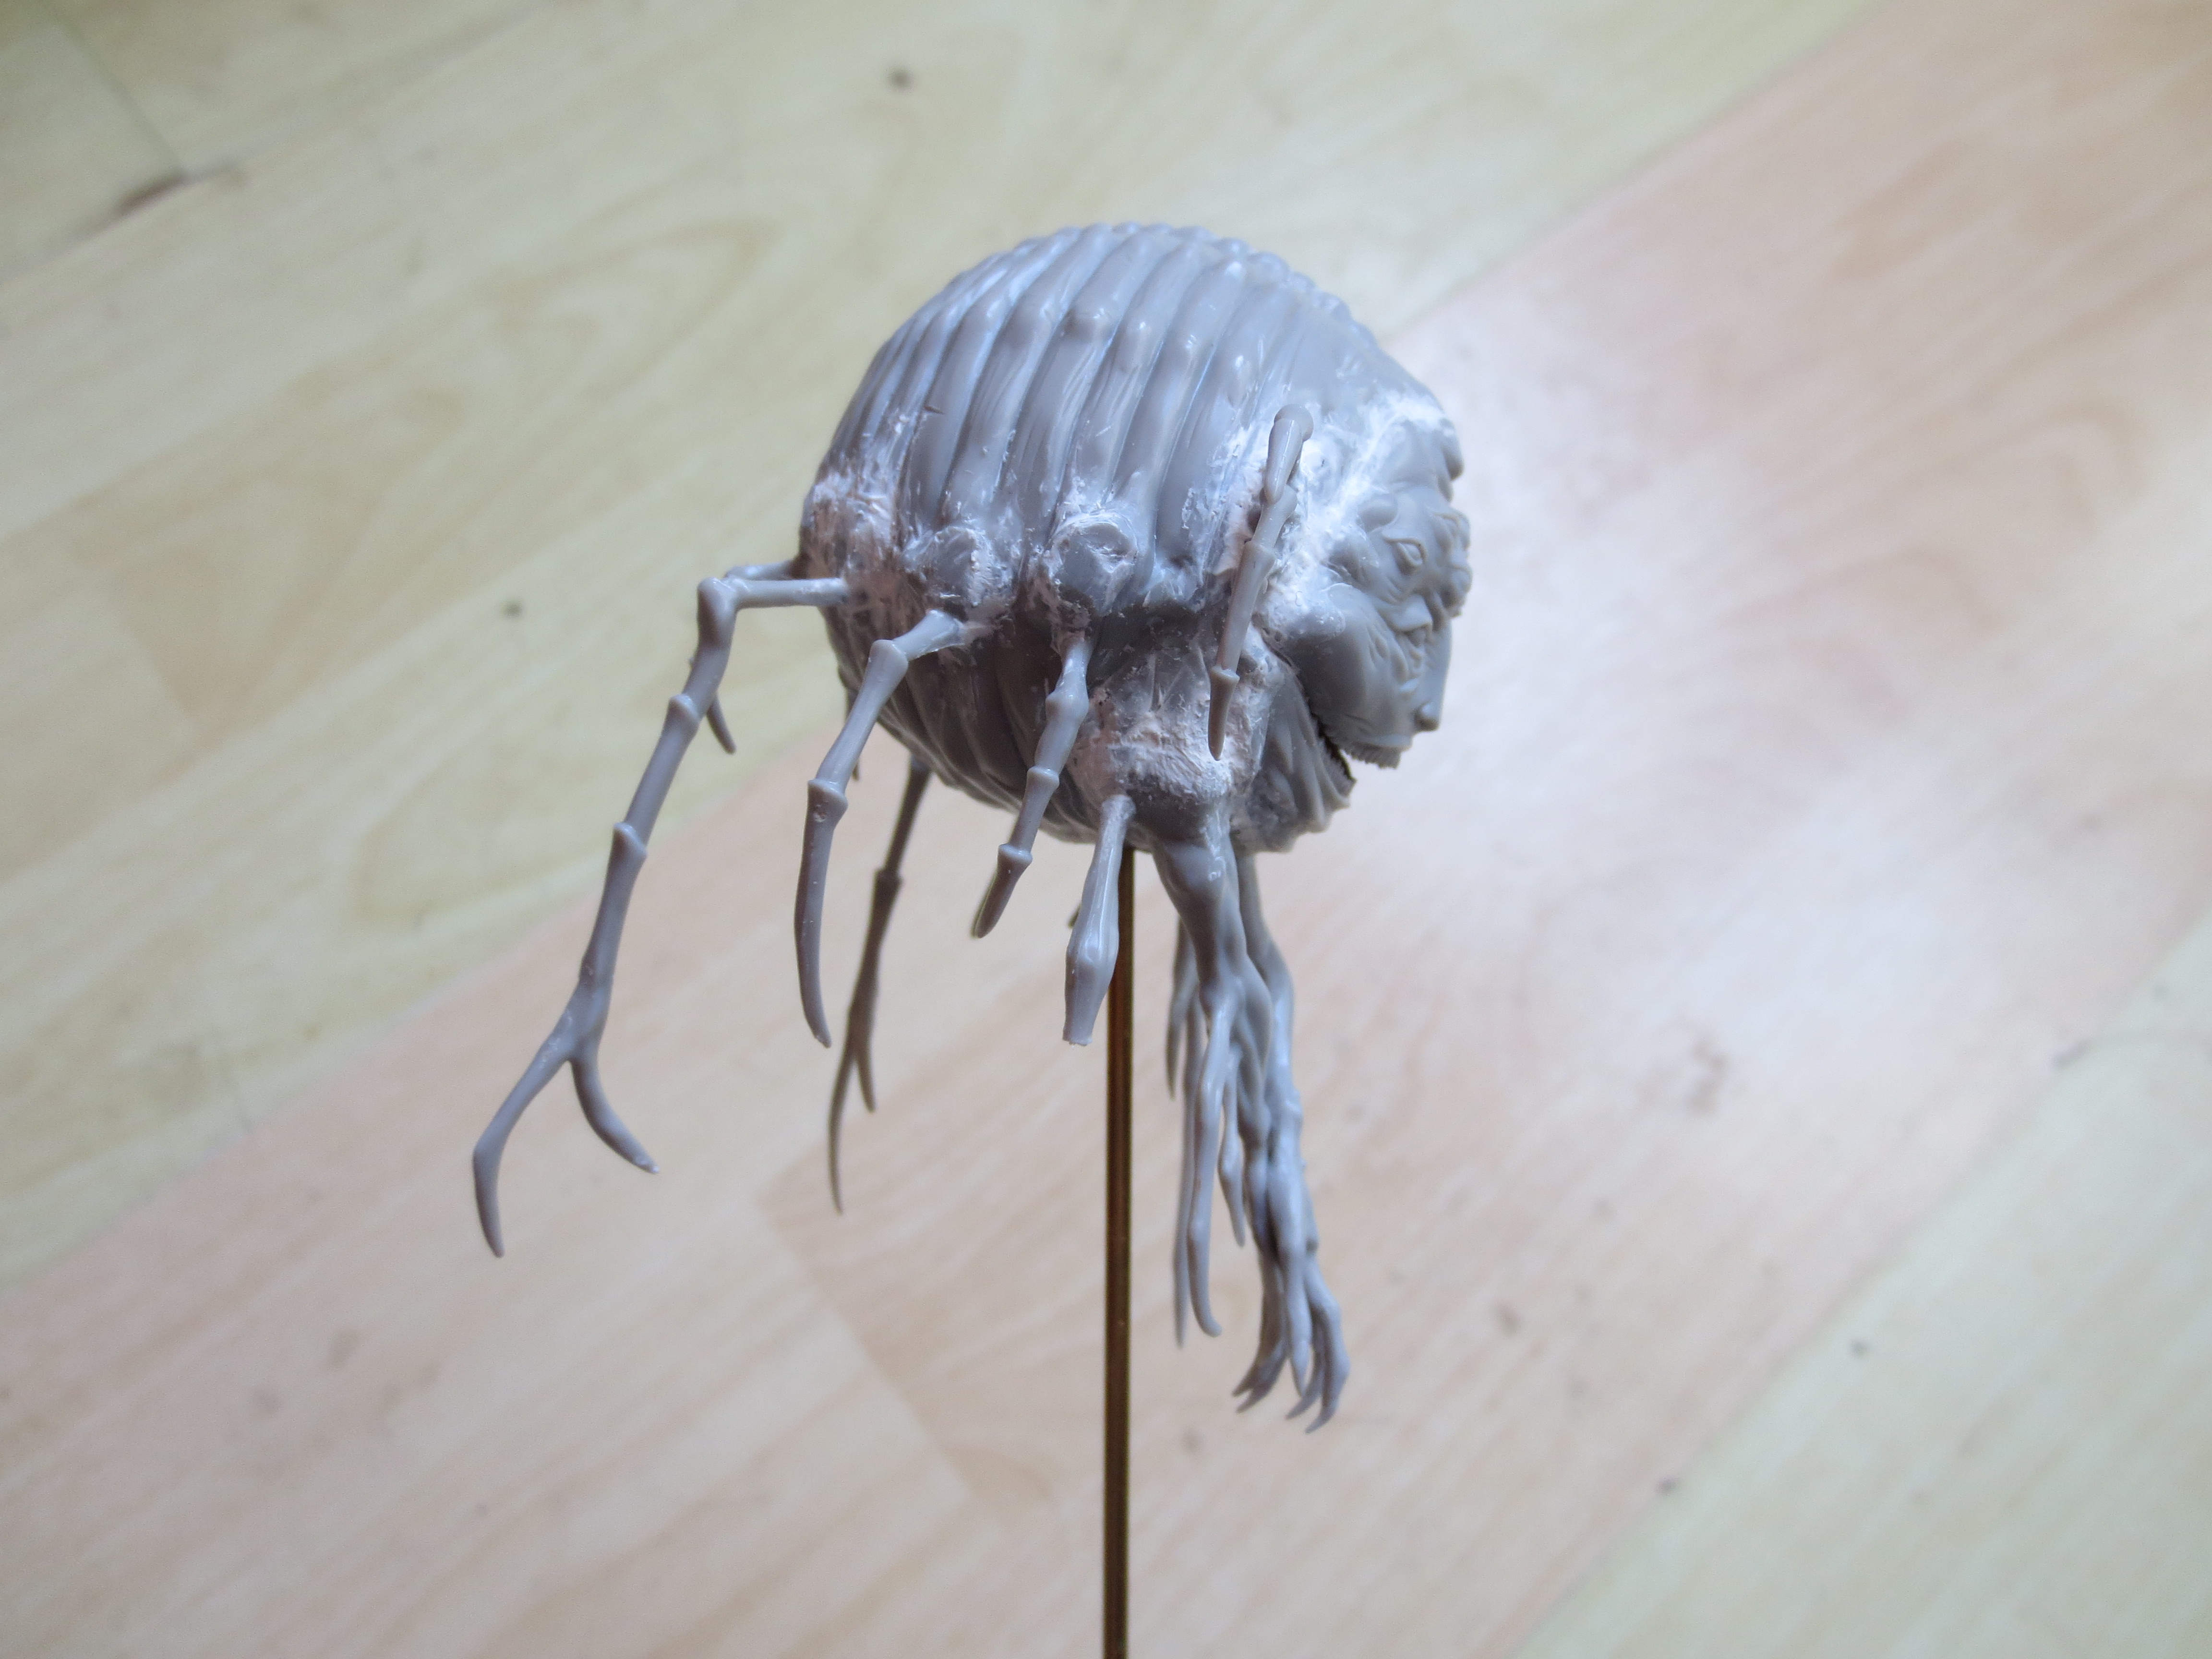
These pictures represent where I’m starting from: a glued-together and gap-filled spider ball and a lump of a base prototype.
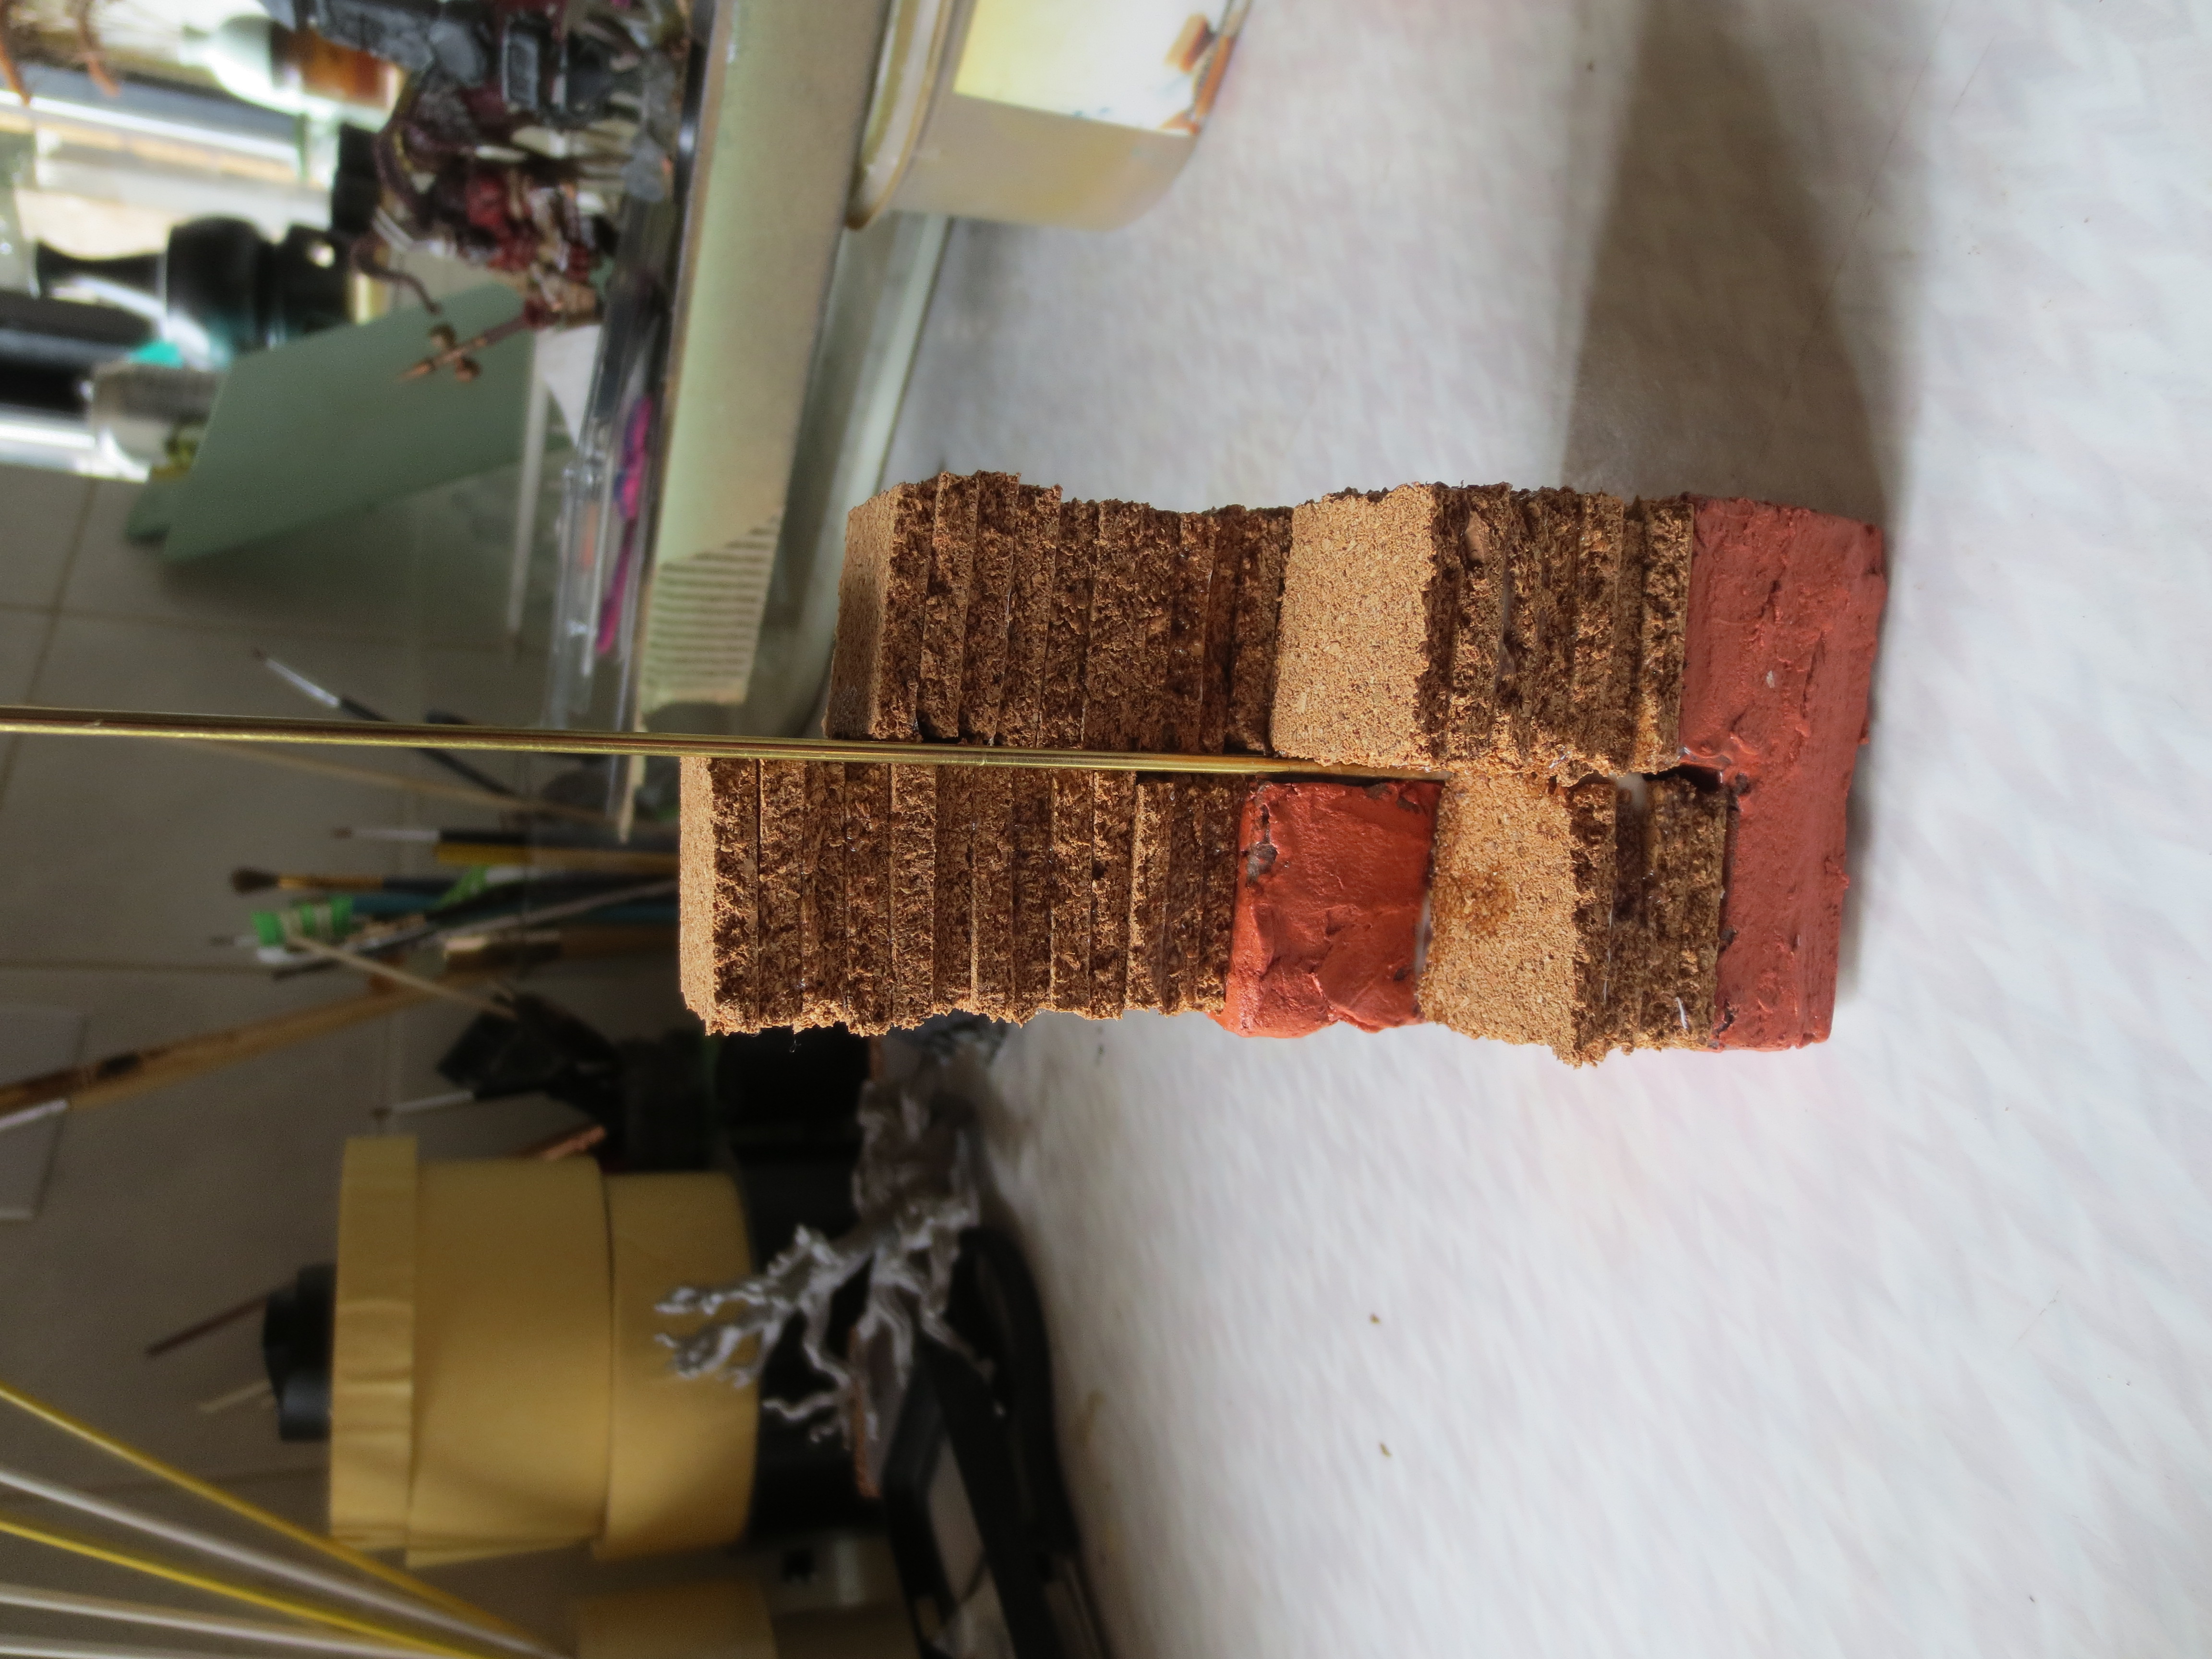
The first steps I took involved buying a 2mm brass rod from my FLGS and driving it through the centre of the base lump. I then drilled a hole into the bottom of the Spidicules ball and attached the two.
Almost immediately, I could tell the steps would have to be much higher (I underestimated the size of Spidicules’ legs). So I got a bunch of cork and built upwards using that.
I went with cork because the original base lump was built using styrofoam (leftover from my Brush With Death 2019 diorama) and covered in sculptor’s clay. I really didn’t enjoy the process of trying to get clay to stick to the foam – the cork seemed like a much easier alternative.
The next thing I did to the Spidicules ball itself was to glue each of its legs on, then use a razorsaw to cut above the join. This is so I can magnitise the legs AND cover all the little joins between legs and body.
An arduous process, but with little long-term risk. If the magnetisation doesn’t work, I can always just go back and pin the legs in.


Leave a Reply