


Redvers and Son Get Into Bushido


Battle Report No.1
As we now have some terrain and some constructed miniatures, we can play a game. I checked the rules of Bushido, and nowhere does it state that the models have to be painted, so, with some blu-tack holding them to the base, my son and I clashed over the tabletop.
For our first game, we decided not to play a scenario but to just fight it out. My son had clearly been thinking about his forces as he had already selected a 100 point force complete with some of the additional cards you can take, including some Temple of Ro-Kan specific terrain pieces. I on the other hand had to spend 5 minutes after set up trying to quickly put together a Cult of Yurei force.
For the Temple of Ro-Kan (TRK), my son had selected,
- Master Ekusa (who’s a monk riding a tortoise and can heal, remove activation tokens and stops attacks due to his zen like demeanour)
- Hotaru (a monk who likes fire)
- Yim (a monk who’s strong and linked to iron)
- Saruka (another flame monk and can also cast a fireball like ranged attack)
- Kuma (an angry, bo staff wielding panda who can root opponents to the spot while slapping them around)
In addition, my son had selected a couple of terrain pieces that allow extra Ki generation for his models. Ki allows the activation of special abilities and boosts regular stats and the TRK are big Ki users. He also selected some trap cards as well.
For the Cult of Yurei, I picked the following,
- Mo Ises (an assassin that likes stabbing people in the back)
- Mokoti (dreadful in combat but can control enemy models)
- Risu (Handy in a fight but can cast some long range poison attacks)
- Ibara (Can handle himself in combat and can throw some fire around at range)
- 2 Plague rats (basically cheap chaff but can cause poison if they succeed in attacking)
- Hozumi Maha (a ronin who can also control enemy models)
- Tenbatsu (another ronin who’s a combat monster)
We threw some terrain down on the table and deployed along our back line.
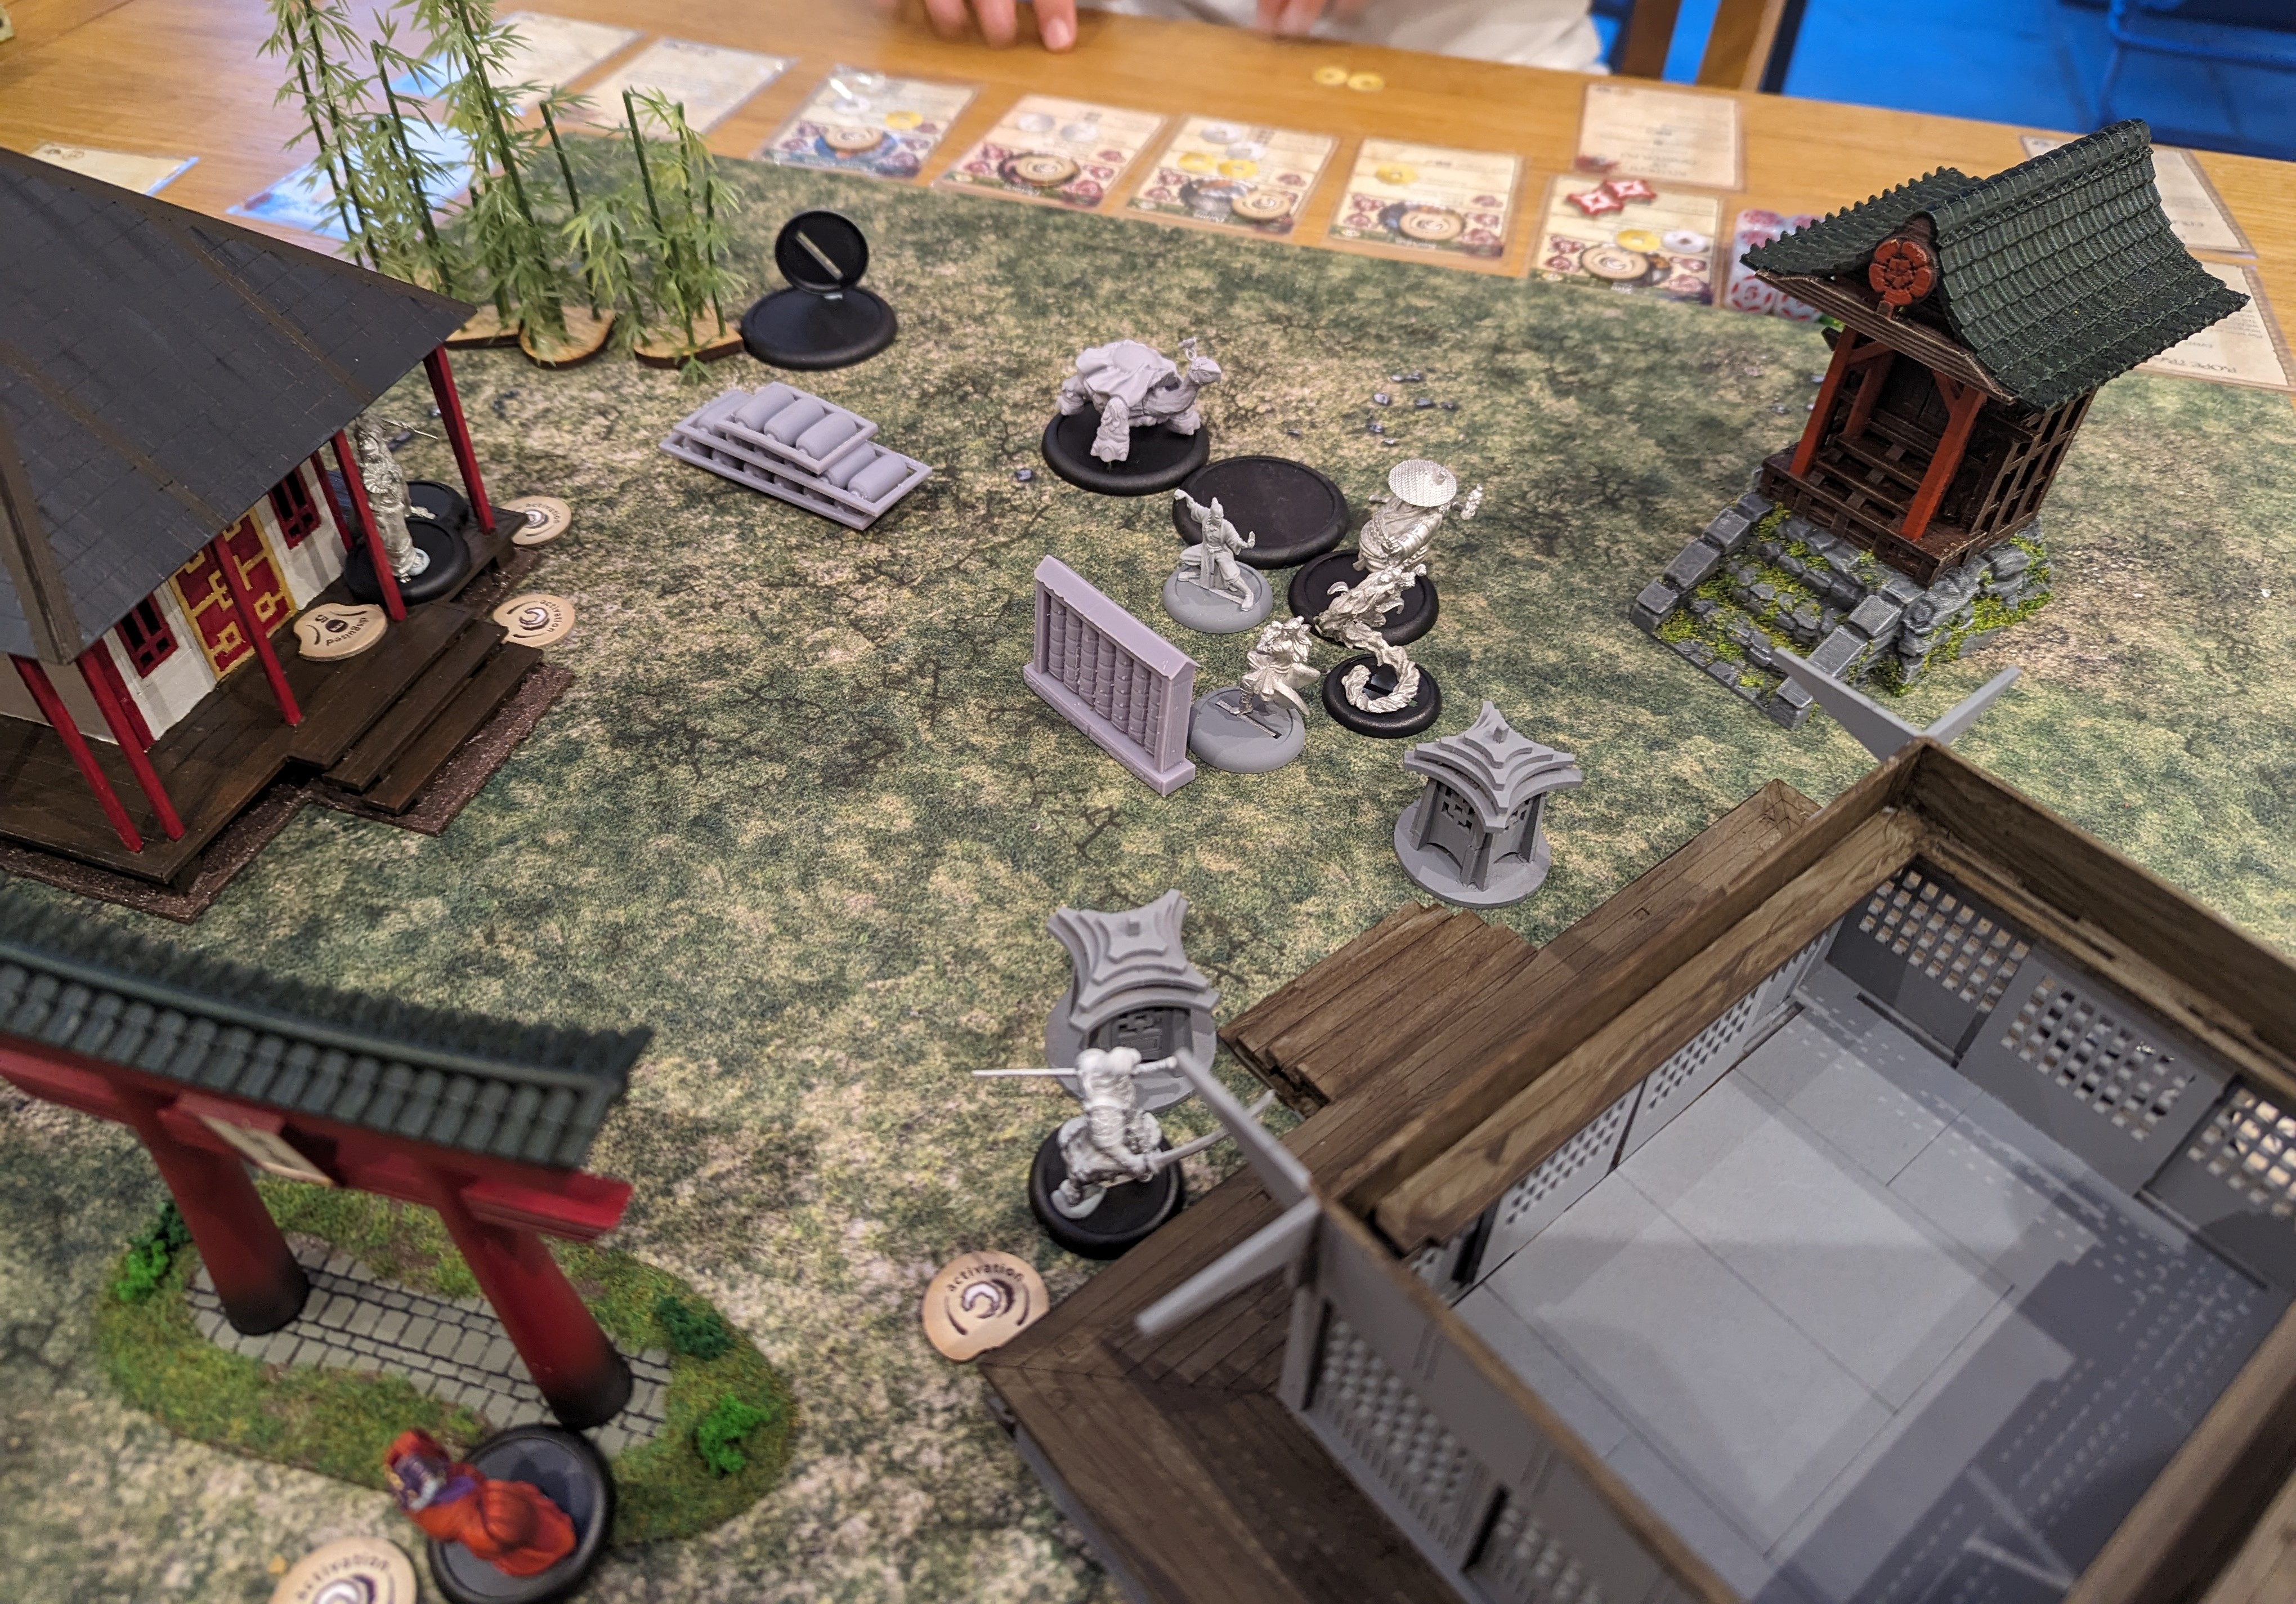
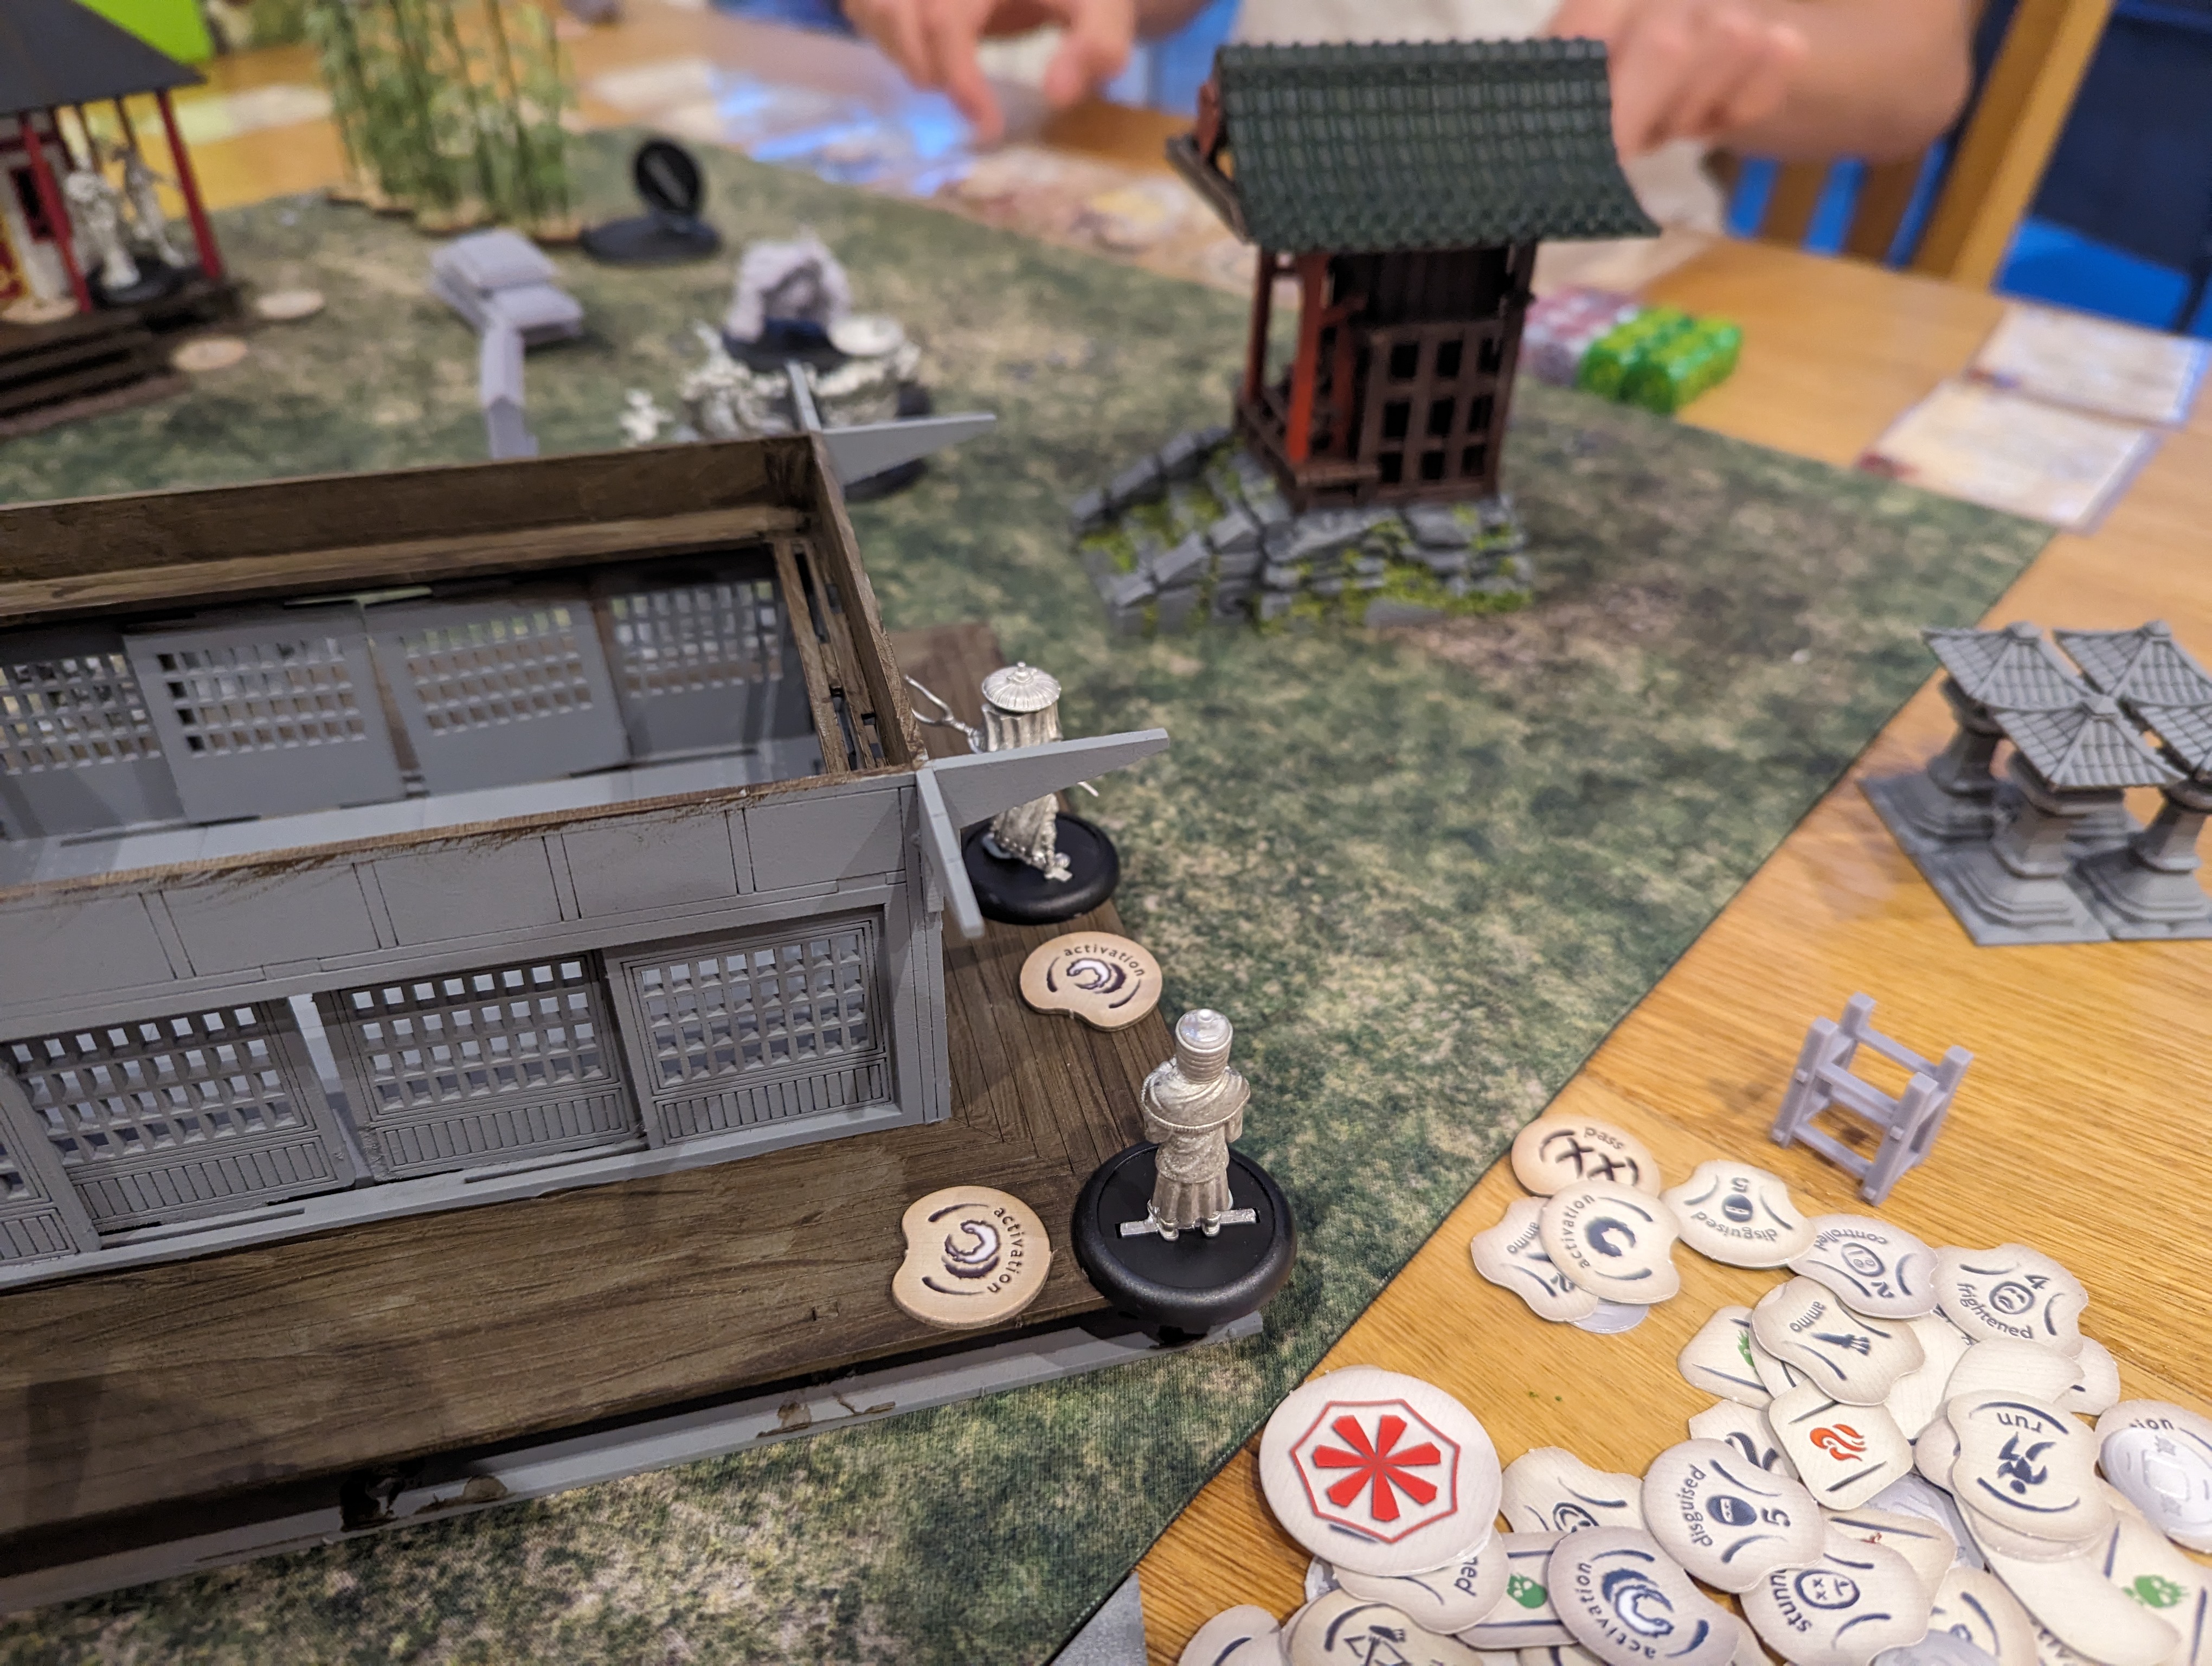
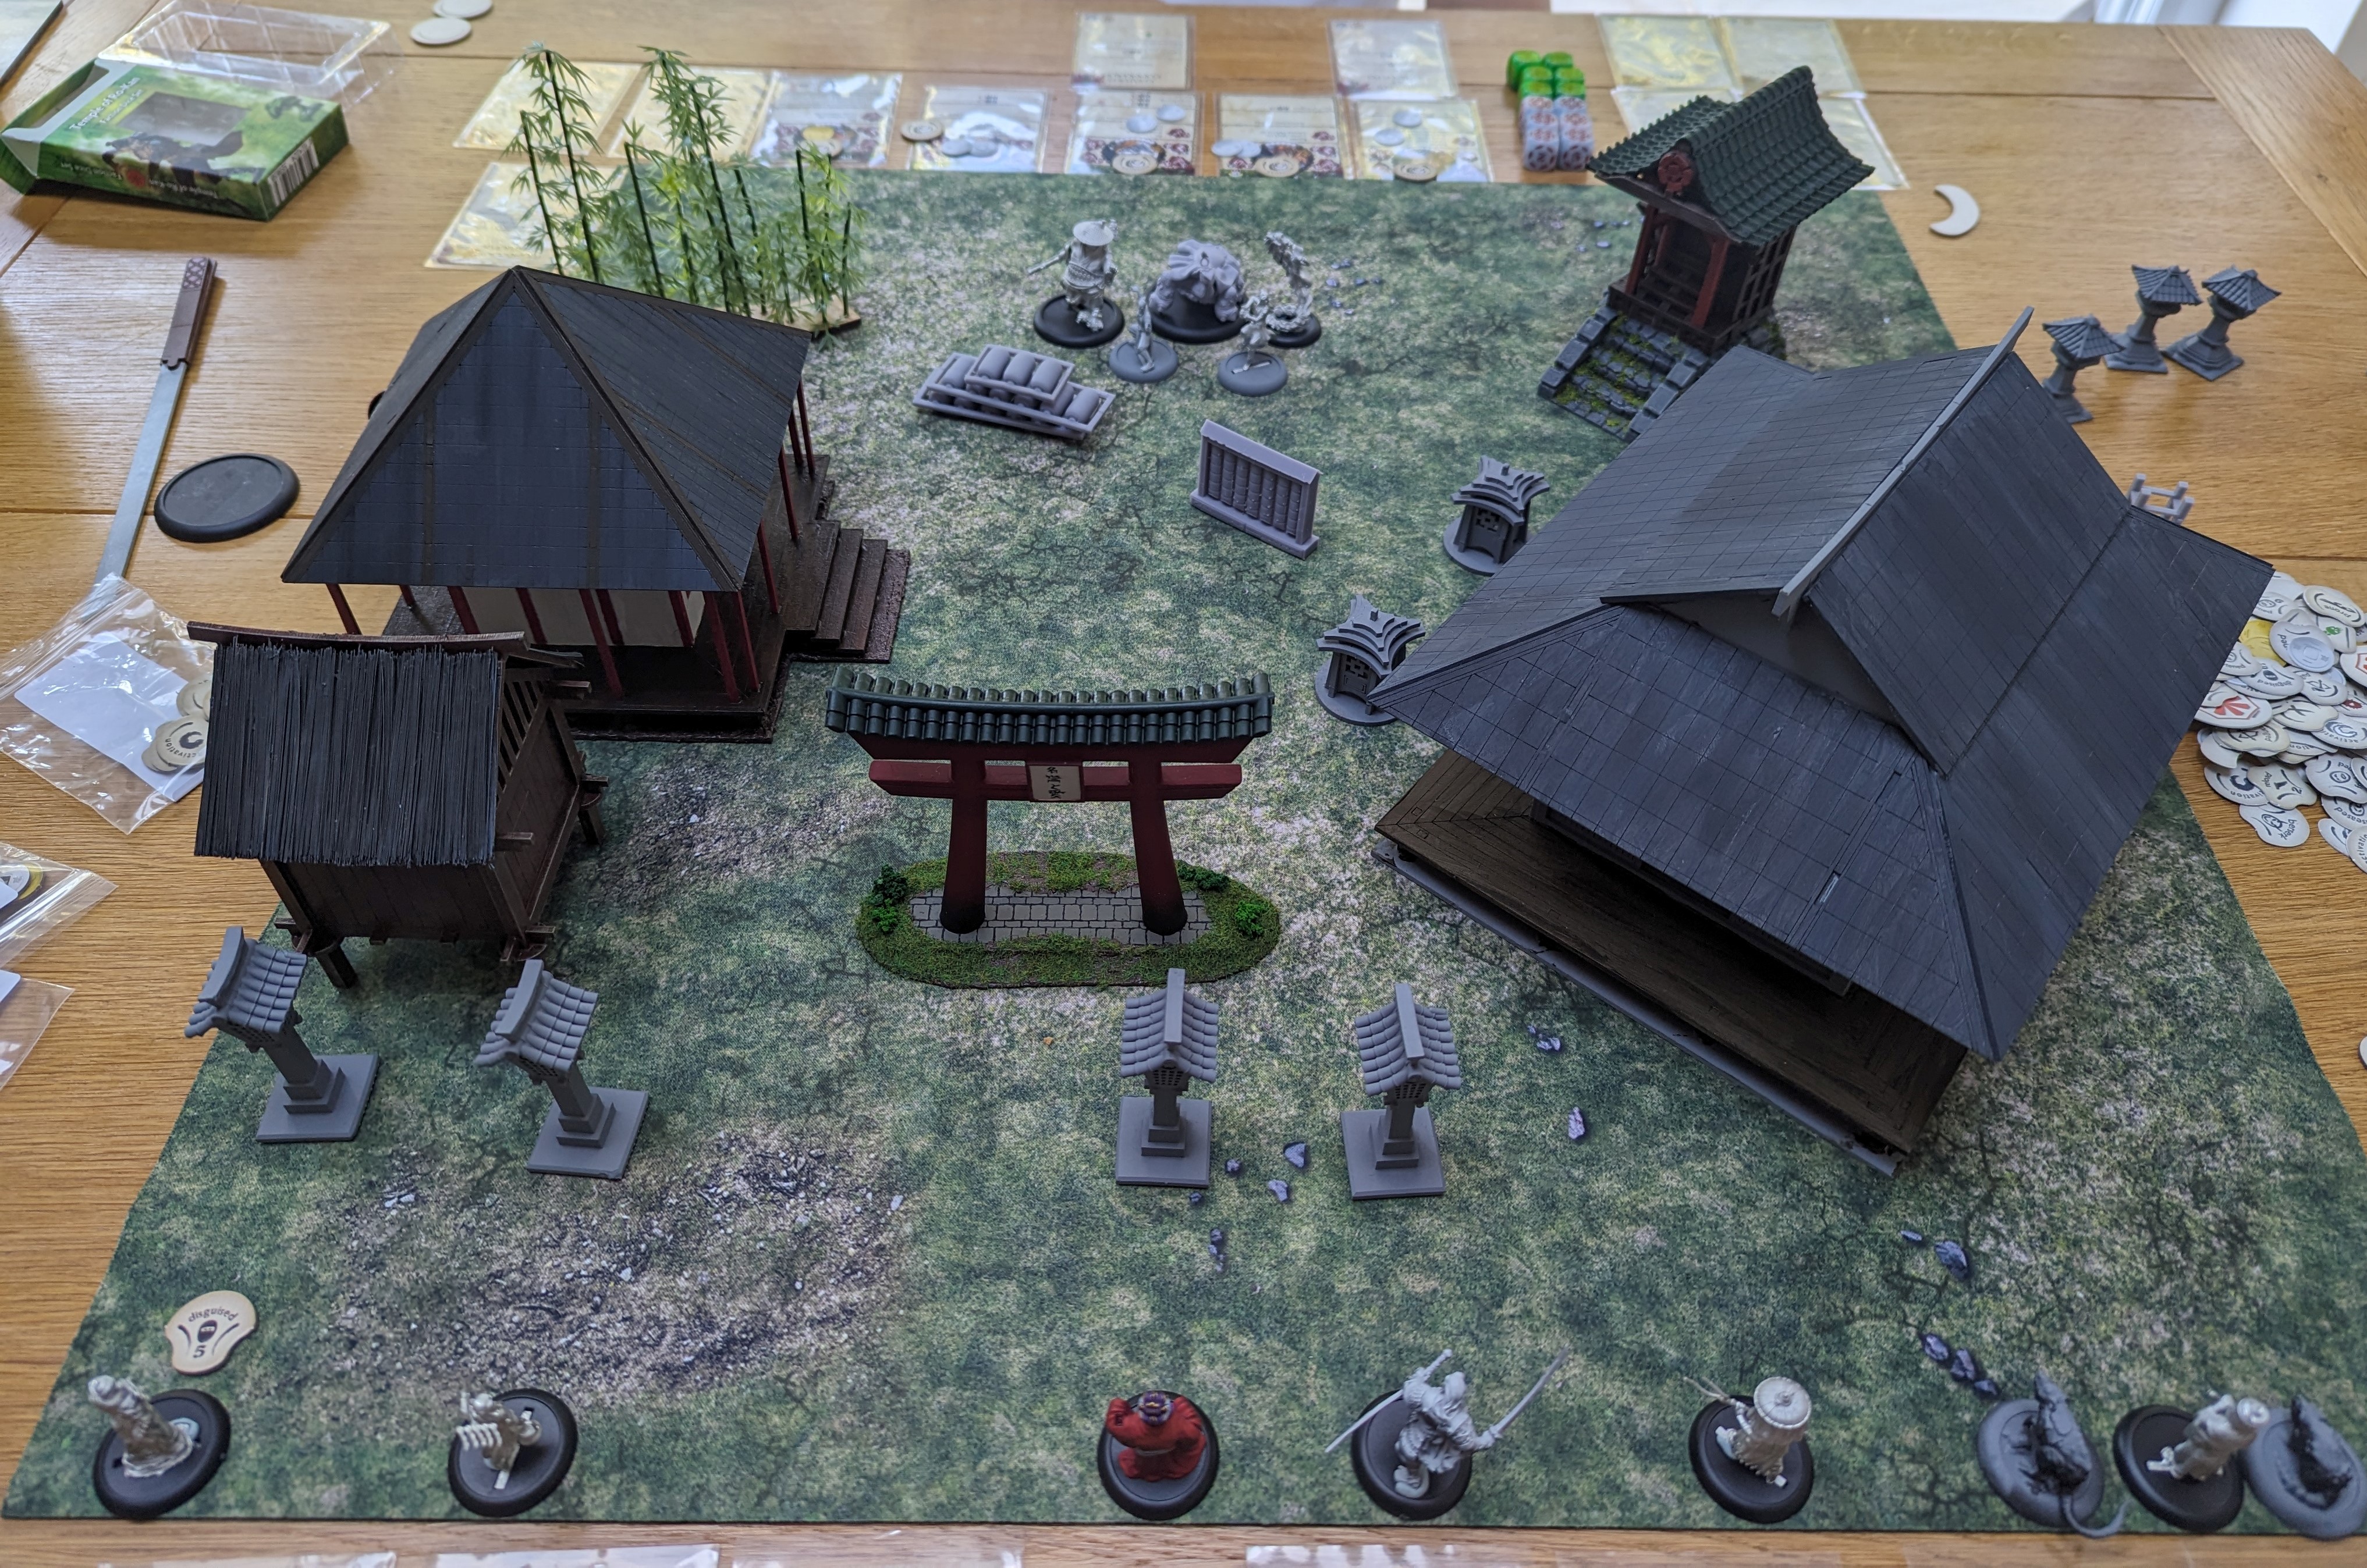 Deployment
Turn 1.
Like most games, turn 1 is about setting up for the rest of the game. I kept Hozume Maha back to focus on Ki generation so that he could unleash his command ability in later turns but otherwise advanced everyone forward behind the available cover. My son rushed forward around his terrain piece that dishes out Ki and started collecting as much as he could.
I activated a plague rat at which point my son threw down his trap card. I failed my test and my son then got to roll for damage. He’s always been lucky with his dice rolls when it counts and this was no exception as he rolled high, killing my plague rat out right – first blood to him.
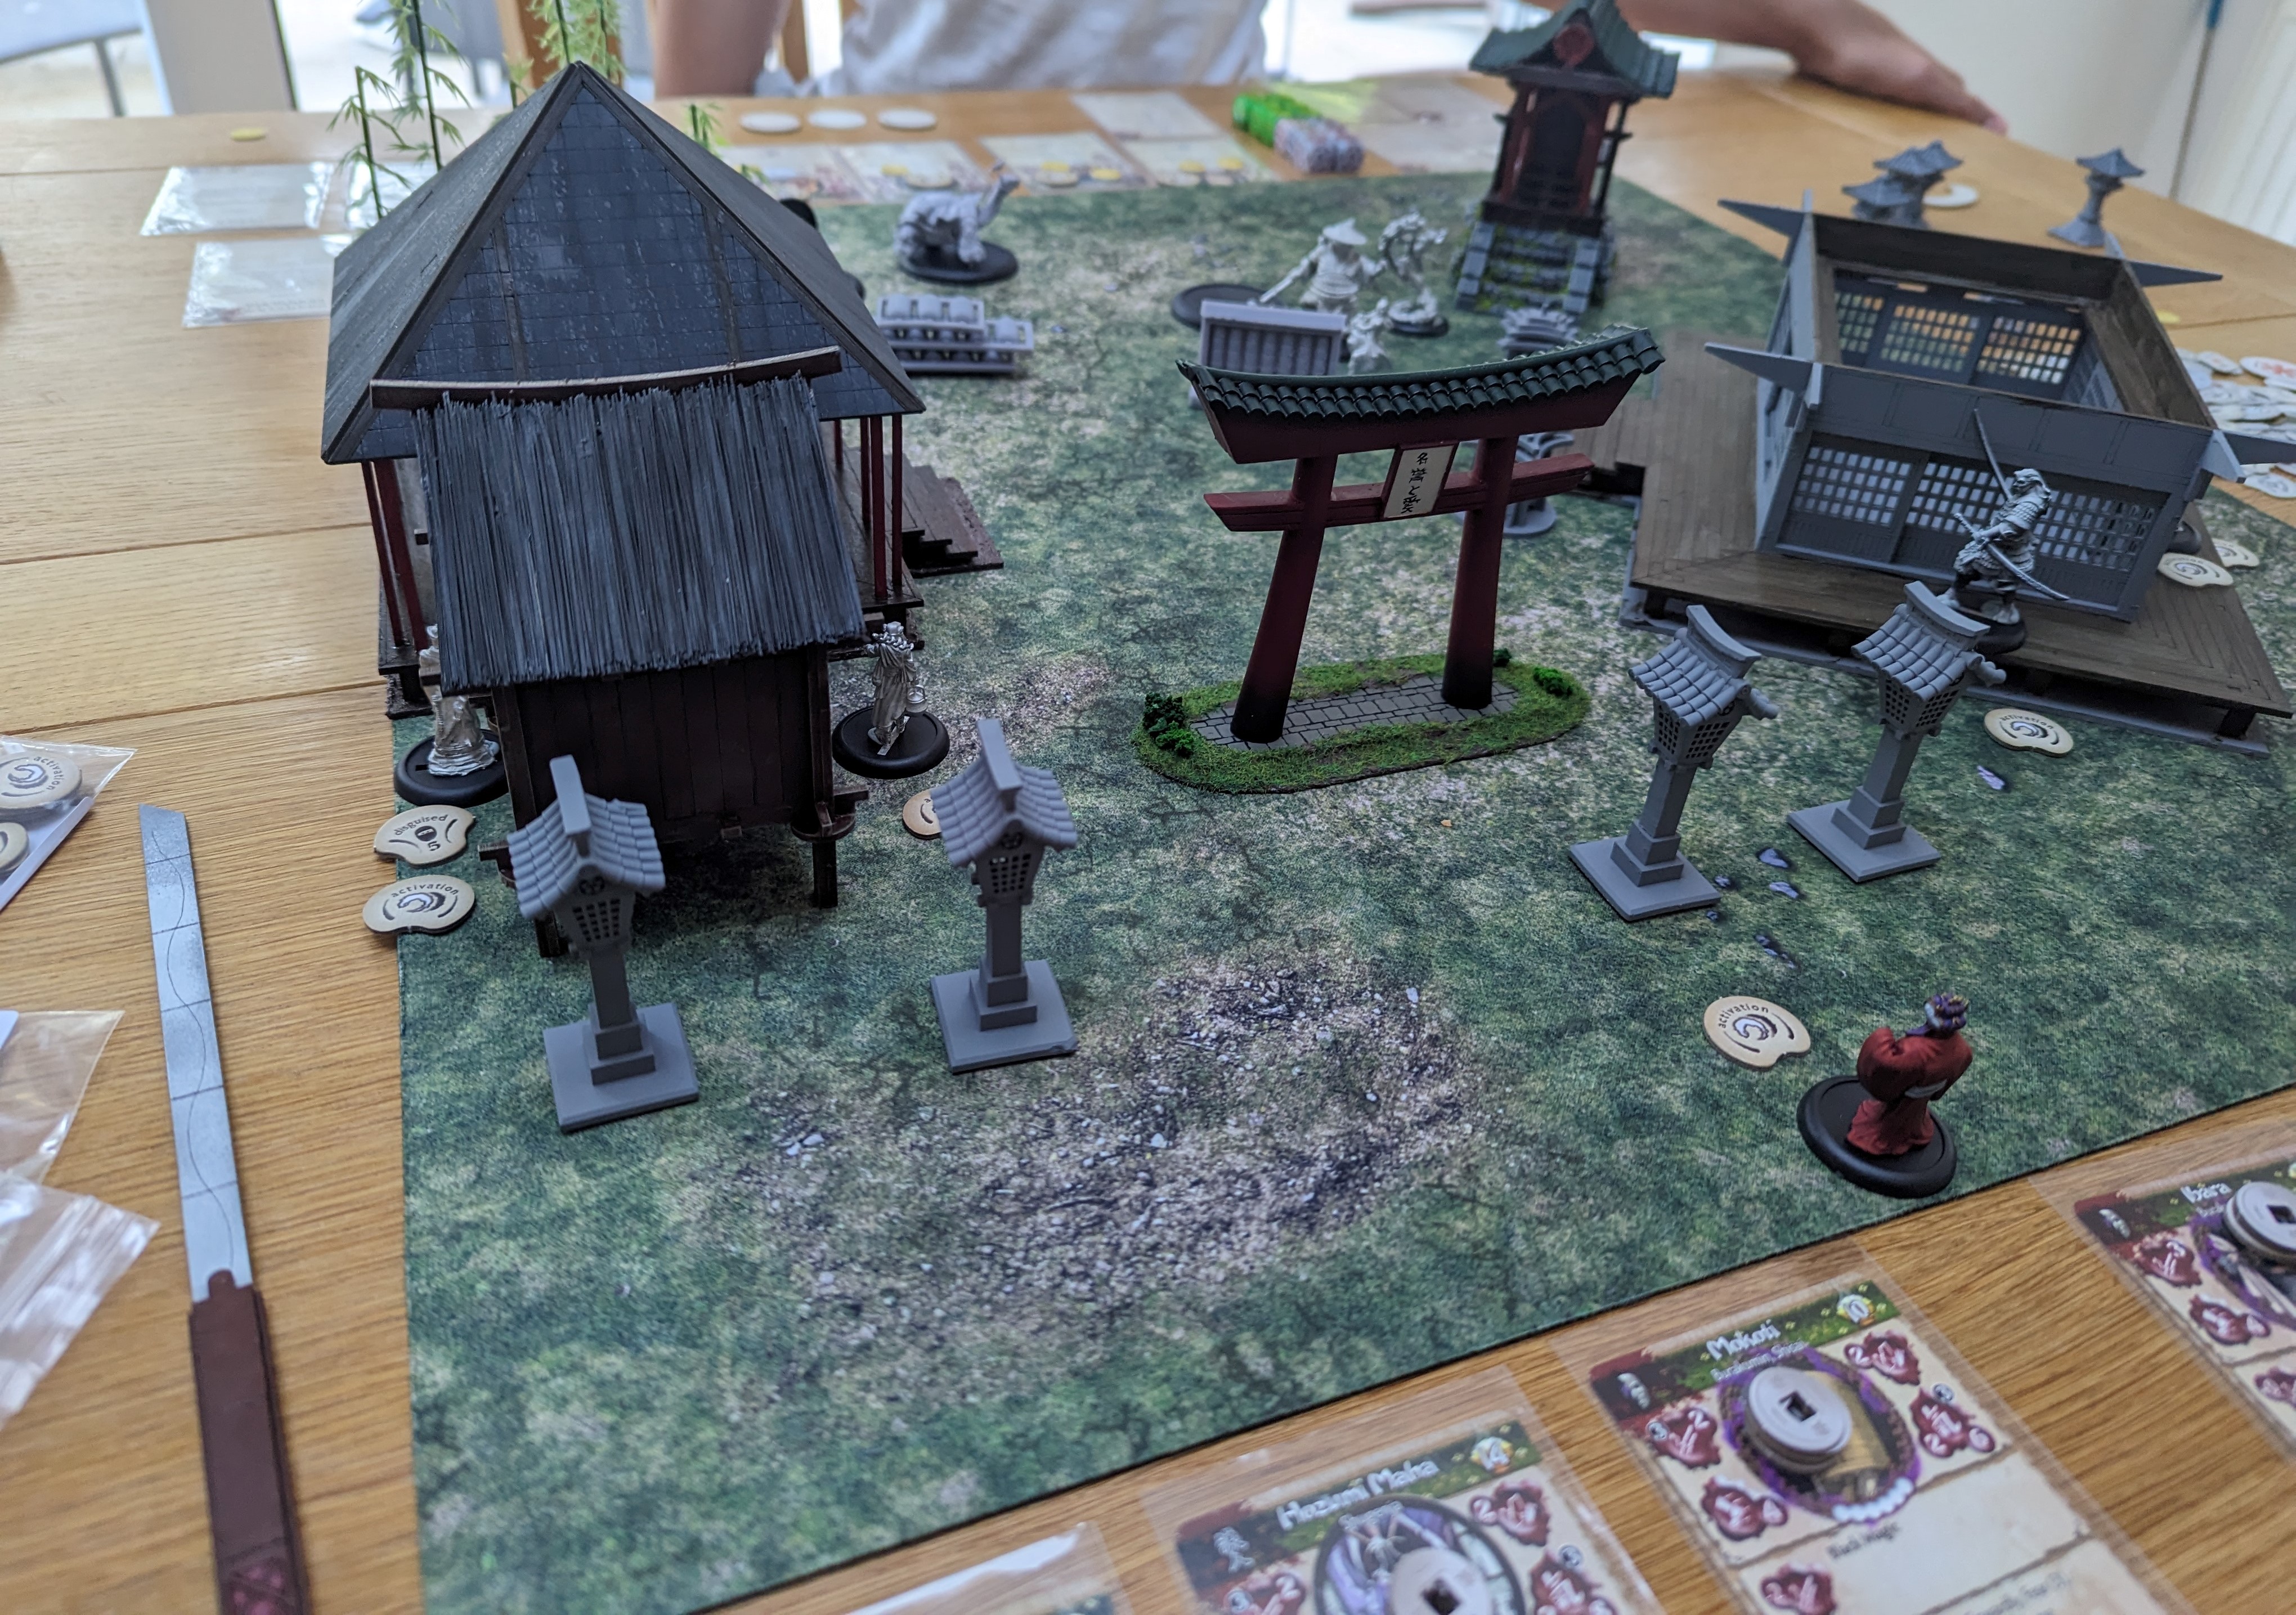
Turn 2.
I advanced my other plague rat up the right side but it was charged by Hotaru and it died quickly in combat after Hotaru activated her fire ability. Mokati managed to control Saruka who I then got to attack Yim – this caused no damage but did mean that both Saruka and Yim used up their activations. Ibara is able to spray Yim with fire to cause some damage. Otherwise, the rest of the models continue to move into position this turn.
Turn 3.
I try to cast control with both Mokoti and Hozumi Maha but manage to roll snake eyes on both tests, failing completely. In reply, Kuma charges Mokoti and, in one of the most one sided battles ever, Mokoti is battered to death, taking 12 damage in one turn (he only has 6 health to start). To get some sort of revenge, I charge Tenbatsu at Saruka and cause 4 damage to her.
Turn 4.
My notes for this turn are a little brief, but Master Ekusa tried and failed to remove activations from Tenbatsu. Tenbatsu and what was left of the Cult of Yurei warband all attacked Saruka, failing to cause any damage or succeed with a command spell.
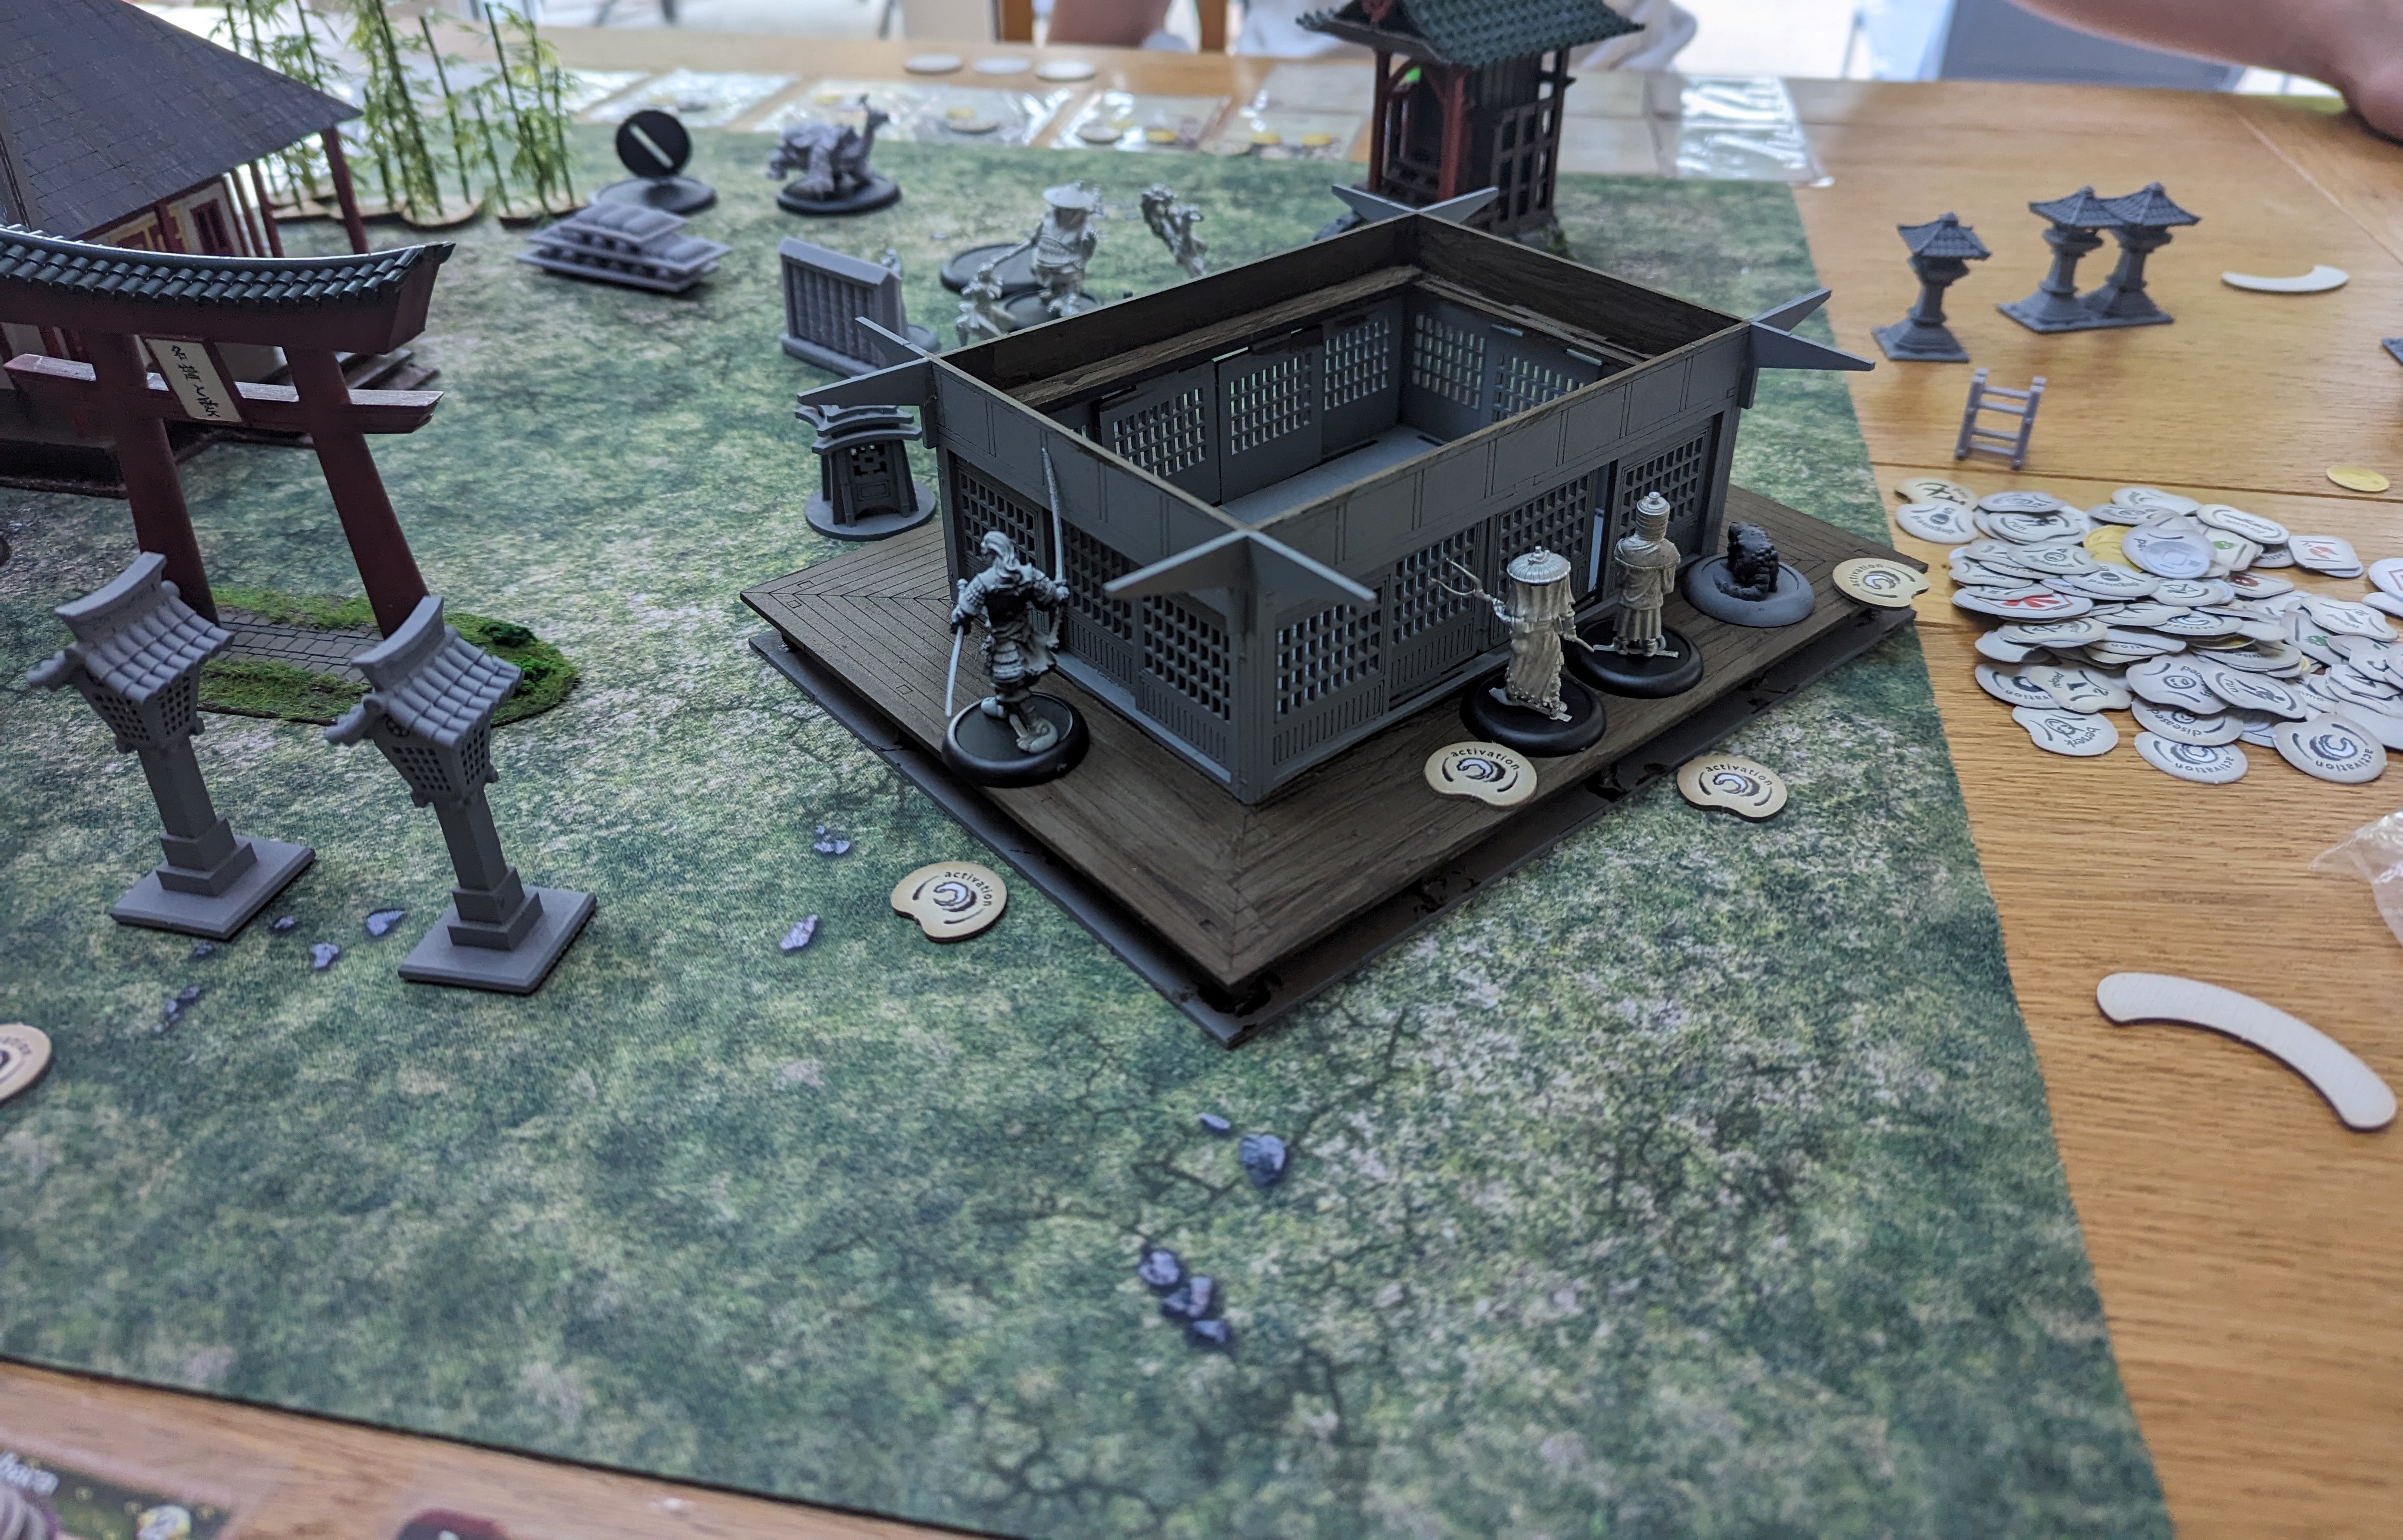
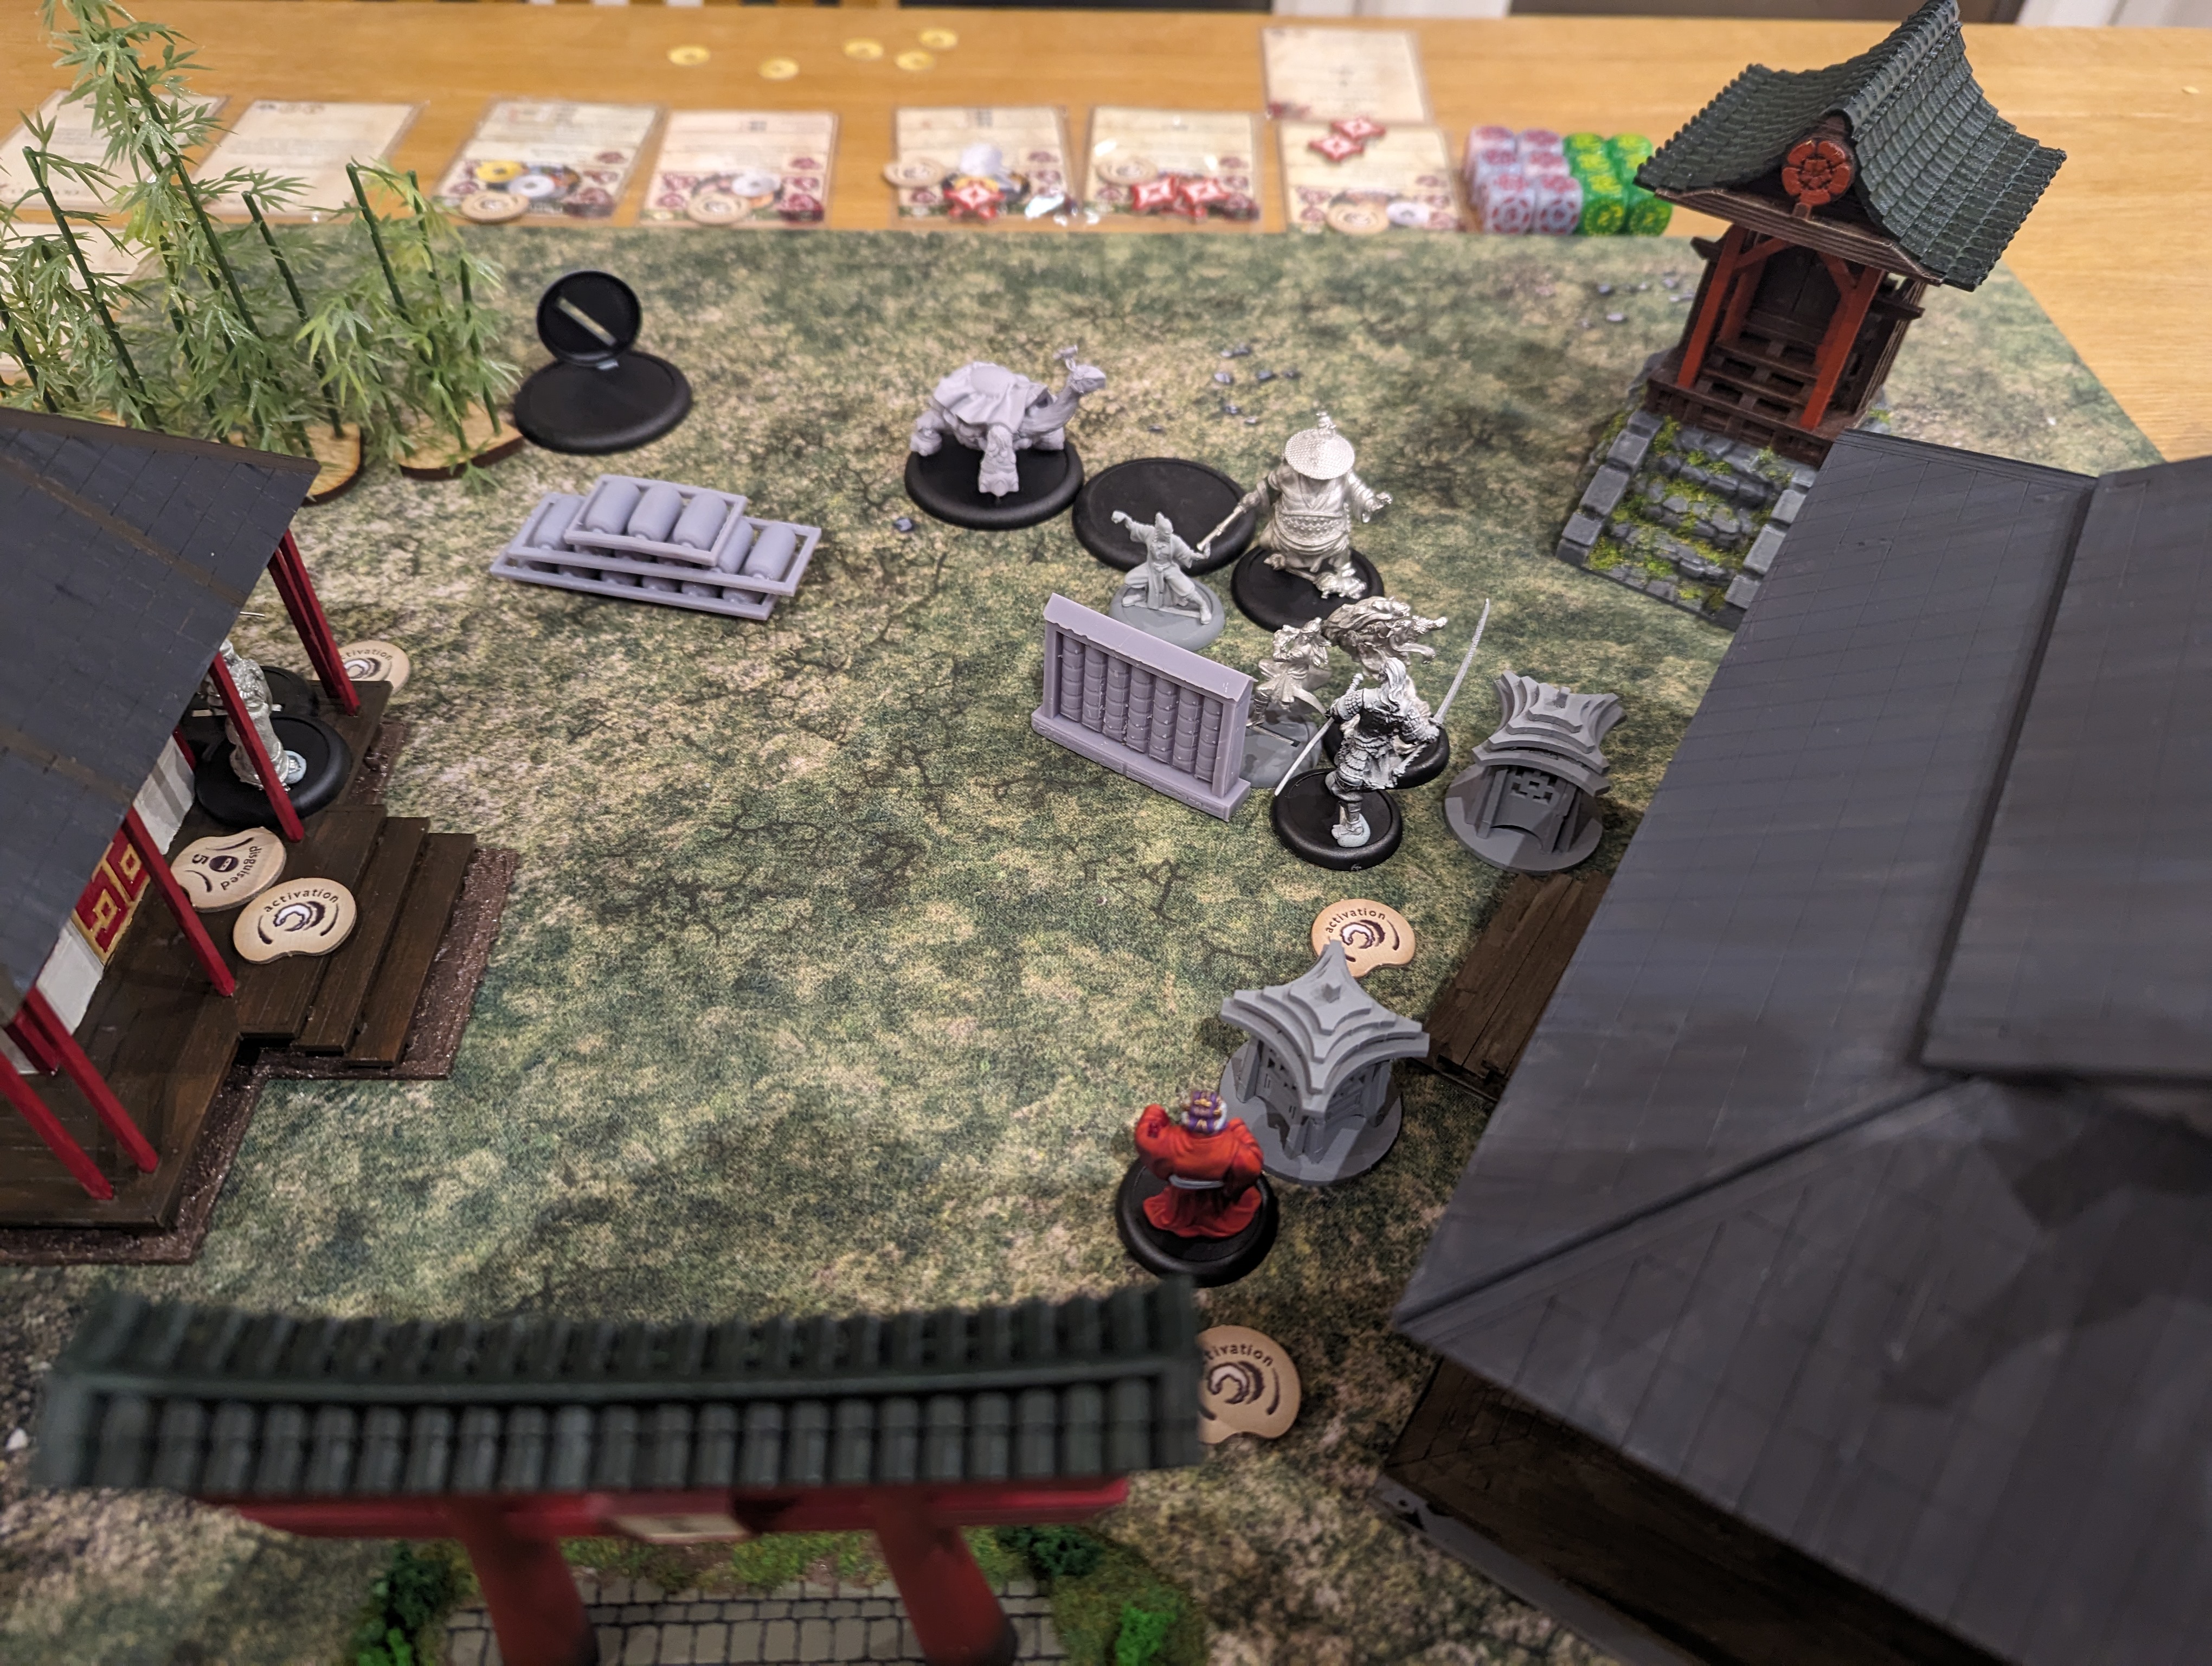
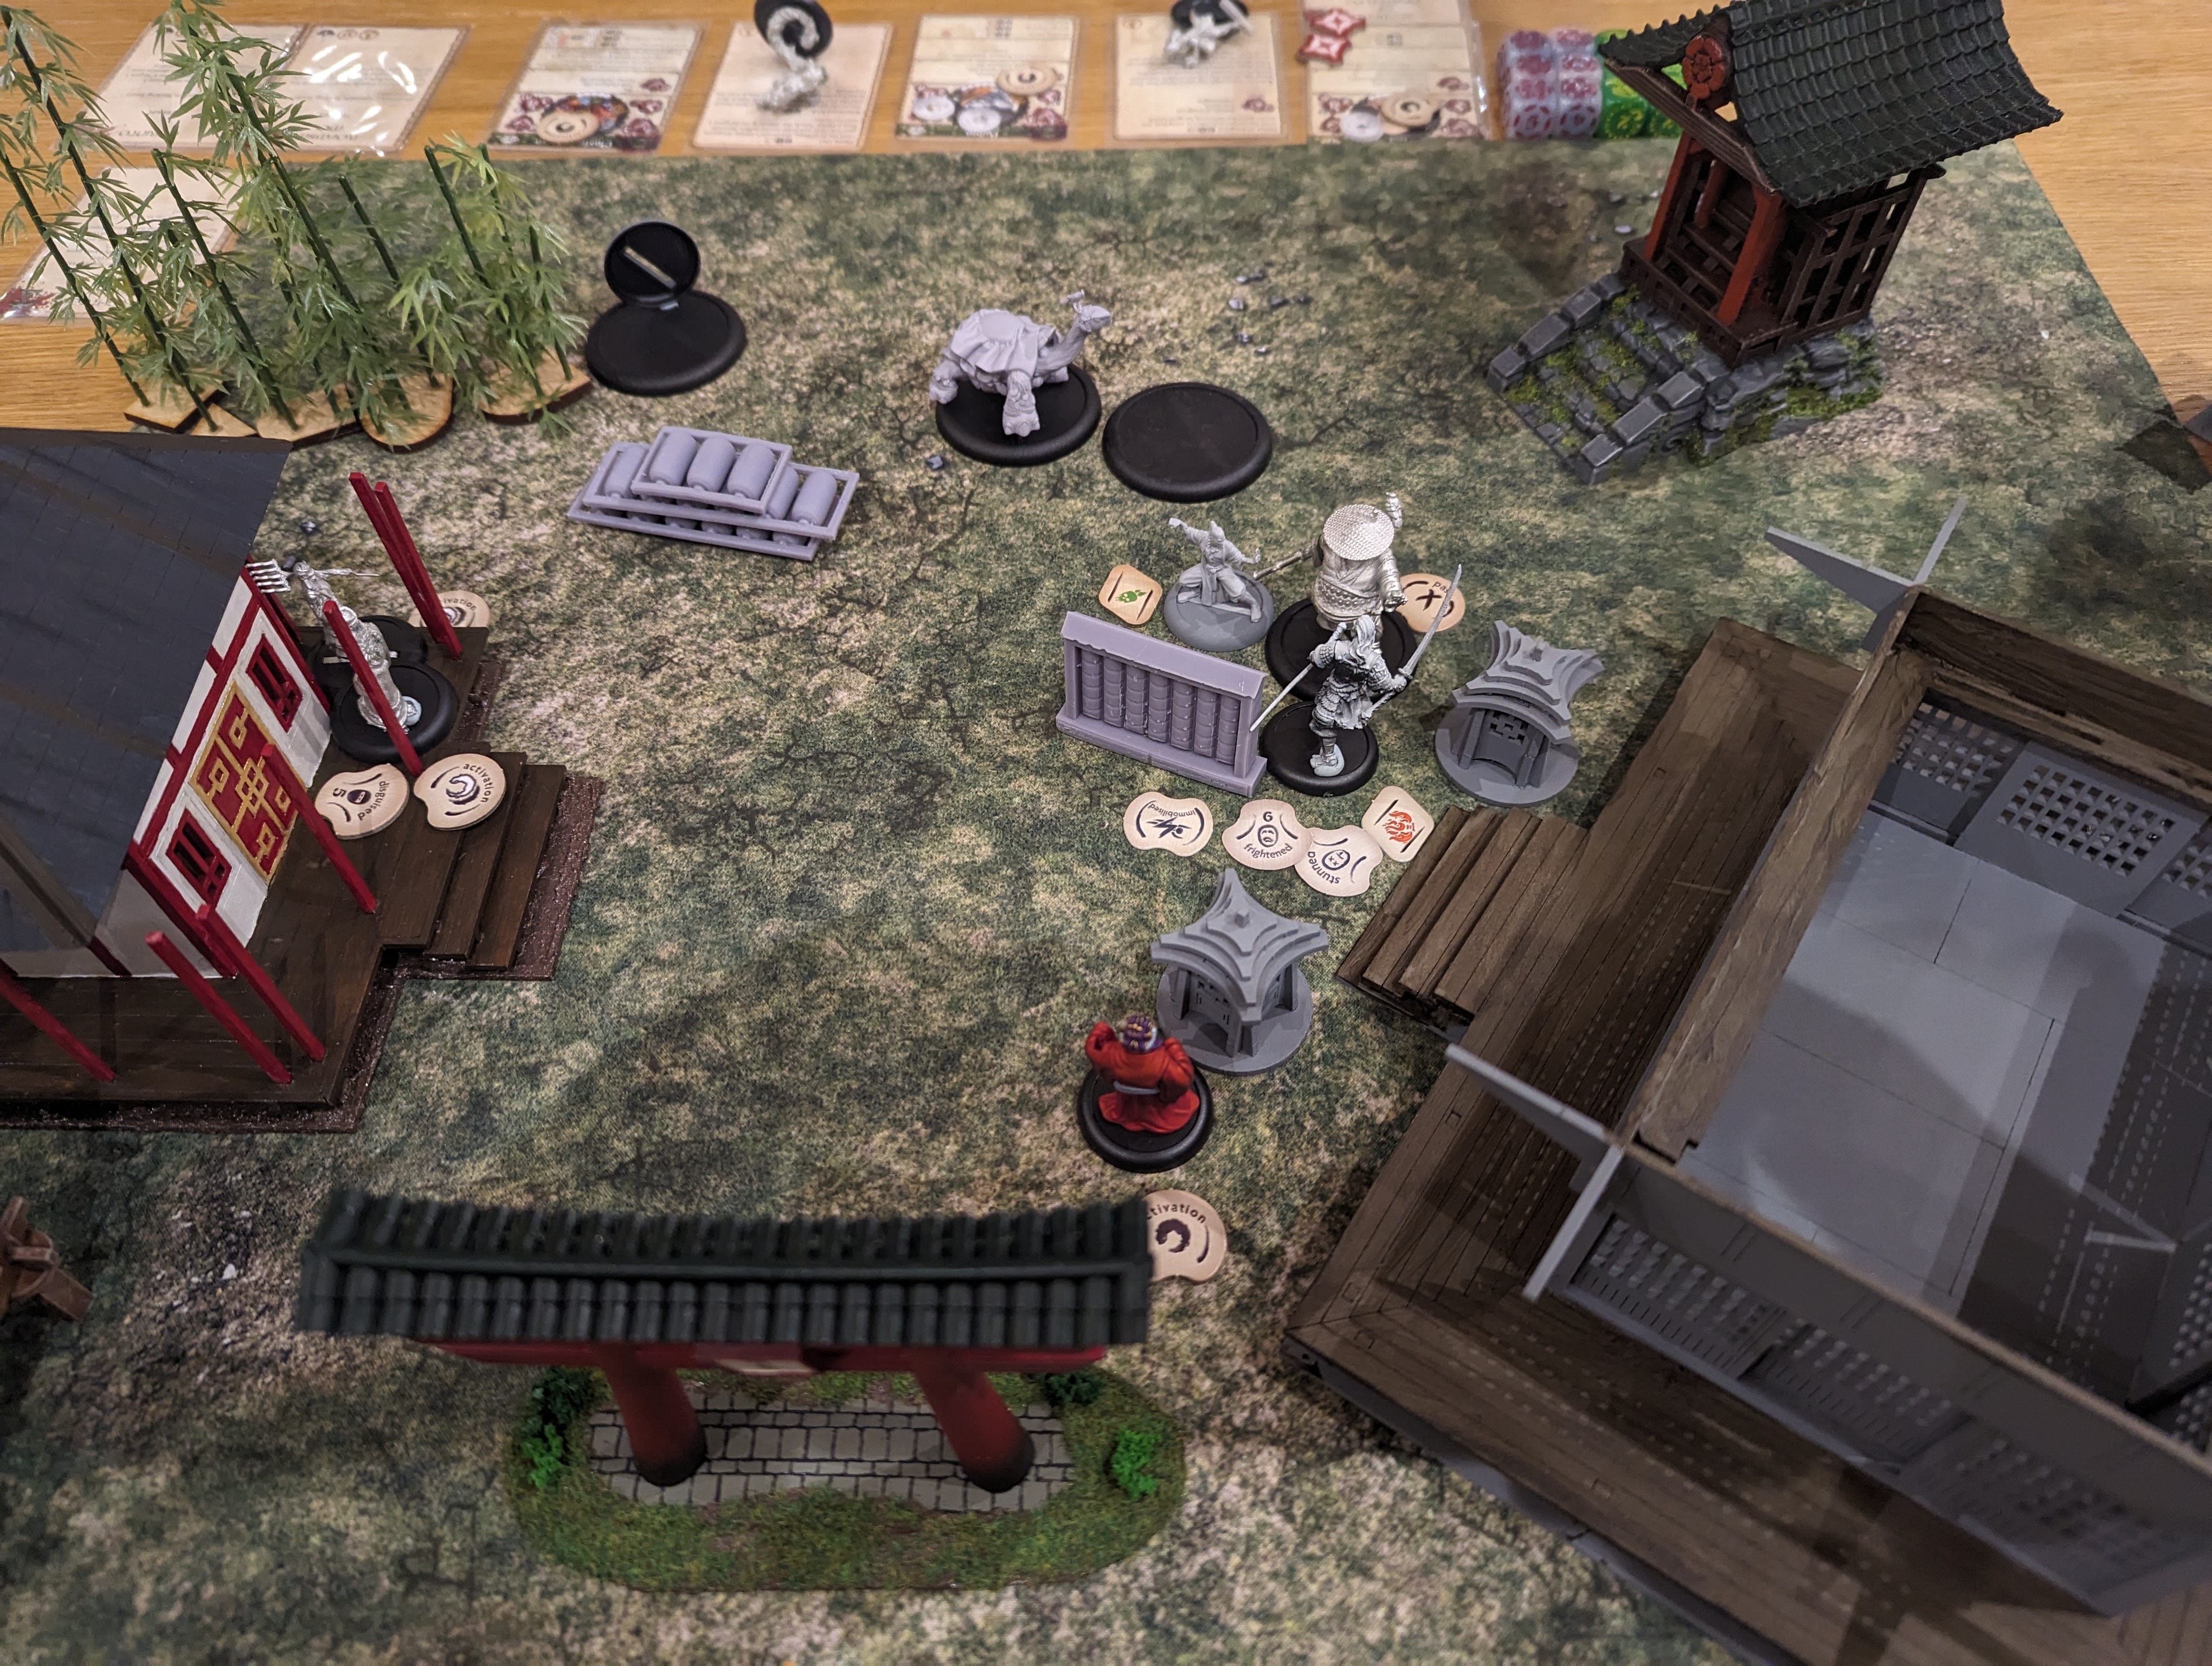 Back end of turn 4
Turn 5.
Again Master Ekusa fails to suck an activation from Tenbatsu who finally extracts some revenge and kills Saruka in a bloody display of sword play. Hozumi Maha finally succeeds in getting a control spell off and takes control of Yim who promptly turns around and punches Hotaru in the face, causing a couple of points of damage. Hotaru then attacks Tenbatsu but Tenbatsu is no match for the young fire monk and is able to cut her down
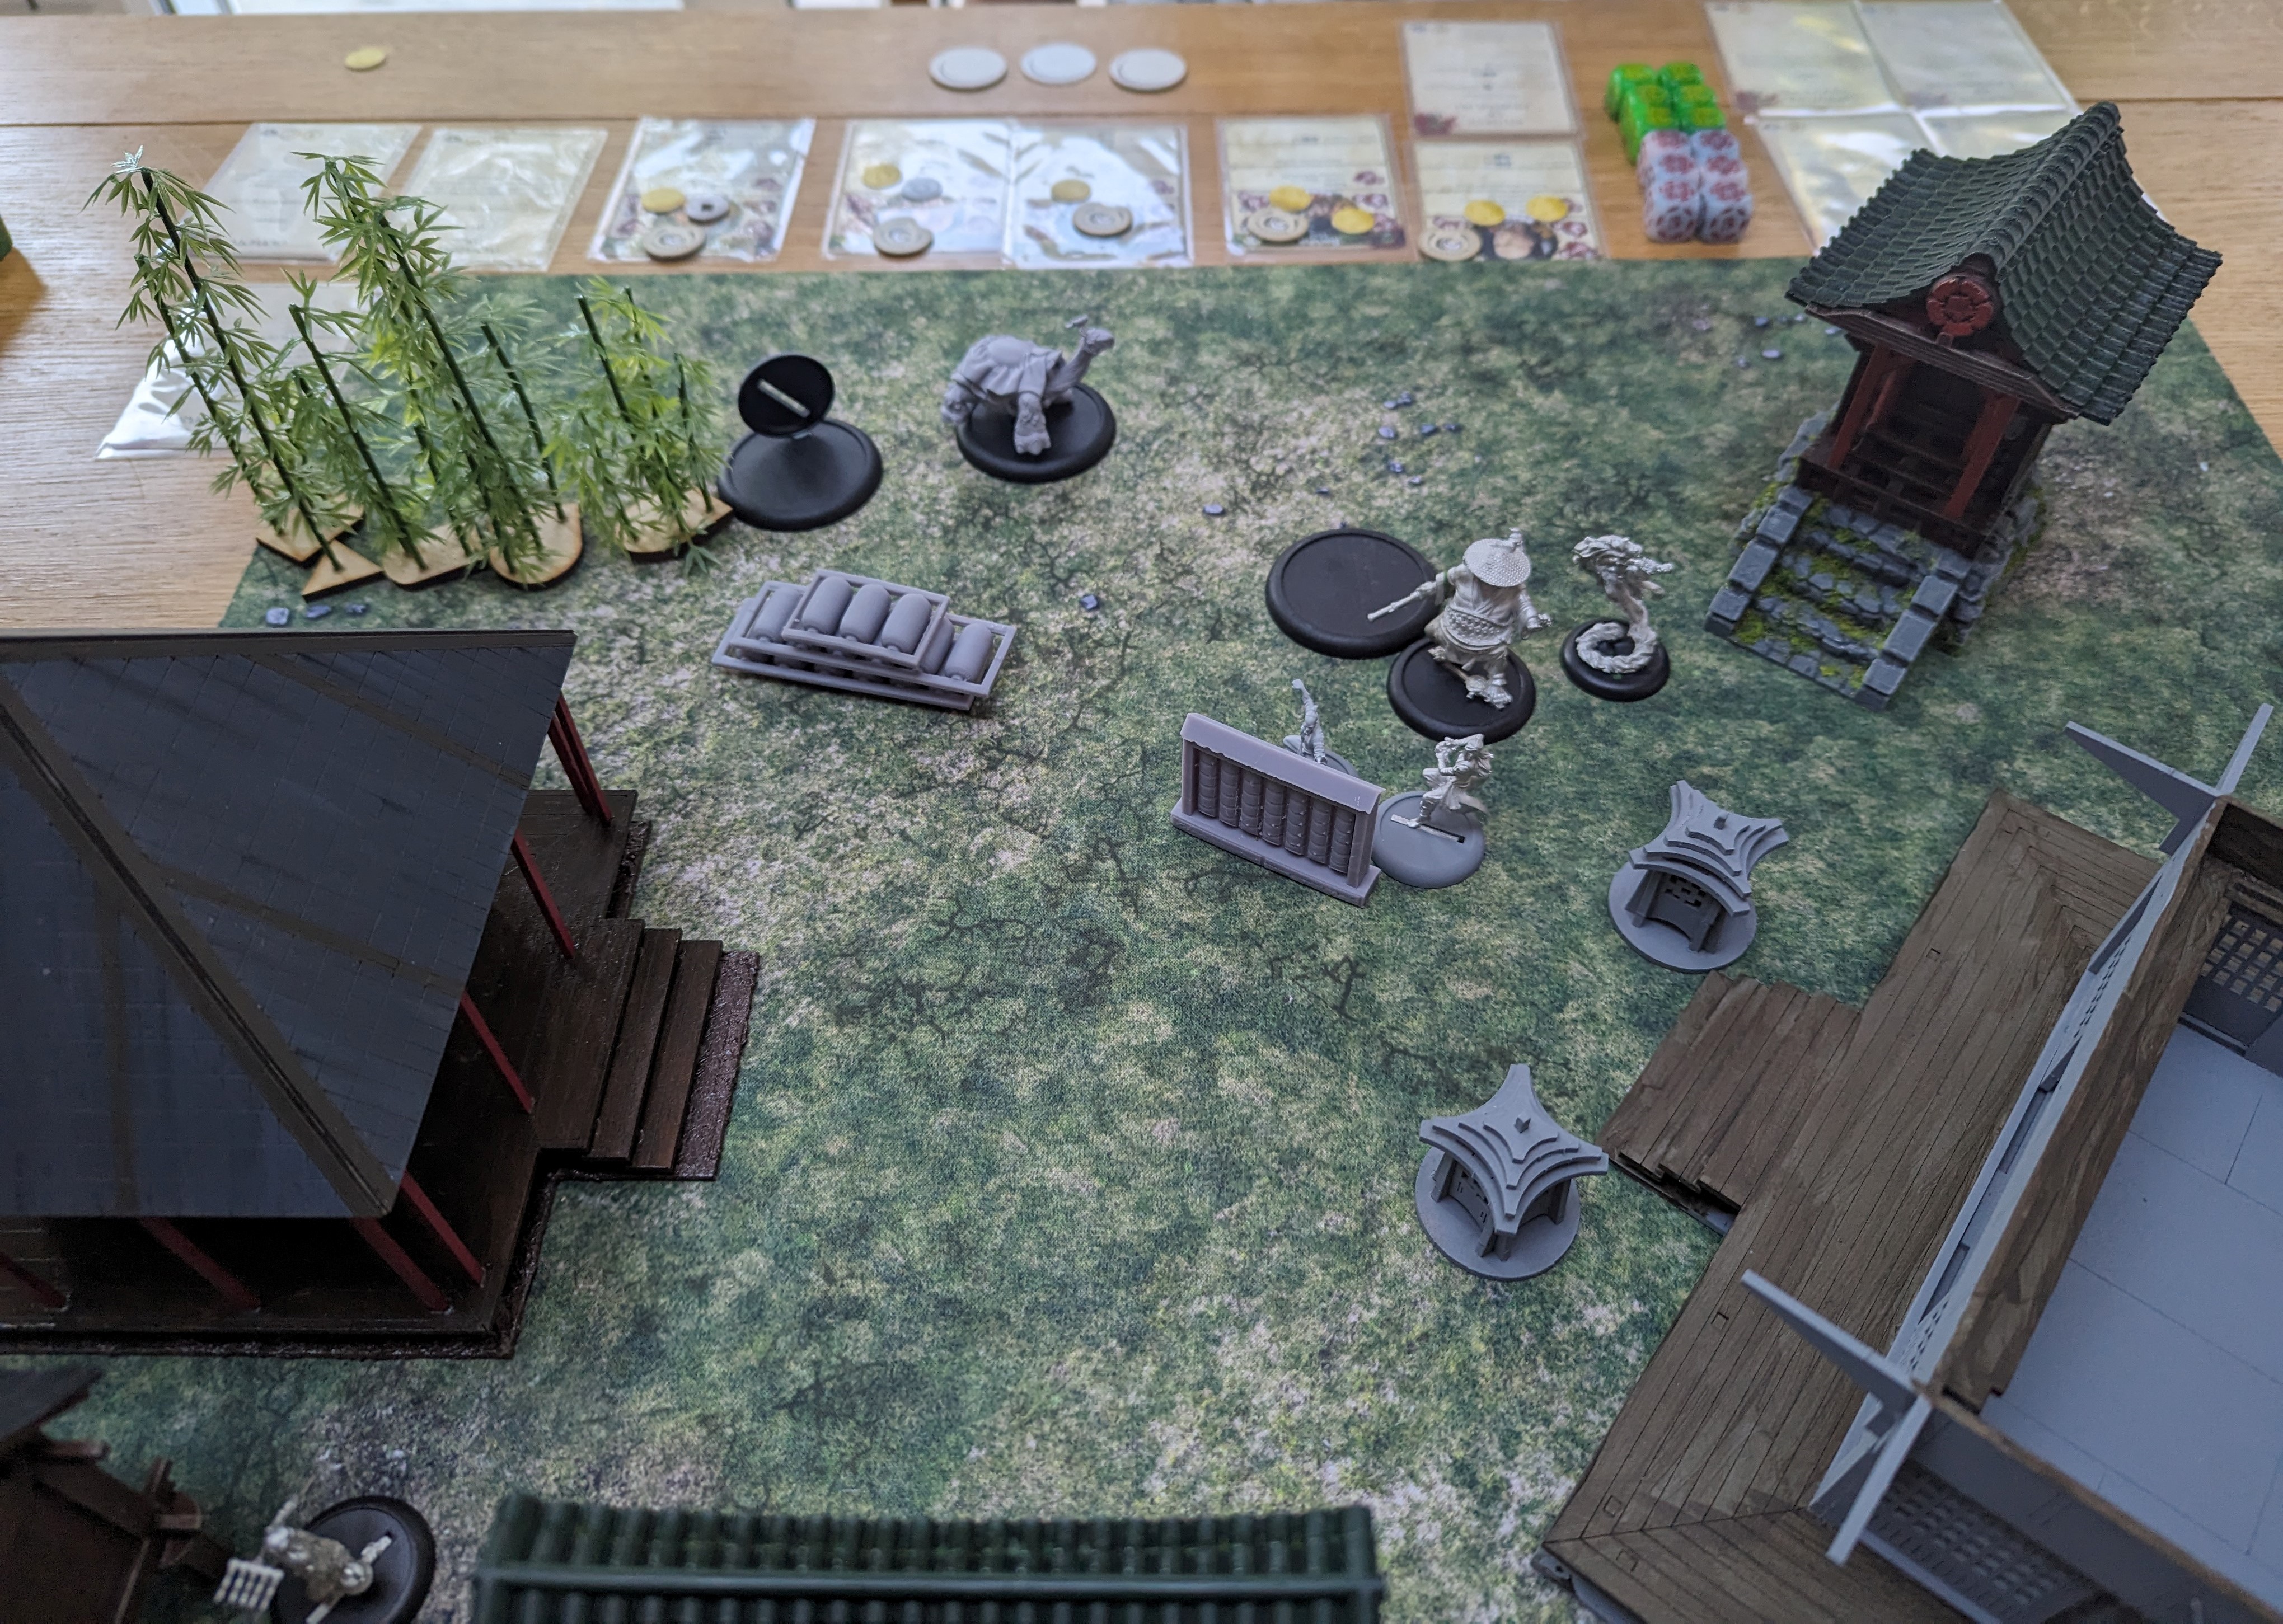
Turn 6.
My notes get very blurry at this stage but Kuma launches a full on attack at Tenbatsu using all of his panda based magic. This results in Tenbatsu ending up stunned and immobilised which is not a great position to be in with an angry panda. Kuma is then able to kill Tenbatsu but not without taking a lot of damage in return. Ibara and Risu, who have been skulking around the side to get into the rear of the enemy, blast Yim with their ranged attacks and Yim dies a horrible poisoned, flame-ridden death.
At this point, I’m left with Risu, Ibara, Hozumi Maha and Mo Ises (who’s been largely useless so far). My son has a battered Kuma and Grand Master Ekusa. It was also getting late and so we decided to call it a draw. But both agreed to do battle the following evening as we had enjoyed the game so much.
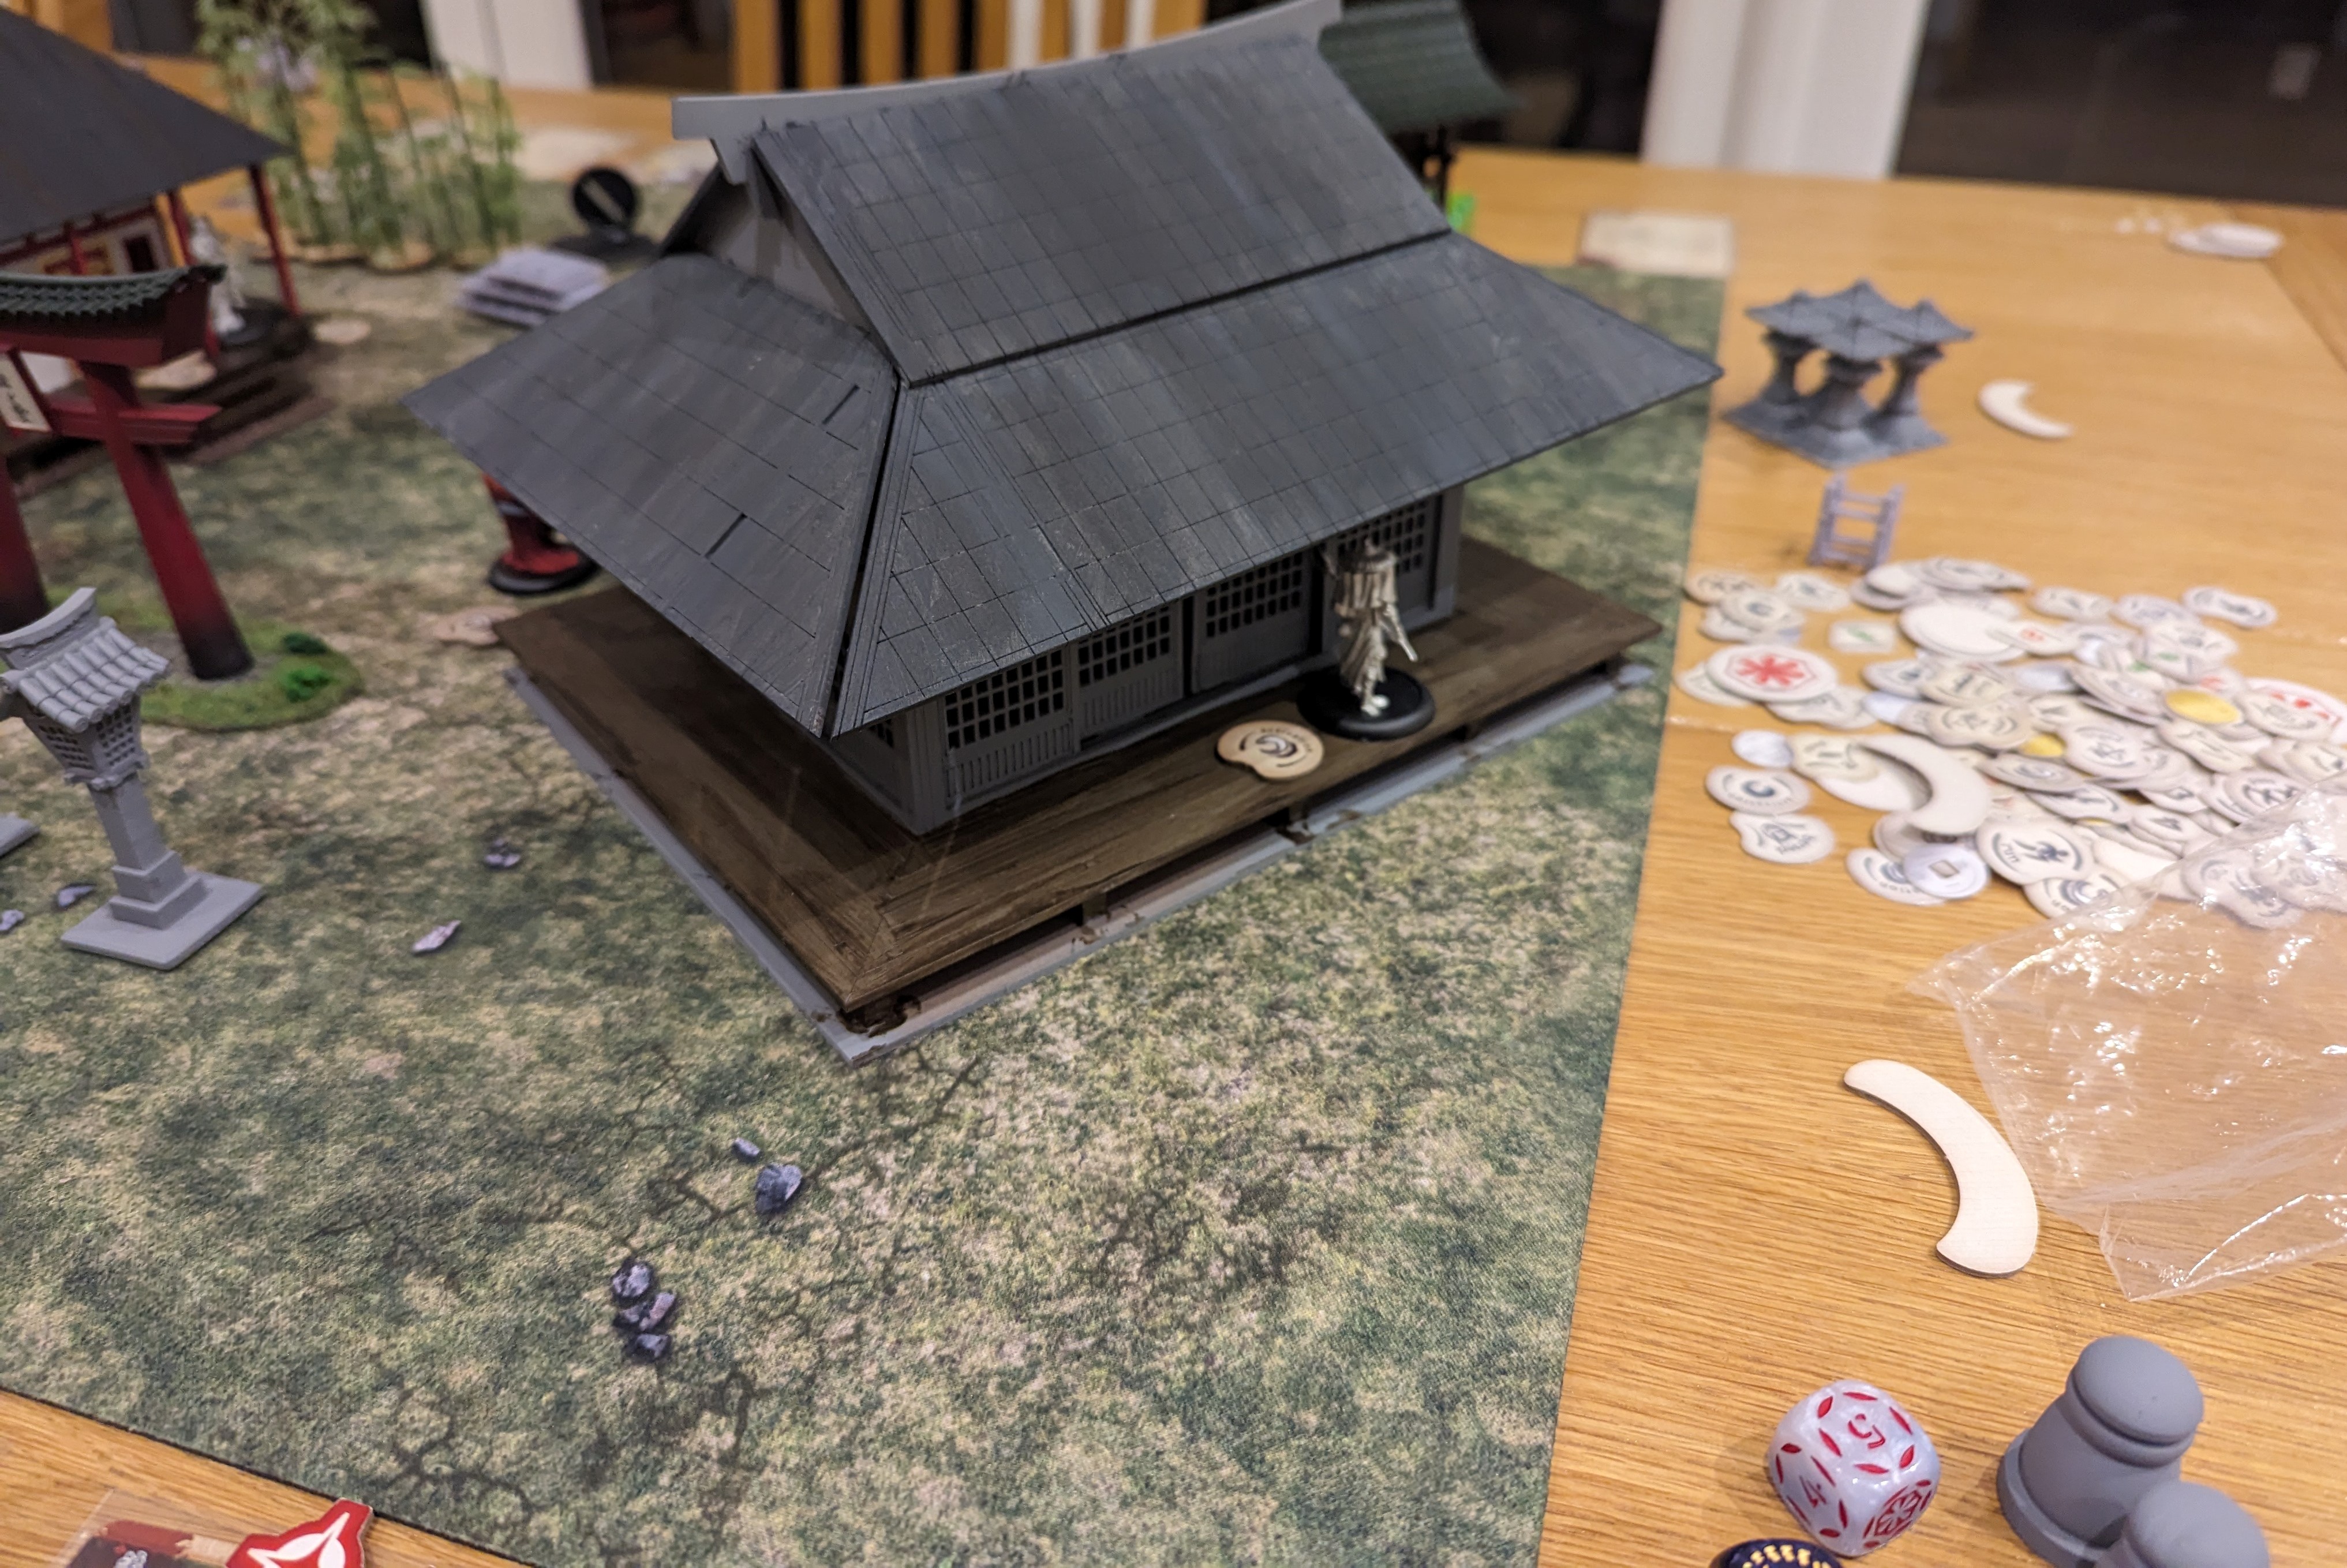
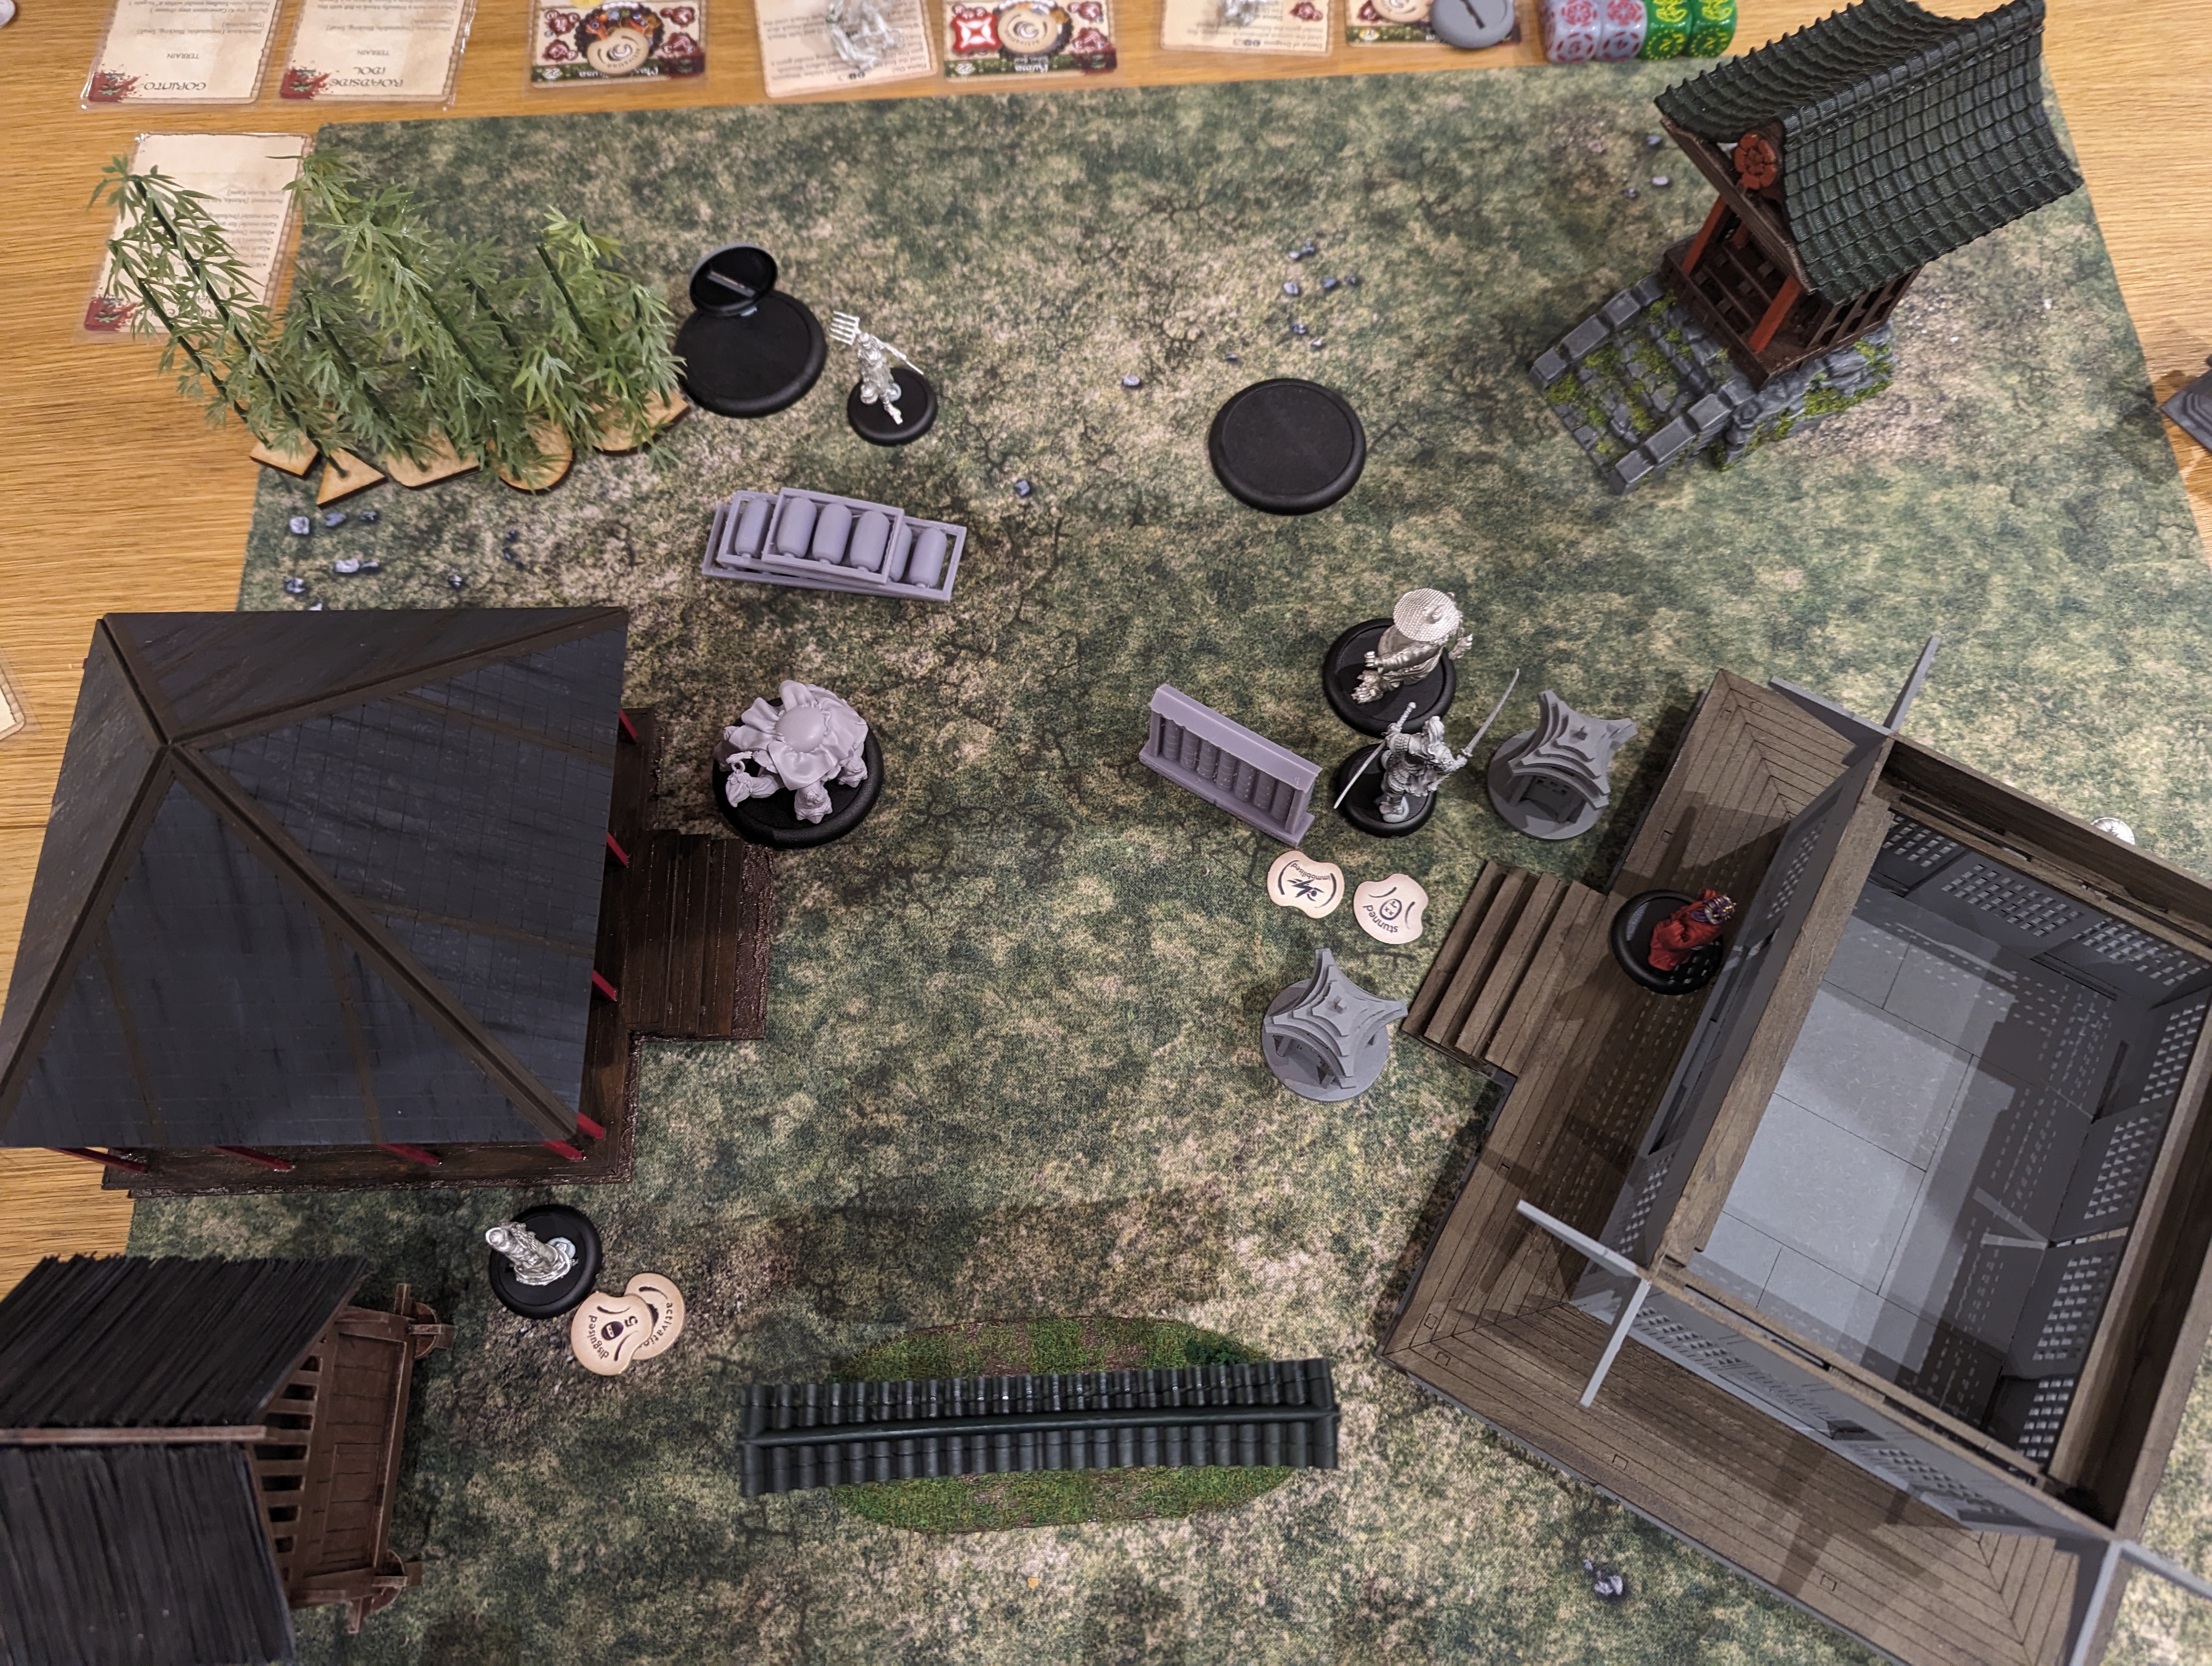 Somewhere toward the end of turn 5 or 6 - it all gets a little hazy at this point


Leave a Reply