


Redvers and Son Get Into Bushido


Temple of Ro-Kan Shisa
We’ve painted a lot of terrain but no actual models in this project. Until now.
Temple of Ro-Kan can field some constructs which are based on the statues you see at various temples in China and Japan. To create these, I went searching across various 3d printing sites to find 3d scans of temple statues. I’ve also collected some stl files for bases.
Once downloaded, using nothing more than the free windows 3D Builder, I can put the models together. In this case, I was able to import the stl files of the statues and the 30mm base into the same Builder scene. From the picture below, you can see that the statues are way out of scale to the base but 3D Builder allows rescaling. This is trial and error but eventually you can get something that fits on the base – just remember to scale in all three directions at the same time to avoid unusual geometry!
Next I need to fill the base up. This is achieved by creating a simple cylinder of the required size. Move the cylinder into position and merge the cylinder with the base. 3D Builder does all the hard work in merging the two meshes (and does this very well!). I’ve saved the base for future use to avoid repeating this step. You can import the base into Blender and create a rough ground texture or even add some rocks to the base (there is a Blender add on for creating rocks!) but in this case, I’ve left it blank as the statue will take up most of the base.
Finally, move the statue stl on to the base and ensure that the two meshes connect. This usually means settling the statue into the base which means that you lose a little bit of the detail on the bottom but done carefully, it’s not noticeable. If you don’t merge the two files, it won’t print although you can of course print them separately and glue them together once printed. But it’s easier to merge them now. Once happy with the connection, merge the two meshes which can take a couple of minutes depending on the power of your PC.
All that’s left is to export the stl to your slicing software and print them out.
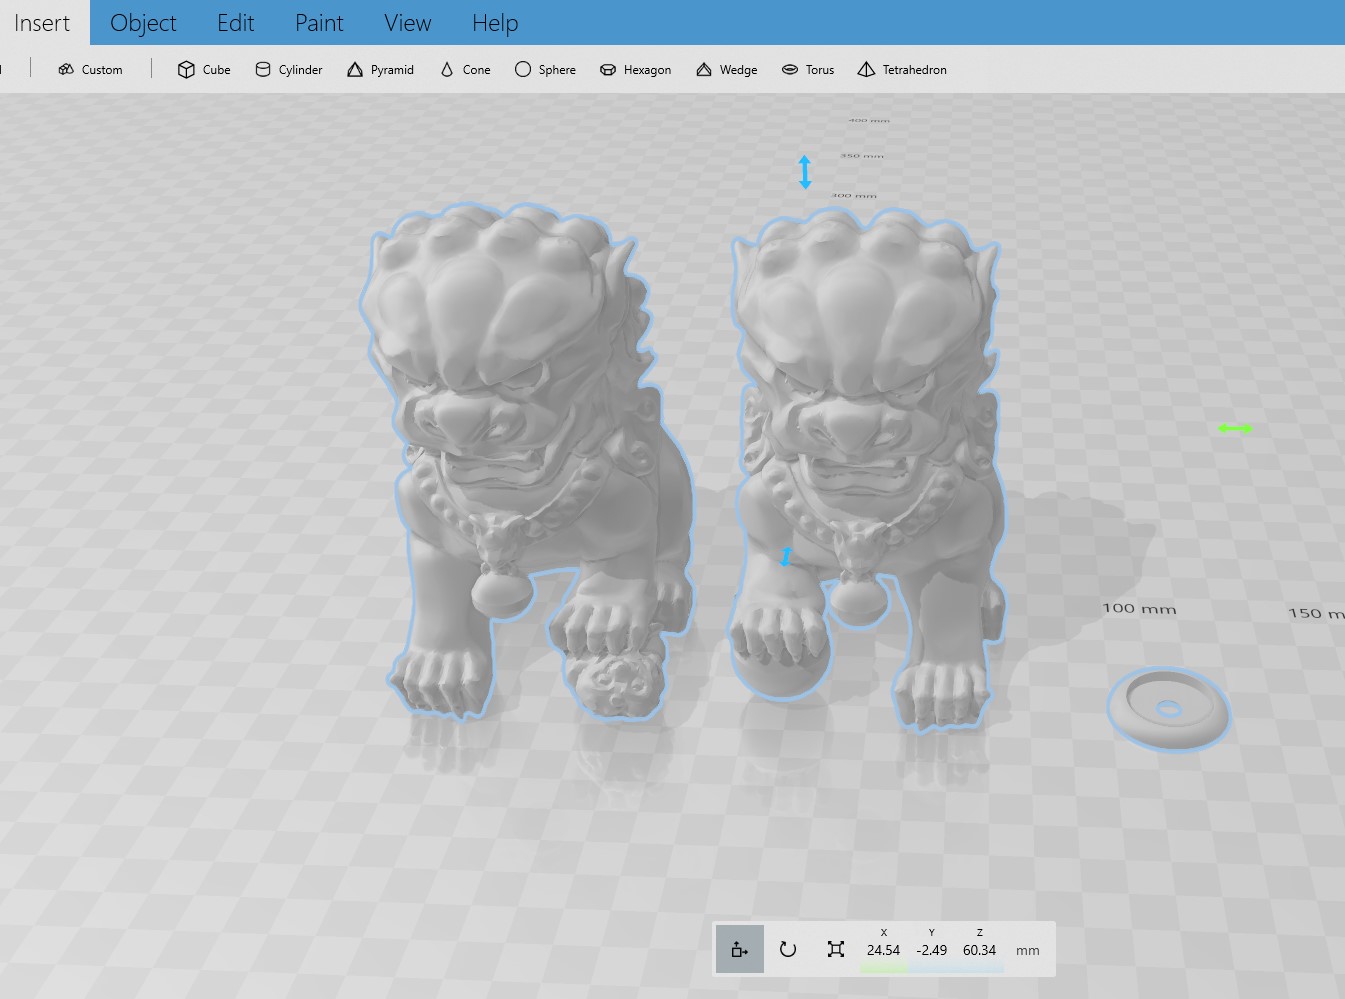 3D Builder
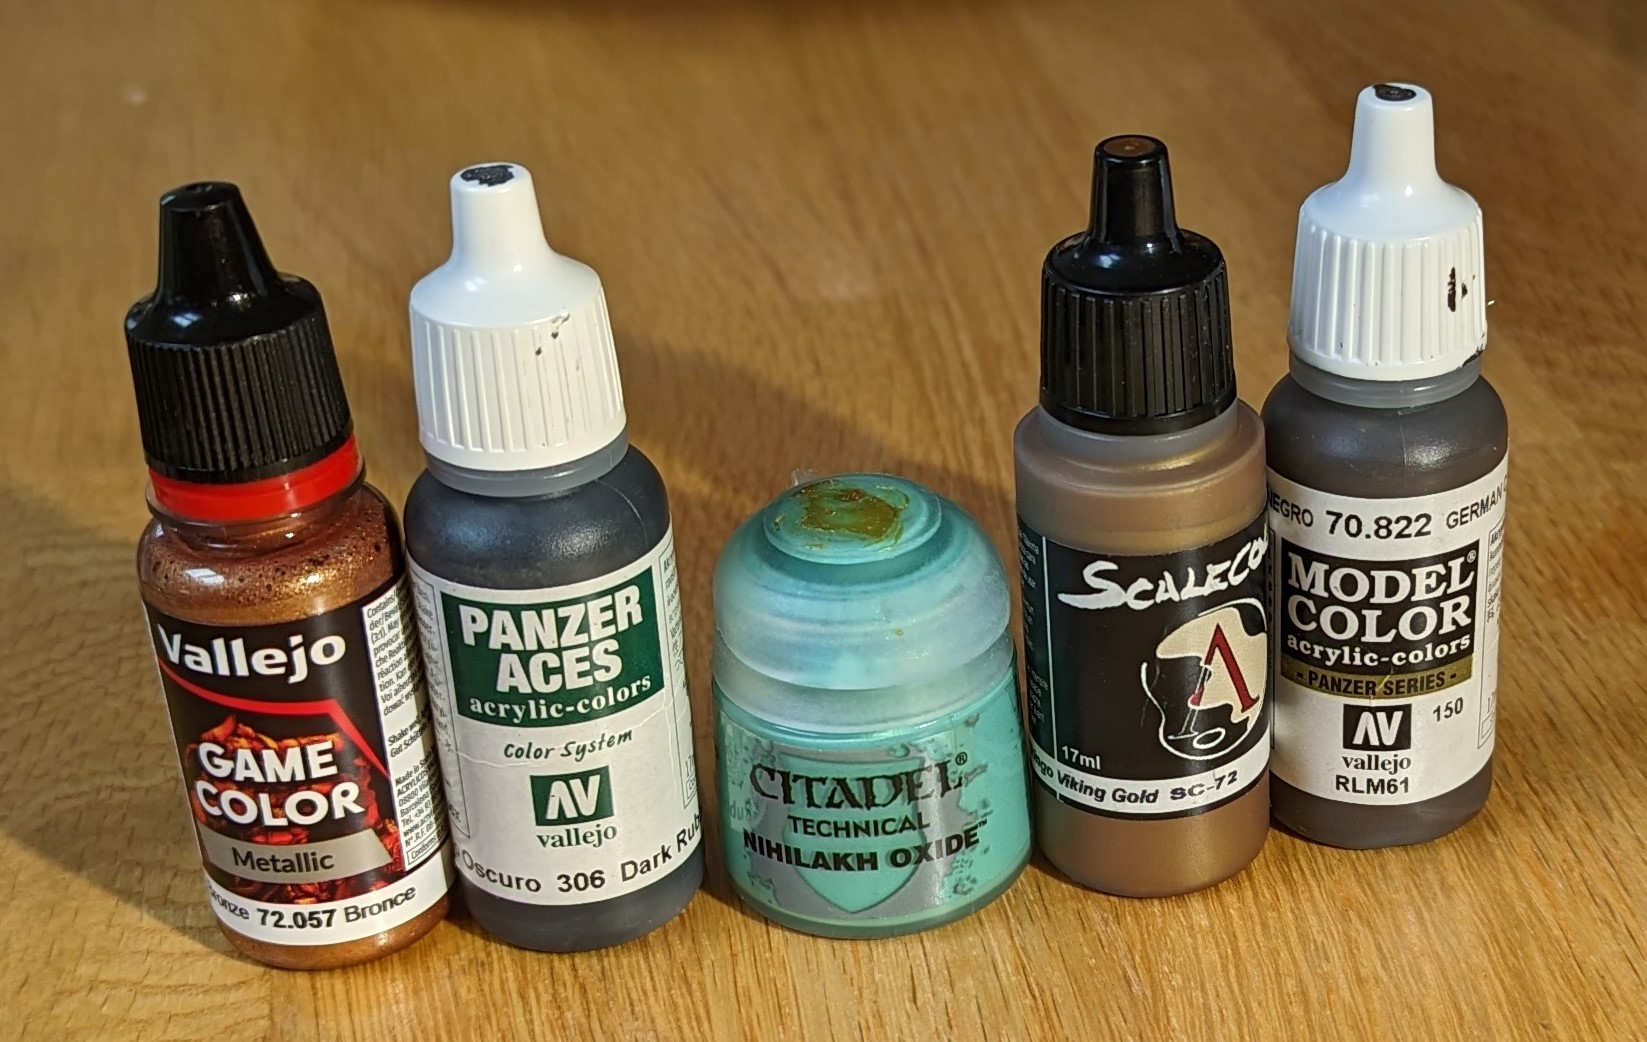
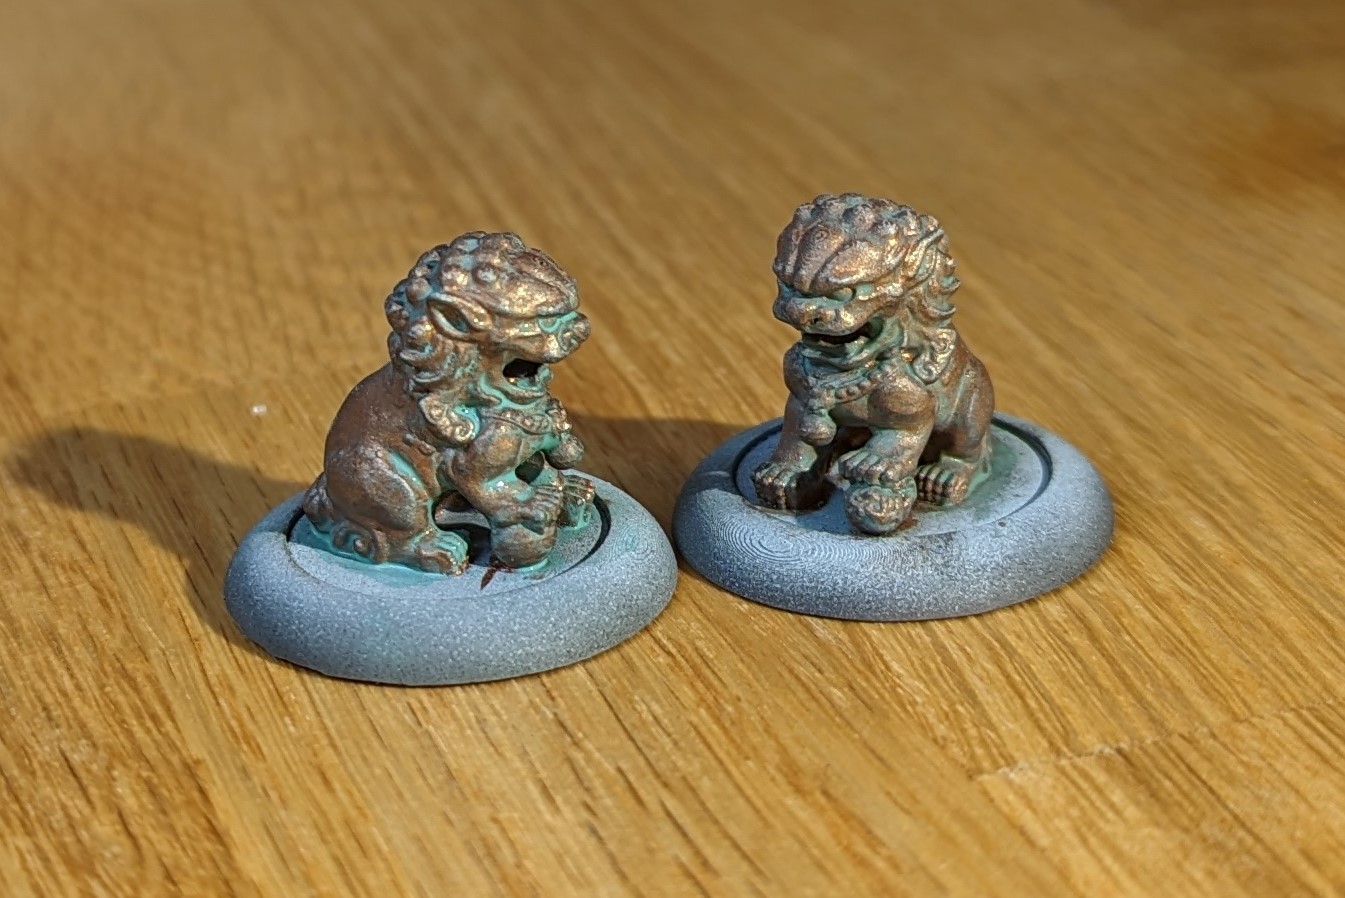
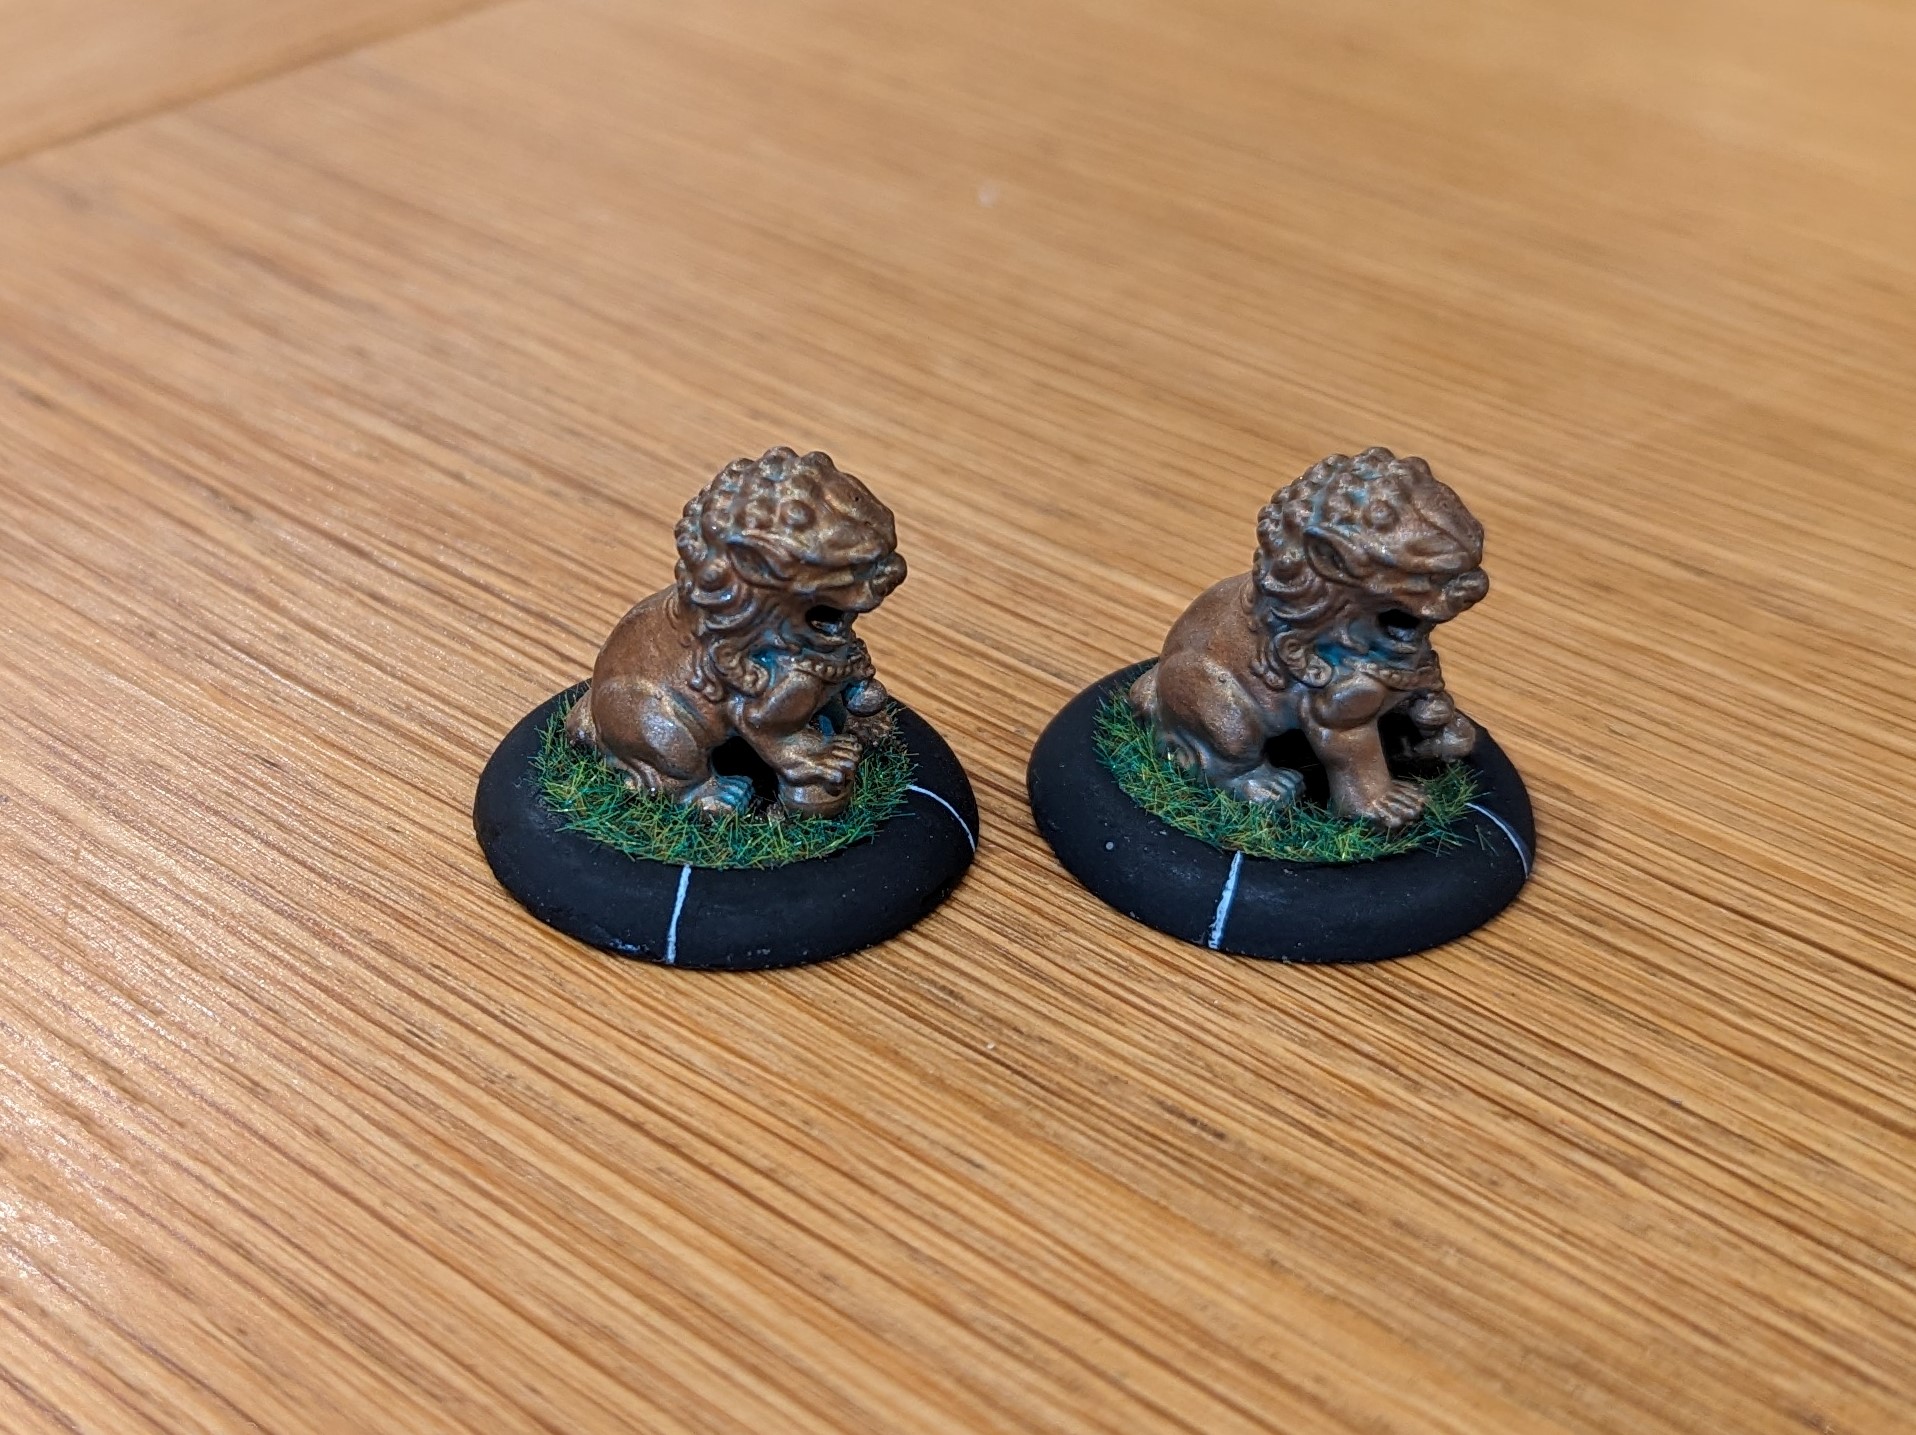
I wanted these to look like bronze statues but to paint them quickly. For this, I will use Vallejo Bronze, Dark Rubber, Nihilakh oxide, German Camo Brown and Viking gold.
I started with a zenith highlight across both models before applying Vellejo Bronze. I can highly recommend the Vellejo metallics and the bronze went down every well.

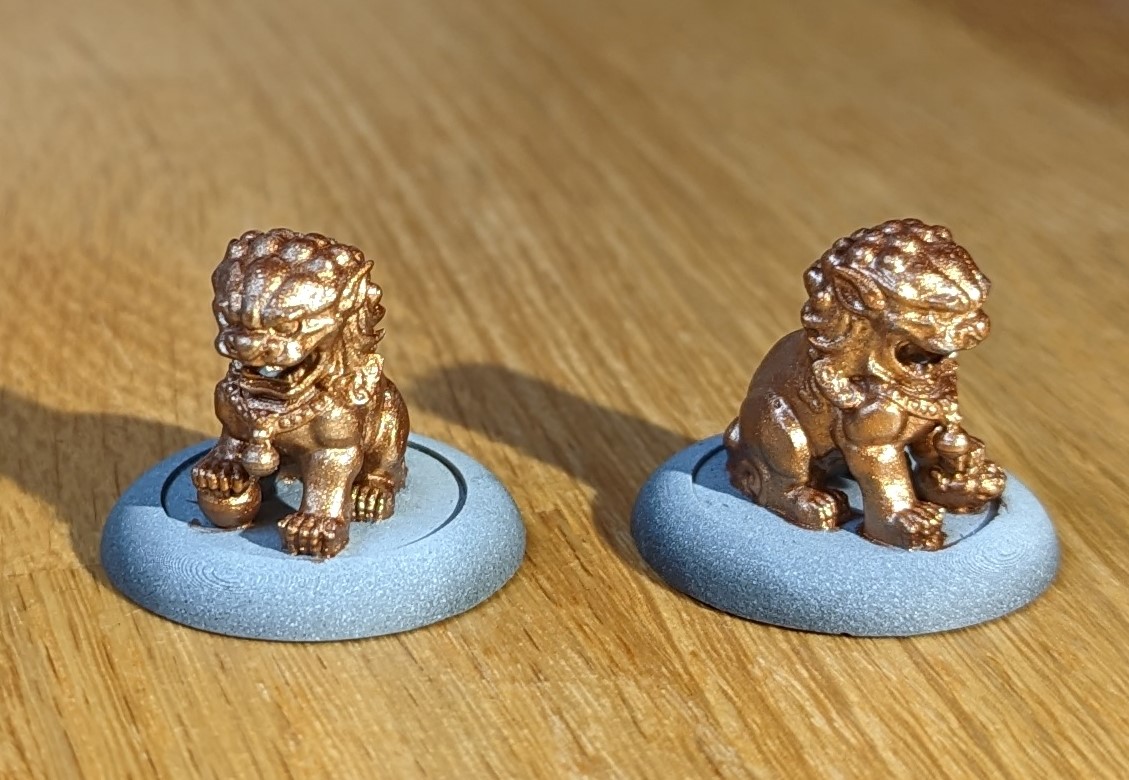
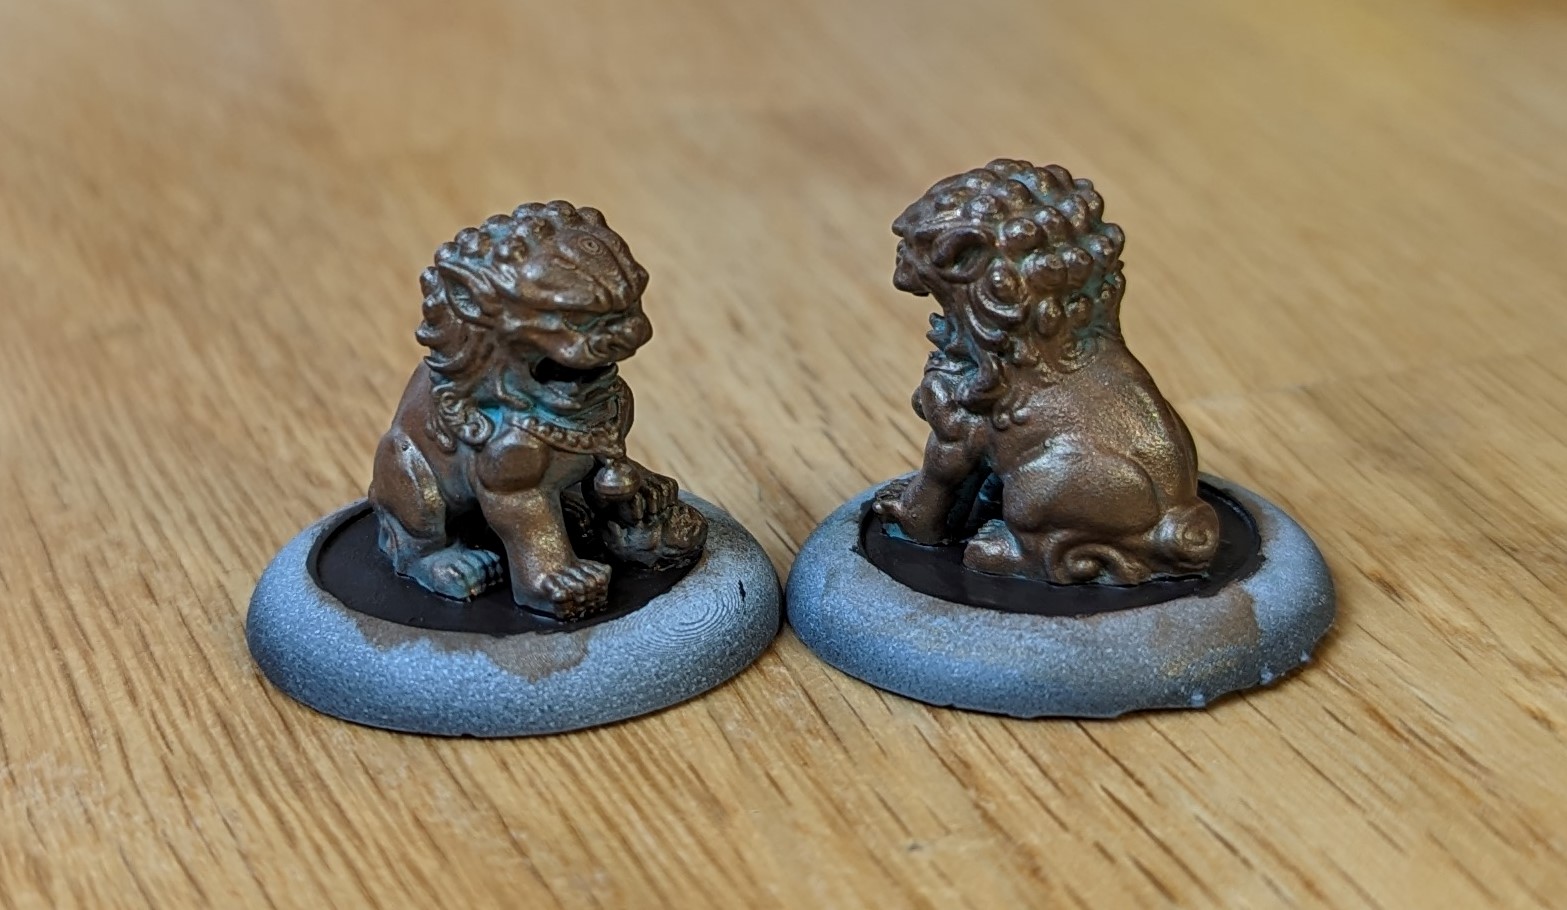
Once the bronze was dry, I’ve given everything a dry brush of dark rubber, paying particular attention to the areas most likely to be touched or rubbed against. This helps take the shine off. Then I’ve applied the Nihilakh oxide before gently wiping it off before it could dry. This leaves the paint in the recesses.
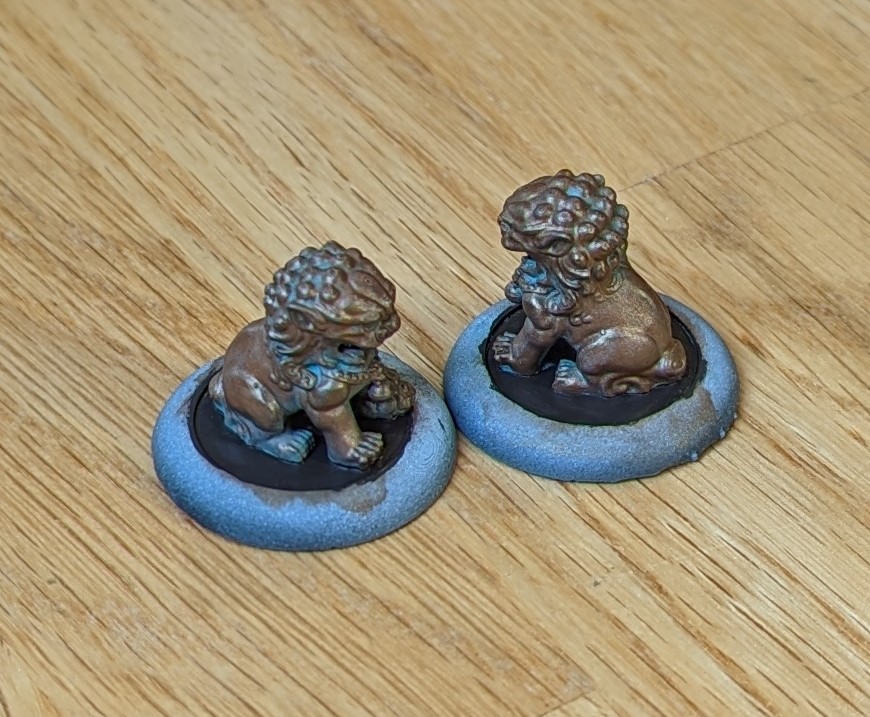
The final step is to dry brush with the viking gold and job done. The German Camo Brown was for the base prior to the flocking stage. All that’s left is a couple of coats of varnish.
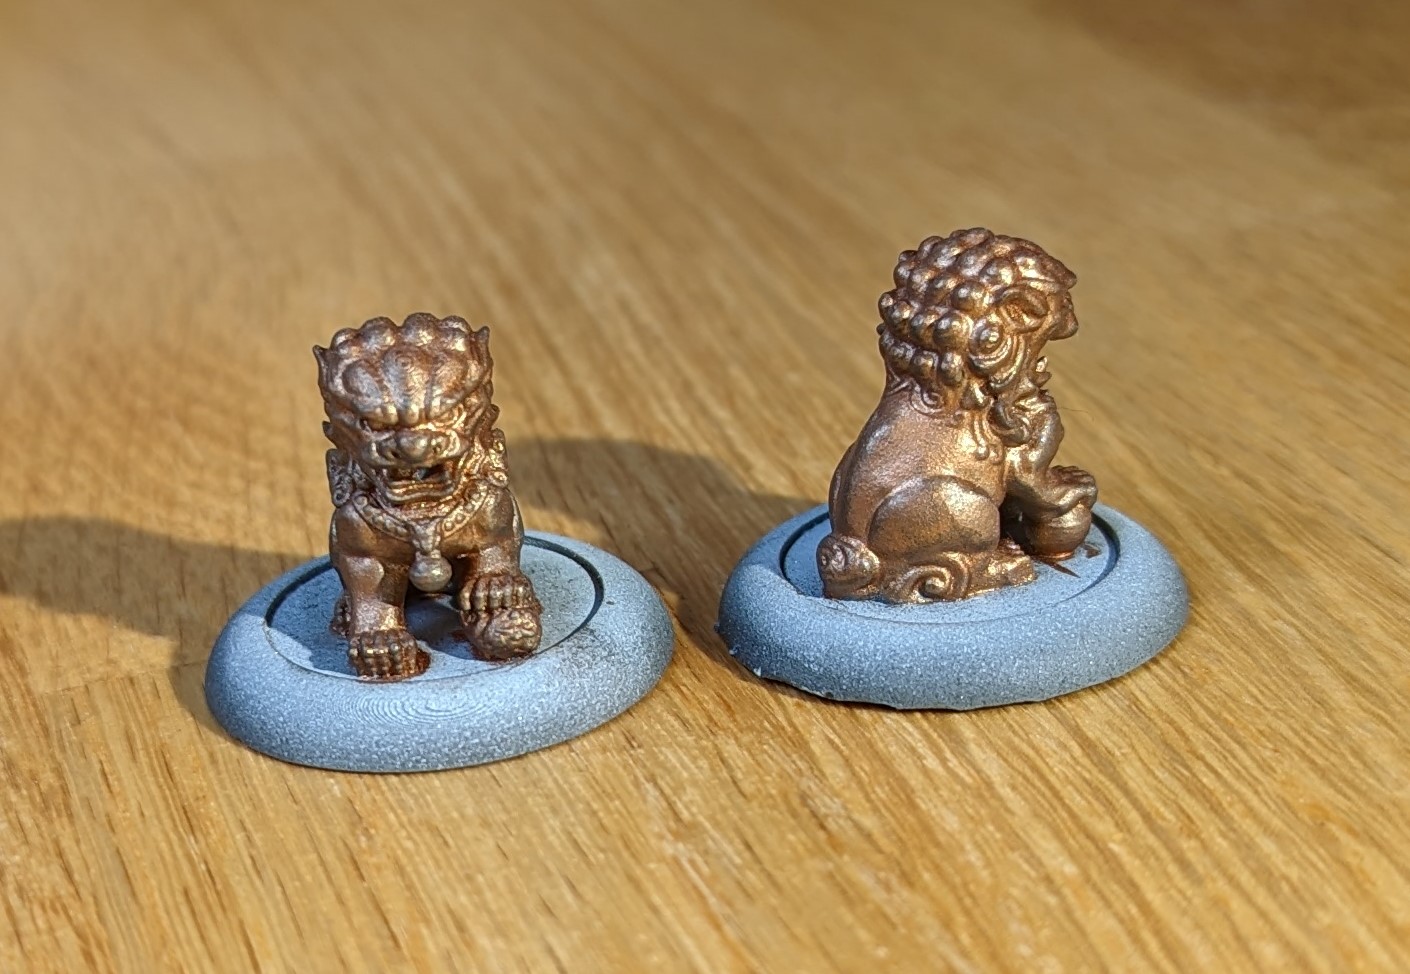
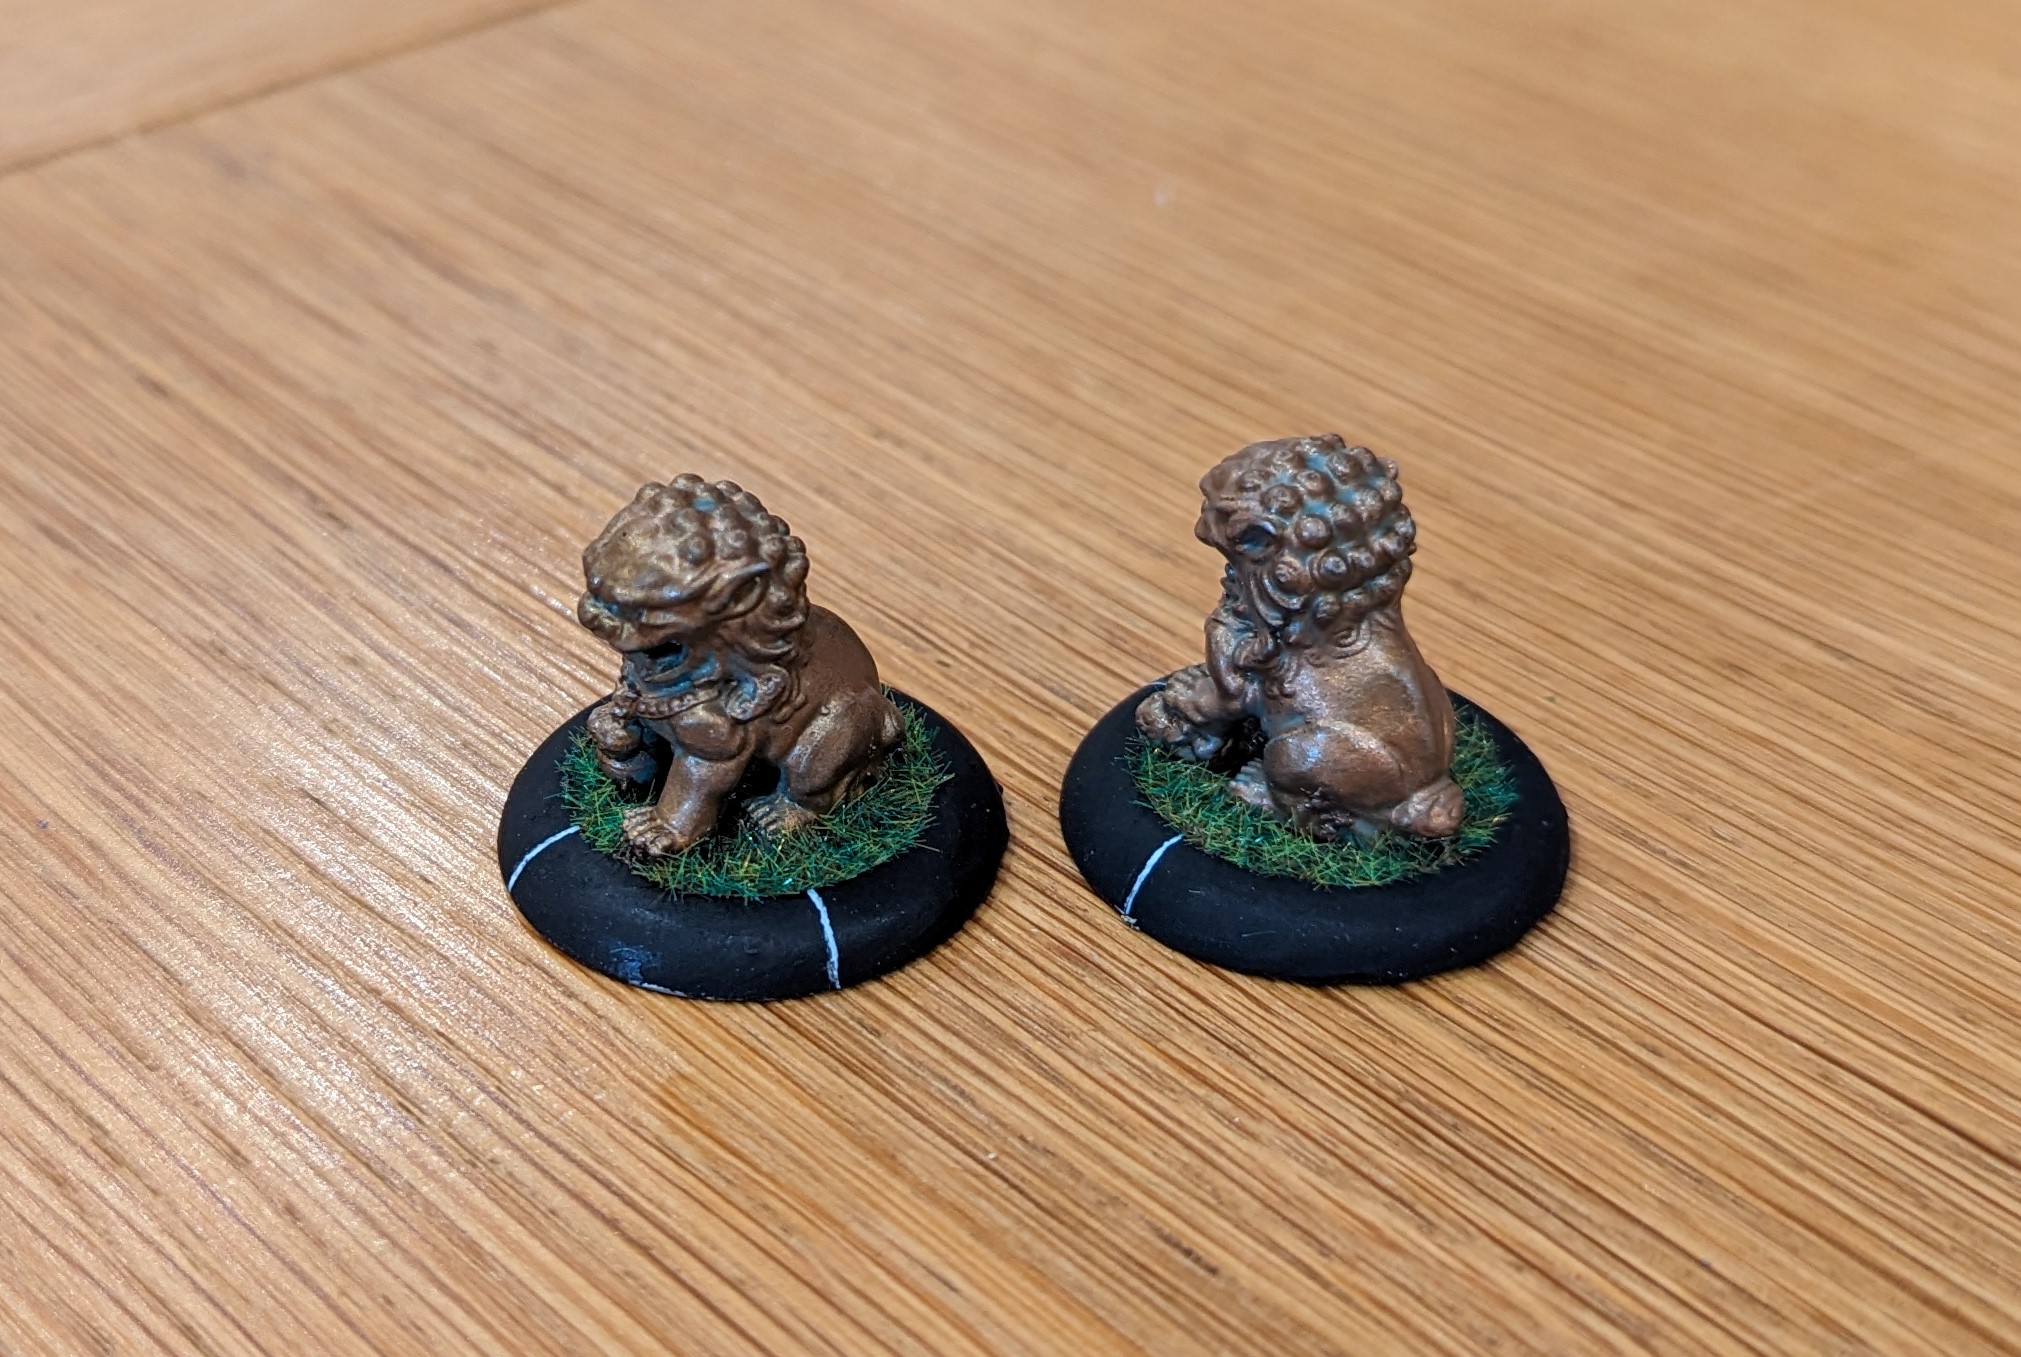
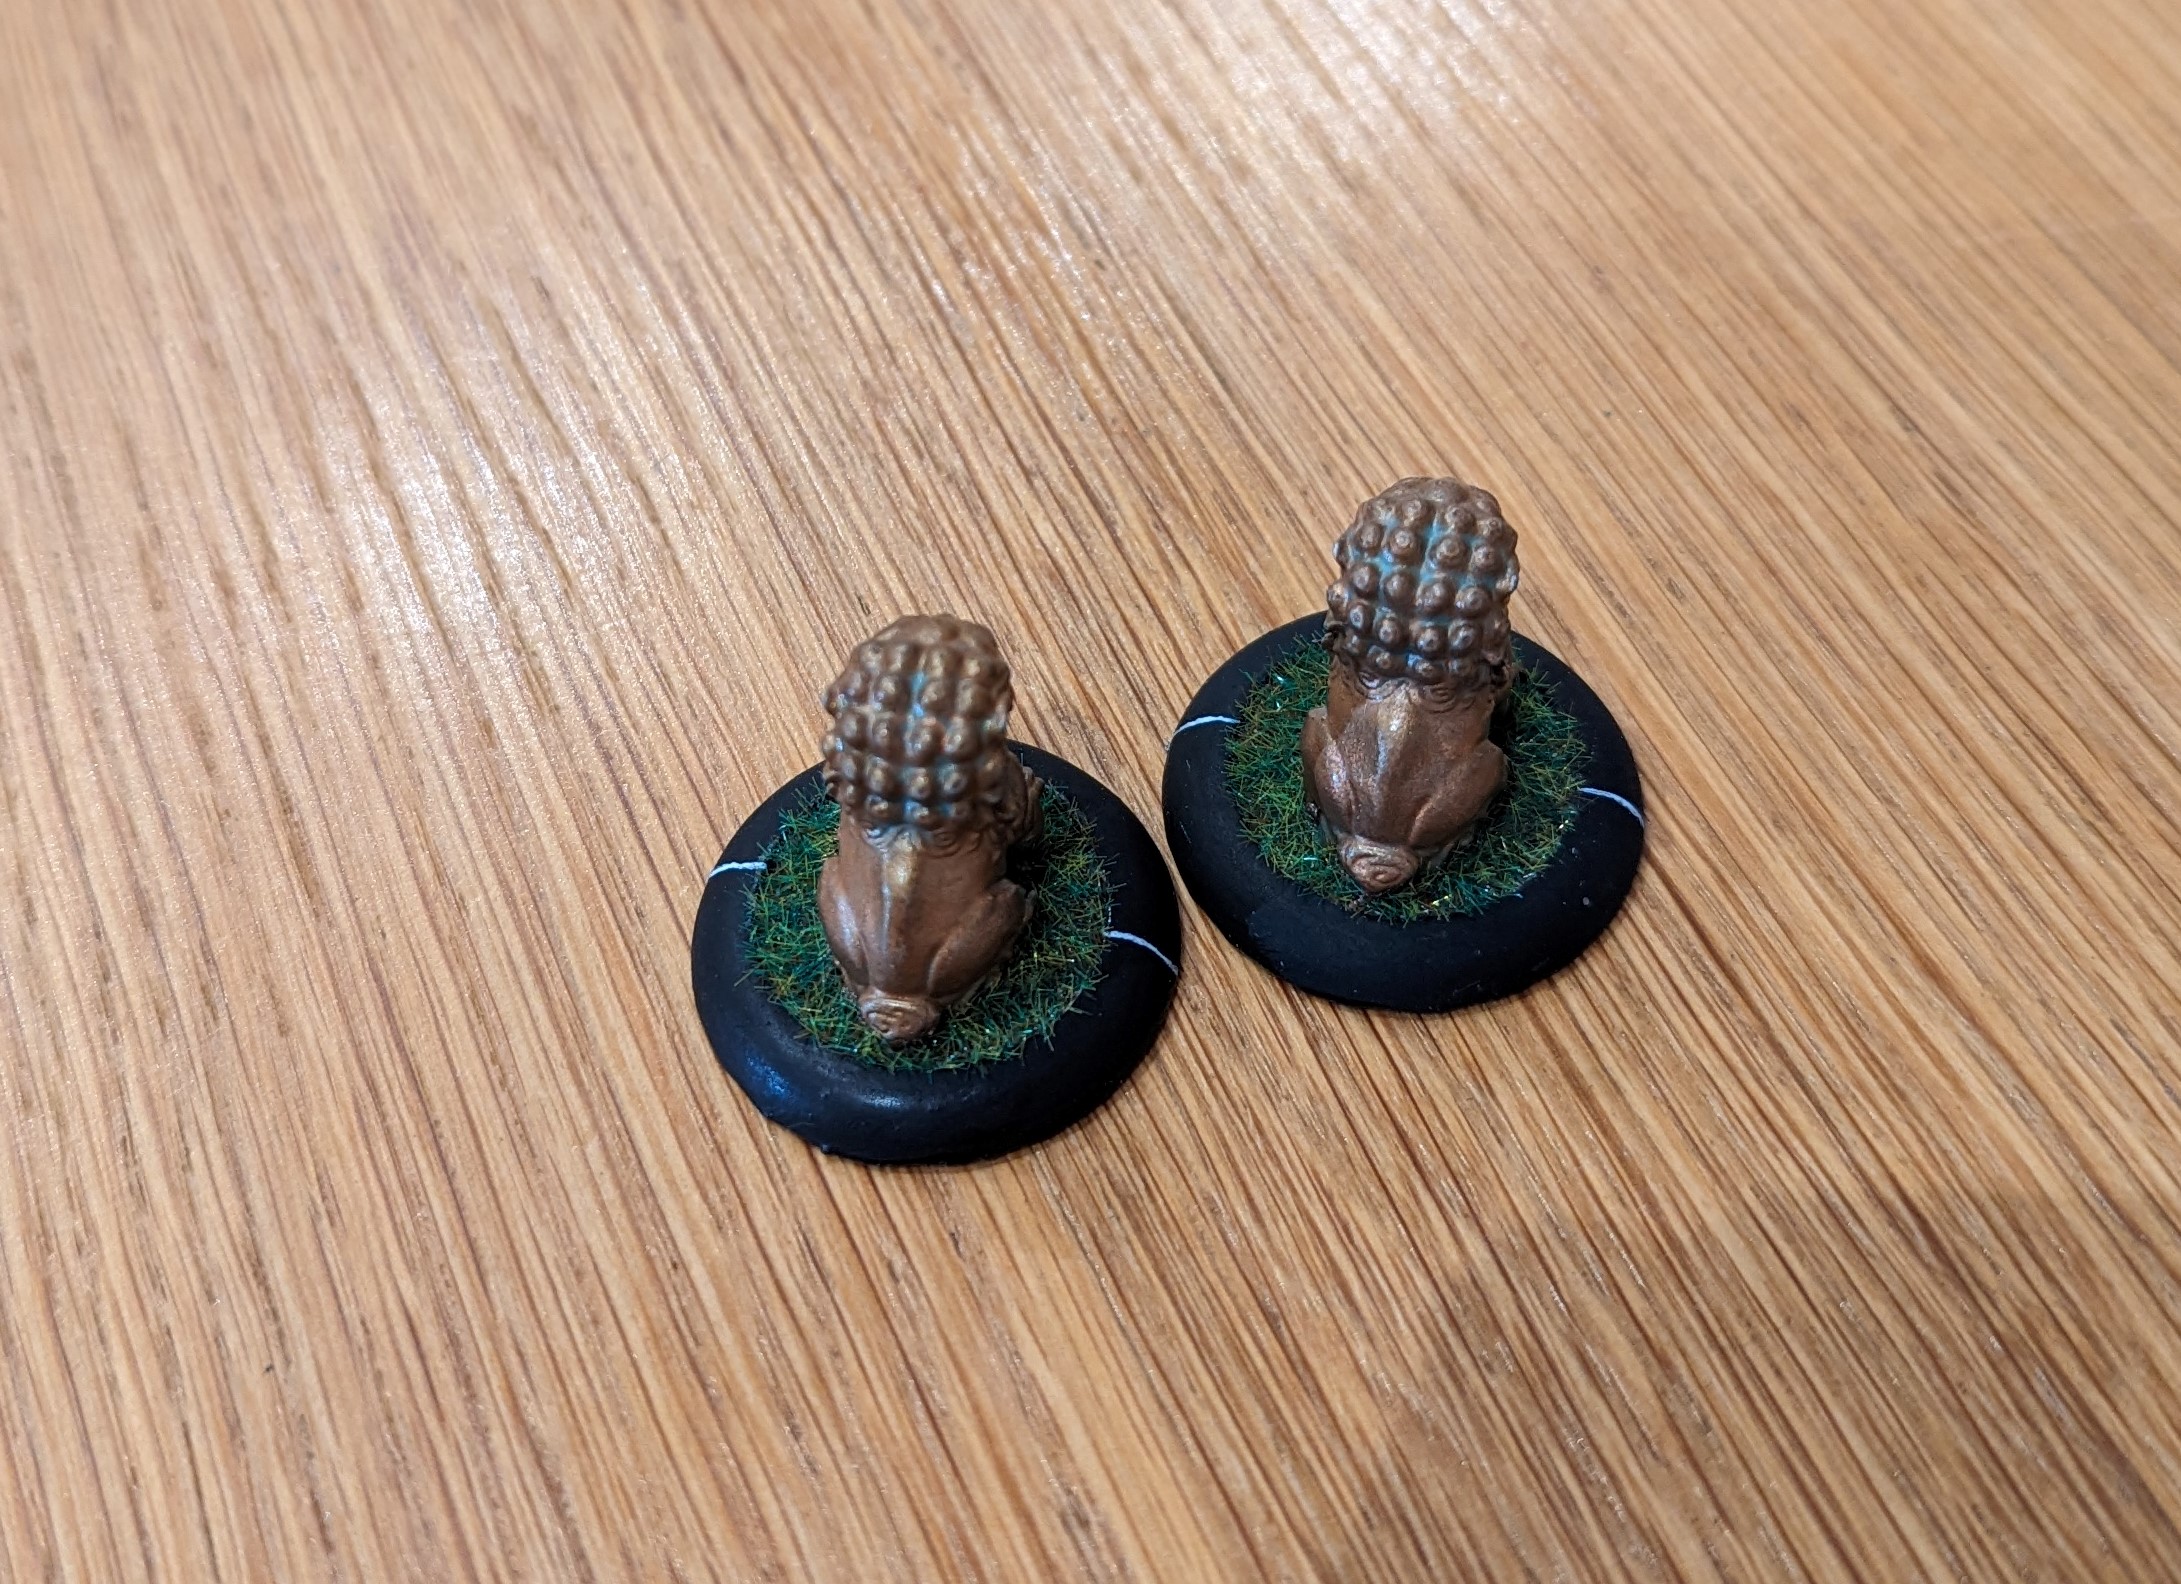
I’ve flocked with a summer grass mix (Temple of Ro-Kan is all about life and vitality), painted the base rim black and added the LoS markings.
In game, these fellas are pretty durable (actually having the durable special rule!). They can take the pain and can dish it out. They are also immune to things like fire and poison although suffer from being slow, so they aren’t going to dash across the board and claim any last turn objectives. They can be used as mobile cover as any units behind them can get a cover bonus from them. Finally, if they do collect any Ki, they can use it to gain an extra activation in the turn, which is very powerful.


Leave a Reply