
Marvel Crisis Protocol by Lawnor
NYC Terrain Set and Extras
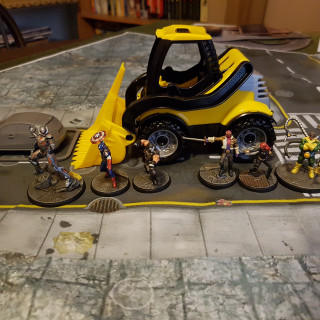
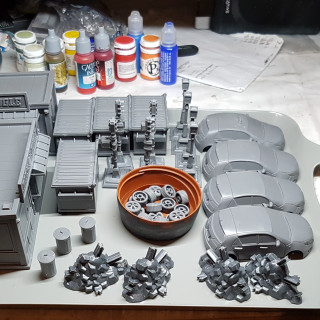
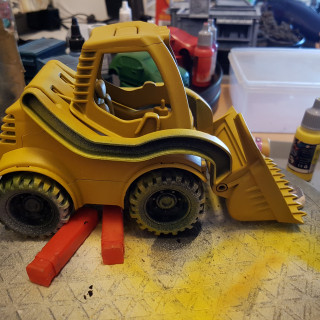
I’ve just had a week of work and one of my missions was to plough through as much of the terrain as I could. I have the core box set terrain, the NYC terrain set, 4 piles of rubble I found in my Deadzone spare pieces box, and a toy Loader I found in Tescos recently. The scale on it is wrong, but they do come pretty big and the only thing tying it to a scale is the chair. I’ve tried to make the chair smaller by raising it up and modding it with green stuff. I don’t think I went far enough though.
I followed Ghool’s video guides for the official terrain, making a change here or there’s as I felt appropriate. I had no idea how to handle the car windows otherwise.
Cars Video
Dumpsters and Lights Video
Everything was primed in one sitting and left overnight to dry.
EDIT: 12/05/2023
It appears that Ghools channel and videos are down. I have no idea if they’re coming back up and if these links will ever work again. I have made notes in a later post on how I think I did those windows.
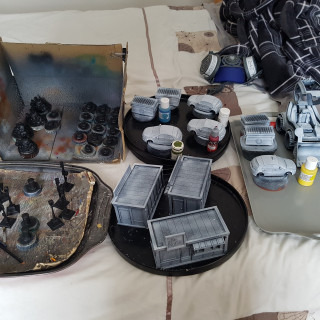
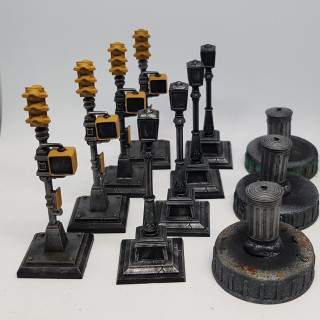
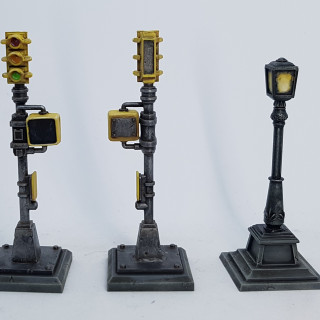
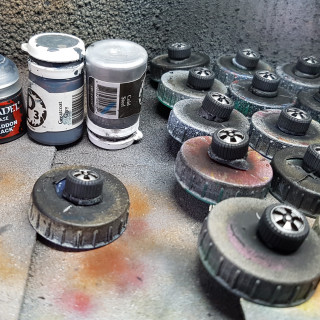
The next day I base coated everything, except for the three buildings. I’ll deal with them when everything else is done. I then went on to paint the bins, traffic lights and street lamps, as they didn’t need any airbrush work. They were painted following the videos pretty much exactly. I used the same paving scheme as I used for my bases. It’s good to tie everything together. I didn’t get them finished this day though.
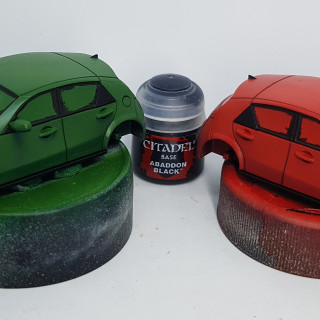
Red Car
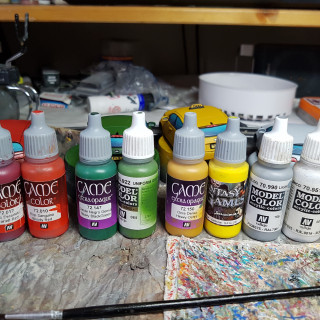
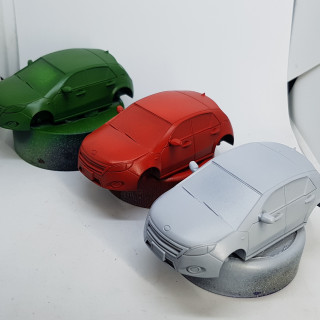
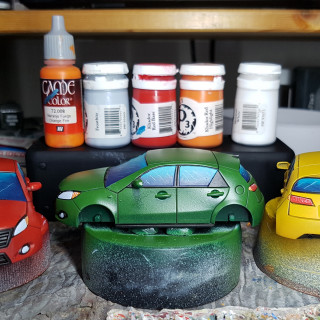
Undercoat VGC 72.012 Scarlett Red
Zenithal Highlight VGC 72.010 Bloody Red
Green Car
Undercoat VGC 72.147 Heavy Black Green
Zenithal Highlight VMC 70.922 Uniform Green
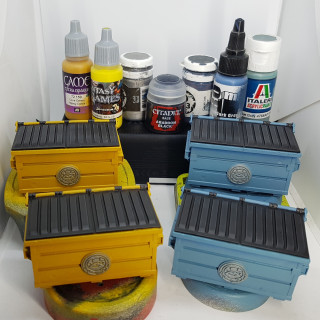
Yellow Stuff
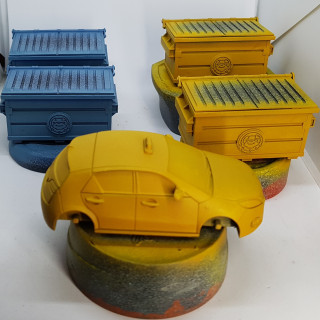
Undercoat VGC 72.150 Heavy Ochre
Zenithal Highlight Scalecolour SFG-08 Marduk Yellow
White Car
Undercoat VMC 70.990 Light Grey mixed with enough VMC 70.951 White to make it a “dark white” more than the grey it was before
Zenithal Highlight with more of the above with a lot more white added. Never go pure white, but get close.
Rubble
Base with VMC 70.869 basalt Grey
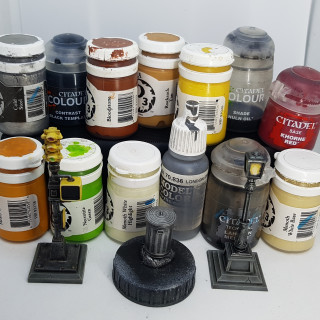
EDIT 12/05/23: The next few recipes were written down from memory and one photo of a pile of paints a few weeks after the fact and could be wrong. This is in response to Ghools videos vanishing.
Steel
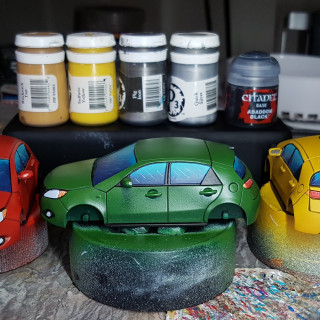
Undercoat Black
Drybrush P3 Pig Iron
Wash: GW Nuln Oil
Thin down some GW Contrast Black Templar and use this to give the lamps a black metal
Drybrush Highlight with Cold Steel where appropriate.
Yellow Crossing Light Plates
Shade P3 Rucksack Tan (I think?)
Pin wash P3 Bloodstone
Paint most non-shade surfaces with P3 Sulfuric Yellow
Highlight Sulfuric Yellow mixed with P3 Menoth White Base
Edge Highlight: Menoth White base
red Light: GW Khorne Red
Amber Light: P3 Meaty ochre
Green Light: P3 Necrotite Green
Glint Highlight: P3 Menoth White Highlight
The next day I finished off the lights. Highlighting that yellow took a while. I wasn’t crazy enough to paint the screens or the sign on the crossing lights. They look good enough without it, and terrain shouldn’t steal the show from the minis. I want this lot done fast, and done good enough to play, not slow and good enough to be a centrepiece. They should fade in to the background.
I then moved on to the dumpsters. The main body was done so I just painted the lids black and drybrushed with P3 Greatcoat Grey. I’d primed the car tyres separate to their cars so I drybrushed them while I was at it. You would think painting black over yellow would be quick and take only a coat or two. You would be wrong. That yellow is stubborn! The dumpster logos got drybrushed/overbrushed with P3 Cold Steel, as per the videos. I chose not to grime anything up. I want this done fast. I can always come back later and grime stuff up when I have time to spare if I want to.
I then pin washed the thin recesses on the cars with GW Nuln Oil, and picked out some details with black paint.
EDIT 12/05/23: Lantern Light (From memory a few weeks later)
Starting from a black undercoat
Splodge on P3 Rucksack Tan
Splodge on either P3 Sulfuric yellow
Splodge on some P3 Menoth White base, perhaps mixed with Sulfuric yellow?
Maybe Splodge on Some Menoth White Base. maybe push in to Menoth White Highlight. Maybe with was MW Highlight all along?
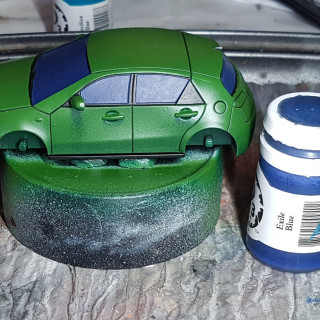
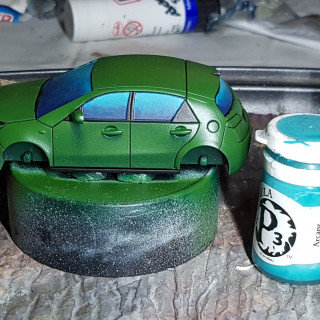
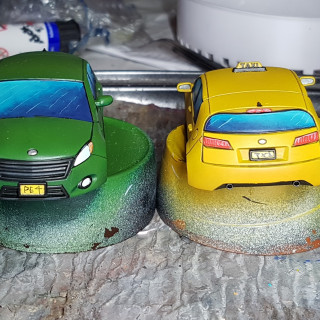
Next, the cars had their windows blocked out with P3 Exile Blue. The next two stages involved a lot of back and forth so there wasn’t any pause for photos to be taken. I followed the video, blending P3 Meridious Blue and P3 Arcane Blue across the model. I’ve never really done anything like this so I was learning and experimenting as I went. I definitely started to understand and improve buy the time I was done, and could probably do a better job now, but I’m happy with what I did. the end results speak for themselves.
I painted the lights before painting the white lines on the window so I could do them all at the same time.
Orange Side Lights: VGC 72.008 Orange Fire
White headlights: P3 Frostbite (I tried adding white at first, but it was always too white. Even solid Frostbite looked like just white, until some white is painted over it
Red break lights: P3 Khador Red base with a little P3 Khador Red Highlight. We definitely want it to look different and lighter than the red car’s paint job.
Once that was all done I went in with some white and painted the lines over it all.
The number plates were painted the same as the crossing lights. undercoated with P3 Rucksack Tan, and based/highlighted with P3 Sulfuric Yellow. i then hamfistedly painted on some letter with Black. Please bear in mind I can’t really write any better with a pen and paper. I should have been a doctor.
I picked out the badges and exhausts with p3 Pig Iron and while that was wet I added a blob of P3 Quick Silver to run in to it as a highlight. Some P3 Cold Steel was used to paint the hub caps. The black car radiator grilles were gently drybrushed with P3 Greatcoat Grey, and the wing mirrors were painted with the shiniest metal paint I know of: VGA 71.064 Chrome. The wheels were glues on and the cars were done and ready for varnishing.
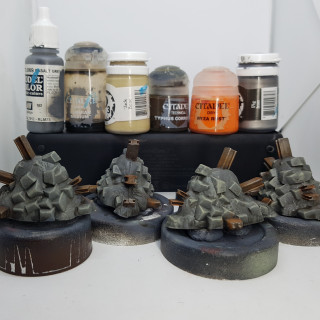
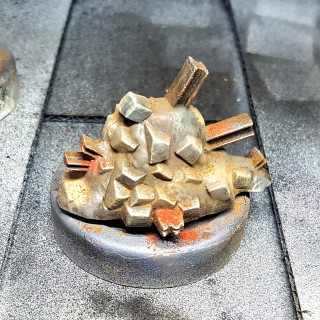
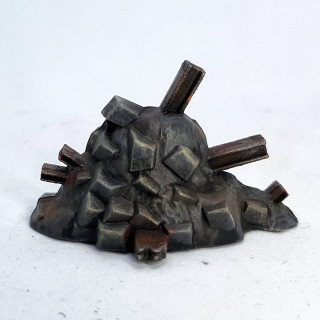
Once the base coat had dried over night, the rubble was washed with Jan’s Magimix (6-8 Parts GW Nuln Oil, 6-8 Parts GW Agrax Earthshade, 5-6 Parts Lahmium Medium, 2 parts Athonian Camoshade. Thanks, Januinevision),and then drybrushed with P3 Jack Bone. The girders were base coated with GW Typhus Corrosion, and drybrushed with GW Ryza Rust and P3 pig iron wherever I felt like it. They were then put on one side until 5 minutes before varnishing began.
When I was ready to varnish I put on my dust mask (To stop my breathing from blowing pigments about) and applied 3 different pigments wherever I felt like across the rubble. Vallejo 73.109 Natural Umber as mud, Vallejo 73.208 Brown iron oxide as patches of rust on but the girders and stone, and Spot-On Pigments 02 EU Brown Earth Zero as a lighter fresher dirt. These were both rubbed in with an old drybrush, and dropped on by tapping a loaded drybrush held over the piece. The area was tided up and then they were gently sprayed with gloss varnish, doing my best to stop the airbrush from blowing the pigments about. You can see pics below of before pigments, and with pigments both before and after the varnish. If I were to do this again I’d consider going in for a second pass of the pigments, and perhaps adding more colours/tones when I do that.
Pretty sure I don’t have enough space here for all the finished pics, so I’ll see you in the next entry.




Leave a Reply