
First Contact - local farmers are introduced to Imperial war machines.
Building the lakeshore and farmyard.
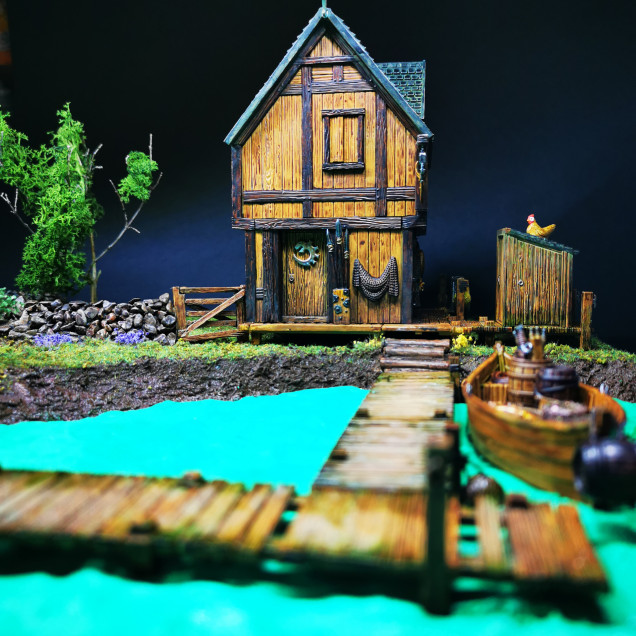
Originally, I wanted to base this diorama on a section of a river, but adding the opposite bank was making the whole thing too large. I knew it was going to be big anyway, as the two tanks are complete monsters, but building an entire extra riverbank seemed unnecessary. So instead I went with a lakeshore idea, allowing the Lake-Town House to live up to its name.
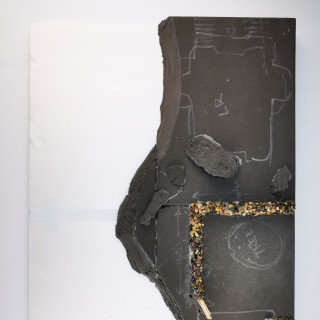
I started with a 30cm x 40cm sheet of XPS foam from The Army Painter’s XPS Scenery Foam Booster Pack. I find Army Painters stuff to be a bit hit-and-miss, quality-wise, but this pack is great when you need cheap XPS. I added a smaller, second layer of XPS to represent the stepped-up swell of water being affected by the approaching tank’s hover systems.
For the farmland, I used high-density EVA yoga blocks measuring 30cm x 20cm x 2.5cm. Yoga blocks are easy to carve, suffer from nearly 0% retained deformation when compressed, and are often reasonably priced. The ones I used were non-reactive with spray can primer and super glue, which is a nice bonus.
I carved the shape of a gently-sloped bank into the foam and used the off-cuts to add curves to the rest of the waterside and also some rocks to the farmland.
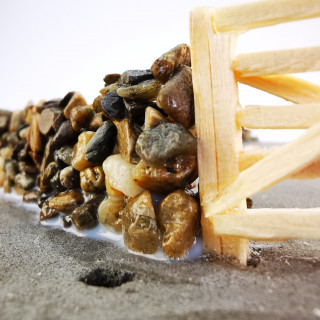
I then moved on to building a little stone wall, which would mark the boundary of the farmhouse’s garden. It would also give the impression of being a pitiful and ineffective barrier against the fast-approaching tank.
For the stones, I used Dark Stone gravel from the Pets at Home ‘Premium aquatic gravel’ range. It comes in a 2 kg bag for £5.50, which is under $7. It’s insanely good value and is dust-free, and this bag will last me forever. I’ve bought hobby-brand versions of gravel like this in the past, but they’re always so dusty, and obviously much more expensive. I made the wall using individual stones, each dipped in PVA glue and gently piled them on top of one another. Making it with real stones give it an authentic feel I hadn’t been expecting, and putting it all together was a long but very zen experience.
I made the little garden gate out of matchsticks and PVA glue, but only after doing a Google image search for garden gates. It’s amazing how often you draw a blank on what commonplace objects look like when you attempt to make them from scratch.
After priming the bank I used air-drying clay to create the impression of layers of waves in the water, as it is being pushed away by the tank’s repulsor systems. I also added choppy water effects with the clay to the water immediately behind the tank, to give the feeling of a turbulent wake being caused by the aft thrusters.
I would later discover that this clay shrinks and cracks as it dries, so the remainder of the pack went in the bin!
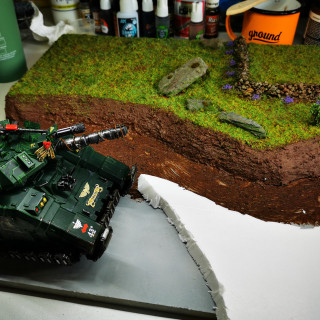
I coated the land area with Vallejo Thick Mud Acrylic – Brown Mud and added a mossy green flock while the mud was still wet.
I coated the lake area with Vallejo Water Gel Acrylic – Pacific Blue and added foam with Vallejo Water Texture Acrylic – Foam Effect. In the area where the Repulsor has exposed the lake bed, I used more Brown Mud, glued on some small pebbles, and coated the area with Vallejo Water Texture Acrylic – Still Water. This gives a nice wet finish and creates very natural-looking puddles.
I glued some lichen to a stick from my garden to make a tree and added some Gaming Scenics lavender, Green Stuff World shrubs, and finished it off with a few dabs of Dirty Down Moss.
In the next update, I’ll put the whole thing together and share images of the finished diorama.


![TerrainFest 2024! Build Terrain With OnTableTop & Win A £300 Prize [Extended!]](https://images.beastsofwar.com/2024/10/TerrainFEST-2024-Social-Media-Post-Square-225-127.jpg)




You are about to be visited by the UHH!
2023-04-11 Your project has been visited by the unofficial Hobby Hangout. Huzza!