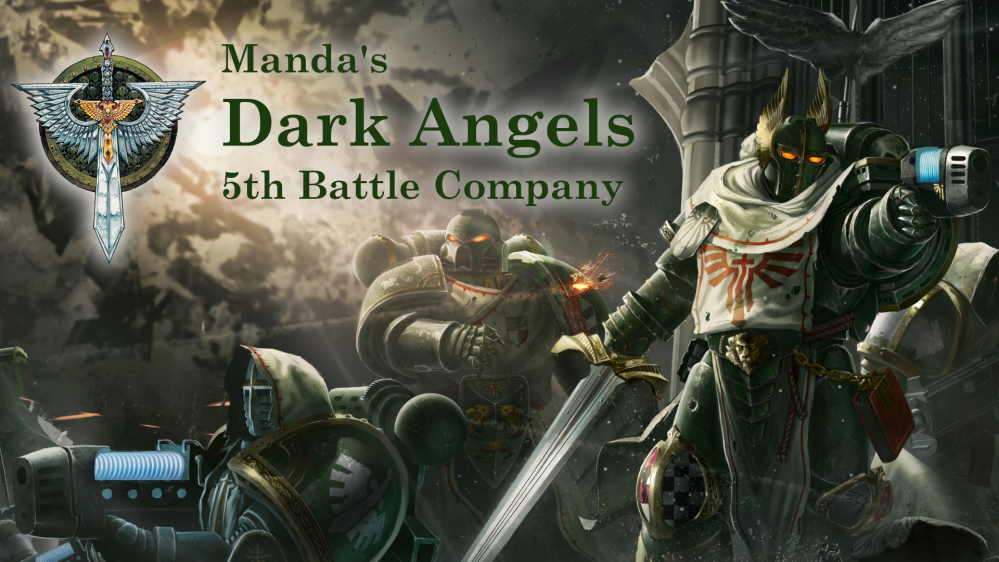
Manda's (Amachan) Dark Angels 5th Battle Company
Re-imaginenenening. (Paint Scheme 2.0)
For the painting scheme for my Dark Angels I have decided to go different that I did previously and stray from what I did before quite a bit and also fairly different from how I have been painting recently. I am going for a far more grimdark look for my Dark Angels than I did before, with both more and less weathering in different areas. The wear and tear on the armour will be less, but the dirt, grime and blood will be increased. Also the setting for the bases is going to change from a desert look to a muddy wetlands kind of idea. This requires me to get new supplies, so I will only be able to start painting in early May if everything goes well. This is the 15 step plan on how I am going to achieve these results:
Step 1
Any miniatures that have paint on it will need to be stripped, I will be using isopropyl alcohol for this. After that is done I will adjust the base to the correct size if needed, I have used some different size bases in places where they shouldn’t have been, mostly on some of the HQ choices and other characters.
Step 2
Aside from any of the sculpted bases that I used, I will add a coat of AK Interactive Diorama Terrains Muddy Ground (AK8017) (This may change) to the base in which I will stick some stones, skulls and other bits that need to be painted.
Step 3
I will then put a coat of AK Interactive Primer and Microfiller Grey (AK 758) over all the models with my airbrush to prep them for painting.
Step 4
Then it comes to the basecoats. I will apply a basecoat of the most used colour over the model thinned and through my airbrush, the rest I will paint on by hand according to the following colour chart:
Painted Green
Vallejo Panzer Aces German Tank Crew I (70.334)
Painted Bone
Vallejo Model Air Ivory RLM05 (71.106)
Painted Black
Vallejo Model Color Black Grey (70.862)
Painted White
Vallejo Model Color Ivory (70.918)
Painted Red
Vallejo Model Color Carmine Red (70.908)
Librarian Armour
Scale 75 Scalecolor Navy Blue (SC-54)
Techmarine Armour
Vallejo Game Air Gory Red (72.711)
Bone Cloth
Vallejo Model Color German Yellow (70.806)
Green Cloth
Scale 75 Scalecolor Boreal Green (SC-42)
Red Cloth
Scale 75 Scalecolor Deep Red (SC-35)
Base
Vallejo Panzer Aces Dark Mud (70.316)
Rock
Vallejo Model Color Basalt Grey (70.869) followed by Citadel Shade Athonian Camoshade (99189953024)
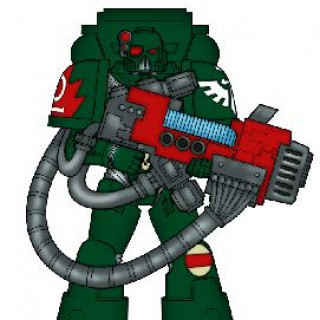
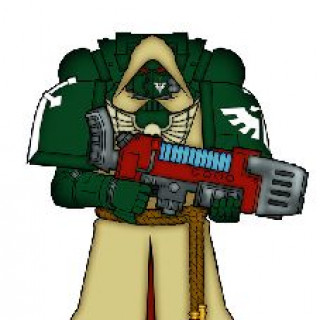
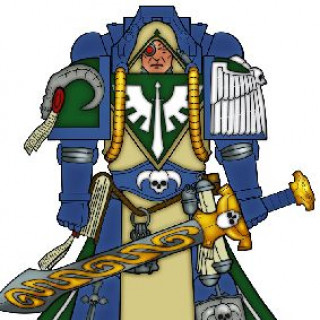
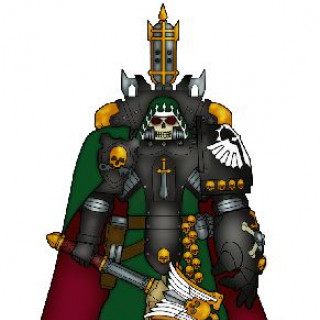
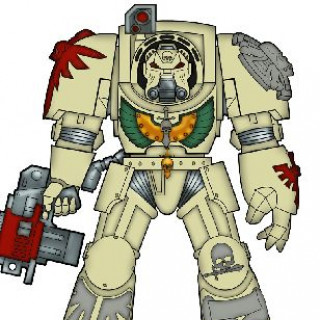
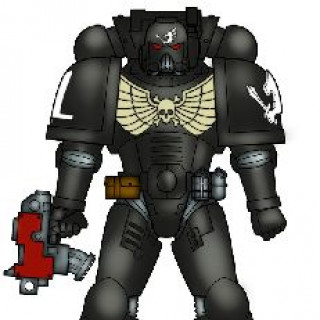
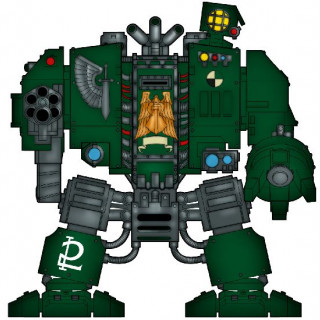
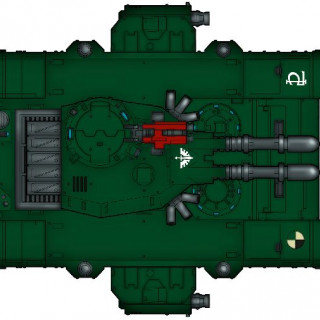
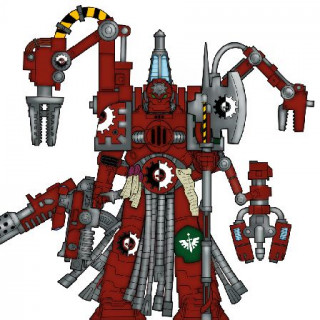
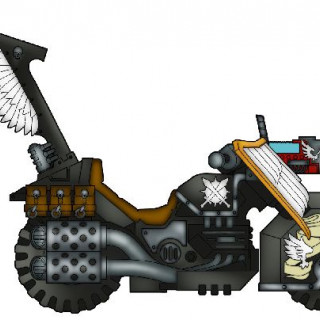
These are some of the images in the uniform guide from the 7th edition Dark Angels codex that I use for reference.
Step 5
I will now add a drybrush over the larger painted areas. For this I will use the base colour as listed above mixed with a bit of Vallejo Model Color Ivory (70.918). Apart from the following exceptions:
Painted white areas, for that I will just use straight up Vallejo Model Color White (70.951).
Rock, this will first receive a drybrush of Vallejo Model Color Medium Sea Grey (70.870) followed by a lighter drybrush of Vallejo Model Air White Grey (71.119).
The base will get a light drybrush of Vallejo Panzer Aces Light Mud (70.315).
Step 6
Now I will add transfers to the models using some products that I currently don’t have to hand, so I will fill this in later.
Step 7
I will then paint the iconography and details on the models using either the colours mentioned above or the ones below for some specific details:
Apothecary Symbol
Vallejo Model Color Vermillion (70.909)
Grey Ornaments
Vallejo Model Air Medium Gunship Gray (71.097)
Leather
Vallejo Panzer Aces Leather Belt (70.312), Vallejo Model Color Cavalry Brown (70.982) or Vallejo Model Color Red Leather (70.818) depending on how I feel is the right look.
Rubber
Vallejo Panzer Aces Dark Rubber (70.306)
If the surface is large enough I will add a drybrush to them using the same method as before.
Step 8
Now it’s time for the metallics. I will paint most functional metal using my iron paint scheme, any of the decorative metal bits I will paint using either my bronze or gold scheme depending on if I feel that it needs the strength that bronze offers over gold.
Iron
I will start with a basecoat of Vallejo Metal Color Burnt Iron (77.721) followed by a drybrush of Vallejo Model Air Steel (71.065).
Bronze
Bronze will first get a basecoat of Vallejo Model Color Bronze (70.998) followed by a drybrush of Vallejo Model Air Silver RLM01 (71.063).
Gold
And then for gold, I will start with a basecoat of Scale 75 Metal N’ Alchemy Elven Gold (SC-74) and then a drybrush of Vallejo Model Air Silver RLM01 (71.063).
I will in this step also coat all the lenses and plasma coils with Vallejo Model Air Silver RLM01 (71.063).
Step 9
Some light weathering. I will be adding some paint chips using Vallejo Panzer Aces German White Tank Crew (70.344) as I find this a good colour to represent the colour of ceramite, which the outer coating of almost all armour and vehicles. I will also add a little bit of Green Stuff World Liquid Pigments Black Soot (Dust) (2298) to the end of all barrels firing ballistic ammunition and also to the exhausts on vehicles.
Step 10
Time for a gloss varnish, with my airbrush I will add a coat of Vallejo Premium Airbrush Color Gloss Varnish (62.064) over the models.
Step 11
The washing up….
Time for a wash, I will coat the models using AK Interactive Dark Brown Wash for Green Vehicles (AK 045) with my airbrush, When this is dry to the touch I will go in with a bit of paper cloth, a couple of cottonbuds and white spirit to remove the majority of it, so it sits nicely in the crevices on the model.
Step 12
Once step 11 is fully cured I will add a coat of Vallejo Premium Airbrush Color Gloss Varnish (62.064) and once that has cured a coat or 2 of thinned Winsor & Newton Galeria Acrylic Mediums Matt Varnish (3040802).
Step 13
More weathering. I will now mix a bit of AK Interactive Fresh Mud (AK 016) with some AK Interactive Weathering Plaster Base (AK 617) in various ratios and use this to add mud weathering to the legs, the bottom of vehicles and also to the tracks, tires and also the base. I will add some AK Interactive Wash for Shafts and Bearings (AK 2032) over all exposed mechanical bits and some streaks of AK Interactive Streaking Grime (AK 012) in places. When this is dry to the touch I will start to thin and blend these steps in using some cottonbuds and white spirit.
Step 14
When step 13 has fully cured I will start by adding a coat of Vallejo Panzer Aces Dark Mud (70.316) over the rim of the base, just to make it all neat. I will then start adding some tufts to the bases, maybe a bit of a log here and there and then flock parts of the bases in order to finish them up.
Step 15
Some finishing steps. The lenses will now get a blop or a coat of Tamiya Color Acrylic Paint Clear Red (X-27) in order to make them nice and shiny. The plasma coils will now also get a coat of Tamiya Color Acrylic Paint Clear Blue (X-23).
I am at this point also going to add a bit of blood splatter to the models, especially the assault marines. For this I will put some Citadel Technical Blood for the Blood God (99189956005) on an old toothbrush and run my finger over it to splatter some of it on the model. I will also paint some blood effects onto the melee weapons.
I will also add some puddles in places on the base using AK Interactive Diorama Puddles (AK8028).


![TerrainFest 2024 Begins! Build Terrain With OnTableTop & Win A £300 Prize! [Extended!]](https://images.beastsofwar.com/2024/10/TerrainFEST-2024-Social-Media-Post-Square-225-127.jpg)


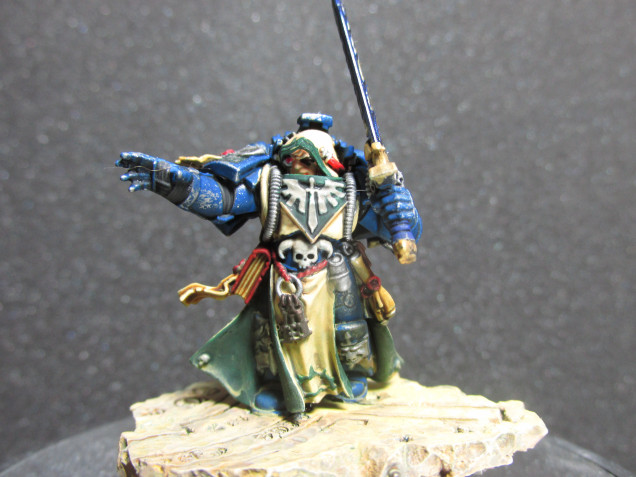
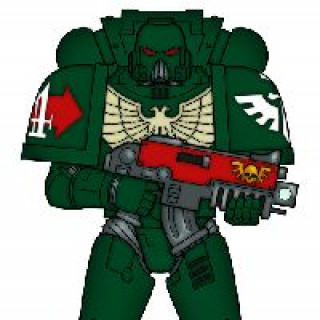
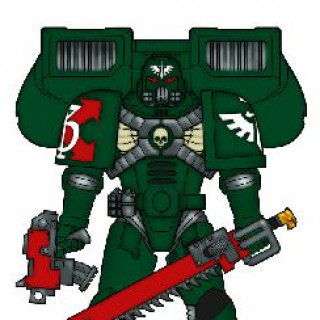


Oh the 5th Company before the Primaris thing happened? My first born stuff was always 3rd Company, with Balthazar , but then they killed him off introducing Lazarus as the new Master, so all my Primaris stuff is the new 5th Company under him. Some dope work, and it’s always cool seeing the 1st legion represented.
2023-04-11 Your project has been visited by the unofficial Hobby Hangout. Huzza!