


![TerrainFest 2024! Build Terrain With OnTableTop & Win A £300 Prize [Extended!]](https://images.beastsofwar.com/2024/10/TerrainFEST-2024-Social-Media-Post-Square-225-127.jpg)


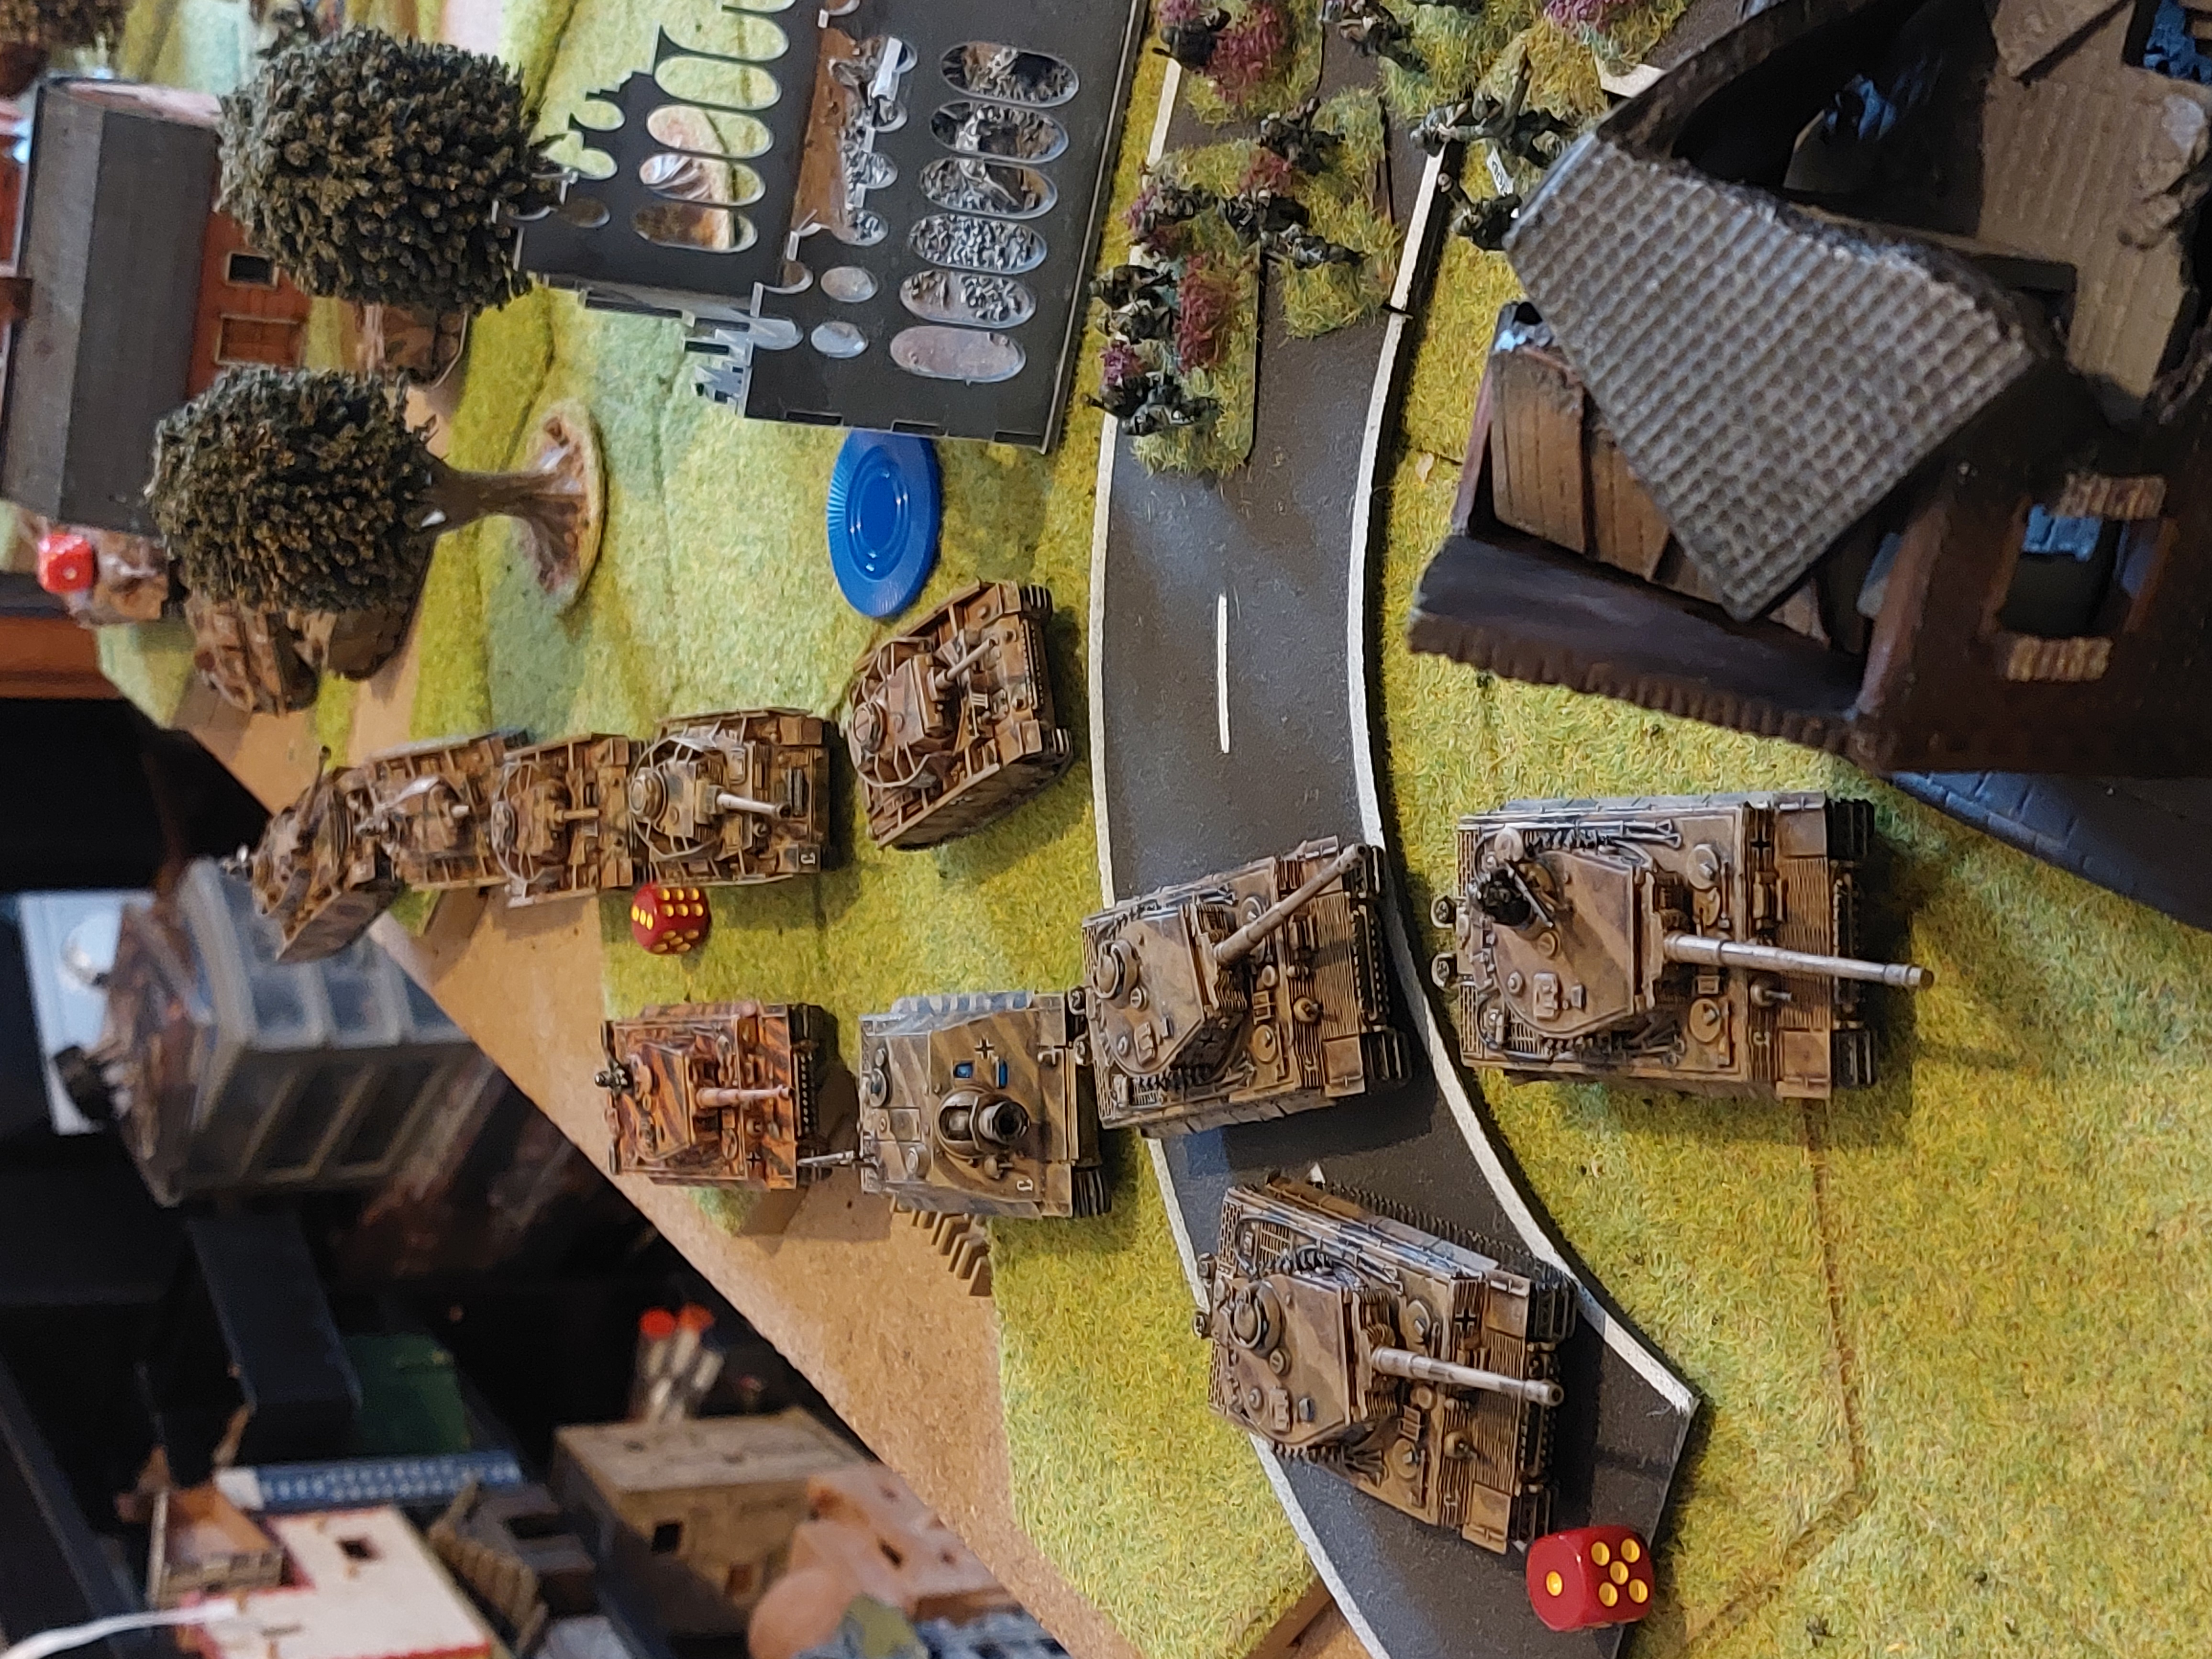
Bob's Black Bulls 11th Armoured Division.


Operation Cheltenham! Part 2. Still continues
The assualt in the Bridge finally gave the British a sight on the lone Pak 75 that had despatched the Innes of Courts Staghound command vehicle (cheers from Gerry).
In a rather gutsy move Jo’s Scout troop sped round to put it under my fire quickly dispatching the crew..
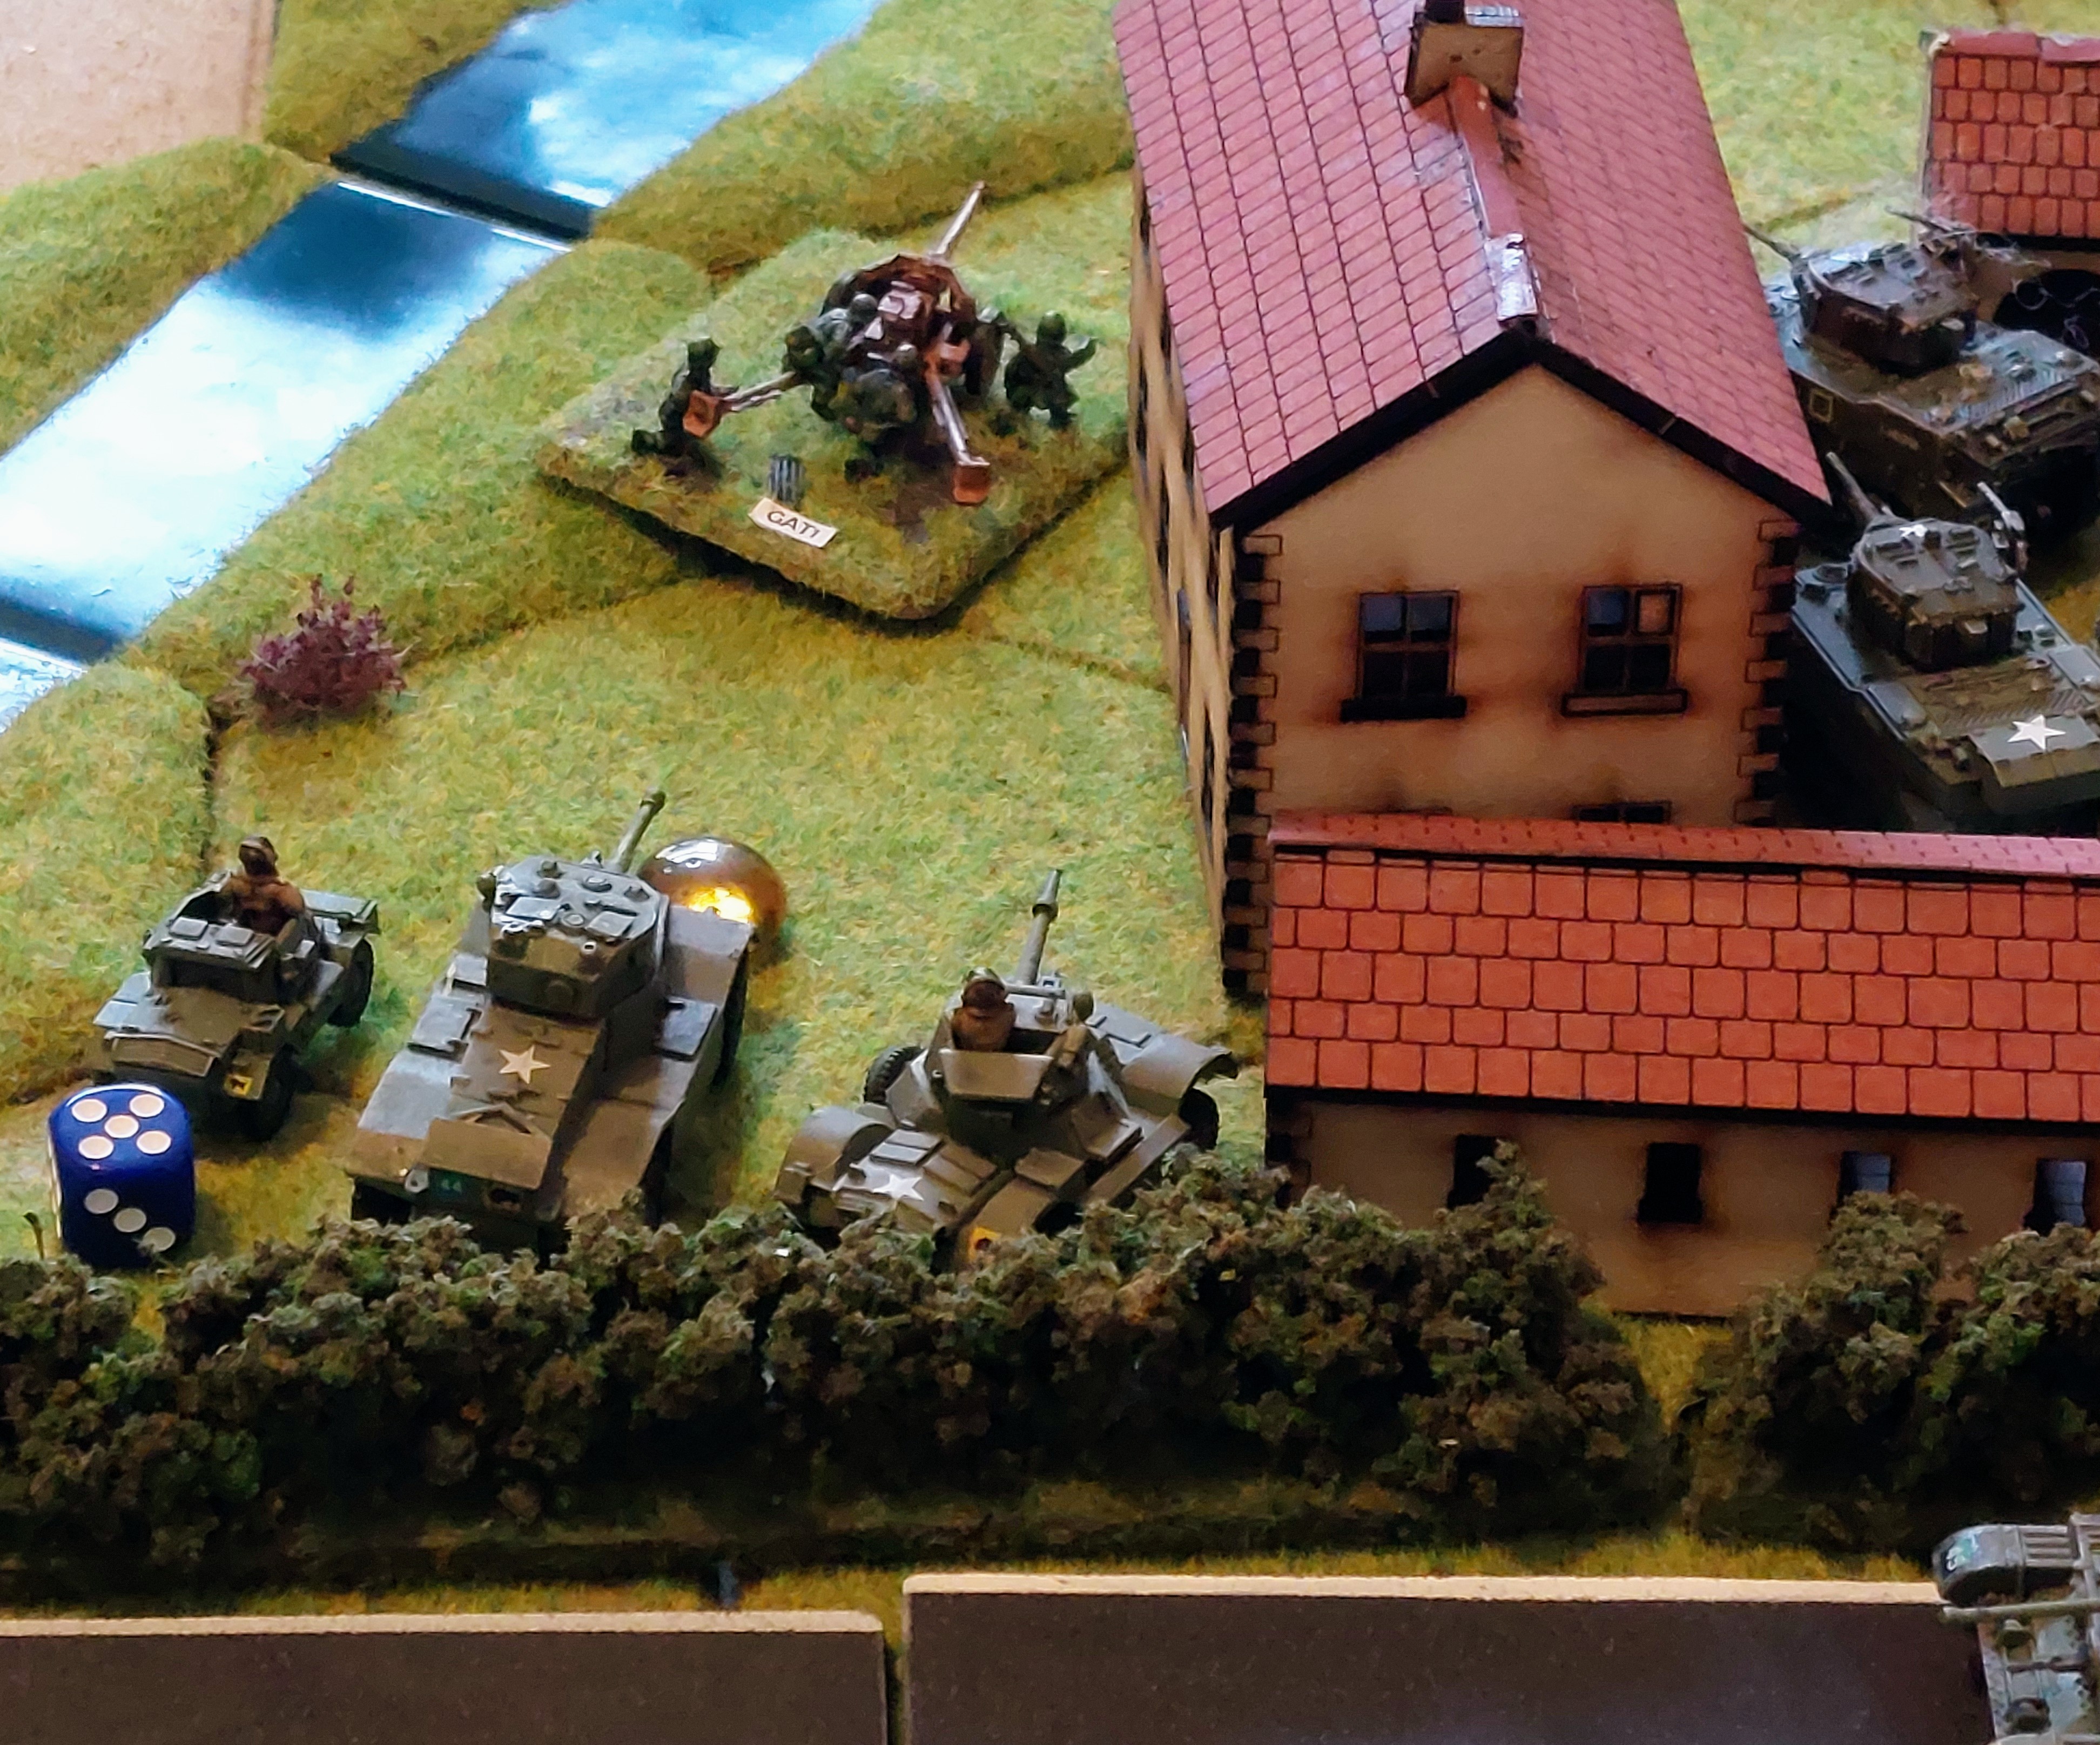
This wasn’t as suicidal as 1st thought as on the 88mm on one of the JagdPanther on the far hill was in range, but it did manage to put a hole in the AEC armoured car forcing it to bail out.
That was pretty much all the excitement for move 2 as the British continued to jockey positions for an advance, and a steady flow of Germans arrived including Tigers.
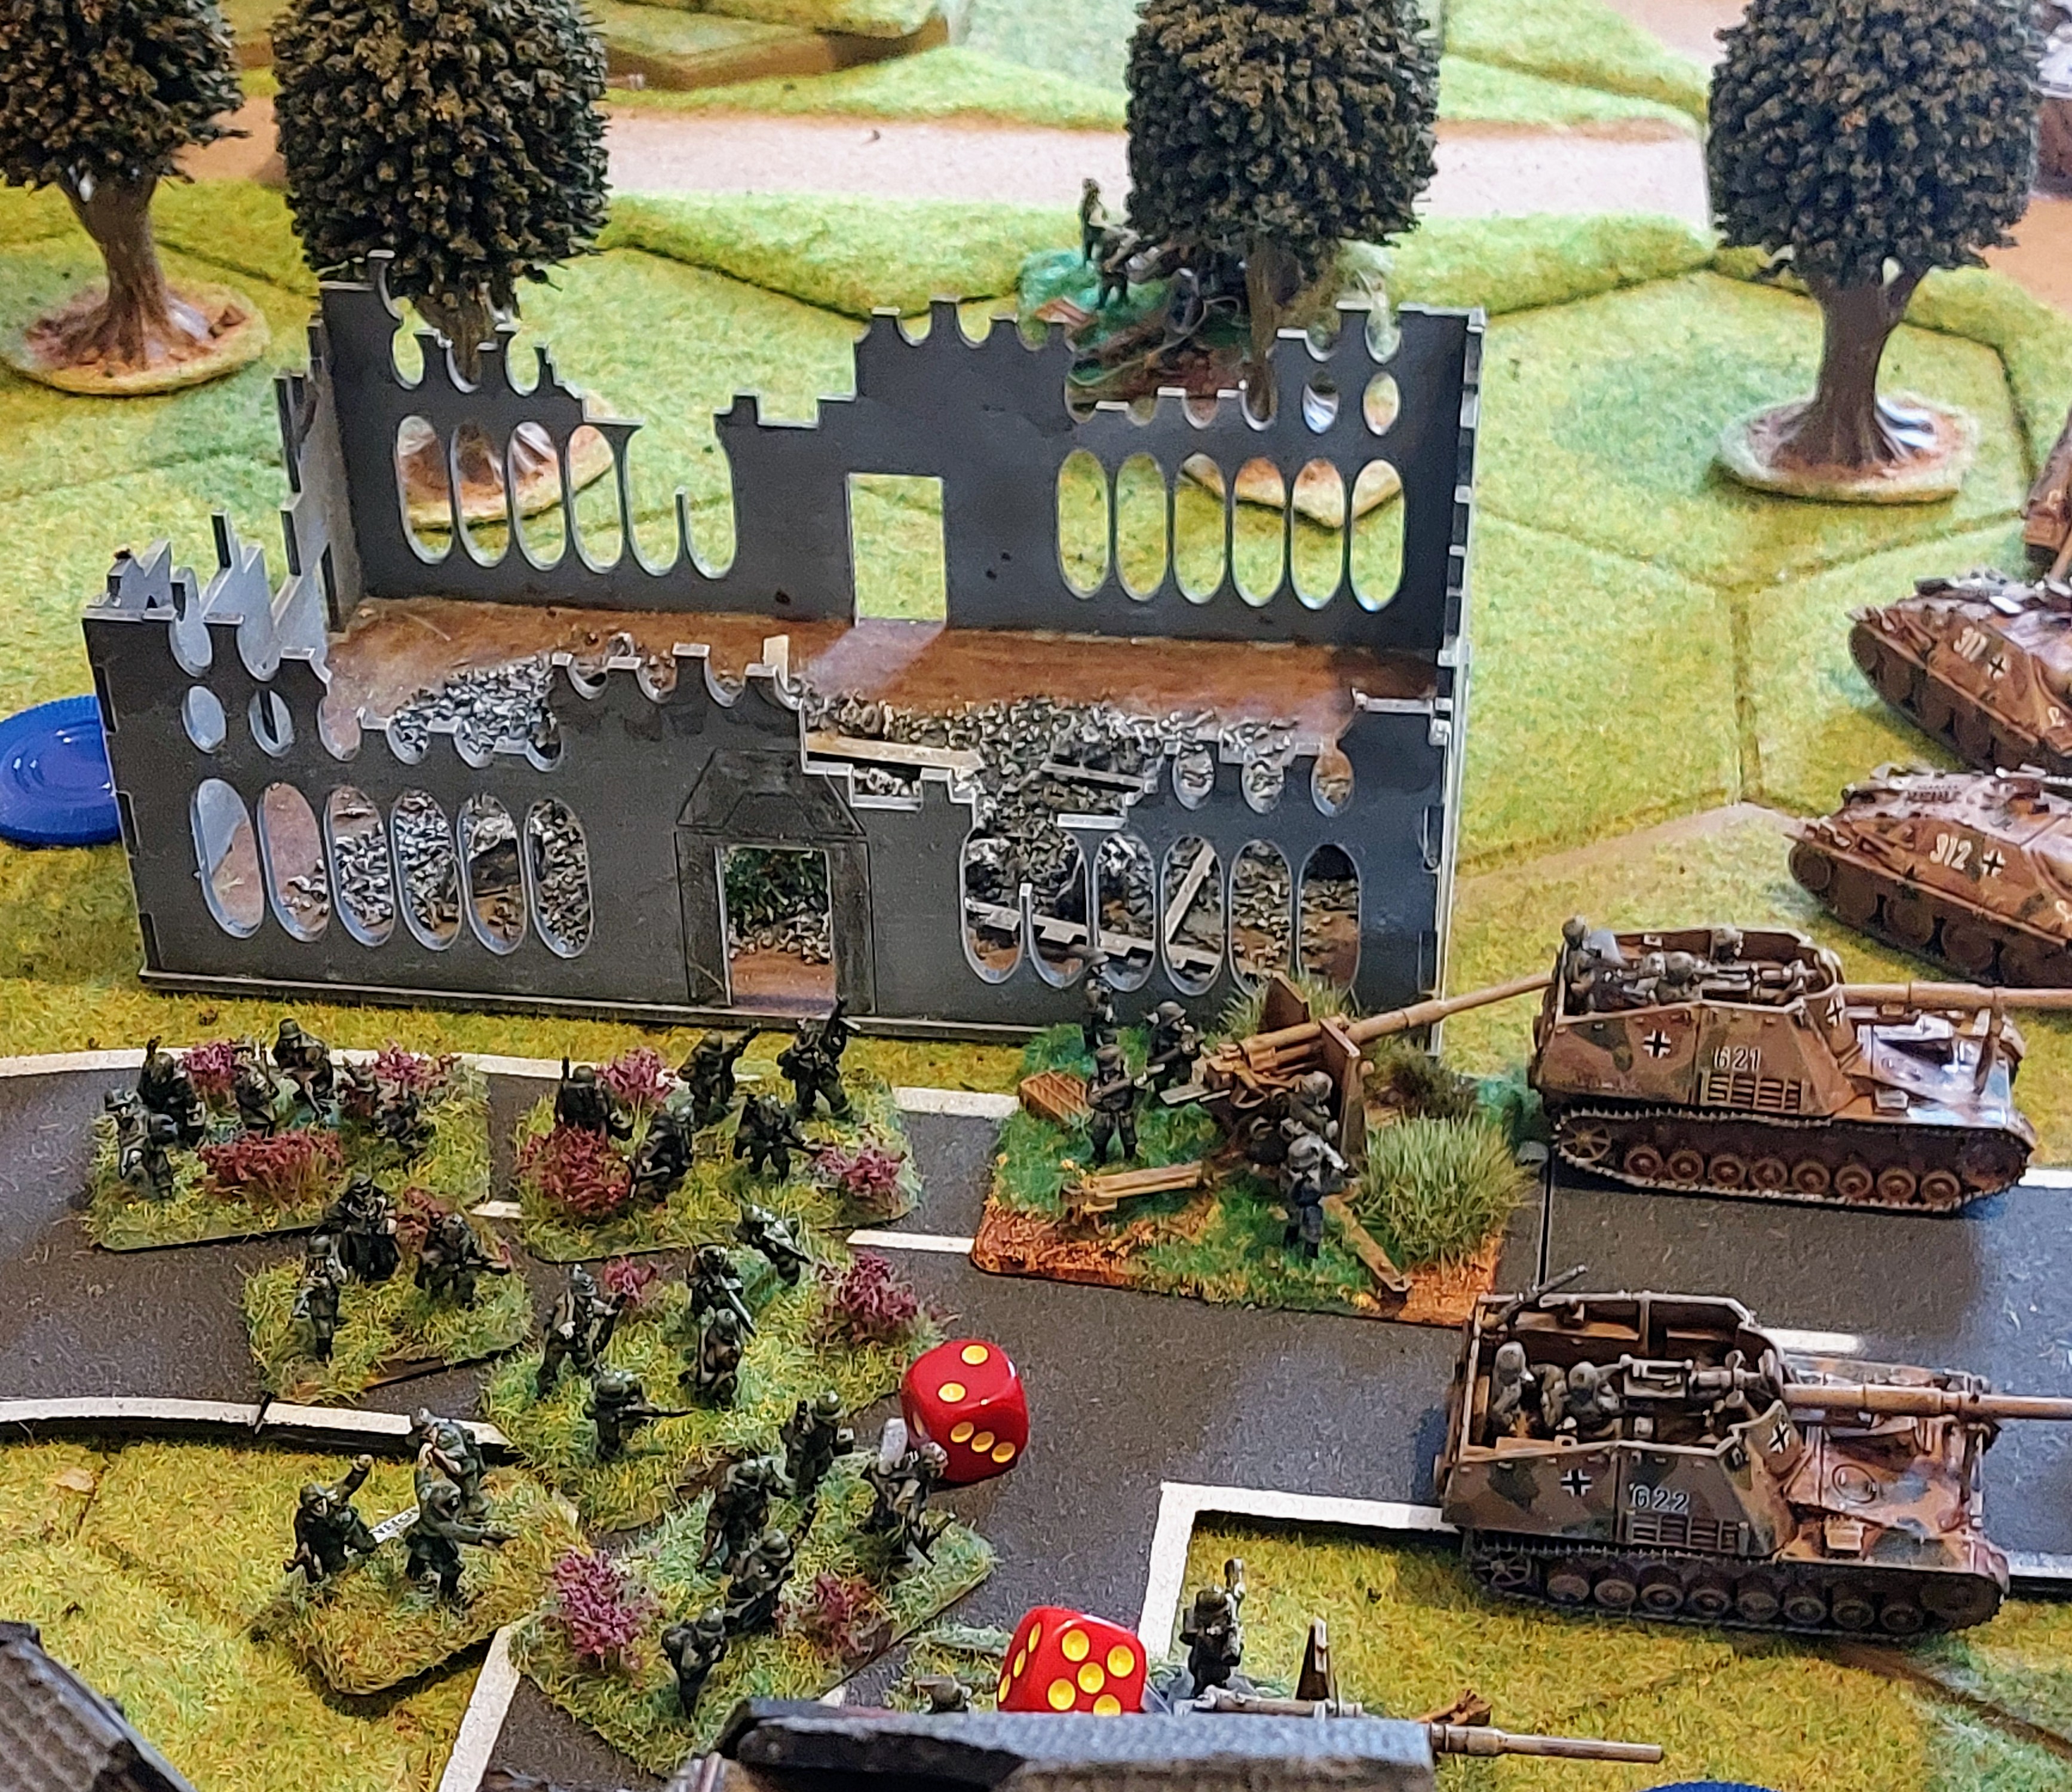
Gerry as did I later has probably realised that the A.I Germans are actually winning at this point, having destroyed the American Airborne onthe Bridge and forming an increasingly strong defensive line around the bridge. This is also slowly dawning on the players who are beginning to realise this has been helped by their reluctance to push units forward.
Although we only got 2 moves it was a good social event , Everyone again enjoyed themselves , the FOW rules worked the mechanics well and didn’t get in way of playing the game. Plan is to carry on in a month due to various commitments, plus we found Sunday lack of pu lic transport put back the start by an hour, so back to Saturdays.


Leave a Reply