


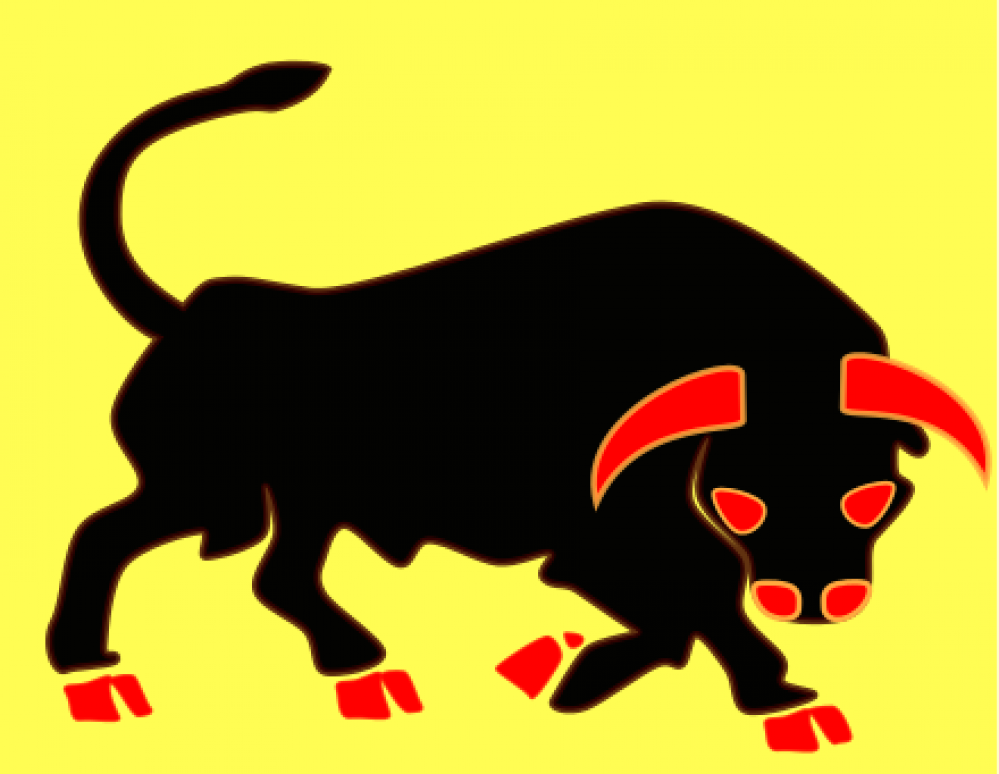
Bob's Black Bulls 11th Armoured Division.


Operation Cheltenham, 1st Moves
Despite an all day game, a combination of the initiative, learning or relearning rules , and devising realistic A.I for Germans meant we only got 2 moves completed. The upside is that all the players had fun and want to continue I a couple of weeks ,which isn’t a problem with my permanent Games room.
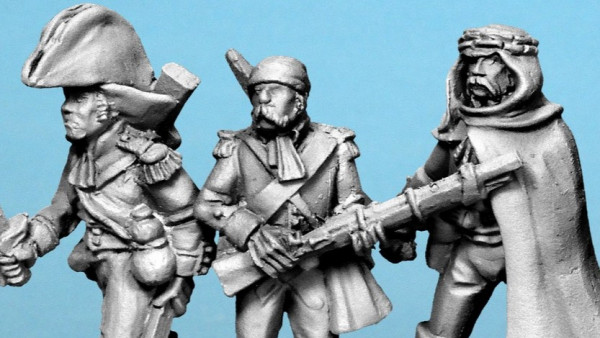
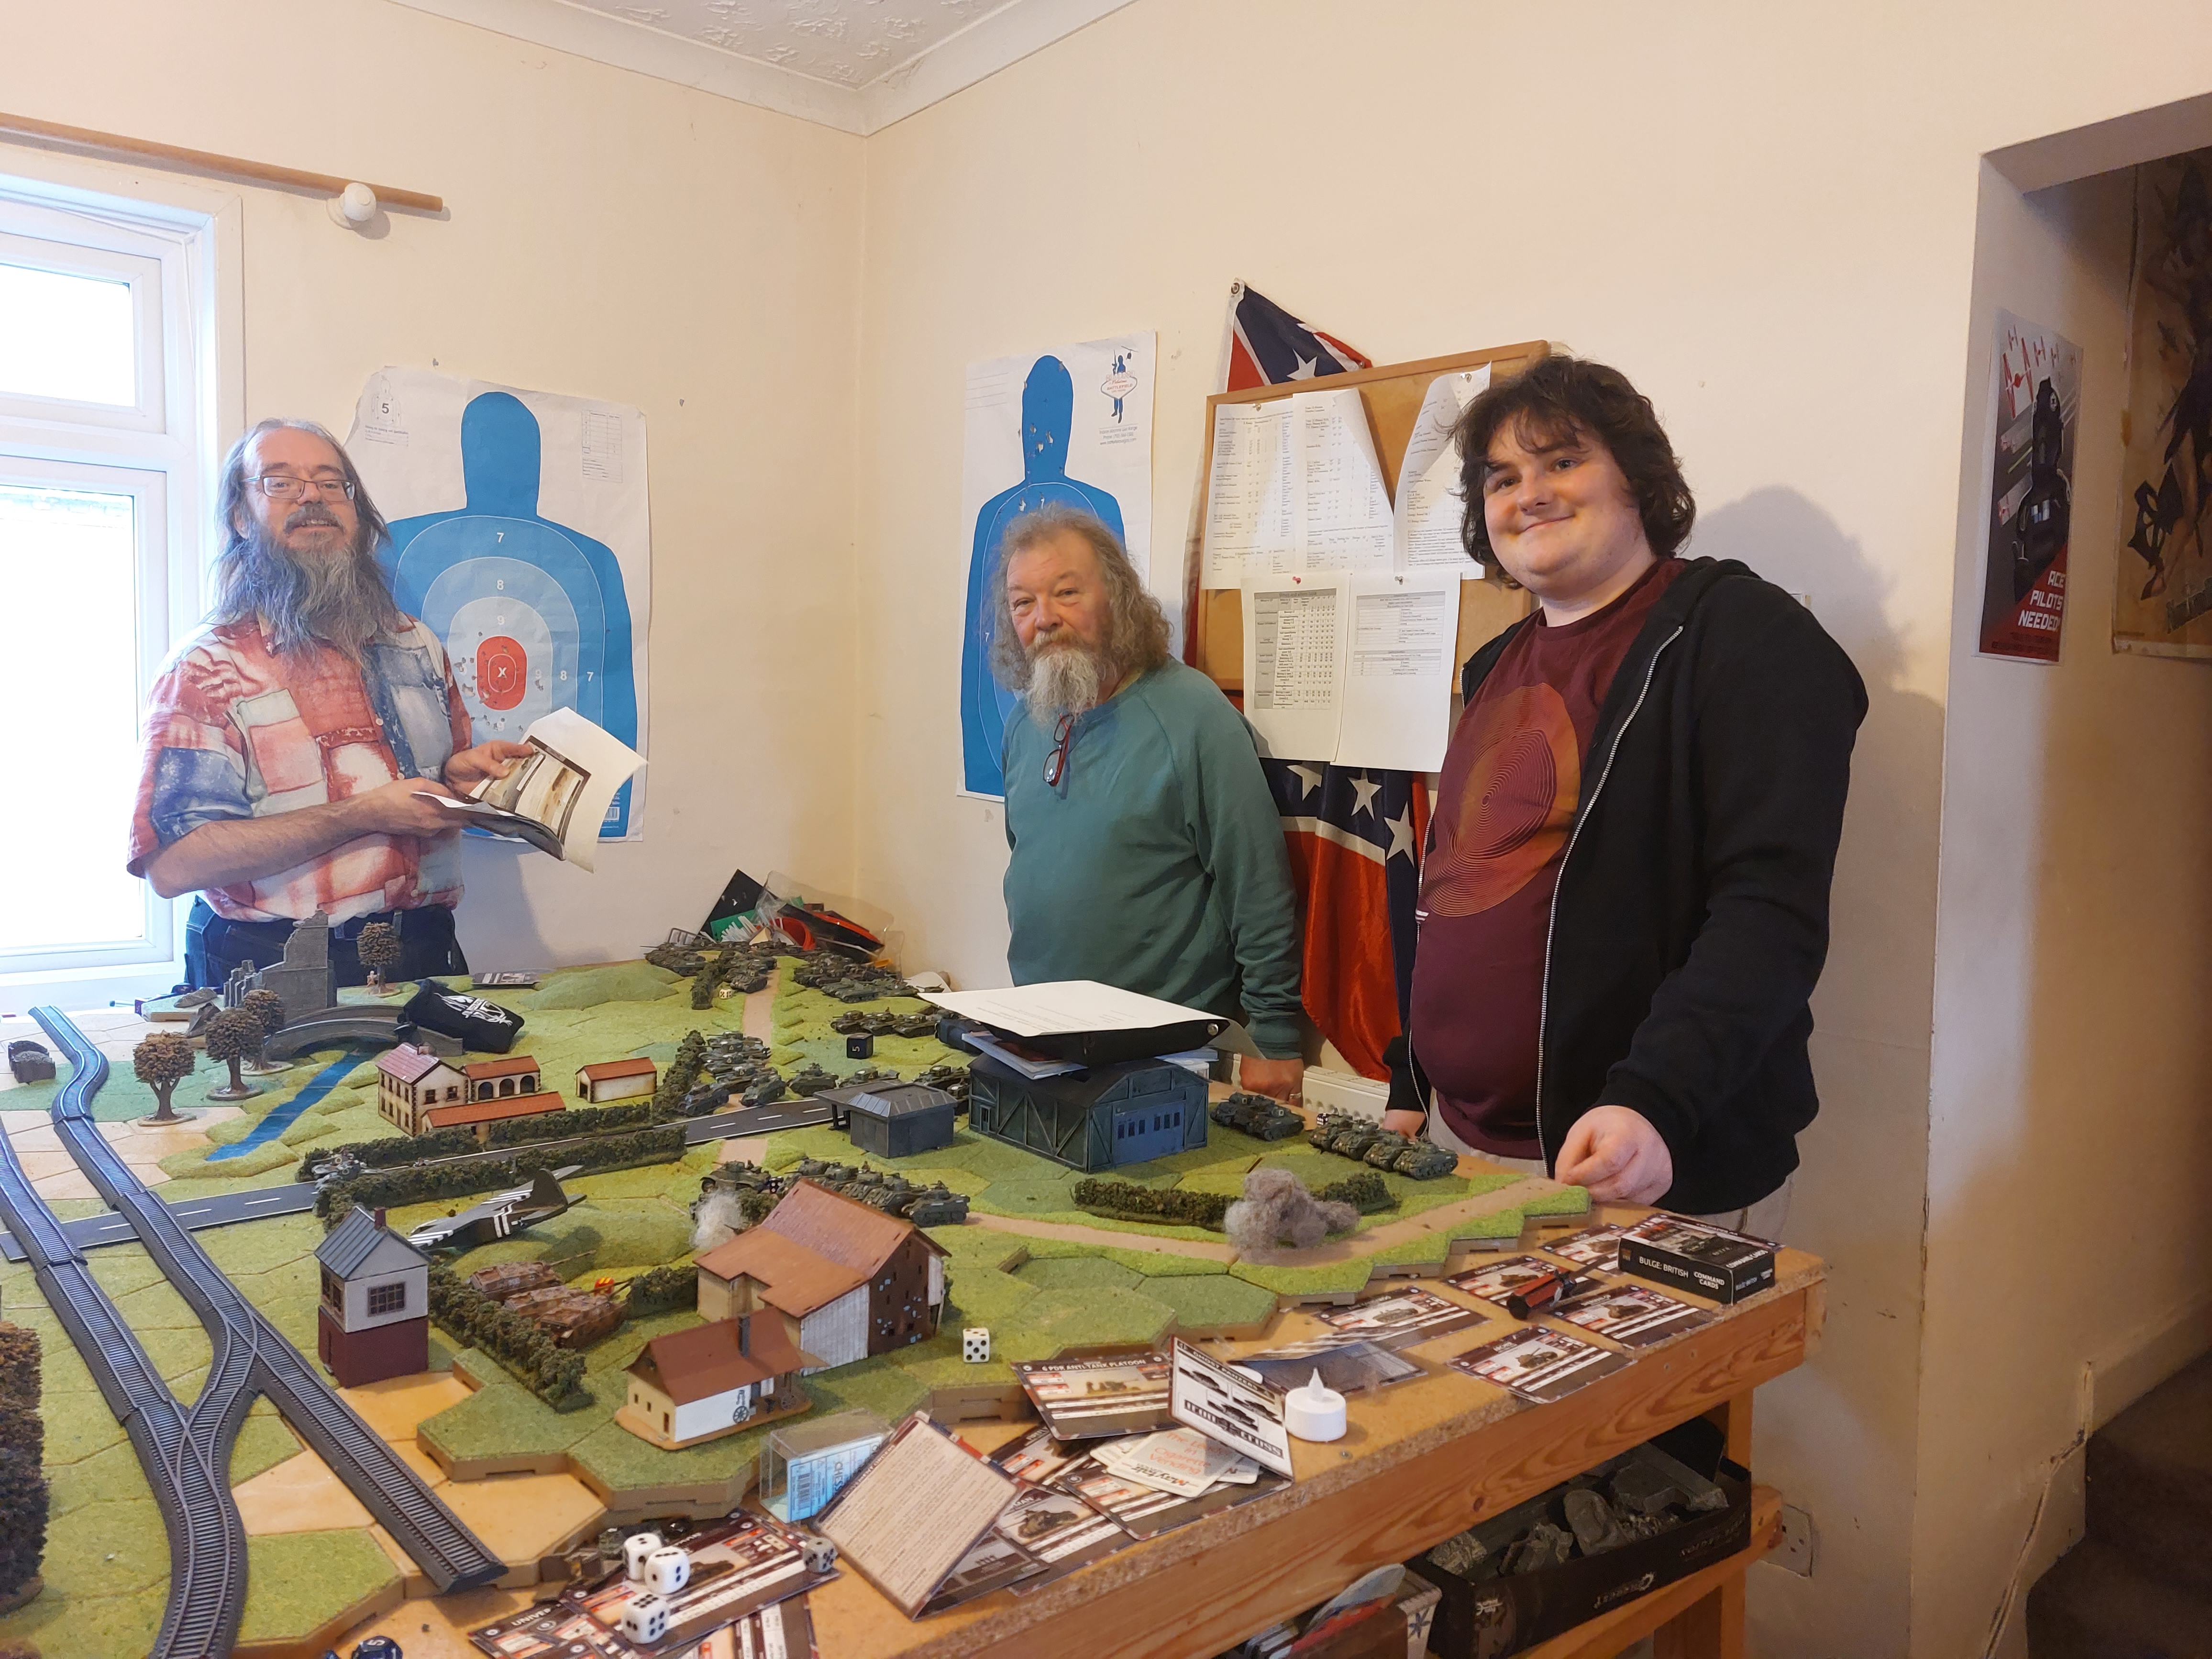 The Redoubtable Players , left Kevin 15th/18th Hussars ,Keith 2nd Genedier Guards, Jo 2nd Fife and Forfar Yeomanry
 Morning Dawned on the 16th June with the Surviving members 504th Glider company (fictional) of the 101st Airborne , set too.
Now little more than a Rifle platoon in strength the company had held the bridge over the River, after being totally mis dropped after hitting heavy flak as they crossed the French coast.
They had survived initial disorganised German attacks , but these were becoming increasingly more intense with the arrival of the Elite Panzer Lear Division.
Their only hope was the news that British Forces were closing in.
They would be Heartened to hear that 3 armoured Suadrons were closing on their position. Led by Majors Keith ‘Tudor’ Prossett 2nd Grenedier Guards, Kevin ‘By the Book’ Broomhill 15/18th Hussars, and Jo Leftbridge 2nd Fyfe and Forfar Yeomanry , who had advance had the Bridge in Site,
The Guards were to advance on thr Right flank led by the attached 6th Guards Churchill Troops, to secure the high ground at the Church of the Fallen Madona and provide flanking cover on the advance to the Bridge. Likewise the 2nd Fife and Forfar were to advance on the left flank . The 15th/18th were to advance as quickly as possible to relieve the American Airborne boys and secure the Bridge crossing.
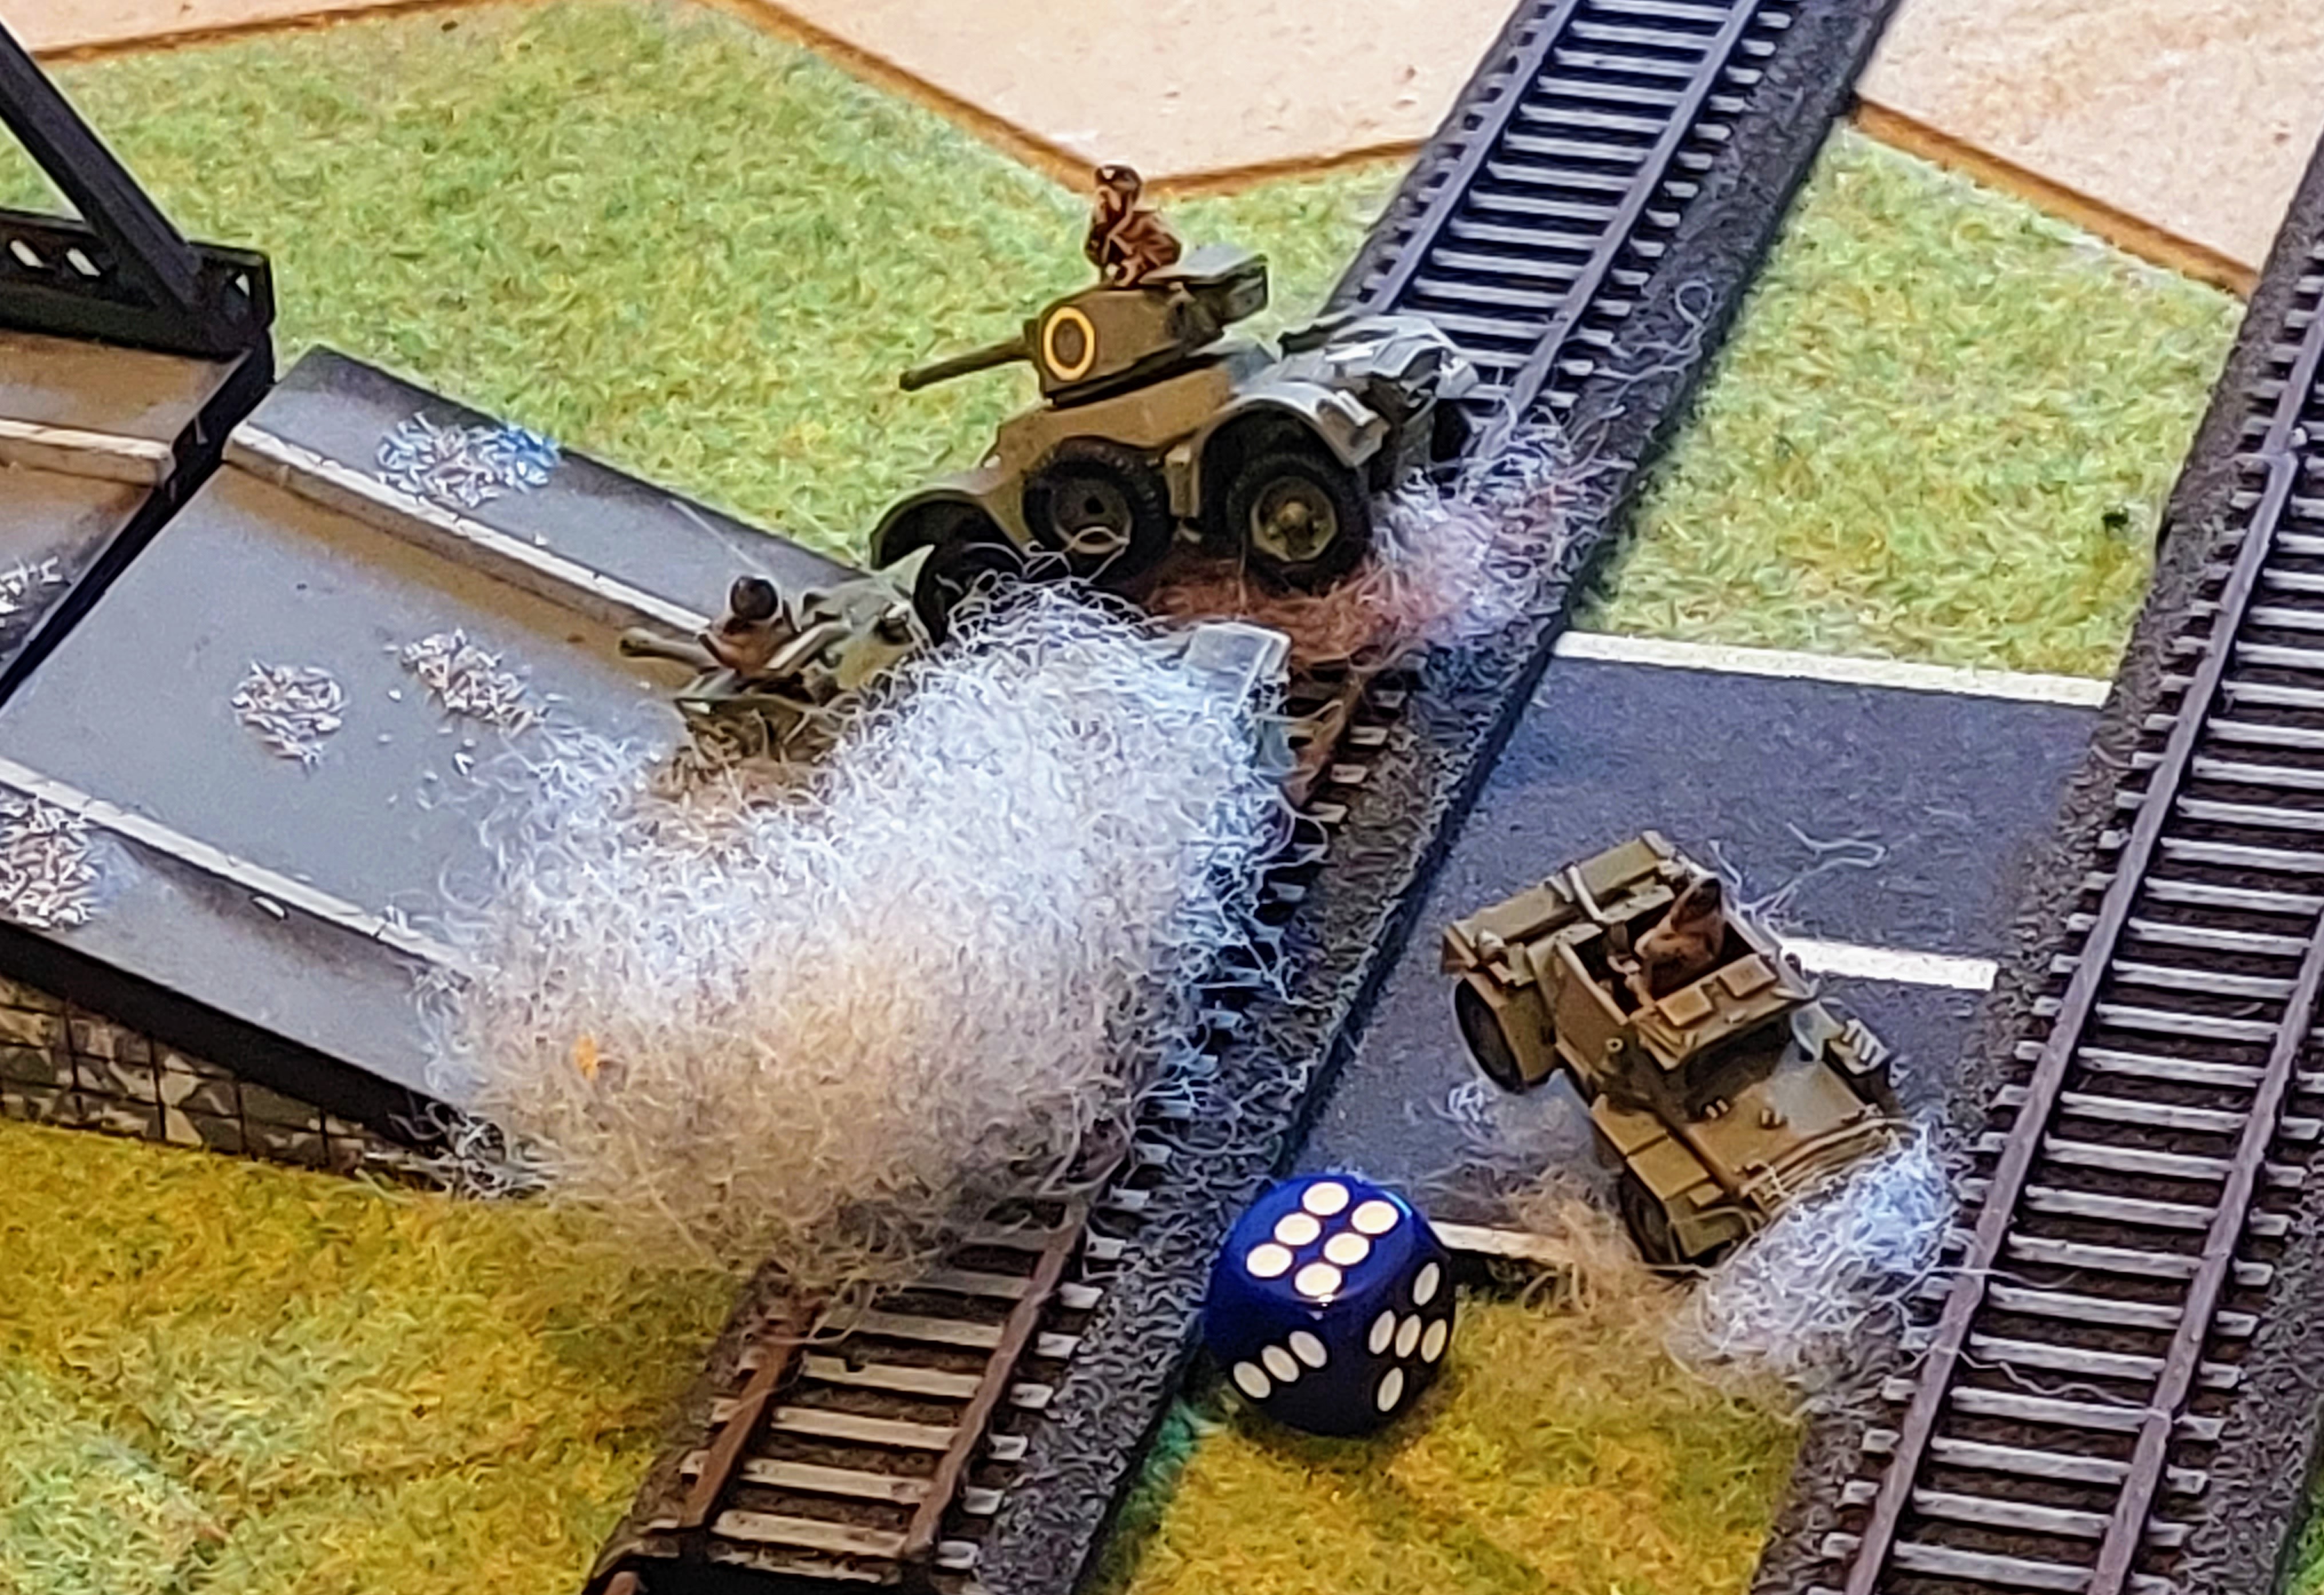
The advance started slowly as rhe Recon units threaded the way through the bocage, and were almost immediately slowed when o e of the leading Stuarts was brewed by an unseen anti tank gun. ( actually by a Jagdpanzer the only one ever covering the rear , most had been deployed to attack the Bridge.)
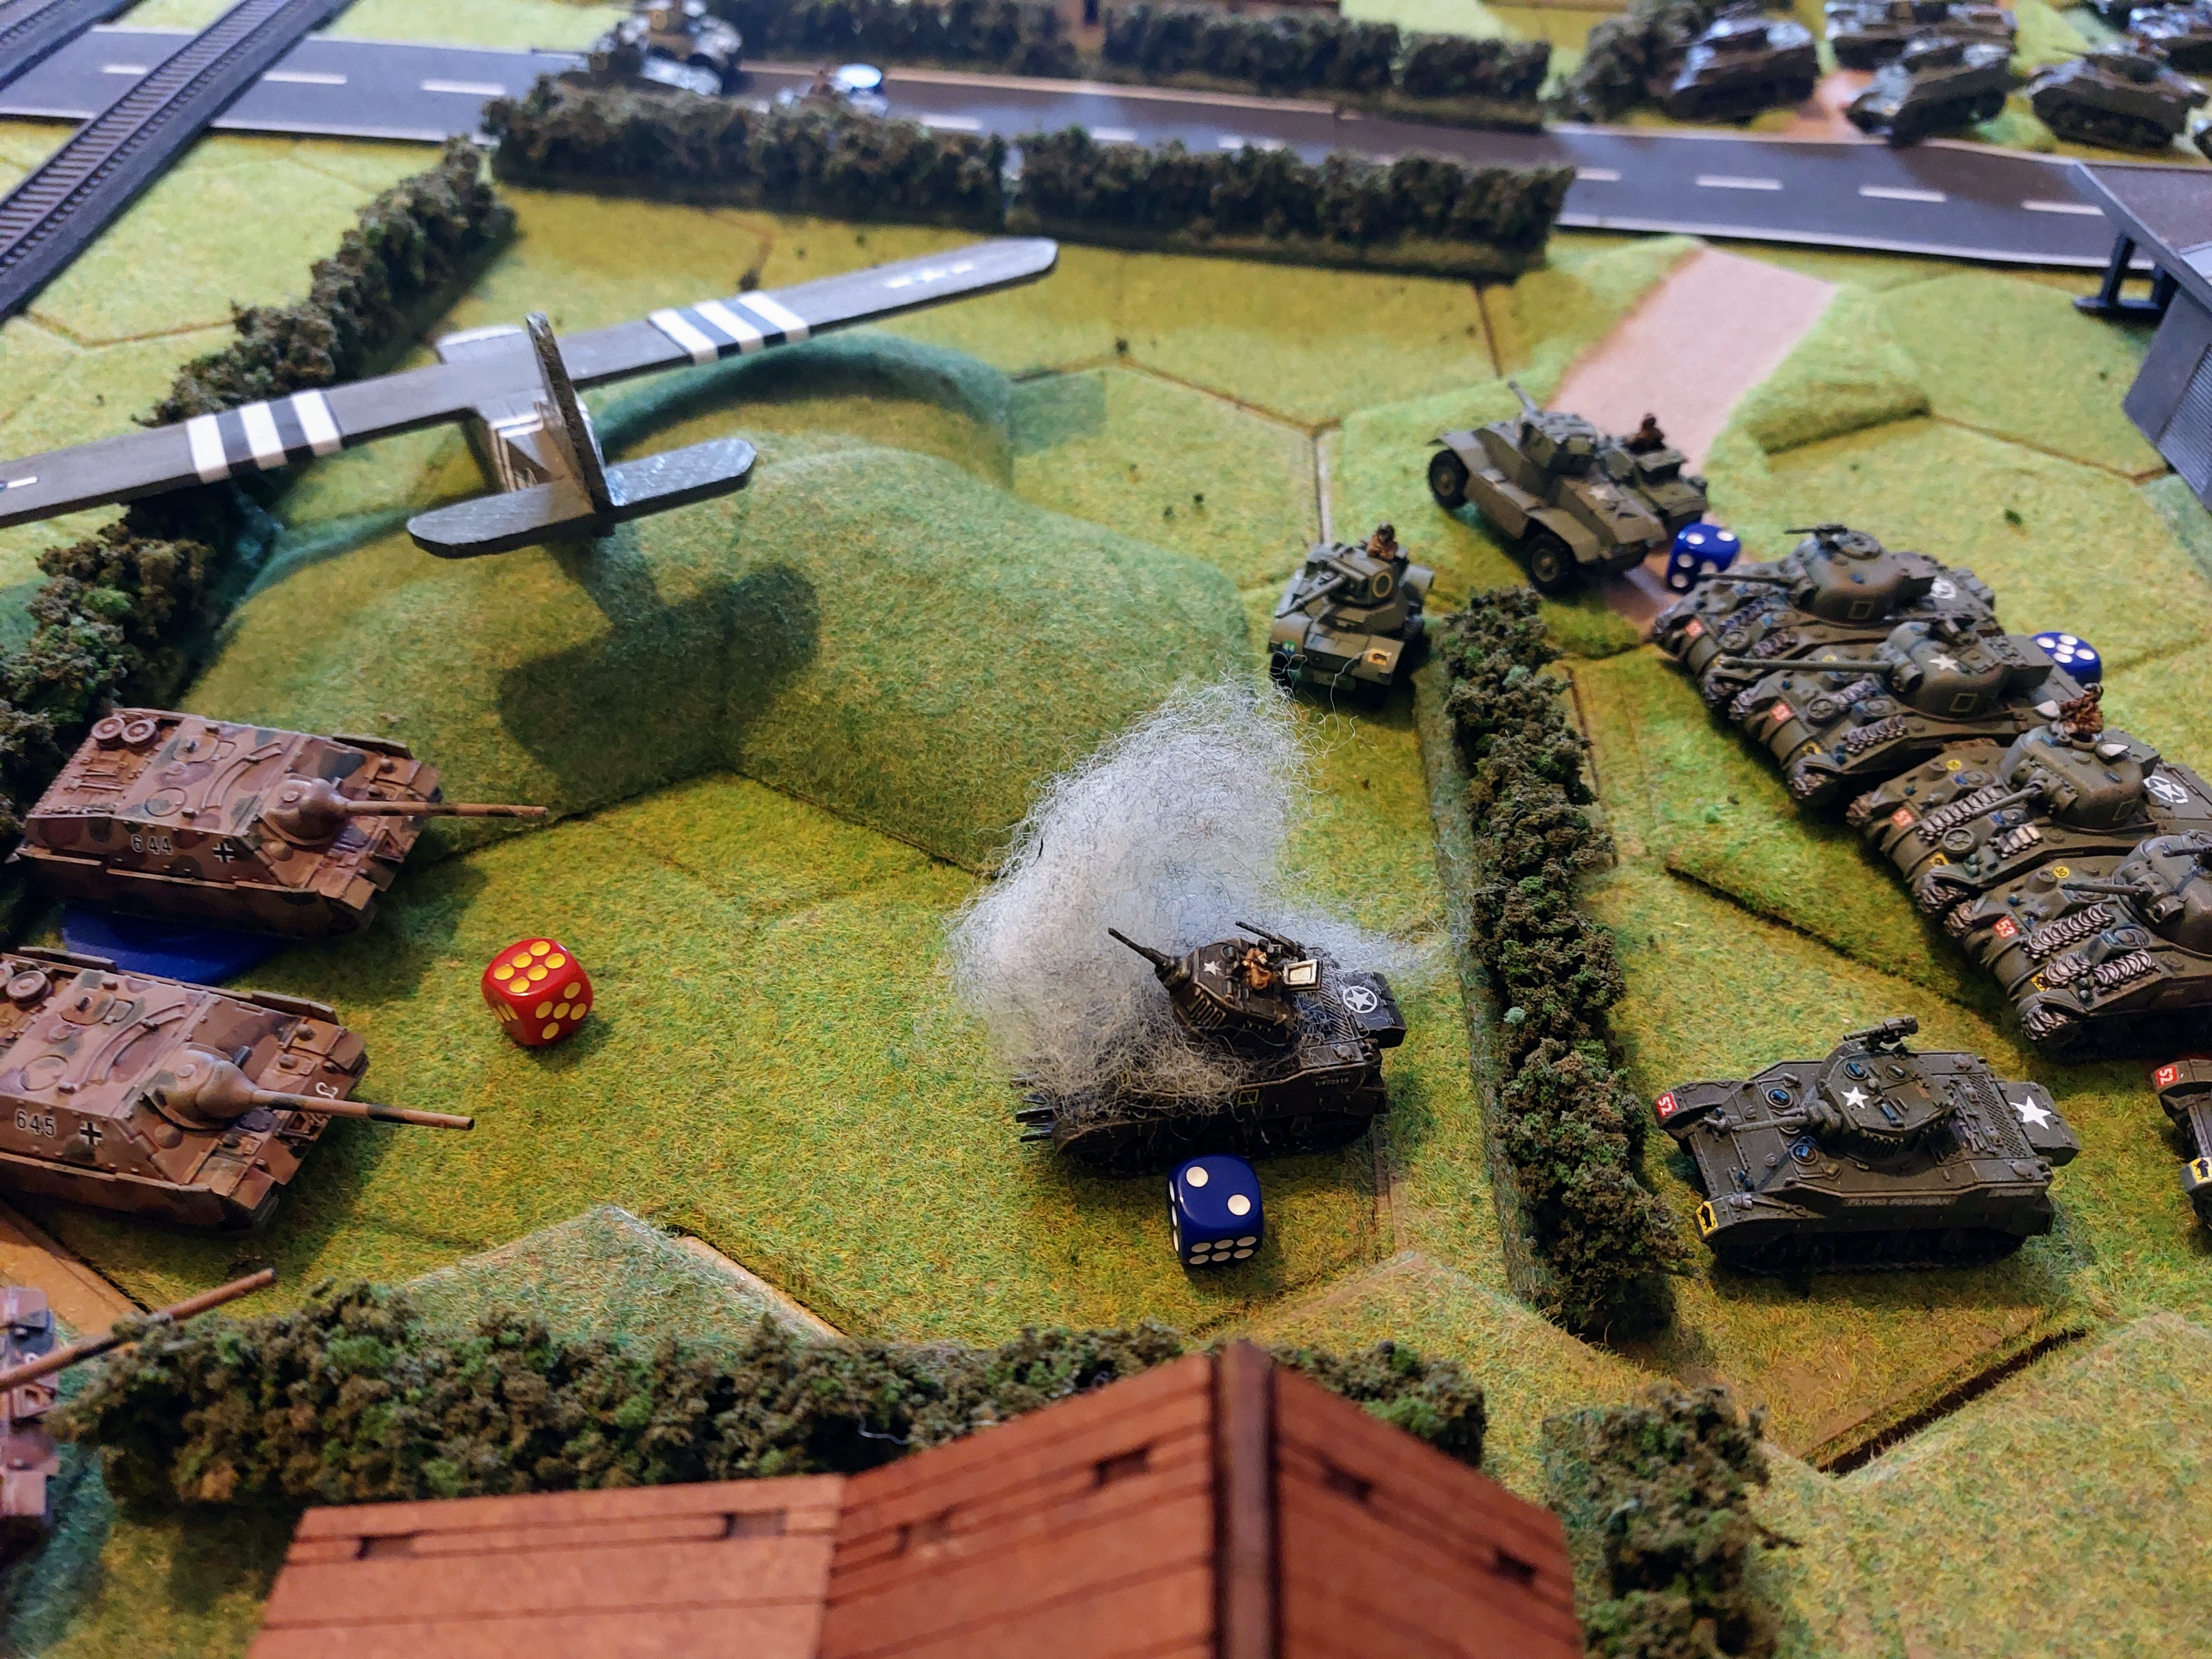 1st blood.
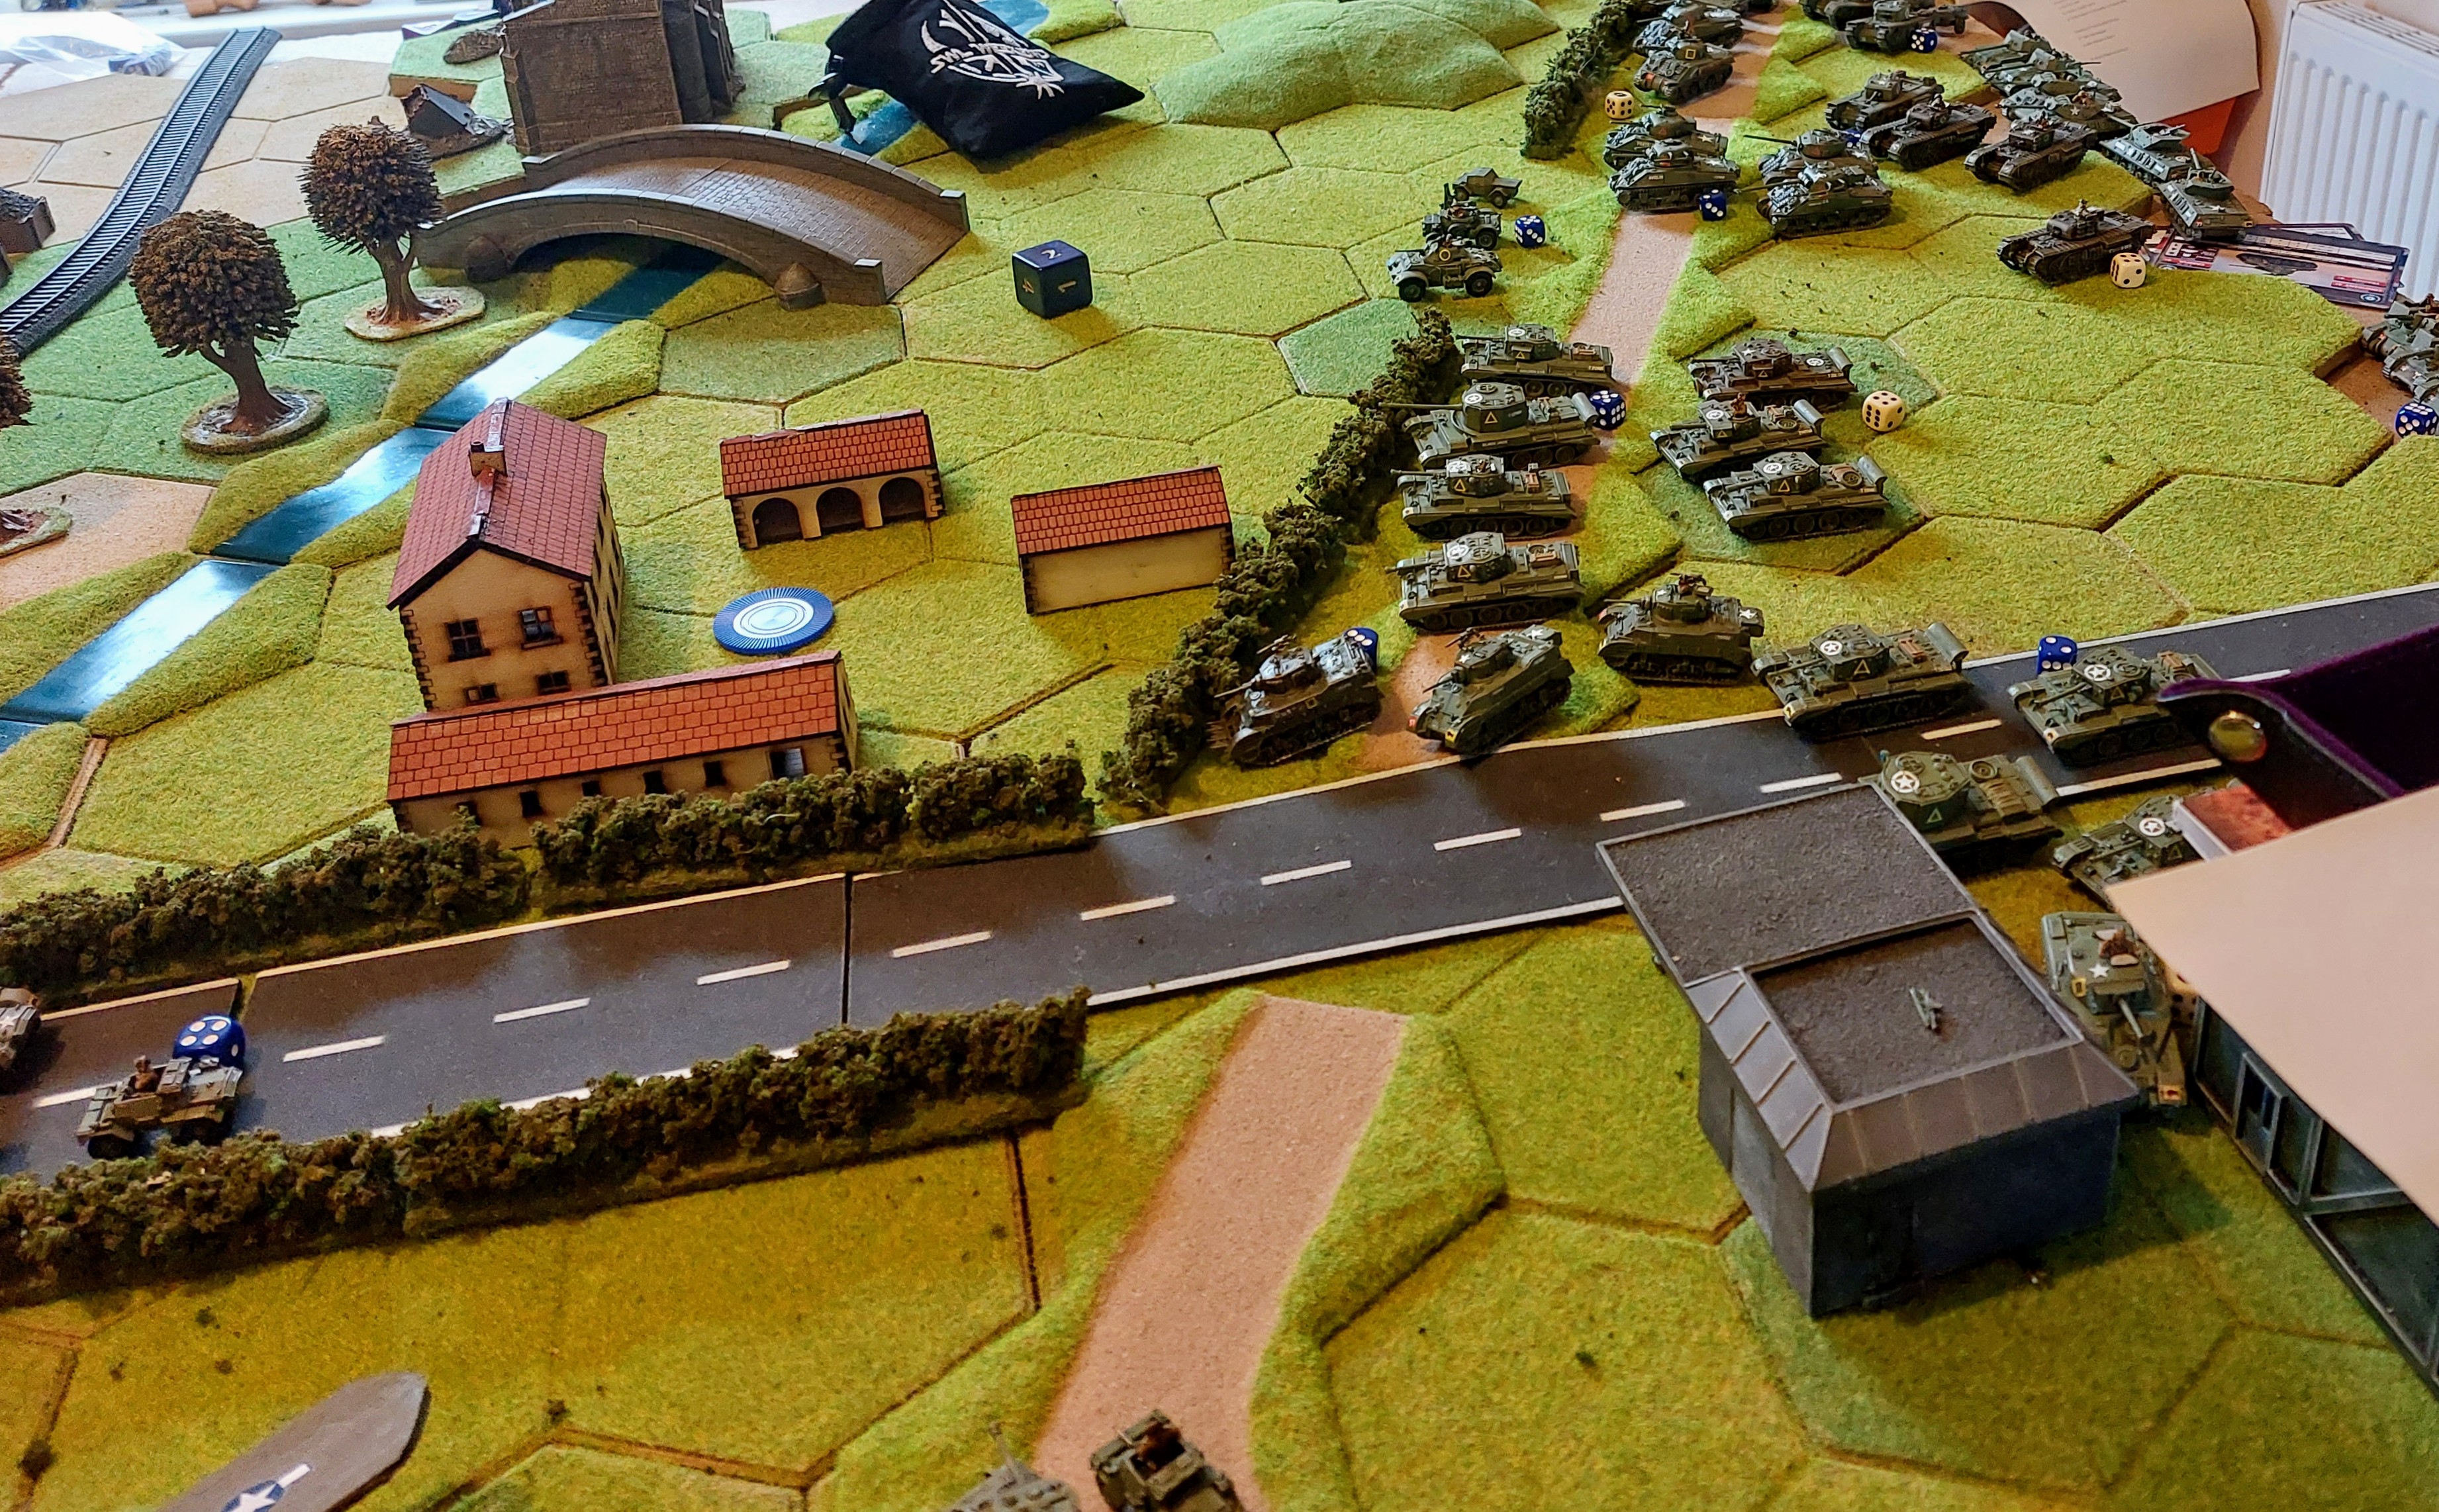
All the players got into the narrative of the game. Although we kept fairly strictly to Historical formations for the British, we allowed the Germans much more free flow in both formations and command, to as ”Keith put it having been action fairy continously for sone 9 days.
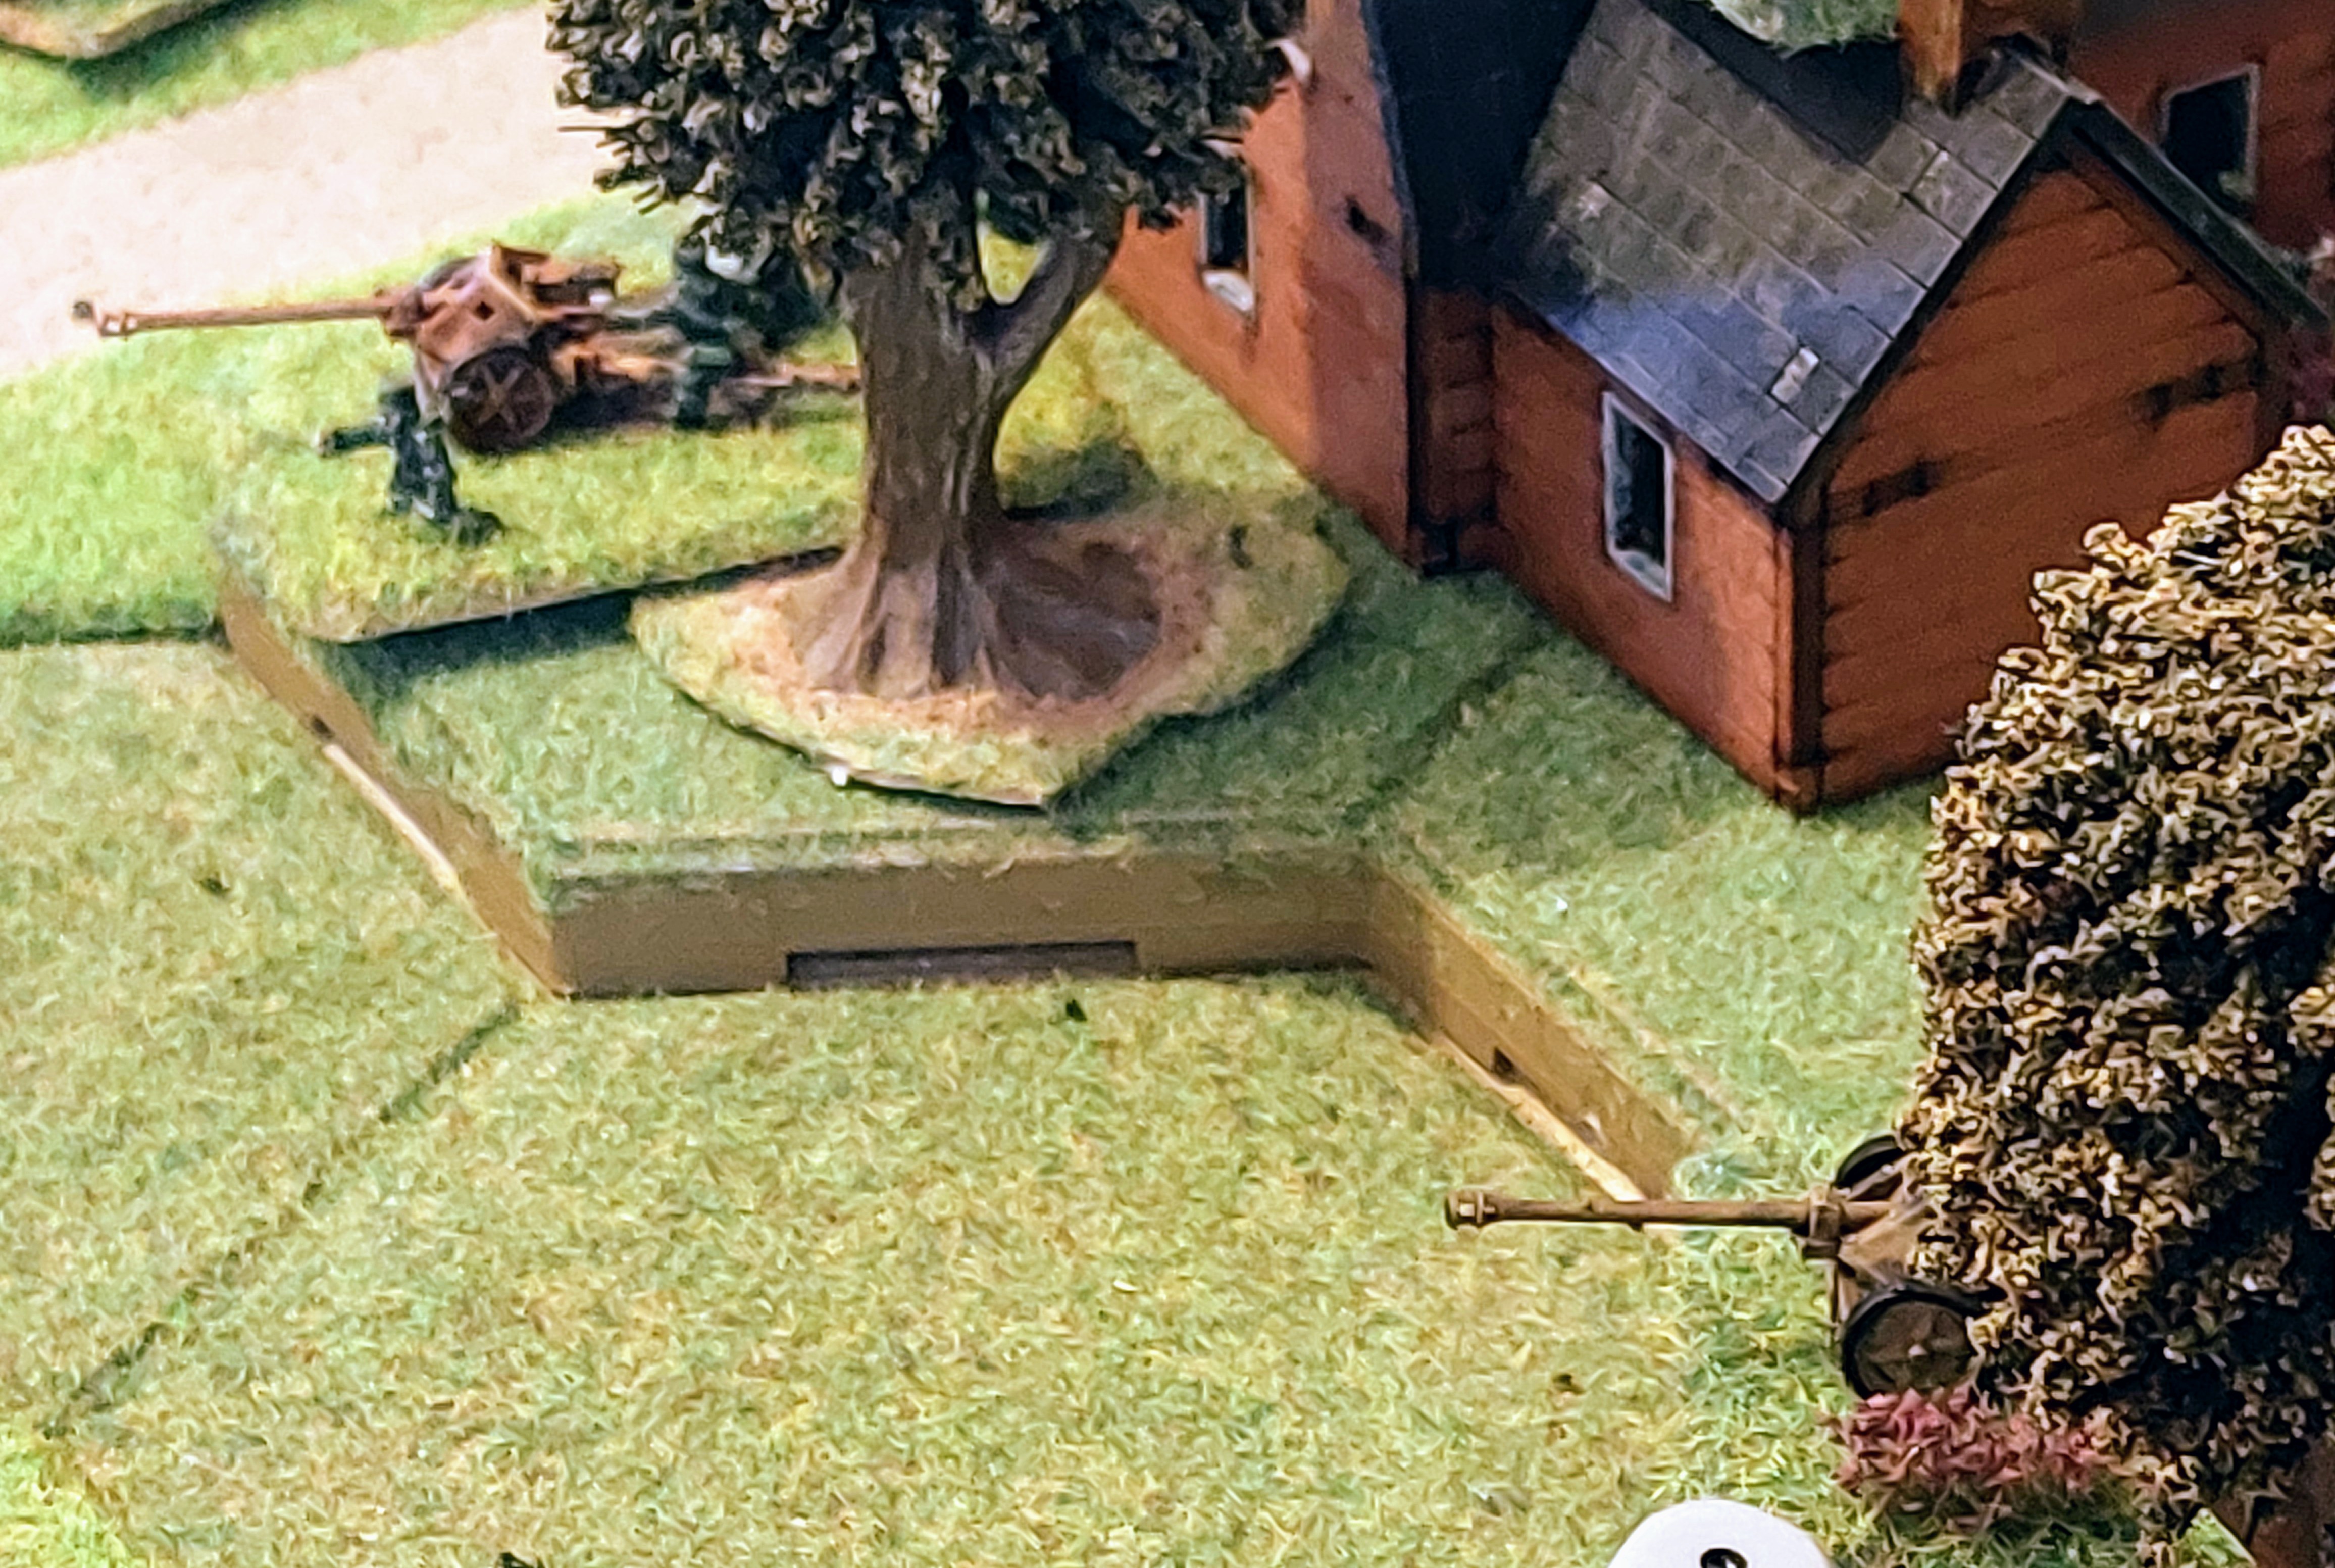
To make matters worse a platoon of Panzergrendiers had managed to quietly manoever into one of the buildings close to the Glider troops holding the Southern side of the Bridge. And prepared to launch an assualt, assisted by covering fire from 2 recently arrived Hornisses, who managed to severely maul the American defenders with accurate shell fire.
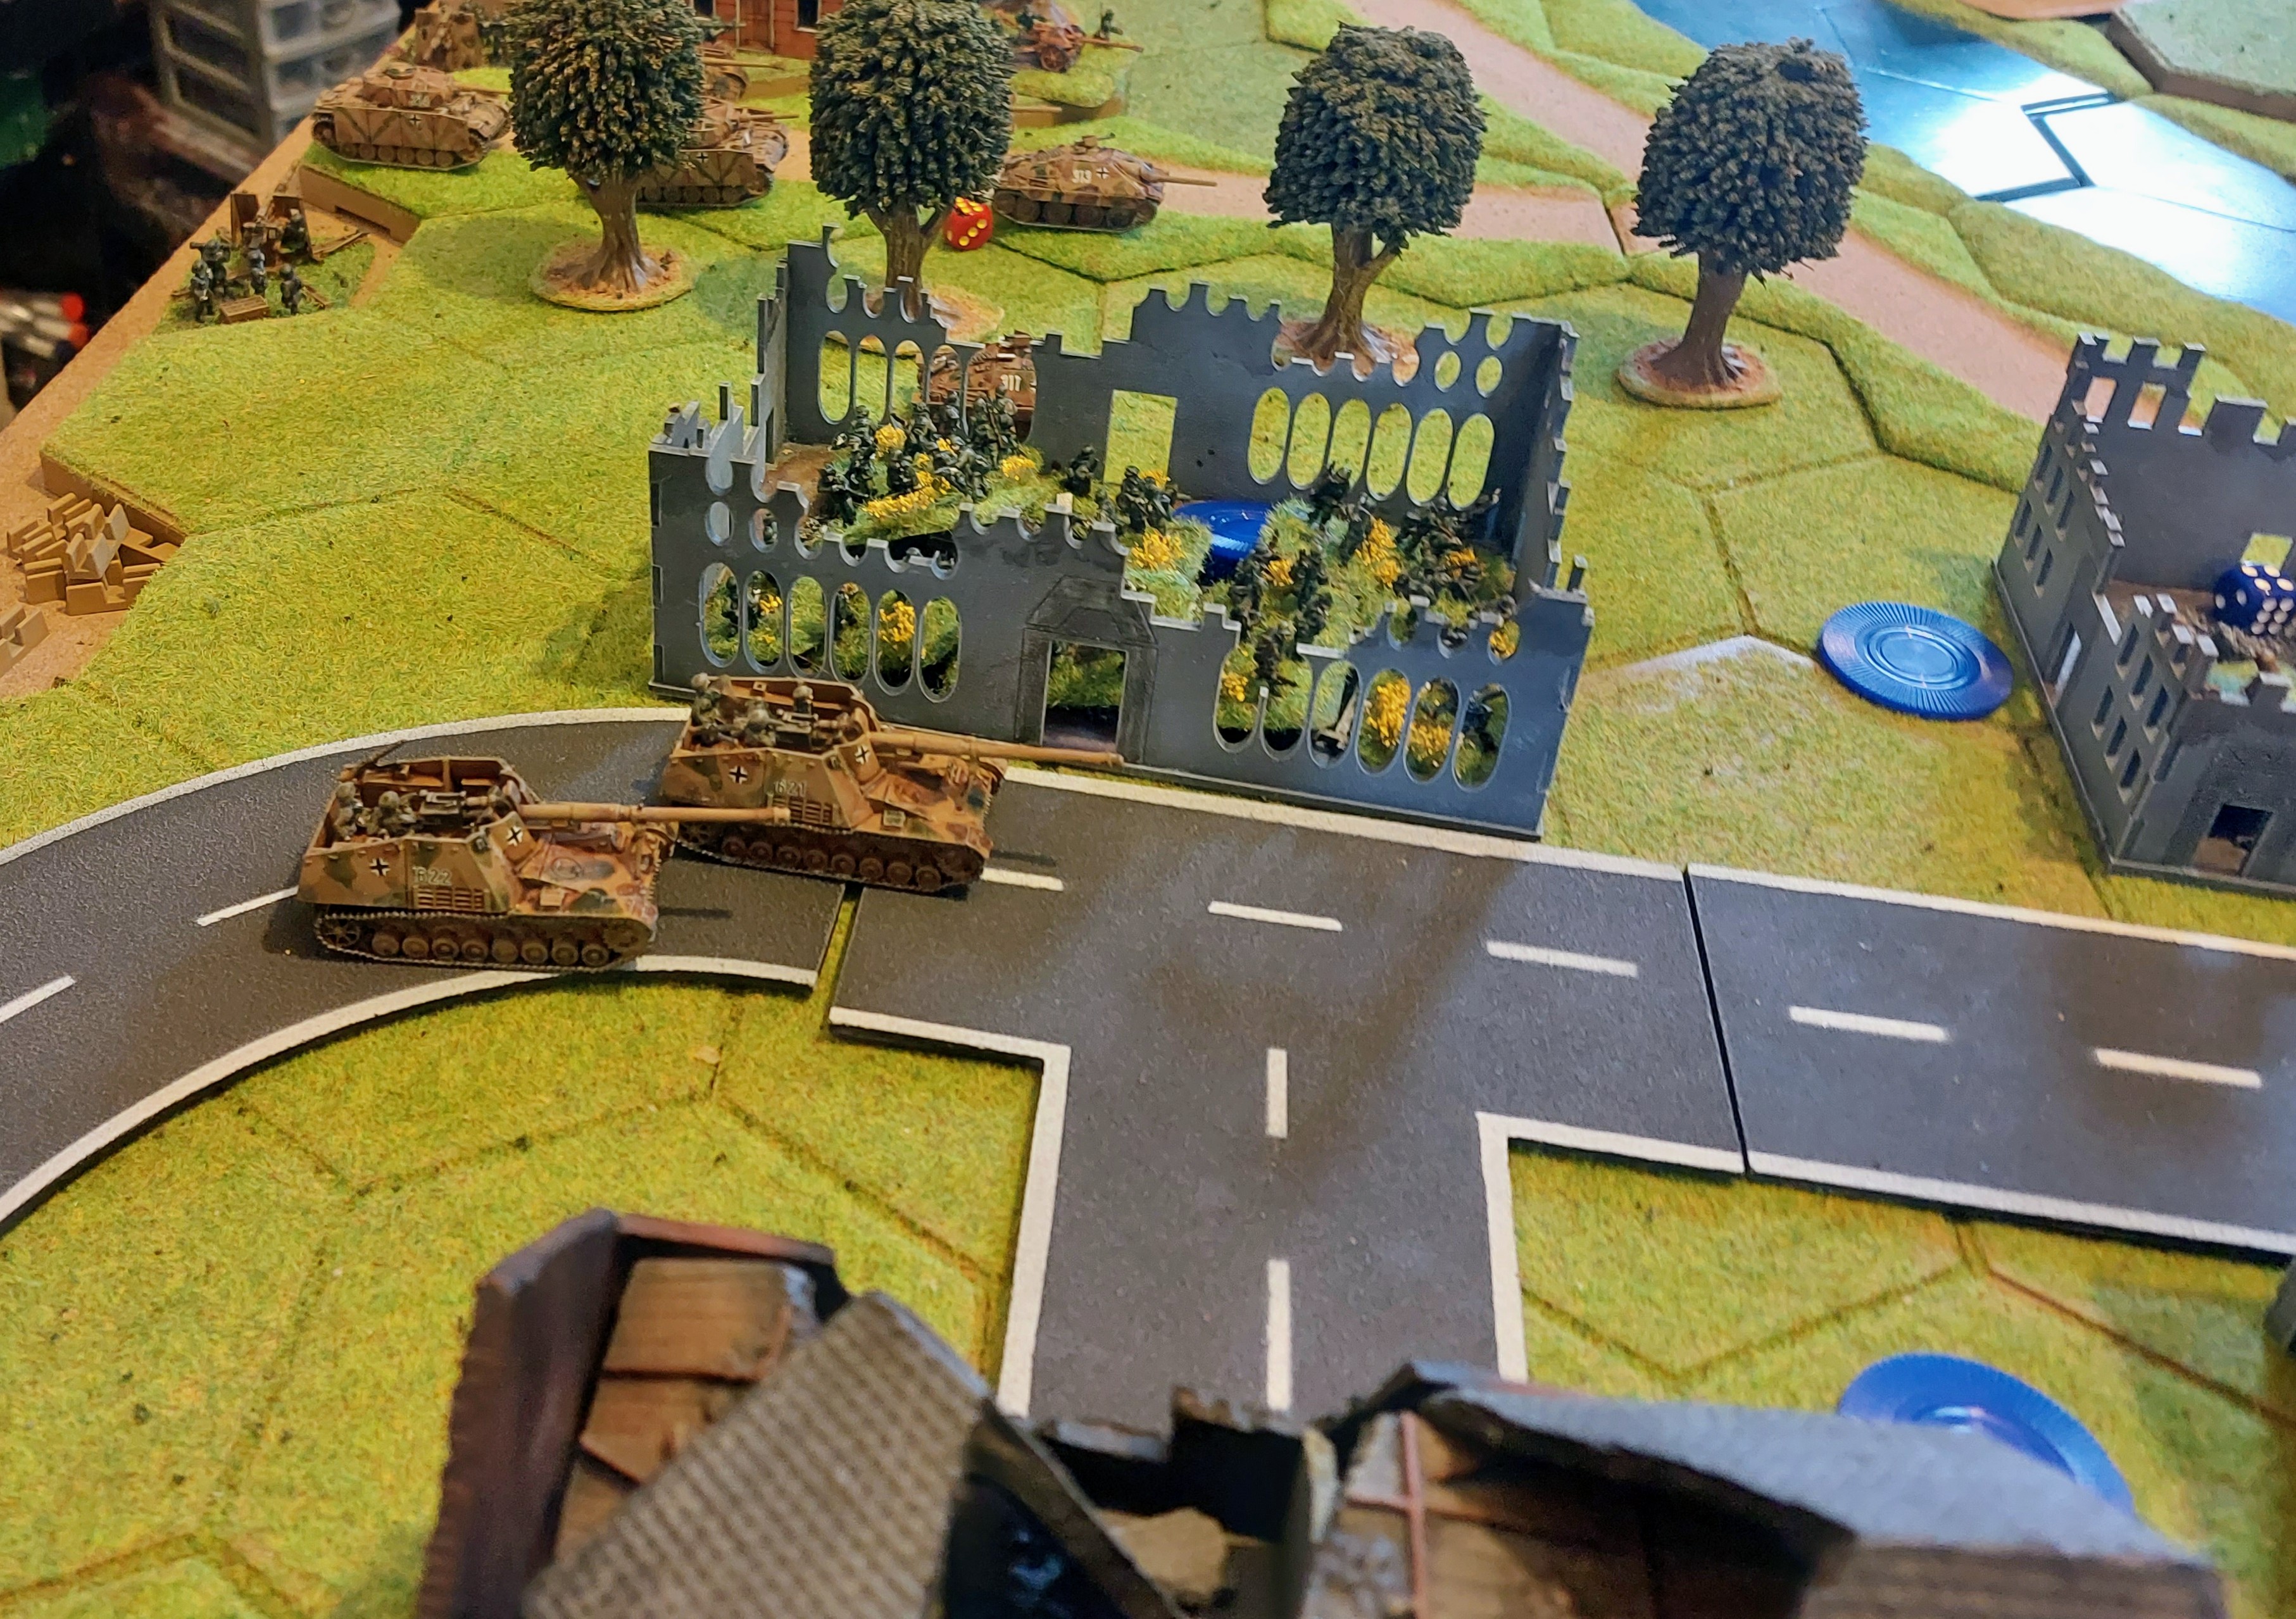
This was achieved by each side having a command dice for company/squadron commanders. In this case a unit dice was put on hold for the Panzergrenadirs , when the Command dice was drawn it was rolled with the number of units it could activate. In this case the Hornisse’s were activated by the Infantry’ Co commander to fire followed by a close Assualt by the full platoon of grenadiers.
The Grenidiers charge hone into the lone squad of Glider Troops and despite covering fire from the Americans on the adjacent building , the squad was overrun.
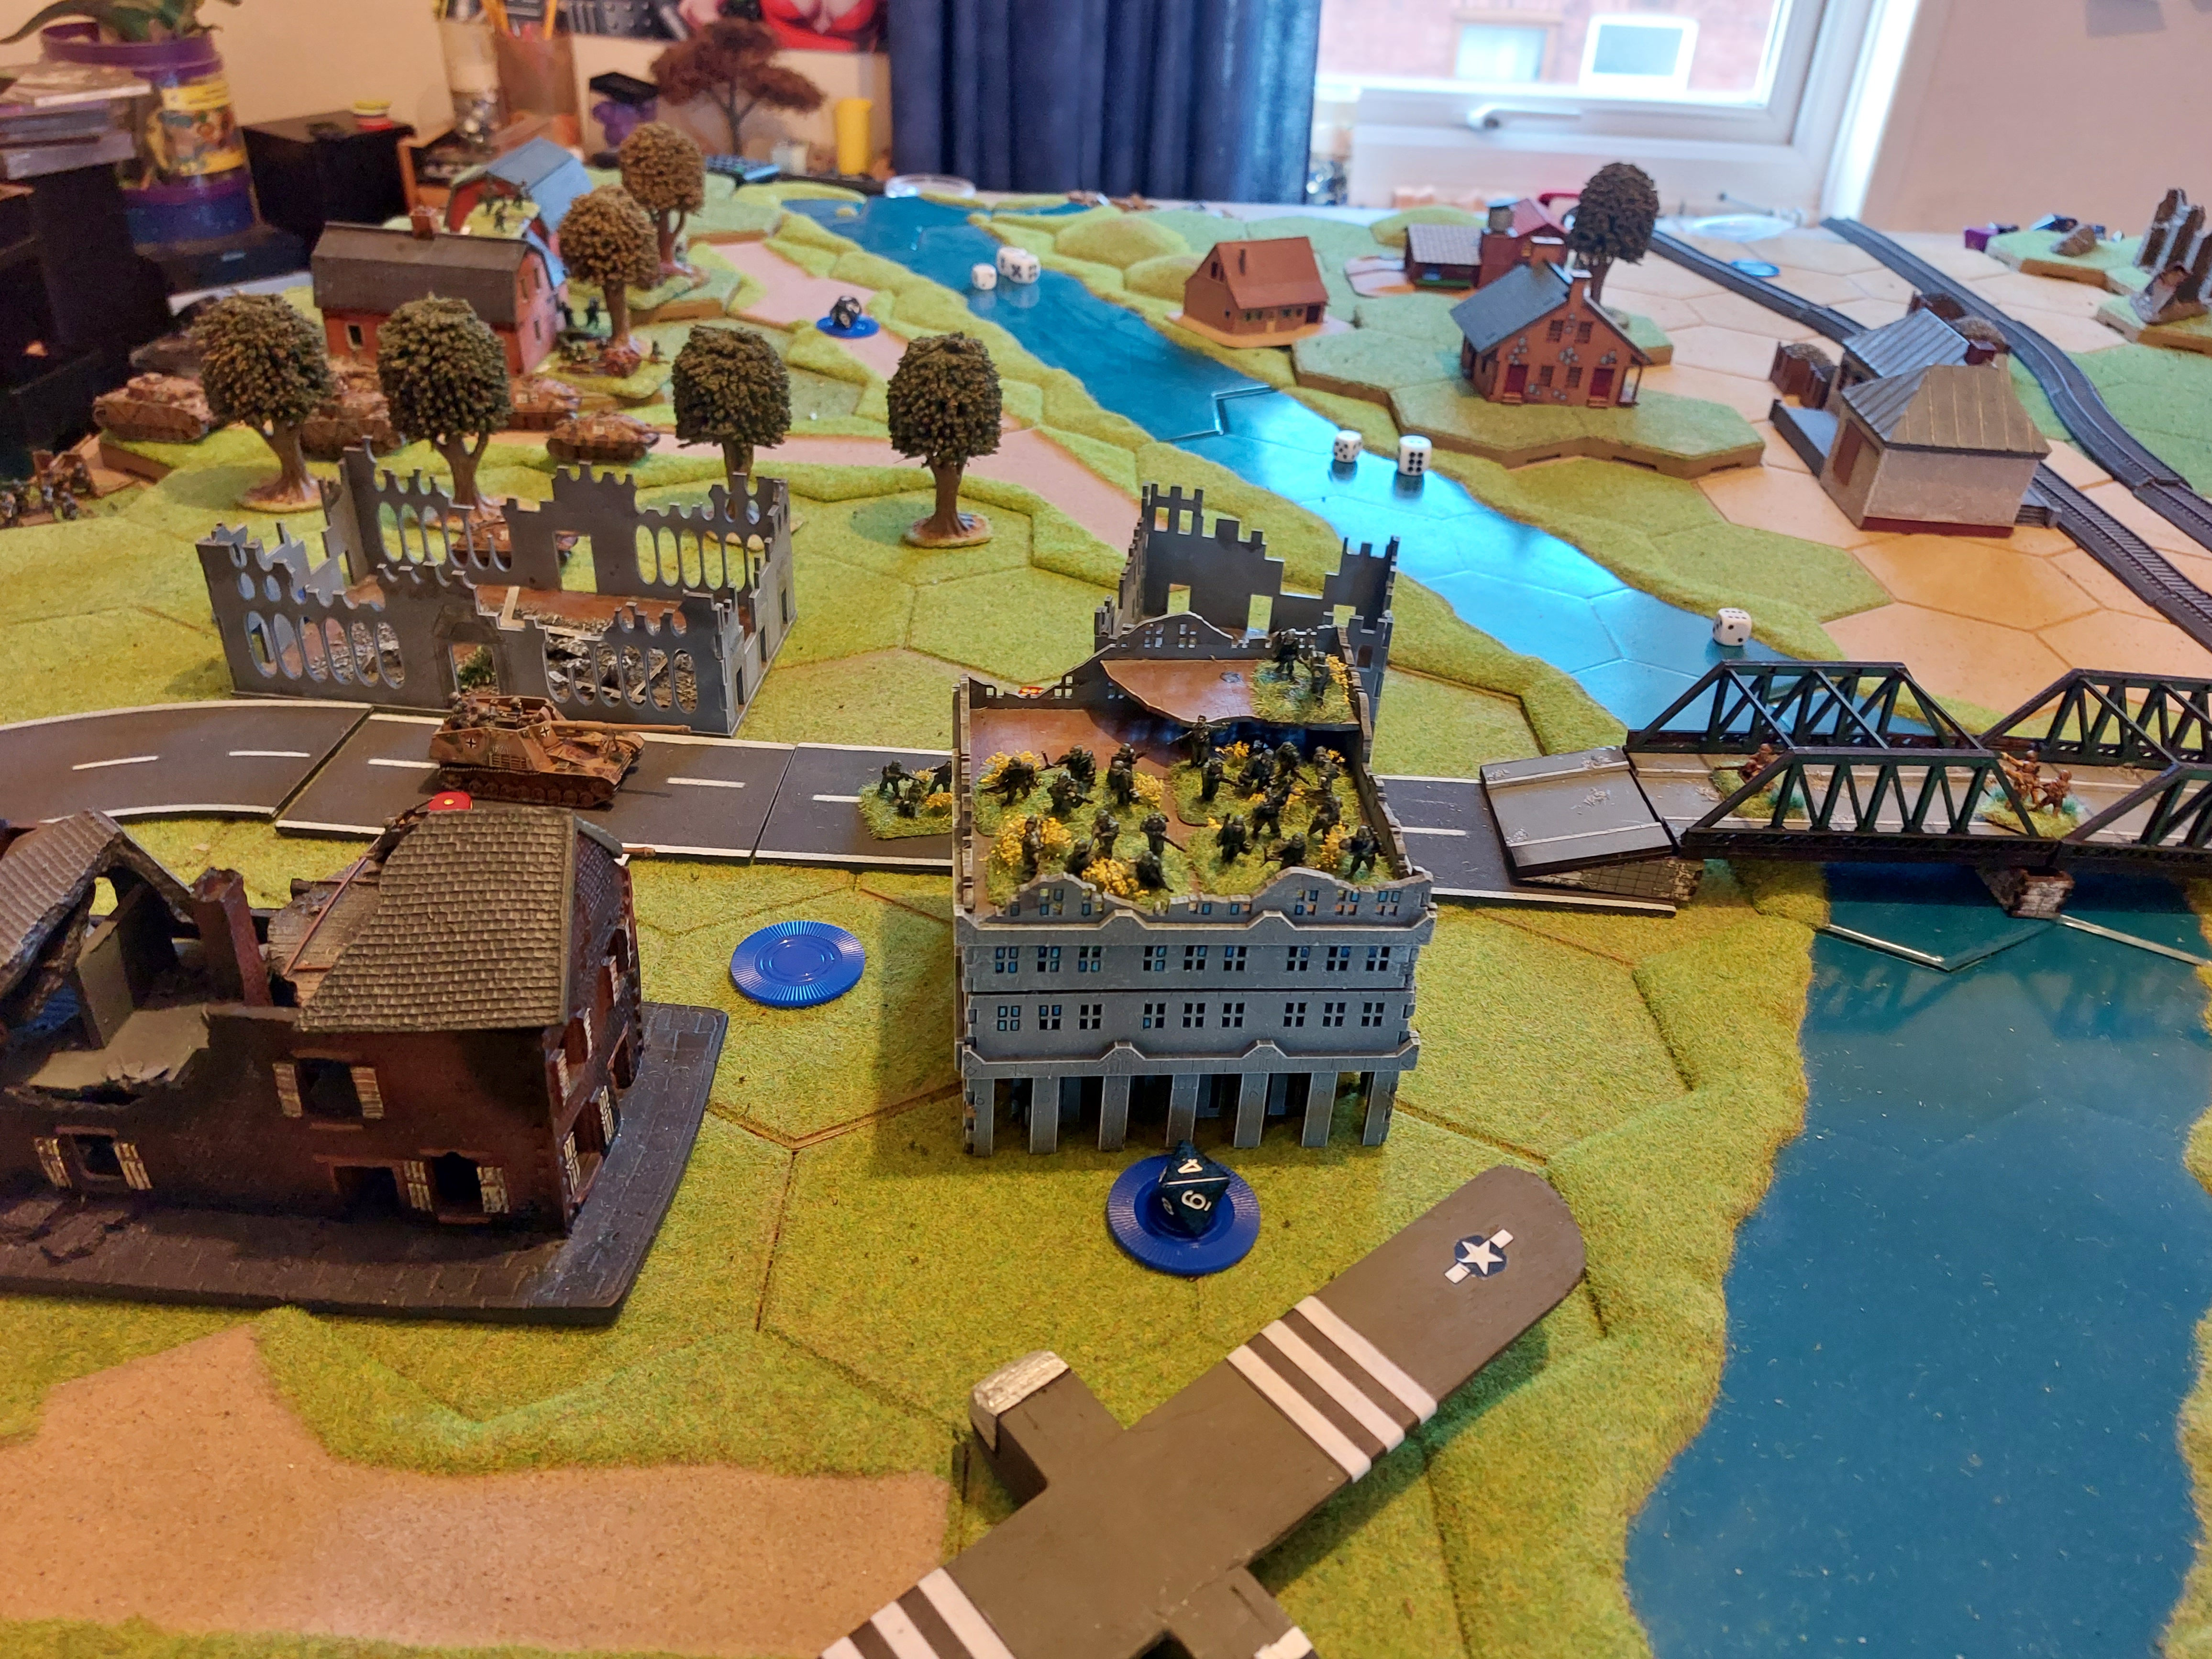
In attempt to provide some relief to the Americans, a troop of Inns of Court armored cars raced for the Bridge, but were quickly shot to pieces on the edge of the bridge , by a combination of AT tank gun on the ridge looking over the Southern approach to the Bridge, and Reinforcements of German Assult guns and Panthers.


Leave a Reply