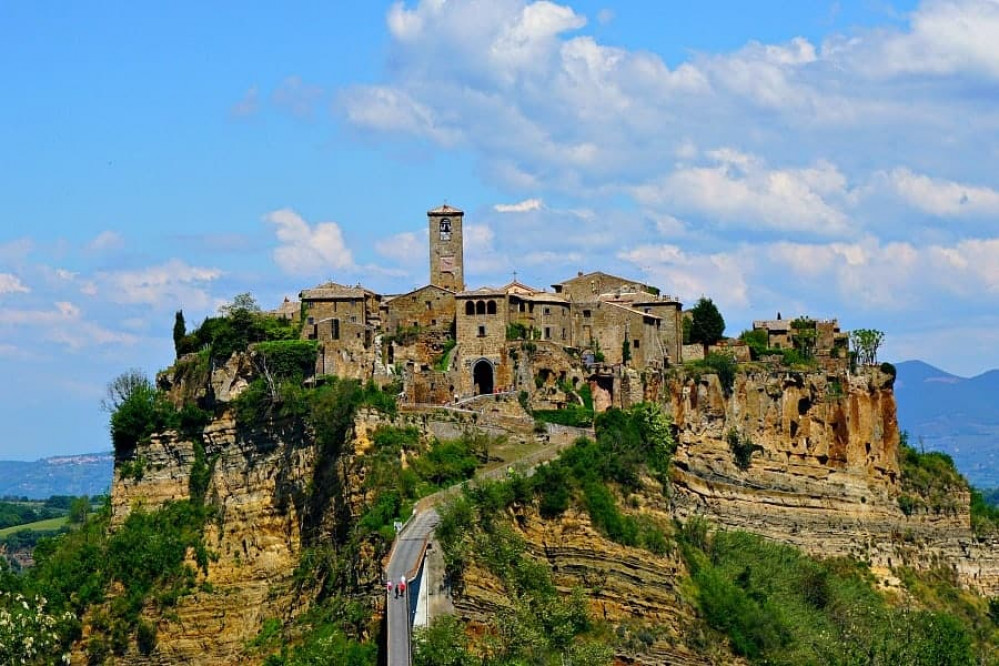
Tuscany Hill Village Terrain Build
Exploring texture
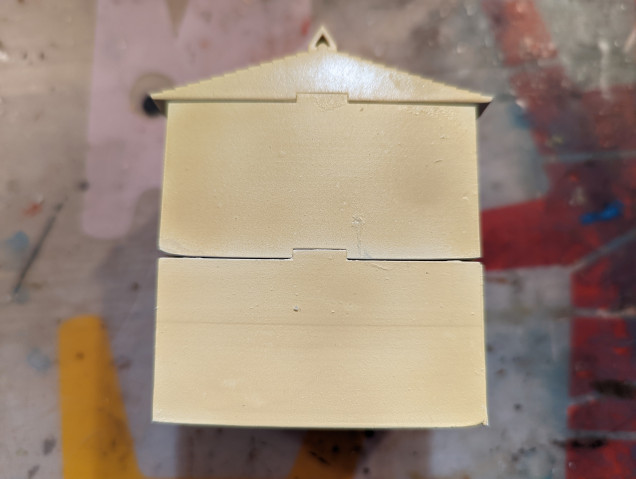
I designed all of the buildings in FreeCad as this software was easy to pick up the basics and is designed for engineering. While I’m not an engineer, this does fit how my brain tries to work. This has left me with a lot of resin buildings that fit together neatly but have no texture on the walls. This may or may not be a problem given that I’m working in 15mm scale. But I thought I would find out with some experiments.
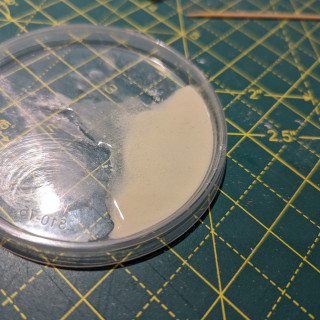
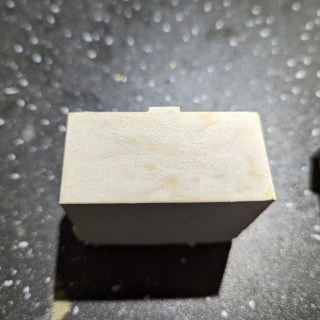
Taking one of my test print buildings, I’ll try some techniques. Firstly, I tried tile grout on the basis that it is very fine and likely to work well at the 15mm scale.
Unfortunately, the tile grout did not stick to the resin. Not sure why or whether I needed to treat the resin first to get it to stick but I wasn’t going to waste time trying to find out. So tile grout is out.
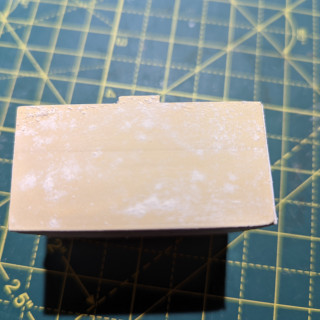
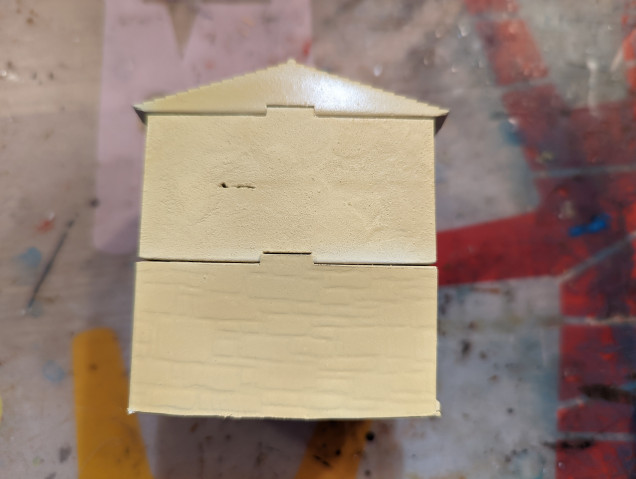
Working up from tile grout, I watered down some polyfilla and applied that. This worked better and actually stuck to the model. It isn’t as fine as the grout but certainly works. Down side is that you can only really apply it to one side of the model at a time and leave it to dry flat otherwise it runs.
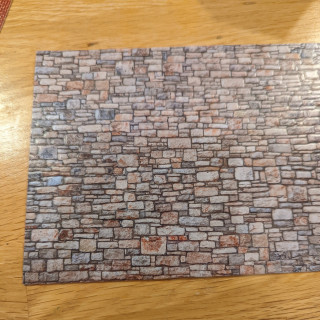
As a final option, the uHH suggested using textured paper. Digging around on the internet I found some aimed at the train hobbyist. Unfortunately, there was none in the right colour that I will need, so I opted for the paper that is closest to the stonework I’m looking for and will then paint it.
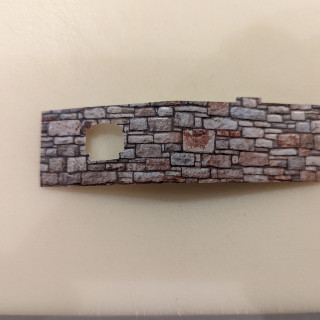
I had to cut the paper to size and then fit it around the doors and windows. This was, putting it mildly, a pain. It took a good 15 minutes just to cut the paper out for the part of the test model. Looking at the rest of the village, this option could take a while.
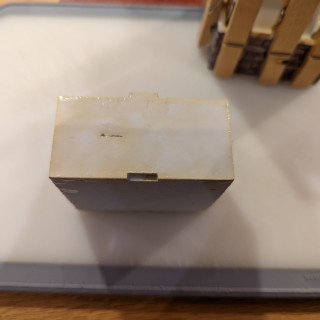
Once everything was dry, I primed and painted the options using the colour scheme that I’m thinking of using across all of the models. Below are the options and I’ve included a test option which is just the bare resin.
So the question is, given that this is 15mm and terrain, is the effort and time for adding the texture actually worth it?
I’m leaning toward just bare resin as my life is too short for the time required to add the texture.
But, as I commented at the beginning of this post, I used FreeCad to design my models. I wanted to use Blender as this would probably given me the tools to add some texture and more ‘artistic’ elements. But Blender is so dense as a piece of software that I’ve not been able to get further than creating a cube in it (and you start with a cube when you launch the software). Then I found the below linked YouTube channel, which is fairly new but the chap takes you through, step by step, how to use it for 3d modelling for the table top. This will work for what I want and give me a much better finish. The big question is should I redesign all of my buildings and re-print them….
Either way, the Artisans of Vaul channel is going to really help me with my 3d modelling going forward and is well worth checking out, even if just to see how easy it actually is if you know what you are doing.


![TerrainFest 2024 Begins! Build Terrain With OnTableTop & Win A £300 Prize! [Extended!]](https://images.beastsofwar.com/2024/10/TerrainFEST-2024-Social-Media-Post-Square-225-127.jpg)




what an awesome project !
which scale is it ?
Thanks! Although it is probably the slowest running project on OTT. Anyone’s guess on whether the project or the heat death of the universe will happen first.
I’m building it for 15mm but the 3d buildings could be scaled up or down if needed.
Great YT channel, thanks for recommendation. As for you struggle with the texture, have you tried gesso? It is basically chalk mixed in with acrylic medium (so it can be thinned with water), it is used as foundation layer on canvases used by painters. It sticks well to pretty much anything, it is dense and have nice body to it (but shrinks while drying, so doesn’t obscure detail), it acts as great primer. You could add tile grout to it (or ink/paint) to have it work as primer and base colour in one layer. You can also use paintbrush to… Read more »
I’ve never heard of gesso but it sounds like a product that could definitely work here – I’ll look into it. Thanks for the recommendation!