Tuscany Hill Village Terrain Build
The Big One (again)
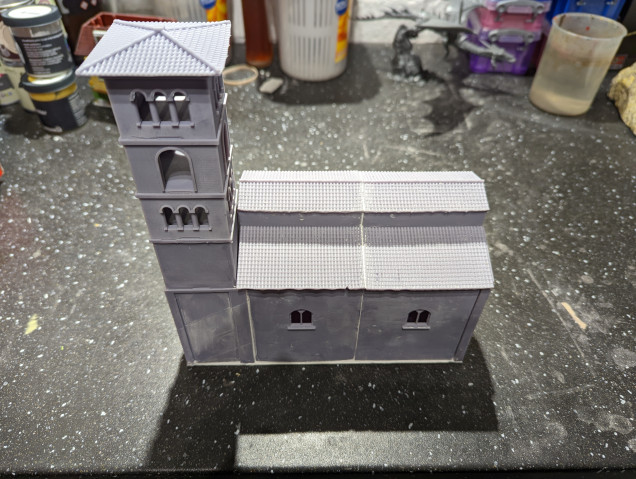
The last entry covered the challenges that I had with my flat pack church. It warped and nothing really fit together. It fitted together fine in CAD but my lack of 3D printing skills probably caused the warping. So I returned to CAD and, armed with some knowledge of what my printer was capable of, I reconstructed the roof digitally to create a bigger piece that would be less likely to warp.
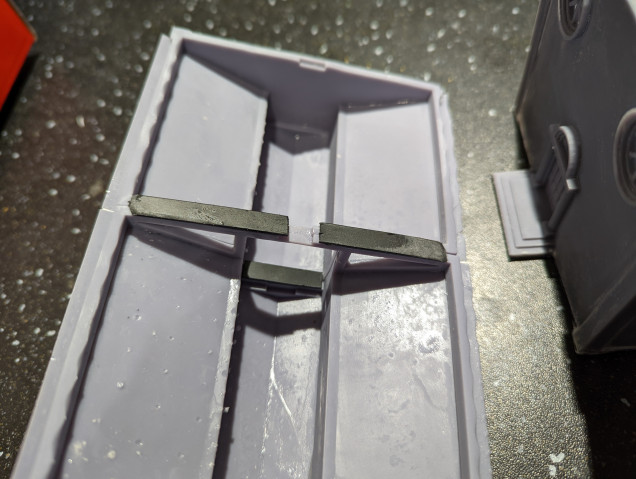
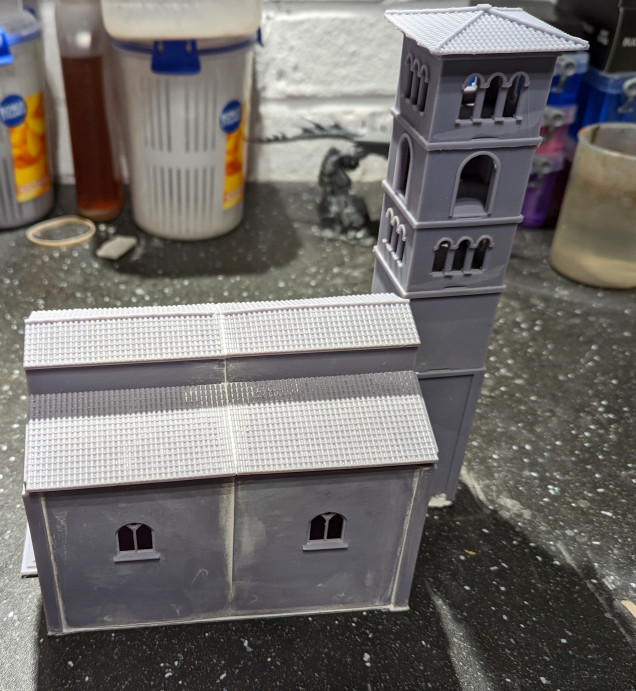
The re-printing of the roof into two halves worked a lot better. There was still some minor warping but nothing that couldn’t be patched up. I was a little concerned with the structural joining of the two parts and so used some plasticard across the internal braces to provide a better hold.
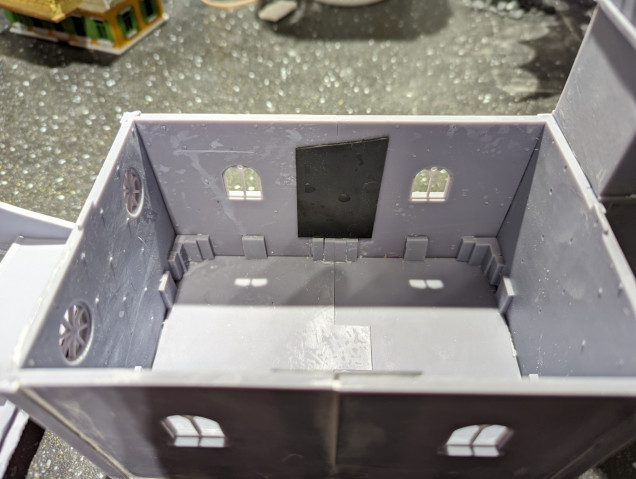
I also revisited the main building and added some additional internal supports to make sure it didn’t fall apart the moment someone picked it up. Again, just plasticard glued over the joins. It doesn’t look great but then no one is particularly going to be looking inside a lot during the game.
Now to patch up the gaps. This was just a simple case of watering down some polyfila and carefully applying it to the various areas that needed. Once dry, a gentle sand with a fine grade sand paper should mean that once painted, it shouldn’t be noticeable. Hopefully.
Overall, it’s not perfect but it’s good enough.
That’s all of the buildings printed. I now need to build the base and think about whether I will texture the buildings before painting them up.




Leave a Reply