A City worth fighting for?
14 Aug 22: Hitting the mats, round 2
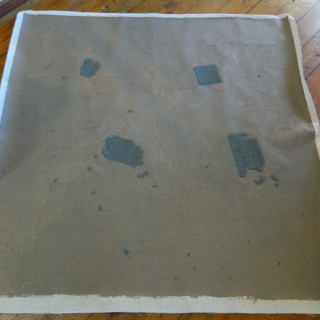
Pleased with the result of the first mat, I wanted to make another. I also wanted to experiment a little by adding some built in detail that I hoped would still allow the mat to roll up nicely.
On writing the previous post, I realise that I’d actually forgotten the Knarb video until I went back to check my sources and inspiration. Reviewing it again now, while his mat has some great detail in it, it doesn’t roll nearly as tightly as Mel’s version. More compact storage is definitely my preferred outcome.
I’ve had some 1mm thick A4 size cork sheets in my stash for a while, I thought I’d give this a try on the new mat. It’s quite flexible and easy to cut, I figured it should be ok.
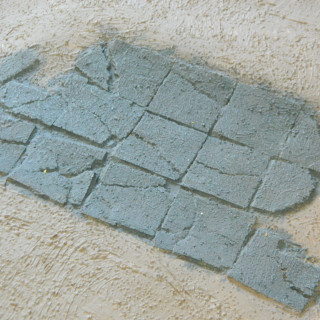
I cut the sheet into 30mm squares to represent tiles. This gave me plenty. Given the width of the sheet I also ended up with some half-wide pieces as well. All good for variation.
I set to work on the first layer of the mat. Caulk, paint, no sand. I was running out of paint too, so the first two batches were pale. the 3rd… well, you’ll see.
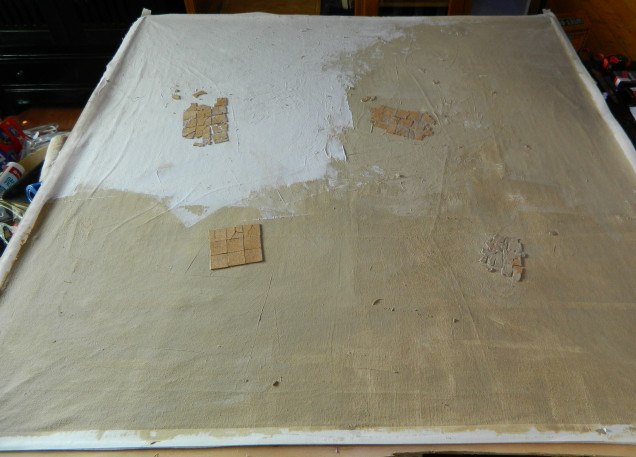 I worked anti-clockwise around the mat. You can probably see the three different batches of caulking by the differences in colour. The 3rd batch had no paint in it at all.
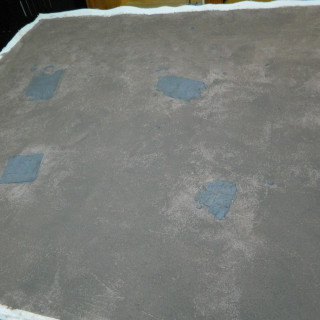
I worked from what is the bottom left corner of the picture, anti-clockwise around to the top left corner.
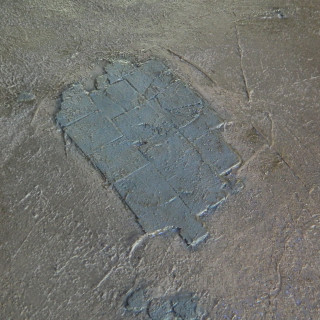
I put the caulk down (I use a wide paint scraper to spread it around) then while it was still wet, pressed the cork squares into it. The first 3×3 square was rather plain, just to test if it would stick and hold. I also started to tear the cork to create cracks in the pavers.
The second set on the bottom right, I was crushing multiple squares in hand. Then realised that I had to reassemble them puzzle-like. I wasn’t interested in doing that while the caulk was setting.
The third set on the top right I was more careful in distressing the cork, doing only one square at a time. I also used some of the rectangular pieces to add variety.
The fourth set top left, I was confident this was working, and just wanted to get it done.
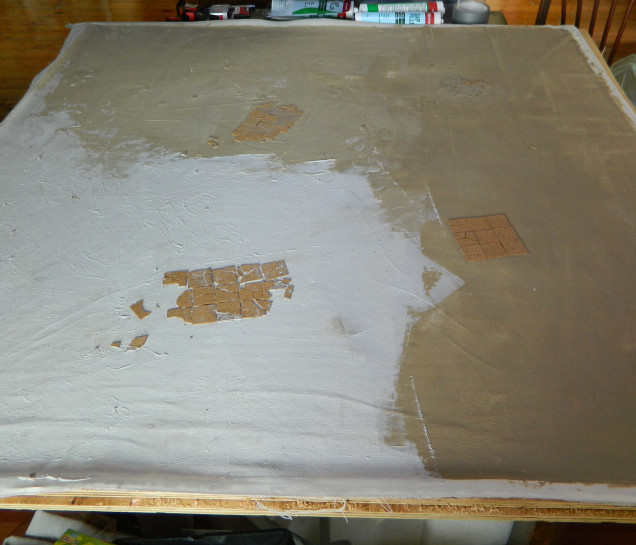 I thought about getting more paint before finishing this corner. But thendecided not to bother as I was going to put another layer on top of this that would cover it anyway...
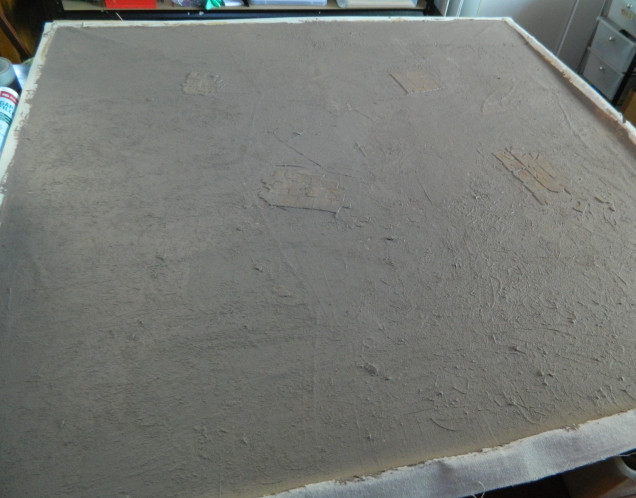 15 Aug 22: The second layer on top. Damn... I was going to paint the cork tiles before I put this layer down.
Yeah, I got caught up in the build and forgot that I was going to paint the cork then put the second layer on top. The plan being that it would weather the pavers into the ground.
Second layer: Caulk, paint, sand.
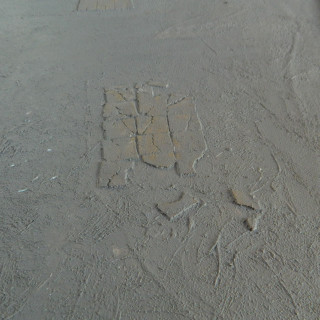
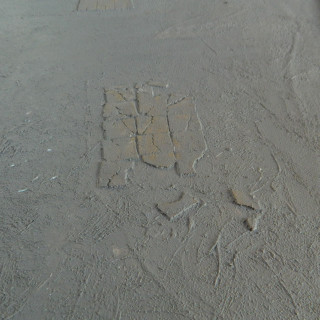
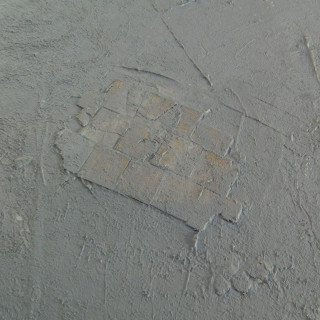
The second layer is on, and I’ve worked it into the gaps between the pavers. The caulk reacts well to water, so I could use that to smooth it off the pavers, work it into place. The next test would be the Roll test: would it roll up ok? Would the cork stay in place or would it peel off?
5 Sep 22: It's working out.
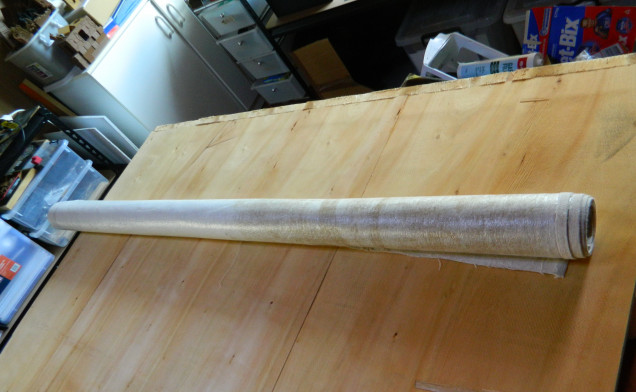
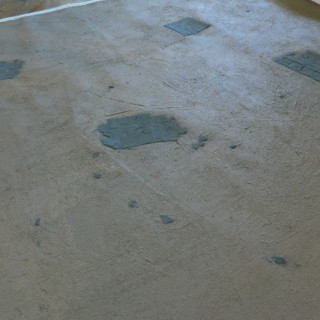
It rolled up well, it unrolled well. The cork stayed. All is good!
Since I’d forgotten to do it earlier, I painted the pavers using dollar store acrylic paint. They stood out too much now, and the ground wasn’t as dark as I would have liked.
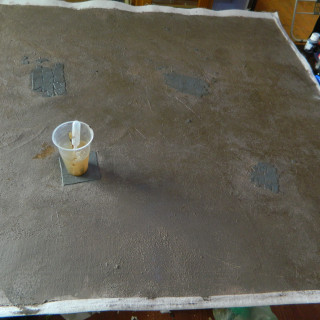
8 Sep 22: I hit the whole mat with some slightly watered-down acrylic paint, mixed with a little PVA just to be sure it would stick. Applied all over with a paint roller. Again, using water to blend where I went over the pavers.




Leave a Reply