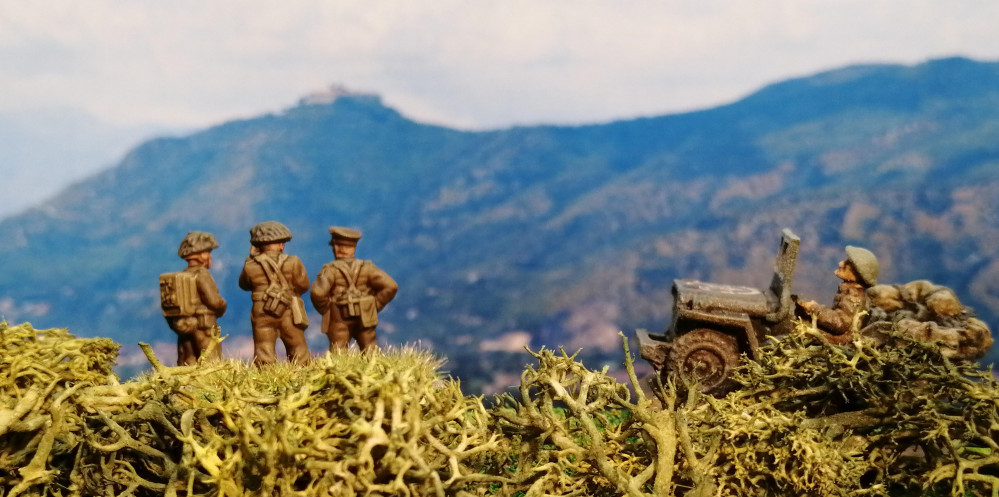
75th Anniversary of the Battle of Monte Cassino and Northern Italy (Gaming The Battles)
Gaming the Assault on the Senger Line (Part 3)
Turn 6 (Allies):
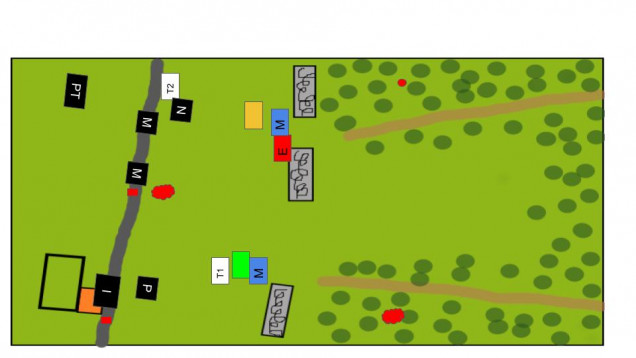
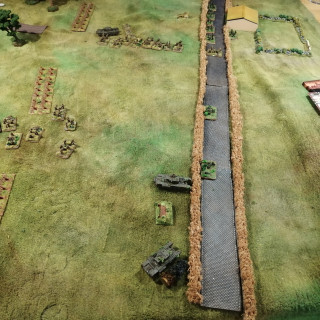
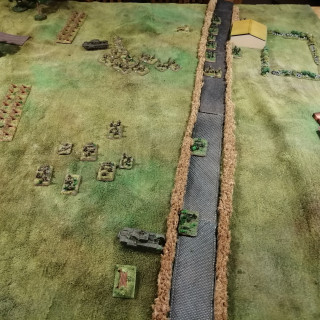
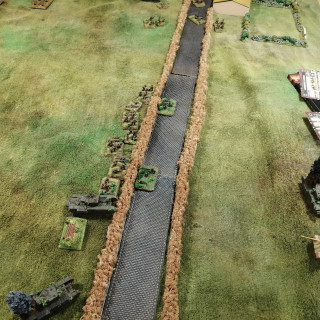
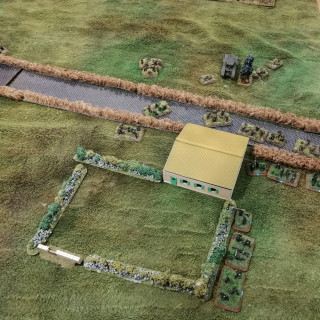
My son continued his advance across the open ground between the trees and the road. The engineers were able to remove the minefield that was discovered between the barbed wire toward the top of the map. The single remaining tank of Tank Platoon 1 tried to smoke the panther turret but failed to hit, meaning that the turret would have a free line of fire on its next turn. Tank Platoon 2 rolled up toward the PaK40 and laid down a withering hail of MG fire but failed to cause enough hits to pin the unit. The infantry platoons also moved up to support the tanks.
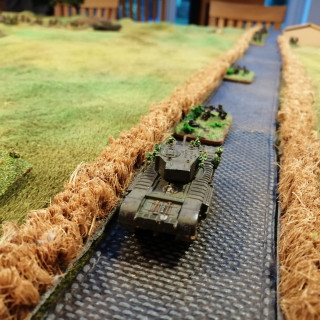
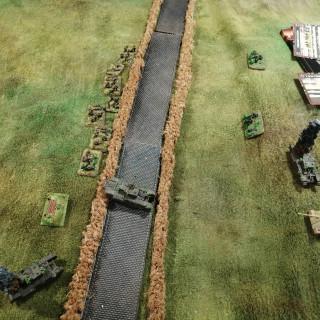
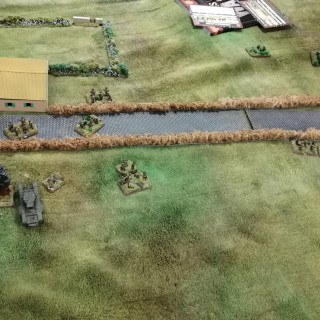
My son then decided to launch a tank assault against the PaK 40. As the Churchills rolled forward, the gun team were able to destroy one of the tanks however they weren’t quick enough to destroy more and the lead Churchill smashed through the hedgerow of the road and destroyed the PaK 40. This now placed one of the Churchills on the road and facing down toward the MG teams and the farm house.
Turn 6 (German):
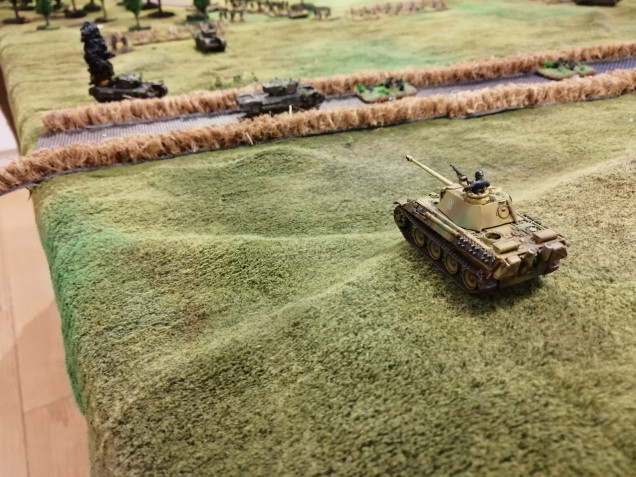
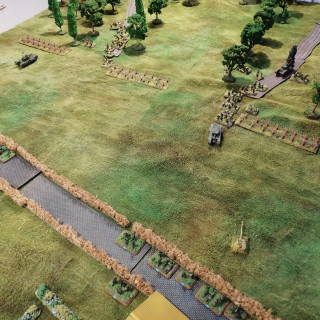
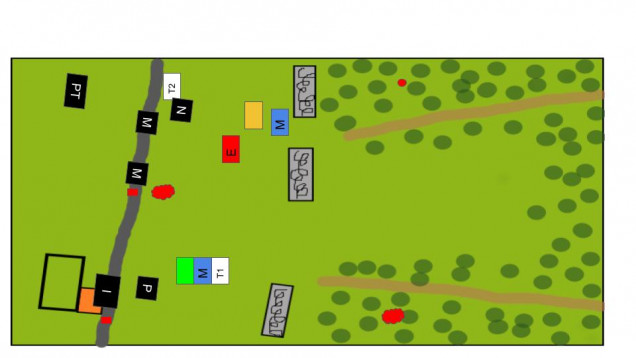
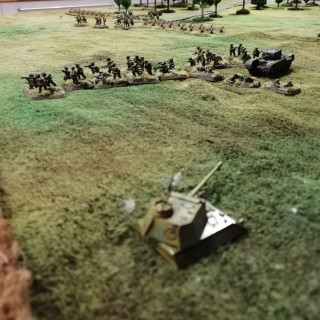
It was this turn that the Panther tank decided to put in an appearance – much to my son’s dismay (I’d told him all about how good the Panther is!). Deployment was randomly rolled for and the Panther rolled on close to the two remaining tanks of Tank Platoon 2 (marked as PT on the map).
The MG Nest was able to gun down a team from Orange Platoon otherwise the German shooting was woeful. Shots flew wide of their mark and the Allies made excellent use of the terrain to make their saves. Even the Panther Turret failed to hit the Churchill advancing toward it! My son was delighted.
Turn 7 (Allies):
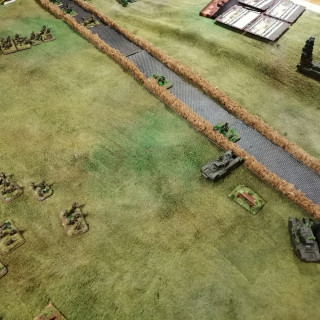
My son continued to push forward and advanced one of his Churchill tanks of Platoon 2 up to flank the Panther. The other tank from Platoon 2 moved up to the hedgerow to get some cover. Both the tanks fired at the Panther but only managed to bail the Panther rather than destroy it.
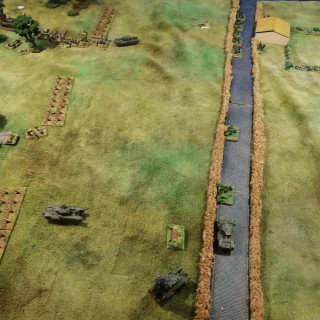
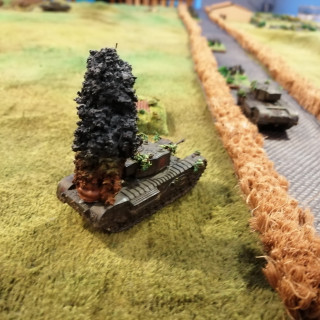
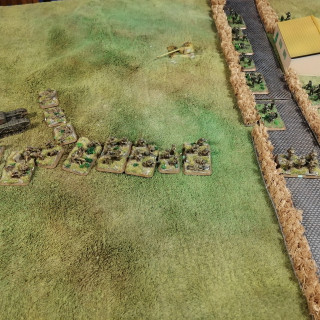
Toward the farm house, the infantry of green platoon continued to move up while the Churchill placed some smoke onto the Panther Turret. This also provided some additional cover for the infantry as the Germans defending the farm house had their line of sight blocked.
Turn 7 (German):
My son was not happy when the Panther crew passed the remount check and got their tank operational. They wasted no time at all putting a shell through one of the Churchills, leaving just one operational tank in Platoon 2.
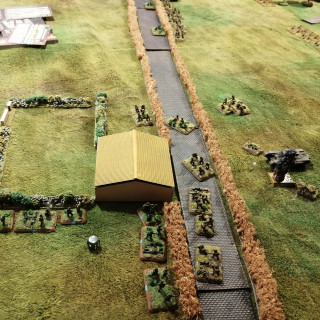
The MG nest and MG teams put down a hail of fire on the Engineer platoon and Orange platoon. Both platoons hit the deck, getting pinned and lose a team each.
The turret is not able to shoot due to the smoke and loses another turn.
Turn 8 (Allies):
Orange Platoon remains pinned, keeping their heads down in front of the MGs. This put a dent in my son’s plans on this flank and he started to get a little down at this point.
Green platoon was able to fire the PIAT at the turret and bails it out. Some of Green platoon also advance, with one team able to scramble over the hedge on the road. Otherwise there was a lot of missing, including from the Churchill facing off against the Panther.
Turn 8 (German):
The crew in the turret decide to keep their heads down and don’t remount but without any smoke on this side of the board, the German infantry in the farmhouse are able to pin Green platoon with their shooting.
On the other flank, Orange platoon loses another team from the relentless MG fire and the Engineers get pinned again. We’re also treated to the Panther firing and missing with the first shot and having the second bounced by the thick Churchill armour. Given the fire power of both tanks on this side of the board, it’s a poor display of gunnery!
Turn 9 (Allied):
The Canadians of Green platoon waste no time in unpinning and advance again on the Germans defending the farm house. The PIAT again hits the turret bailing it for a second time which results in the crew surrendering and removing the turret from the game. Orange platoon and the engineers rally and in an advance that must have earnt many a medal for bravery, got up to the hedge row where the German MG teams were firing from.
The Churchill again failed to damage the Panther but this turn was all about the infantry.
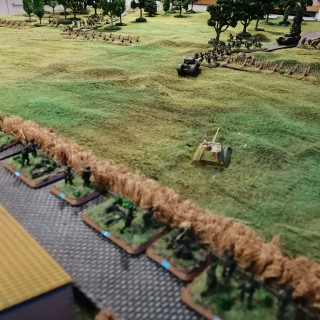
Green platoon, supported by the one remaining Churchill of Tank Platoon 1, launched an assault on the German Infantry defending the farmhouse. The assault was helped significantly by the machine gun fire from the Churchill and the MG team accompanying Green platoon who managed to pin the defenders in place before the assault hit home. The Canadian’s poured over the hedge and quickly dispatched two of the defending teams. Surprised, the Germans weren’t able to counter attack and fell back from the road and farm house, leaving the Canadians to consolidate.
Along the road, Orange Platoon launched an assault against the MG teams. Brave stuff but somehow, my son managed to actually pull this off and while he didn’t destroy the MG teams, he was able to push them back off of the road and take their position.
Turn 9 (German):
We went straight to shooting and again, the Panther failed to damage the Churchill. This was a little silly and unrealistic but we’ll put it down to the swirling dust and smoke that was the case during the actual battle.
At that, with the Canadians holding the road and the German Infantry falling back, we decided that the Allies had achieved their objective and declared an Allied victory.
So an Allied victory, as was the case in the original battle. The Defenders retreating back to their next defensive line – the more formidable Gothic line.
My son really enjoyed it in the end and had a roller coaster ride through the battle. He wants to do it again sometime.
Overall the battle played out reasonably well. If it were to be played again, I might have given the defenders some mortar fire of their own. I would also have placed the terrain differently, with the PaK40 looking straight down at least one of the tracks – this would be more realistic and give the attacker something more to thing about.











2022-05-24 Your project has been visited by the unofficial Hobby Hangout. Huzza!
I’ve just been watching your tightly scripted half hour episode and saw that you dropped in to say hello. It’s a pleasure to welcome the gaming luminaries that make up the uHH.
And well done on getting your Botwars. Although you do know that everyone has moved on and is now playing Battletech….?
I already have all the big boxes of Battletech. I went a bit mental on the Clan Invasion Kickstarter back when! HAH!