Rocky Terrain Refresh - A Spring Clean
First Steps
Well over 10 years ago I bought these pieces of terrain from a stall at a local wargames show. While they’ve served their time on the table through many battles I’ve wanted to either replace them with something better or scratch build something better myself. Then I thought, why not build on what I have, I could tidy up and enhance these rocks and make them look much better.
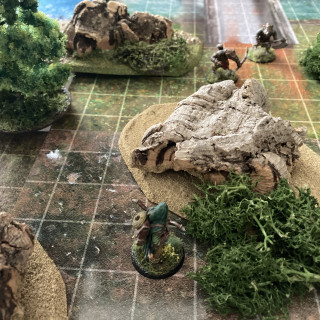
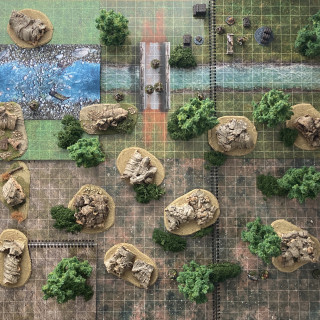
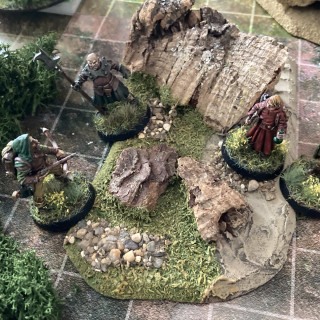
As you can see from these pictures of past games the “rocks” are really just pieces of bark that have been glued to a sand covered base, with maybe some floc added for interest.
I had twelve pieces of this terrain and after a bit of thought I took some of the smaller pieces of bark off their bases and glued them on top of others to make some taller rocks, much better for blocking lines of sight or climbing for a shooting vantage point.
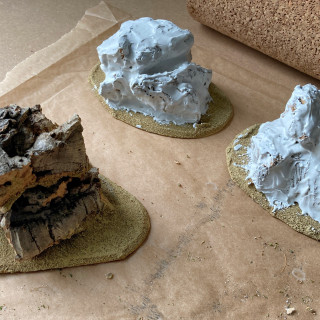
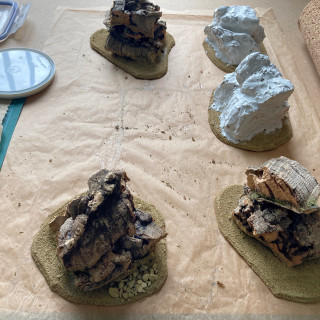
Then using my trusty tub of ready mixed filler I started to cover over the bark, a bit like icing a cake.
While filling I did add some of the large holes and gaps with cork sheeting just to cut down on the amount of filler being used, not to mention the weight and dry times.
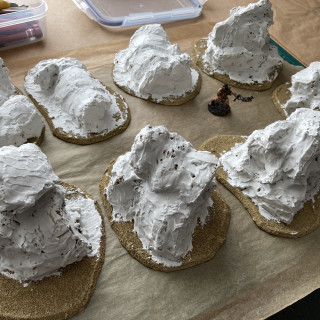
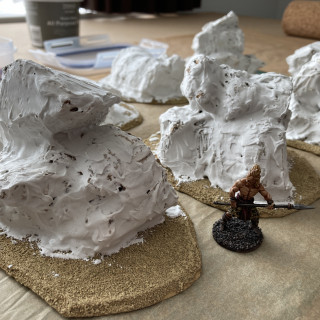
So over half a tub of filler later this is currently what I have.
Now I’m going to have to wait a good day for it to dry thoroughly. I’ll probably give the rocks one more pass with filler for a better finish as this first one was mainly to get the bark covered and fill up any holes.
After that I’ll add various grades of sand on the base and parts of the rocks before priming the whole lot.
















2022-07-12 Your project has been visited by the unofficial Hobby Hangout. Huzza!