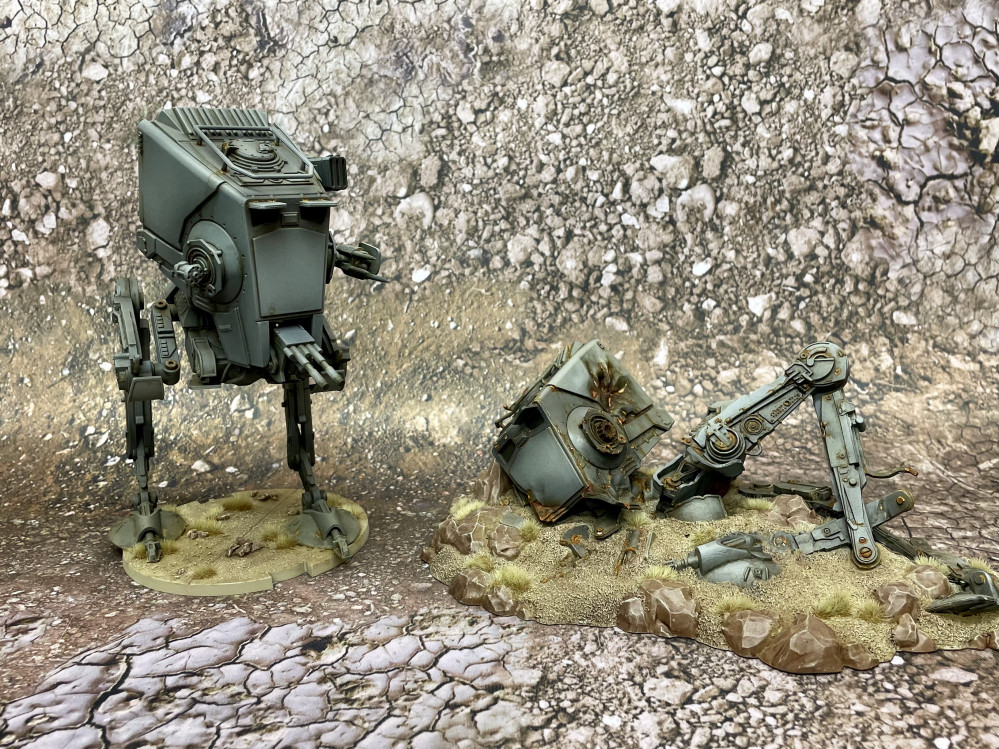
A long time ago at a Hobby Weekend far far away…
Rust Bucket
After my initial test and gaining confidence in the technique, I worked across the rest of the model. I found switching to a finer brush helped me to get the oils into the deeper recesses and avoid too much overpainting.
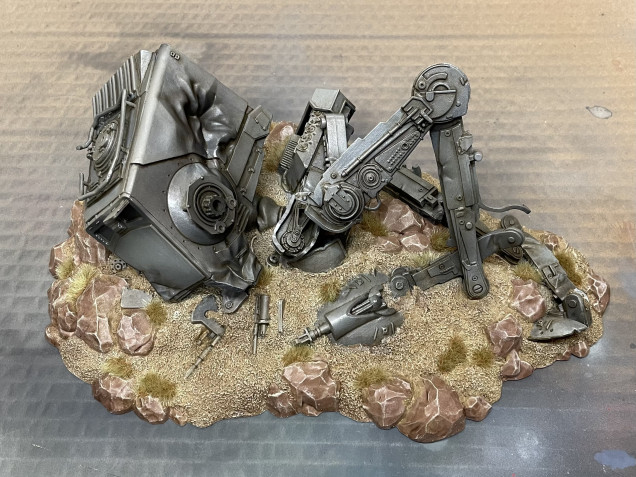
Here is the end result of the pin washing.
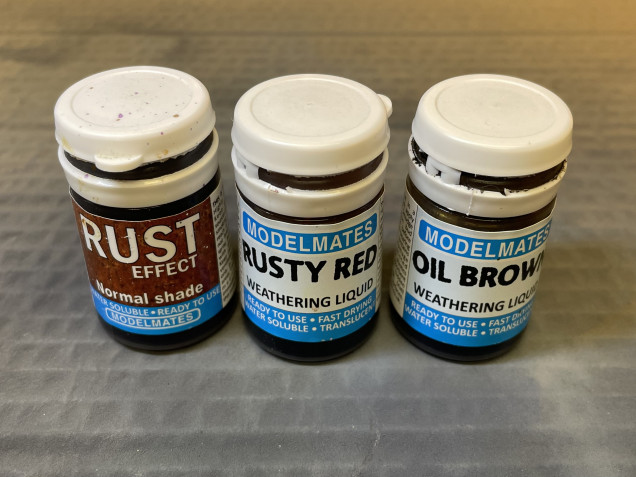
The model still needed mat coating but before I did that I wanted to add some rust spots and oil staining. For this I would be using Modelmates Rust Effect, Rusty Red and Oil Brown. These technical paints really are magical!
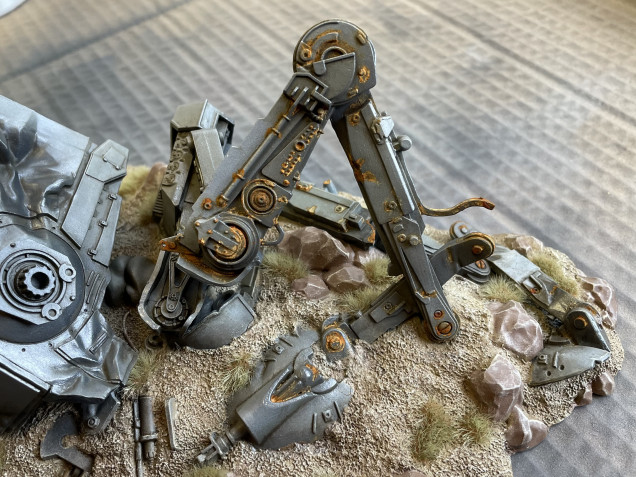
Once again I started with a small test area but soon got carried away!
I found that some areas of the Rust Effect would dry too pale for my liking but by applying the Rusty Red or Oil brown over the top, I was able to adjust the colour and even blend from light rust spots to deeper tones. It’s worth noting that while the modelmates do dry, they become active again with water. This allows you to adjust the distribution of the paint very easily.
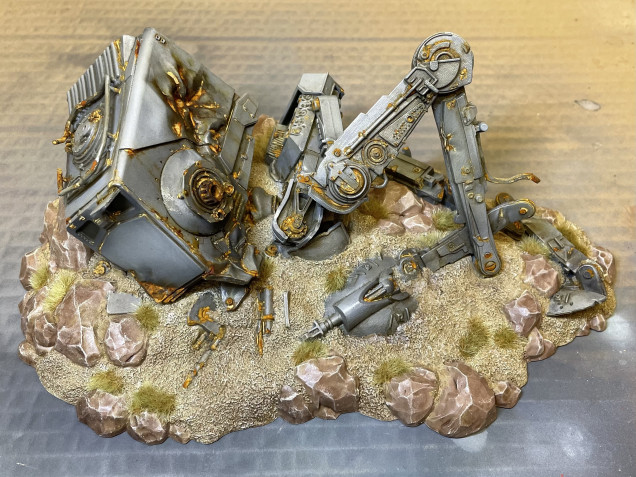
I aimed to apply rust to any areas that had suffered severe damage or buckling, as I reasoned that this would be where the surface would have been stripped away and the metal compromised. I also target areas where rain water might pool, as well as smaller and thinner components – bolts, clips, grills and vents.
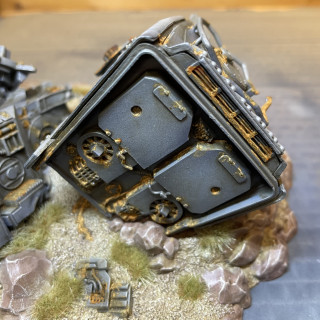
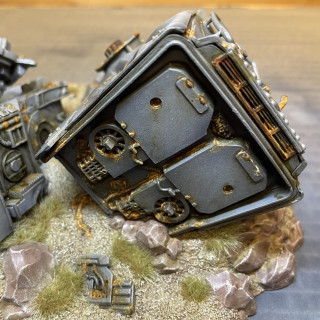
By the time I’d finished applying the rust, this Walker really looked like it had seen its last battle! I feel the rust spots in the dented head section may still be too light. I’m gonna live with it for a while then decided if I should knock it back….




Leave a Reply