Spring Cleaning - with an AT-AT!
Let's build a Lambda-class Imperial Shuttle, from scratch!
“How is it the Empire lets us keep stealing these things?”
“Oh. I thought it was the same one we used before.”
– Kanan Jarrus and Rex upon seeing Sabine Wren arrive with another stolen imperial shuttle.
Nowadays, if you are looking for a large model of a vehicle in scale to your 32mm tablet figures, which you can’t buy in shops like this, you click through countless .stl files on the internet, download one, and then print out the parts or have them printed out.
But that is too boring for me, which is not what our hobby should be. So I turn to the art that has made a significant contribution to the great visuals of Star Wars: Model making, by hand, with building materials, tools, glue, and all.
Now that I’ve finished building the cockpit section last weekend and the project has taken shape, I invite you to follow its creation here. Of course I am happy to answer any questions.
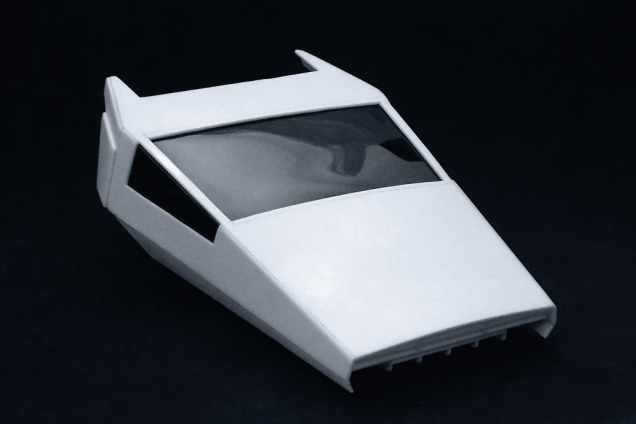
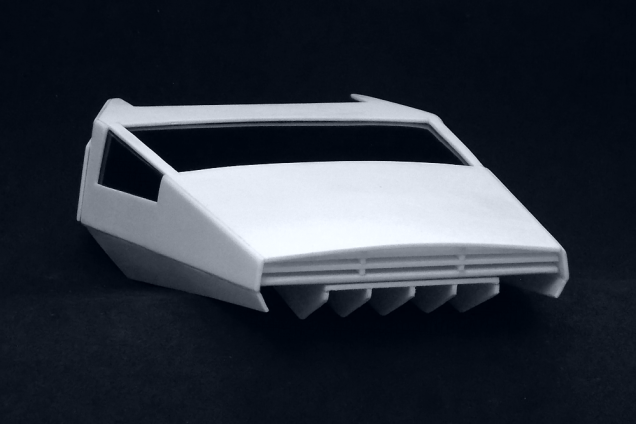
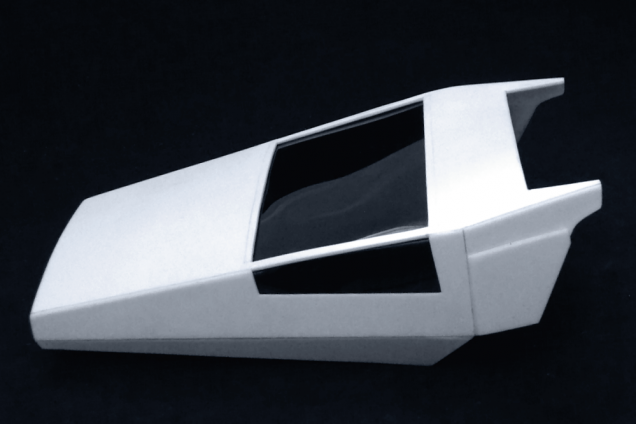
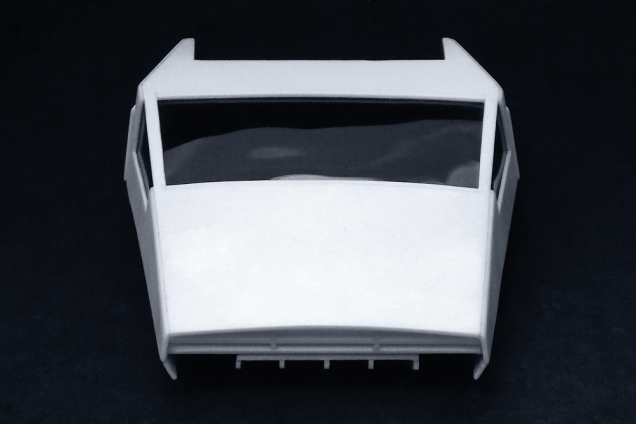
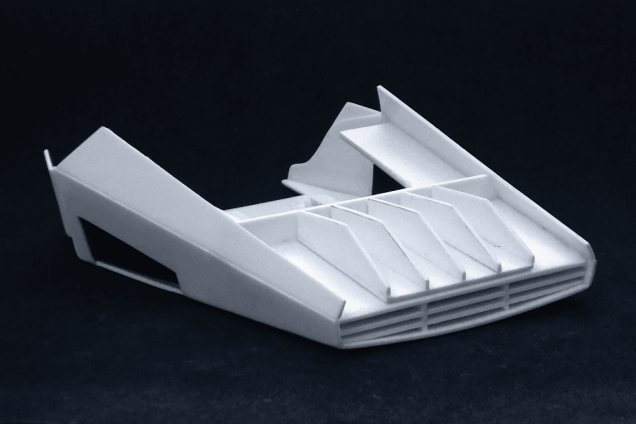
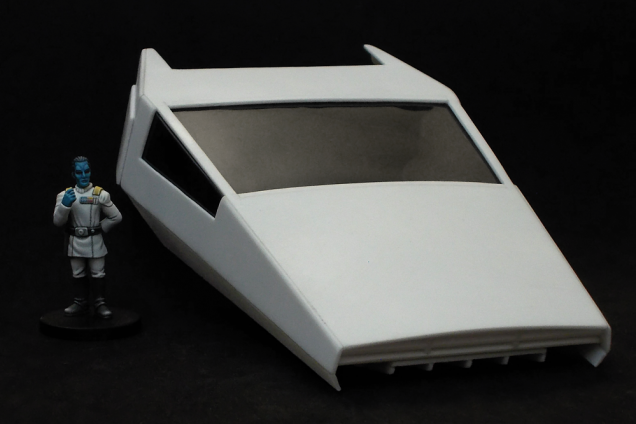
The cockpit section has already presented some challenges – at first glance it consists of various flat surfaces, but if you study the studio model used for the effects shots you quickly notice that the large frontal surface of the cockpit section is clearly curved at the front edge, and the rear edge is very straight. Therefore I used 1mm thick plastic cardboard for the outer skin of this part, which can still be bent easily, and strengthened and fixed the curvature on the inside with corresponding reinforcing and stabilising ribs made of thicker plastic cardboard.
Generally I glue the plastic cardboard along abutting surfaces in such a way that the edge of one surface protrudes minimally over the surface of the other, and then sand the minimally protruding edge along the other surface. This way you get seamless transitions.
The cockpit window is made of 0.2mm thick clear plastic from Tamyia, bent at the sides exactly to the upper outer edges of the cockpit section and sprayed with black spray primer from the inside. This must be masked off for protection in all subsequent building steps in which the cockpit section is used, and later masked off exactly when painting and varnishing.
This model is based on the original studio model:
Modeler’s Miniatures & Magic (modelermagic.com)
I plan to make the side stabilisers of the ship swivel – for this I still have to construct a mechanism, which will be done out of LEGO. More about this in the coming days.
Here are the first pictures of the cockpit section:




Leave a Reply