
Spring Clean Maurice
Hills - climb every mountain
I’m taking a family break so won’t be posting for a week or so, but in advance here are my thoughts on how I plan to approach this aspect of the gaming challenge.
Basically, I think there are four possible ways to represent hills on the gaming table. The first of these is using something under a cloth/mat such as books etc. Although more subtlety can be applied by carving blue/pink hard insulating core into rough hill shapes.
The second approach is to create a ready formed table with hills etc. formed by a variety of foundation material and then painted, or flocked with whatever takes your fancy. Both of these have one drawback in my opinion, and that is how to make the roads/rivers adhere to the surface of the “land” you have created. Some experimentation with using acrylic filler used for waterproofing baths/kitchen sinks might be worth of more investigation, but it’s not a direction I’m likely (at the moment) to pursue.
Next comes “stepped” hills made of blocks in various sizes to replicate the hills, as they might appear on a map. The different sizes being the levels of hills as they would be represented by the height lines on an Ordinance Survey style map. I think these would be a suitable option to go along with simple, unadorned “blue” rivers and “brown” roads.
Finally, the option I will go with is fully sculpted hills in various sizes and heights (consistent with the rules) as the aesthetic fits with the designed rivers and roads, in my view.
More time consuming, and a little more effort, but I think in the long run it will look better on the table top. (Note that the basic table will be a flat piece of wood 8′ x 4′ which is more than enough for the scale of battle I envisage).
Sorry for the delays in following up on this thread. Real life issues.
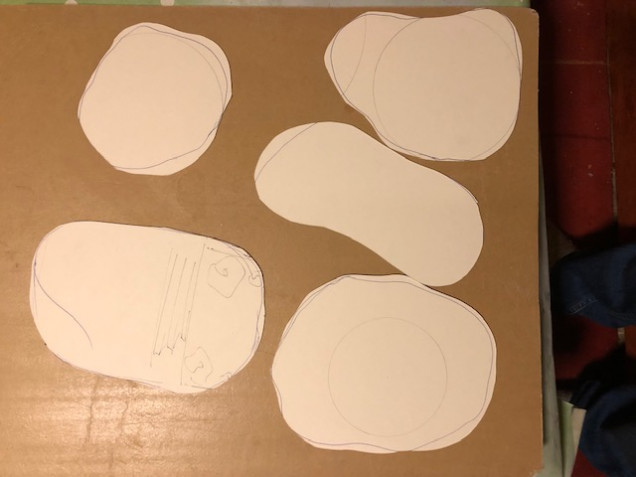
So, in the meantime I’ve been doing work on different aspects of terrain and so will start a few other threads on things I’ve been doing. But to continue with hills I have taken a standard approach to this by putting some insulation foam onto mounting board bases, shaping them, then applying a coating of paper mache type finish.
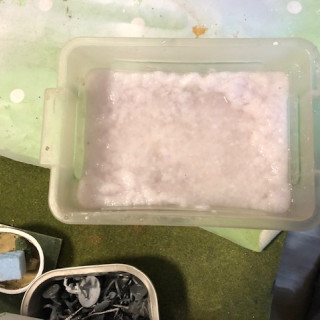
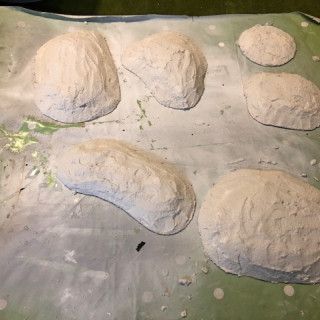
I made up a mix of papier mache by soaking inexpensive toilet paper in water and used a hand held food mixer to make a “sludge” pulp. This was mixed apron 50/50 with filler powder (other things can be used, e.g. plaster of Paris, grout etc.) and this was pasted over the hill foundations and once dried, smoothed off with sandpaper.
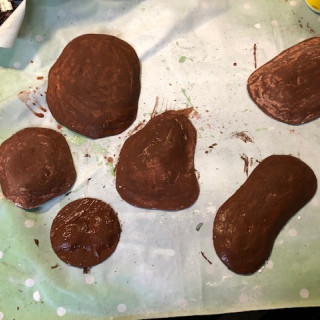
These have been undercoated with brown paint – a simple acrylic from a discount shop. This was a mix of Burnt Umber and Sienna.
Next up will be gluing flock etc. (once I get some more PvA glue!)




Leave a Reply