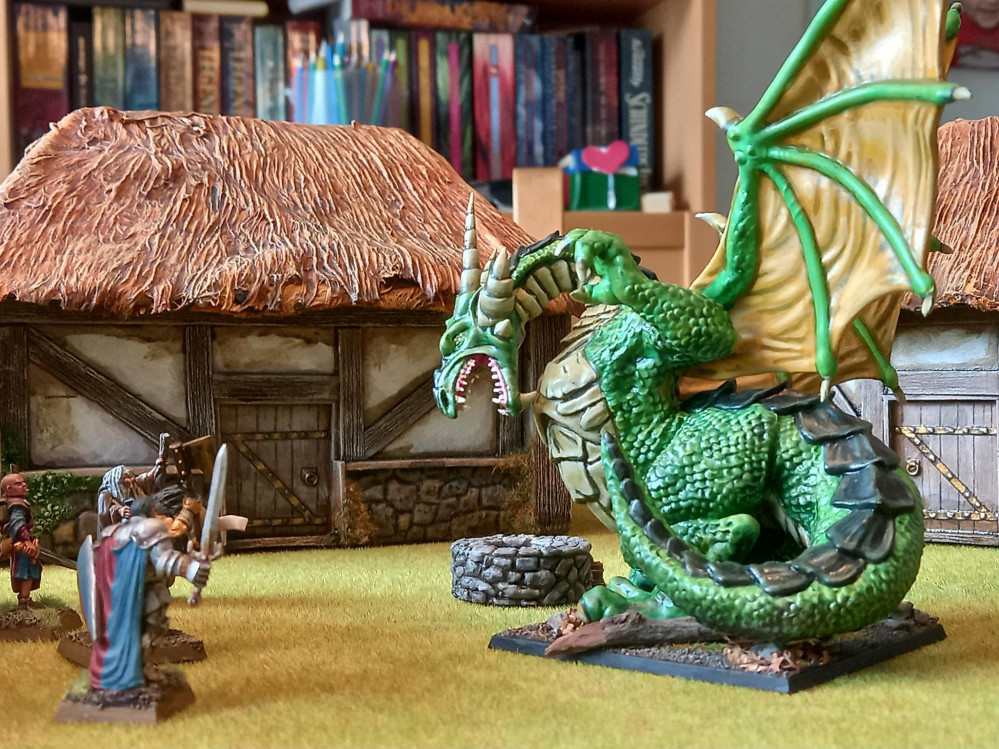
It takes a village to....
Adventures in interior decorating 3D
Long Hiatus, but I am back on it. I was a bit demotivated by some mishaps with my 3d printer, but I got it sorted out. Got my money back from the shop and bought a new one at another shop. Due to a sale I was even able to upgrade from a mars2 pro to a mars 3. Higher resolution and bigger buildplate: nice.
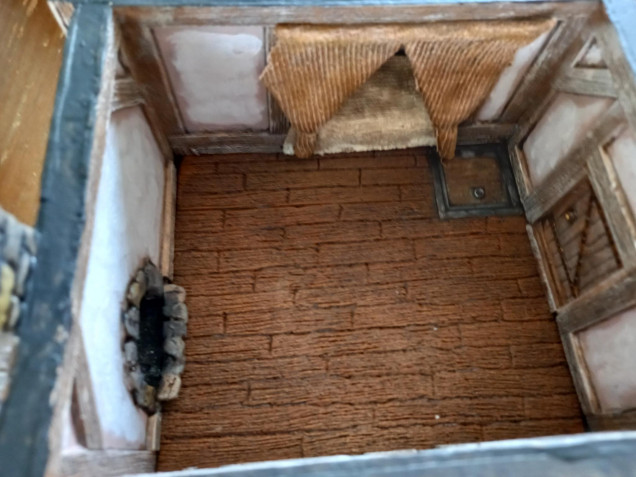
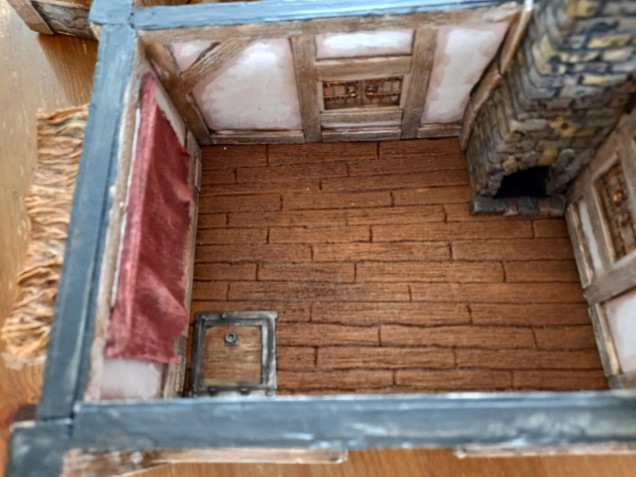
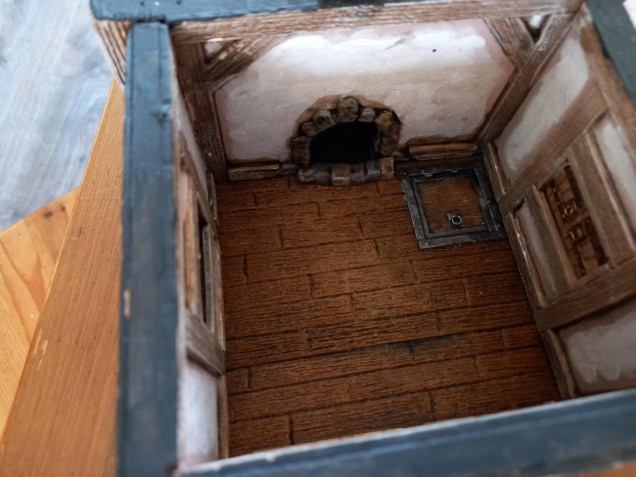
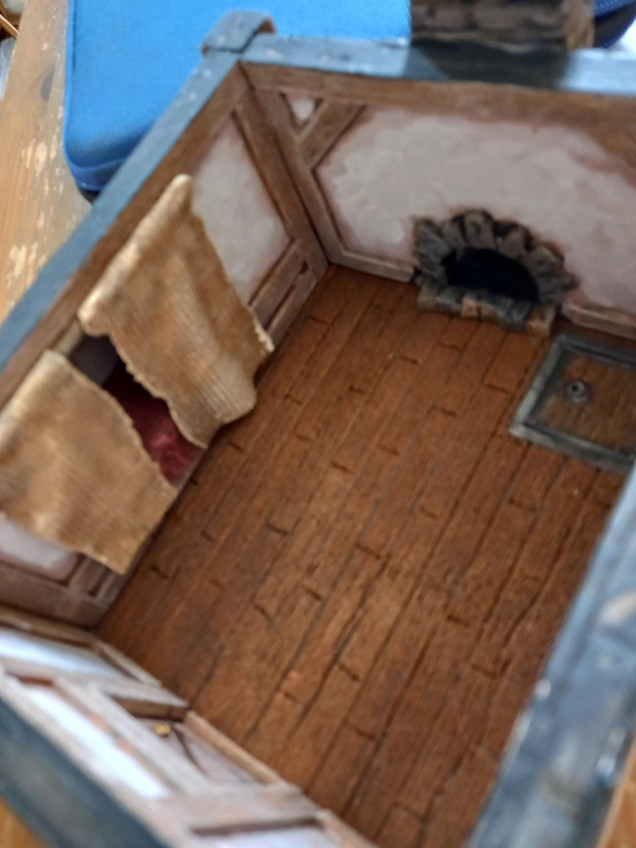
I did do some crafting in the meantime, but I haven’t made a lot of pictures. You’ve already seen the floors, but I now added some colours to it. I used craft paint to mix a nice brown and a lighter tone. The lighter tone I painted on the pieces of the wood that would be most worn: the paths from the door to fireplace, bed, windows and tables. This was all wetblended and I painted metal on the trapdoor. Everything was given my standard darkbrown wash, with some added black. I was planning on drybrushing it, but decided against it. I liked the look. The worn effect was lost a bit, but the way it combined with how the wash had dried I though it gave it a look that had enough variety in colour and I like the dark warm look and didn’t feel like brightening it.
I made some small strips of stone. Simply by cutting some irregular shapes and glueing them on a clothing pin untill they dried. Used some alluminum foil to rough it up and painted it in grey/browns with a wash and drybrush. These where glued in forn of the fire places. I was planning on some logs in them as well, but honestly, I just want this done now. Maybe at some later point.
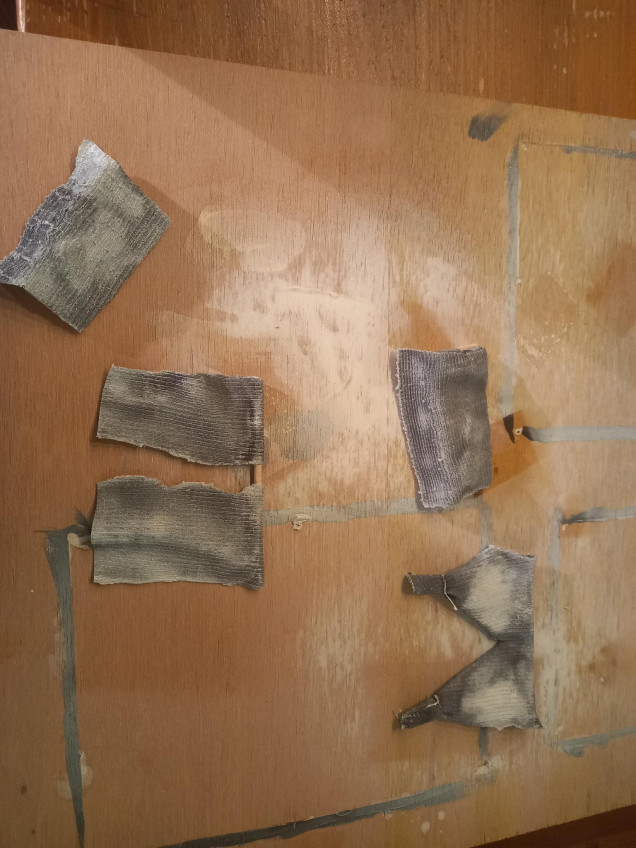
Cutting some cloth in pieces to hang in front of the sleeping area, I super-glued them to some skewers and soaked them in PVA Glue/water/primer mix. I placed this on a surface the glue wouldn’t adhere to and let it dry over night, after carefully creating some folds. I also used some of this method to put some fabric on some balsa wood cut to shape to fill the beds. Making sure it looked a bit lumpy. When dry I painted them up in several brownish colours and glued the into place with pva, simply sticking some cloth pins to keep them in place untill they dried. That’s the enterior done, but for the furniture and the exterior just needs some green.
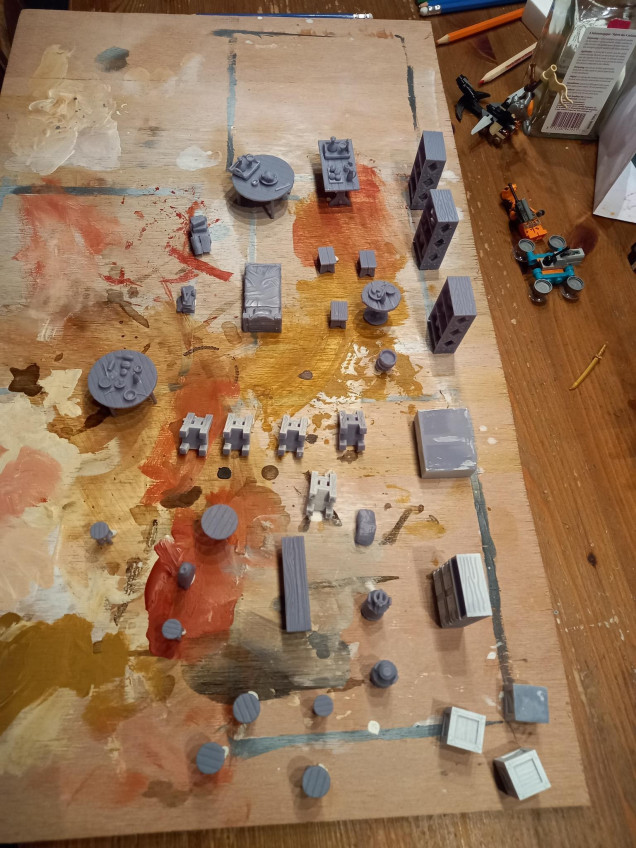
I bought some files for tavern props, which had some lovely detailing: including cutlery, buckets, food items, bowls, tankards and stuff. Really nice stuff that would allow me to make different shelves and tables.
There was also a wealth of free stuff to be found on thingyverse and the like.
One set of files came pre-supported (and luckily also unsupported, it seeemed).
As a complete newby I started with these, but I ended up as quite a journey. The pre-supported stuff came out fine, but some of the other model only printed half.
After googling what the problem was and asking advise on several platforms, including this one, I understood the problem.
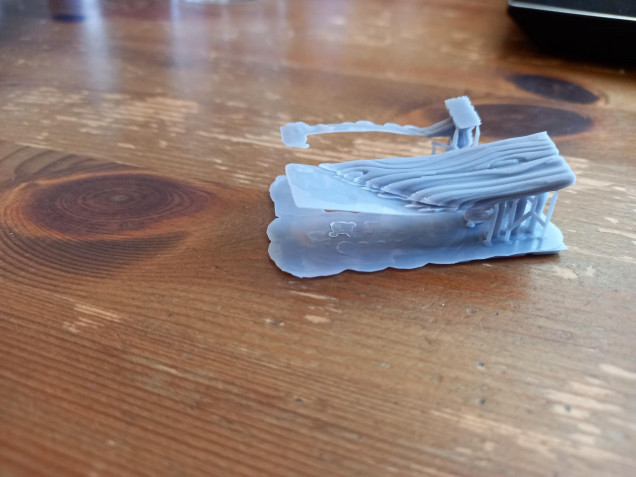
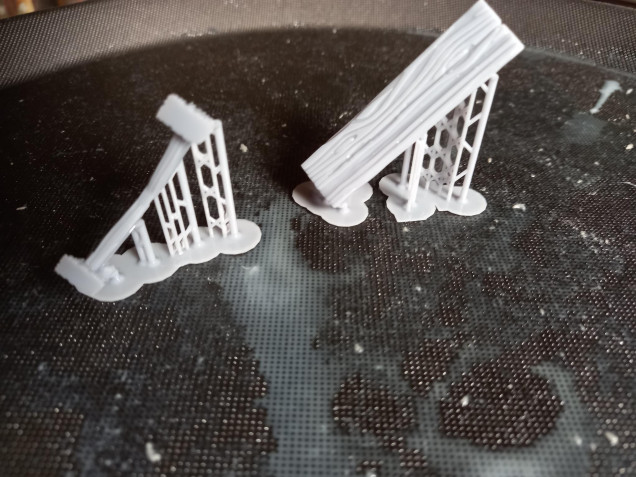
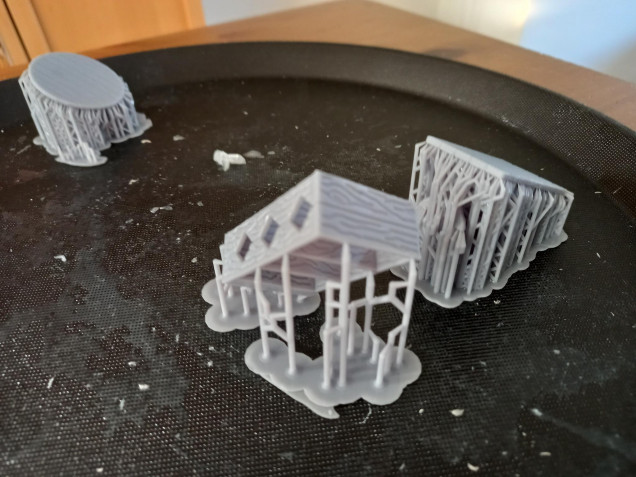
A big flat area creates a lot of suction and will pull the model from the buildplate if not properly supported, so it will only start printing when there’s enough space from another support to start builing on. The sollution is angling the model in such a way that the slicer shows a little red as possible before placing the supports.
This also means you need way less supports, in the final picture you see 3 models I printed at the same time. The one in front was supported by me and required little clean up. The one in the back came pre-supported but did not survive clean up.
It was a bit frustrating and all, but in the end it was a very usefull experience. I have a way bigger understanding about supports and becoming less anxious about using my printer. This did cost me a FEP sheet amd I needed to replace it, which was also a bit daunting. Not as daunting as having resin on my screen, but I was lucky I could remove it with a plastic scraper. Still best to not have this happen to often. I bought a screen protector sheet, which had some good reviews and some plastic razorblades that seemed to be able to clean a screen if disaster strike.
The final picture is what I now need to paint, which is actually quite a lot for but 4 houses.




You’ve gone from terrain for tabletop to dollhouses. We are an odd lot for hobby fusions.
Yeah, I was wondering where I’d pass into that territory. I may indeed already.
Not that surprising: I once spend an evening talking with the mom of one of my wife’s friends who was into dollhouses. We had plenty of tips to share one another.