British 8th Army Konflikt '47
Assembly
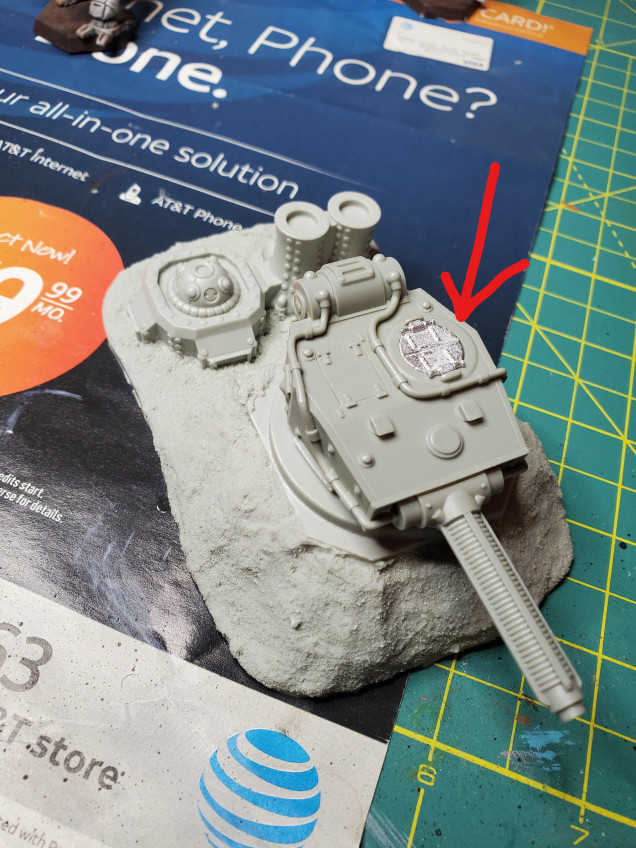
The first stage for the project is assembly. Working from the easiest on up; I started with Tesla Turret Emplacement. It only needed the hatch to be attached. The turret itself is set in without glue to allow it to rotate.
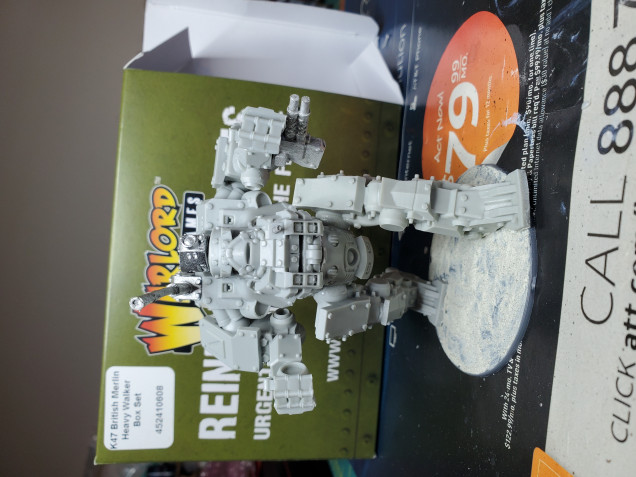
The Merlin Heavy Walker was a fairly straightforward assembly. The torso was made of two parts and then each of the limbs were single pieces. The limbs are attached with ball and socket joints so there is a little bit of posability but I didn’t try for anything complicated.
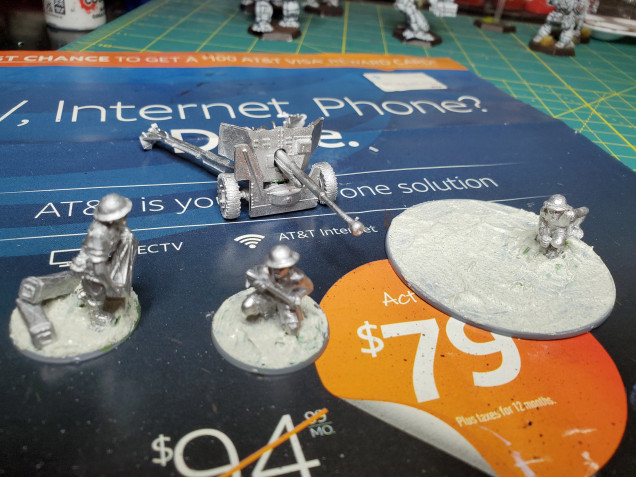
Next up was the Six Pounder Anti-tank Gun. This one was a bit trickier. Warlord Games has an assembly diagram (https://www.warlordgames.com/british-6-pounder-anti-tank-gun-construction-diagram/) for it but the finer placement of some of the parts is a little unclear. The attachment of the gun to the carriage was a bit unstable (or perhaps I didn’t have the location quite right) but a bit of green stuff was able to resolve that.
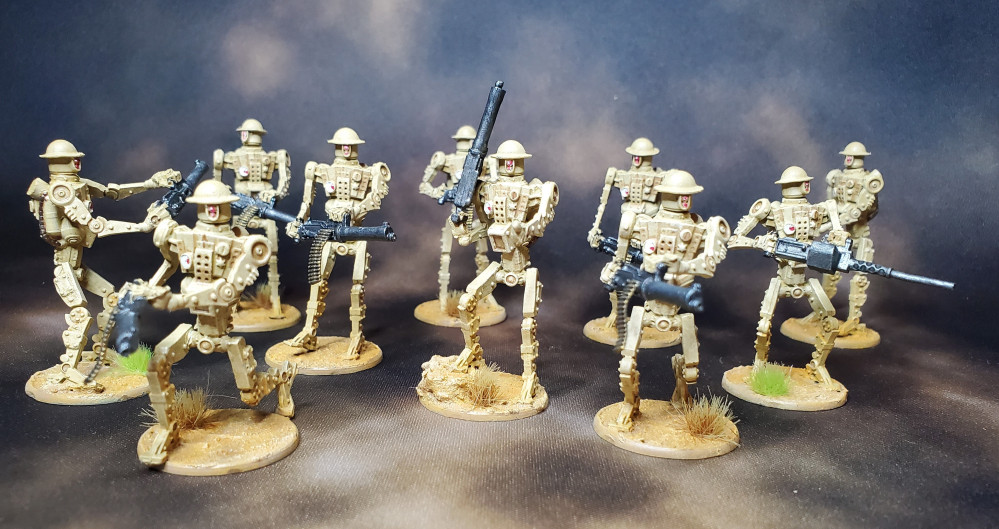
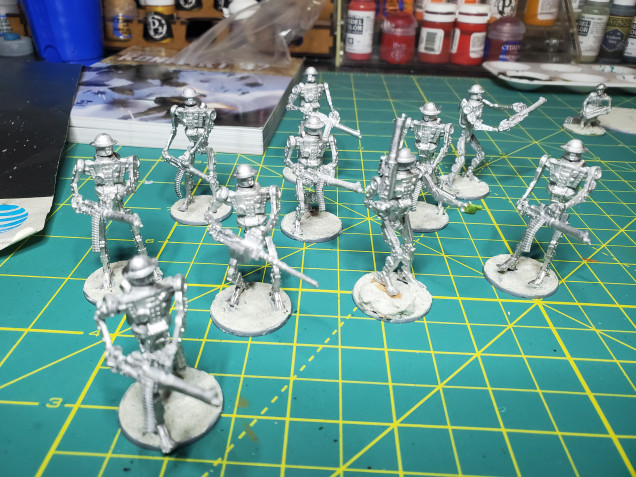
Lastly were the Automated Infantry. I really like these models but they are a bit of a pain to assemble. Since all the limbs are separate pieces there is a lot of flexibility. I tried to go for a few dynamic poses. For many of them I wish I had done better at positioning the guns/arms closer to the body.
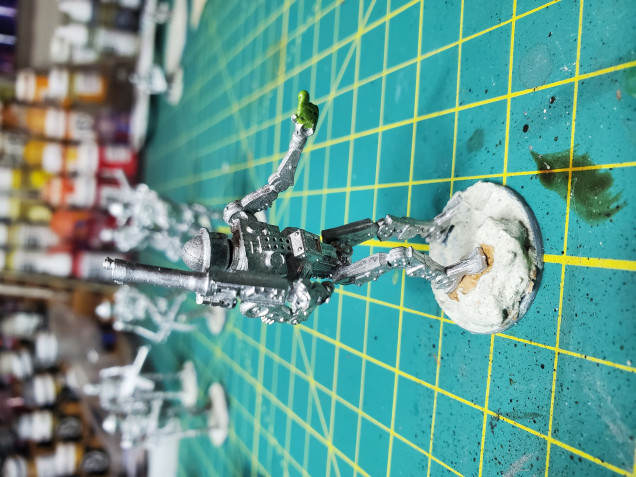
For one of Automated Infantry I decided to create something similar to one of the poses shown in the Konlikt ‘47 Rule book where the gun is shouldered and the other arm is pointed forward. Since the hands are actually part of the gun piece I had to cut one of the hands off of the gun and used green-stuff to create a pointing finger. I also gave it the war gaming classic foot-on-rock stance.
For my bases I use Vallejo Ground Texture – Grey Sand which is a gritty/sandy paste. I find it easier to apply than gluing on normal sand and I think the finer texture looks better for the scale of the models. Vallejo has a few colors of it but generally apply it before priming and then paint it my desired ground color.





Leave a Reply