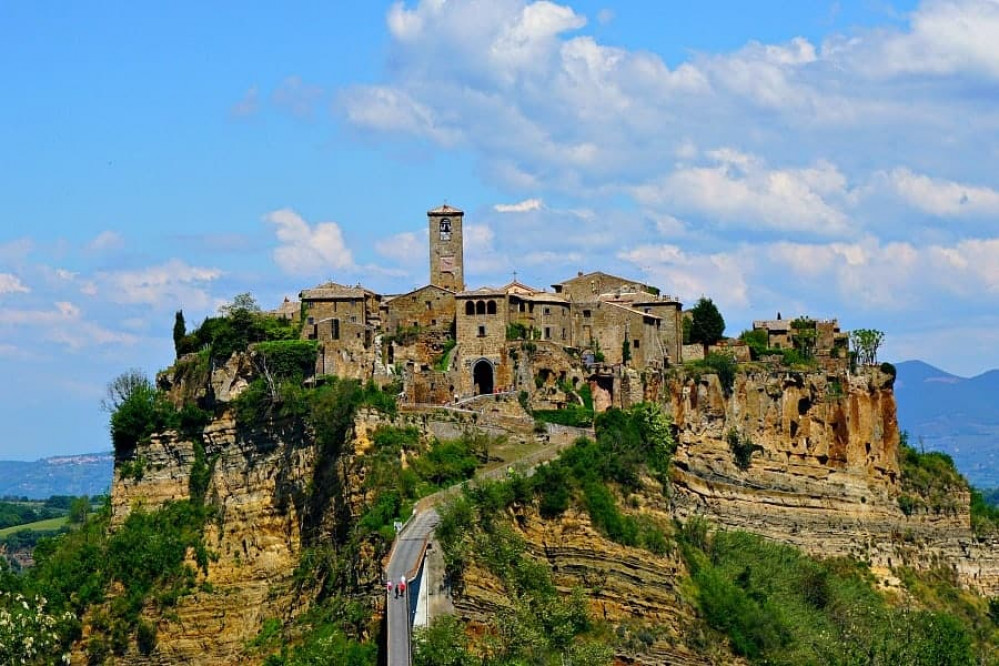
Tuscany Hill Village Terrain Build
Filling in the gaps
Firstly, good news with the rock moulds – the No More Nails doesn’t melt the foam base and does hold the plaster rock to the foam. However, as the foam base is curved, straight strips of plaster rock aren’t going to stick well without leaving gaps, so I need something to fill these in.
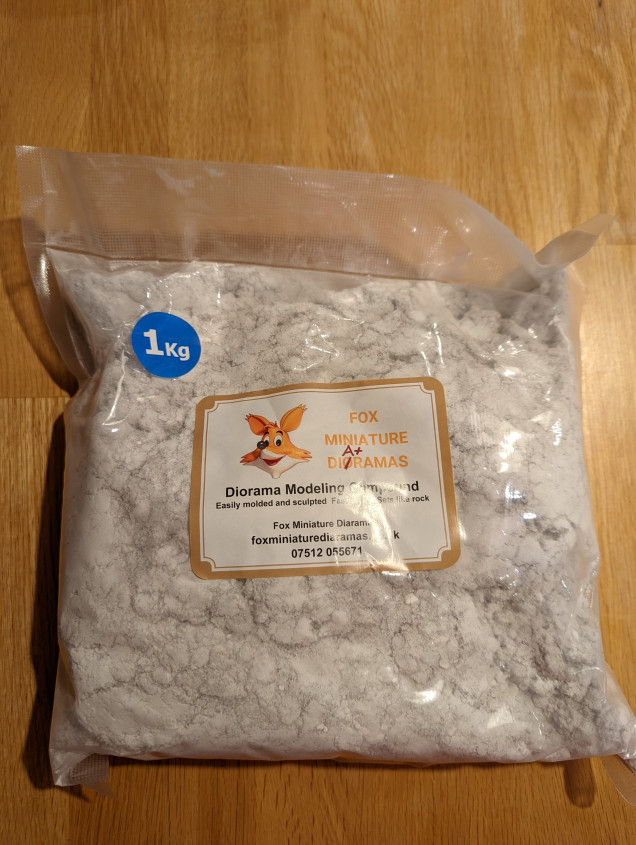
After hunting around, I see that modelling compound is a thing so I thought I’d give it a go. I picked this up on ebay
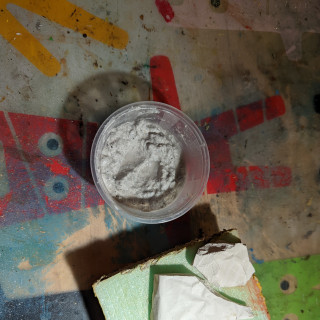
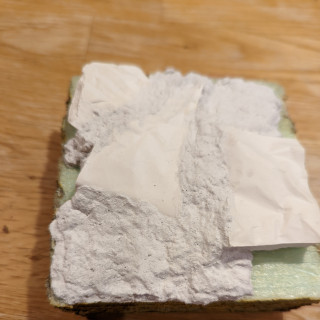
It mixes into something like a lumpy, cottage cheese. It also dries reasonably quickly but stays ‘damp’ for some time allowing a degree of modelling to be applied.
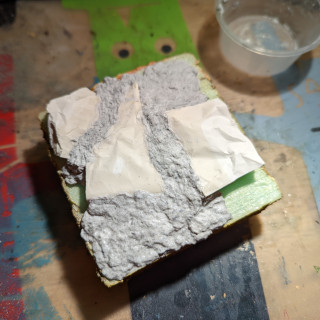
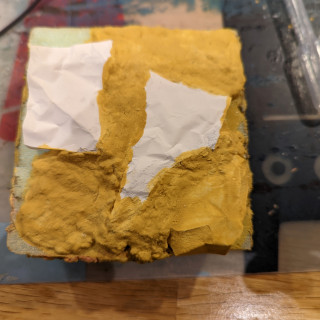
I’ve applied it to my test piece (below) and it dries into a grey mix. While it dries quickly at first, it did take a good 24 hours to fully dry. Even then, it’s still not fully hard.
Once dry, apart from being a little soft, I think this will work well. I’m planning on most of this being flocked so it’s really there to just provide substance.
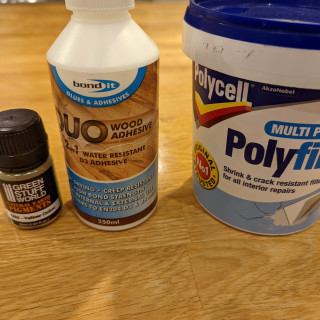
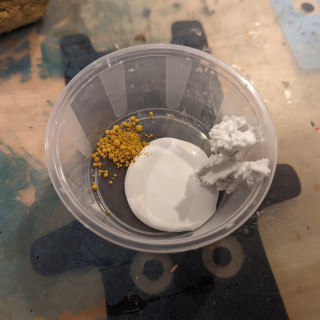
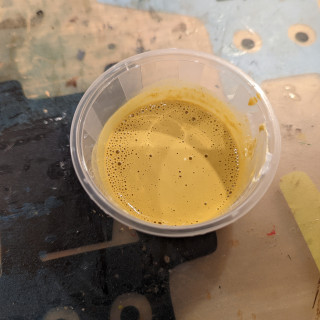
To address the softness and to make it look a little less lumpy, I’m going to try a pva and polyfilla mix, watered down a little. While I’m at it, I’ll mix in some pigments to see if I can colour it at the same time.
Once dry, this has certainly hardened the top surface a little (not fully, perhaps adding more polyfilla would help). It has also provided a slightly smoother surface.
The colour is a little strong for what I’m aiming for, so I will have to look into getting the right pigment, but it certainly works. I now have an approach to modelling the sides of my hill.
Next job is to start gluing on the rock moulds to the actual hill that I have crafted.








Leave a Reply