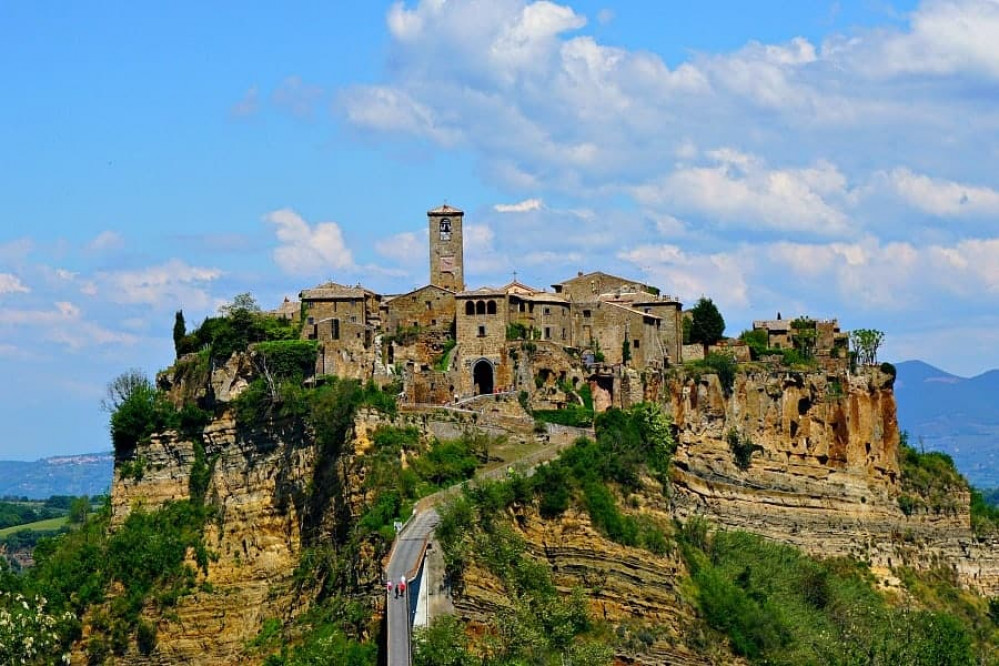
Tuscany Hill Village Terrain Build
Casting my own rocks
Not happy with the previous attempts at trying to get ‘rocks’ I’m going to try to cast my own. I’ve never tried this before, but as plenty of others have, how hard can it be?
I did look at some of the various moulds that you can buy for casting but these were quite expensive and as I’m unlikely to do this again, I decided against it. All I bought was a bag of plaster on ebay.
Creating my own mould
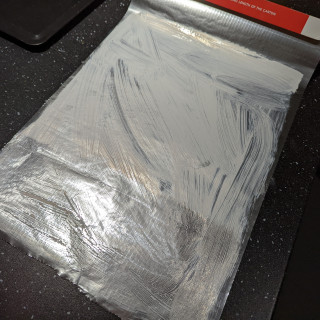
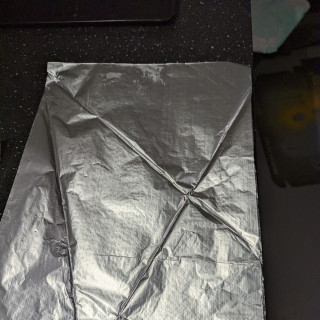
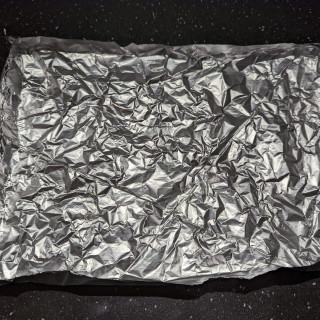
Trying to find a cheap alternative for a mould, I came across the use of aluminium foil. Seemed like a good option so I gave this ago. First up, I layered 5 sheets of foil on top of each other and used PVA to glue each layer together. This should create a bit of rigidity once the plaster gets poured in.
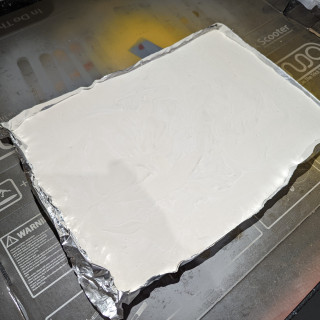
Once the PVA dried, I put some folds into the foil to try to create the deeper rock recesses you sometimes see. I then scrunched it up a bit and folded the edges up to stop the plaster running out. I then mixed up the plaster and poured it in. You can see the steps below.
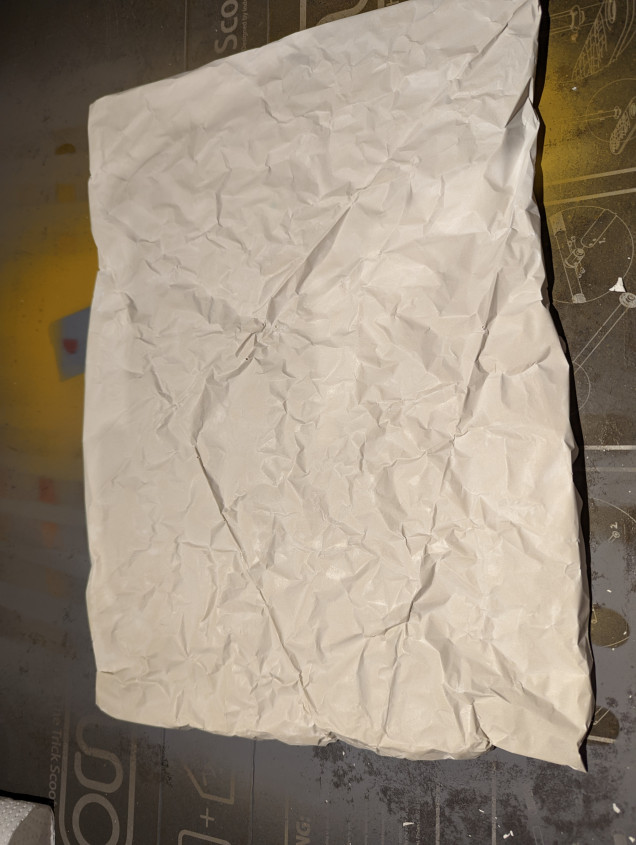
24 hours later, I removed the cast from the mould. Here’s where I realised my first mistake. When putting the folds into the foil, I stupidly forgot to do them in relief, so rather than cracks into the rock, I have outward facing ‘lines’. However, it doesn’t look too bad and this will need to be cut up, so probably not as noticeable.
My second mistake was making the pour quite thick. In places, the casting is around 2cm thick, which for the scale I’m using might stick out a little too far…
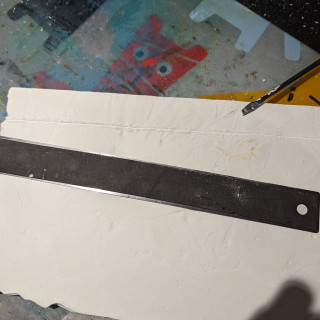
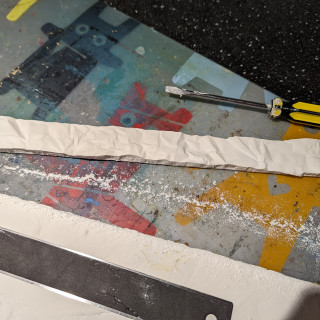
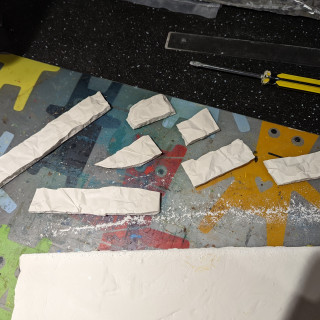
The size of the casting is a bit bigger than A4 so needs to be cut down to size. This was hard work, given the thickness and achieved with a metal ruler and a flat head screwdriver to score the plaster. I tried a knife but got worried I was going to remove a body part.
Each strip is between 1 and 2.5 cm high, to align with the different parts of the base model. I’ve then broken each strip up into smaller parts that can be glued to the foam base.
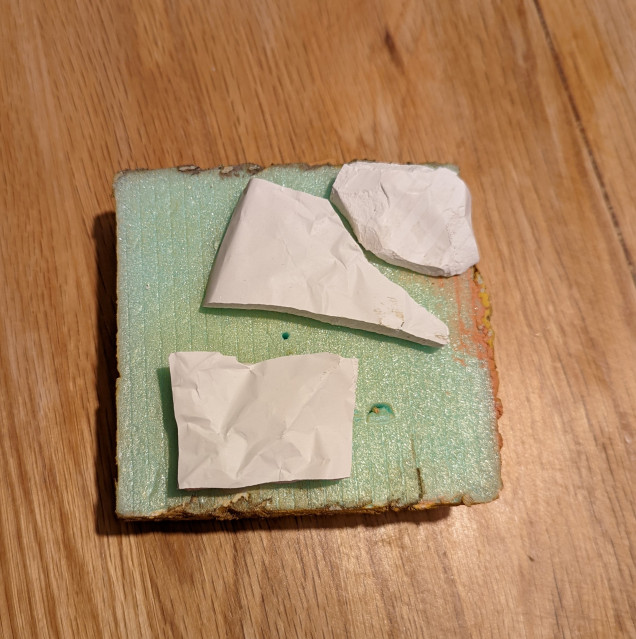
I now need to stick this to the foam base. Not knowing the best way to stick plaster to foam and with the risk of some glues ‘melting’ the foam, I need to put a test piece together. I also need to work out how to fill the gaps between the rock castings once in place, so this test piece will fill that role as well.
For the glue, I opted for No More Nails. From the blurb on the back of the tube, it doesn’t suggest that it might cause problems.
It took a little while to dry but so far, seems to have stuck the castings to the foam without any damage. I now needs to fill in the gaps with something.






















“how hard can it be?” – famous last words 😉 But your results look good
A phrase right up there with ‘What could possibly go wrong?’. But I’m quite pleased with the results so far. I think that it will do the job.