Sci-fi Terrain
15 Dec 21: Calling this a start.
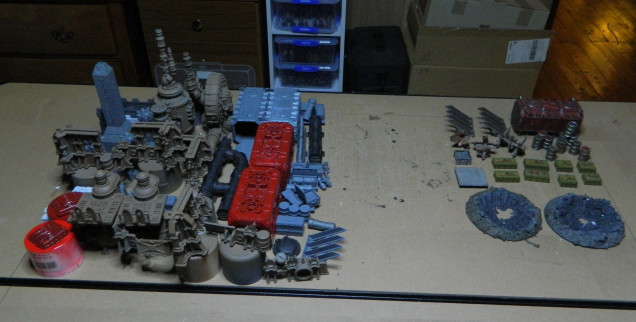
Starting with what I have around already: on the left is what’s prepped and primed. On the right, what’s already done… not much.
In this collection I’ve got:
- GW plastic terrain from the Conquest magazine.
- 3D prints, from a couple of different sources.
- The craters on the right are scratch built from years ago.
Kicking it off, I picked up a couple of pieces that I’d started and wanted to get finished. “Get it done quick” is the aim at the moment.
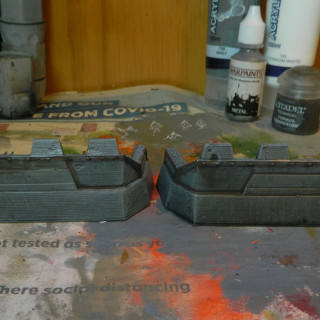
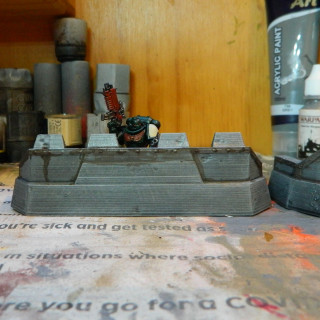
These are 3d Prints from Printable Scenery
3D Printable Jersey Barrier Pack (printablescenery.com)
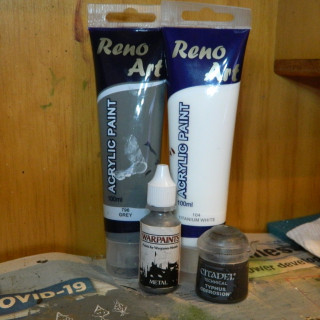
I painted them with craft paint to start, trying to keep it cheap and speedy. I brought in hobby paint to finish the details.
22 Dec 21: What's in the Hatch?
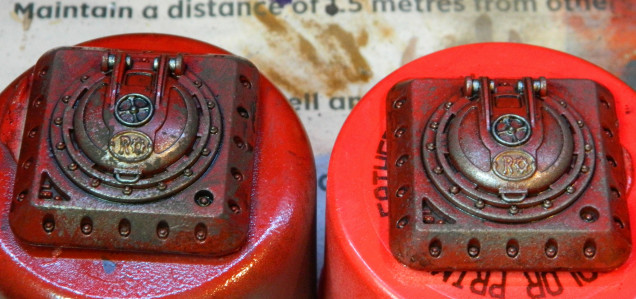
A set of plastic hatches from GW’s terrain range.
I’d bought a range of bright, glossy, automotive colours for a 3d print project that my daughter wanted to do. Having completed that, I ‘ve plenty left over. So, well, these pieces got some. Part of an experiment to see how it turned out.
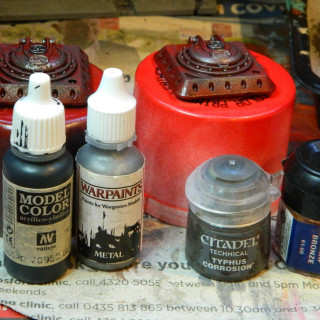
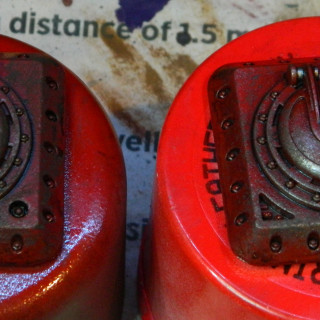
They had a wash of some brown wash or other… Agrax Earthshade probably… they weren’t grimy enough for me, so to continue the experiment I started trying a technique I’d not used before: sponge weathering.
Sponge on the Metal colour and when dry, the Typhus Corrosion.
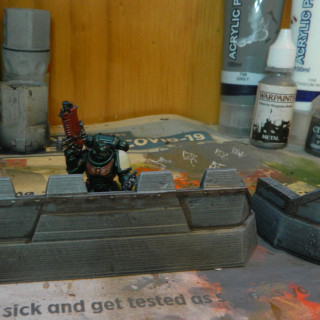
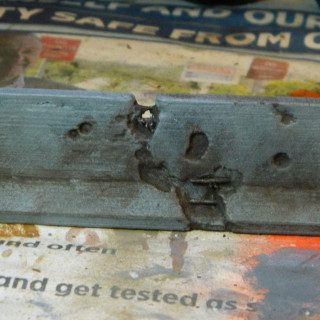
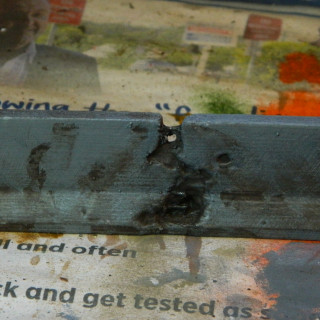
I also knocked over a Jersey Barrier. Painted the same as the Defence Lines above. I should mention, after applying the Typhus Corrosion, I smudged it with my finger so that it was more worked into the piece and blended in better.




Leave a Reply