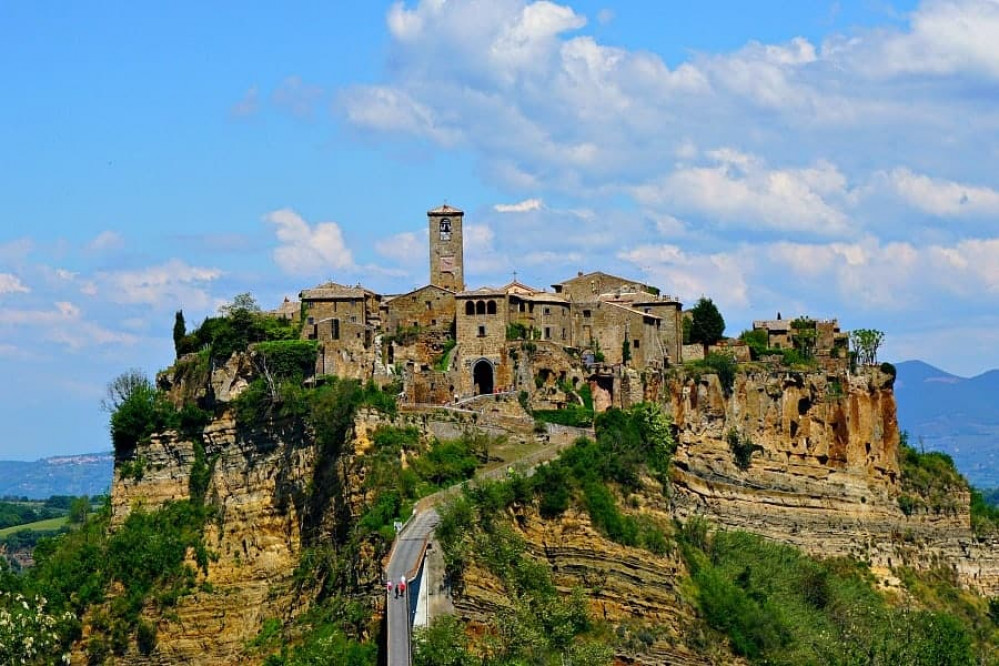
Tuscany Hill Village Terrain Build
Test options for the base
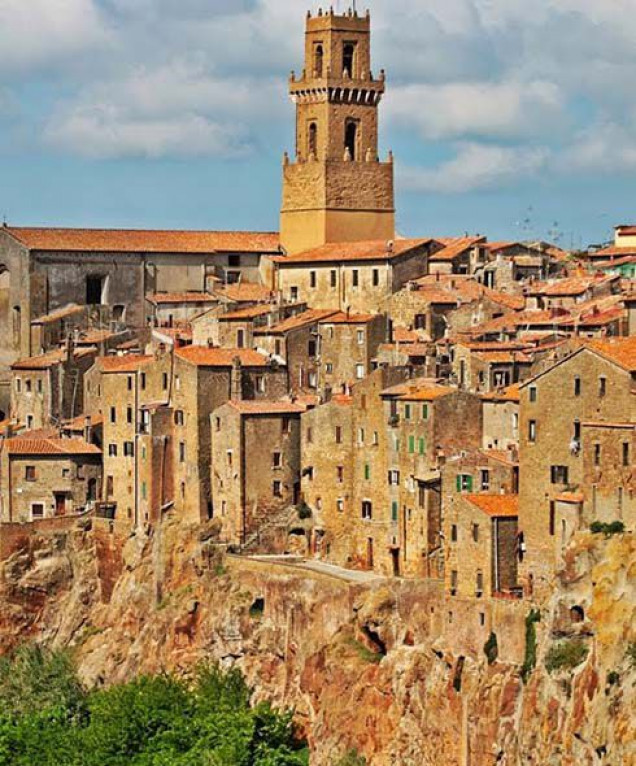
With the base now carved to the right size, I want to start creating the rock walls around the edges to create the ‘hill top’ feel. Here’s a good example of the sort of thing I’m aiming for.
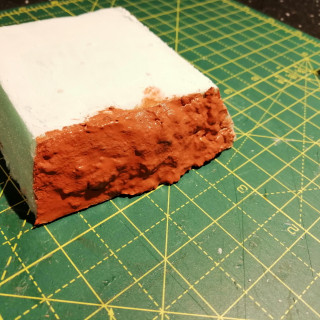
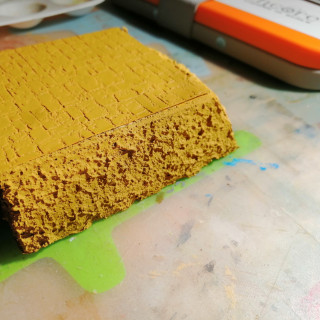
I’ve got a few options for this and I think I need to test this out first before applying it to the whole model. So I’ve quickly glued together a test model.
Option 1 is to apply the air drying modelling clay around the edges. This has the advantage of being slow drying and will allow me to actually model it into the shapes that I want. I’ve also seen some useful videos where this has successfully been used to create river beds or muddy roads for dioramas, so is an option.
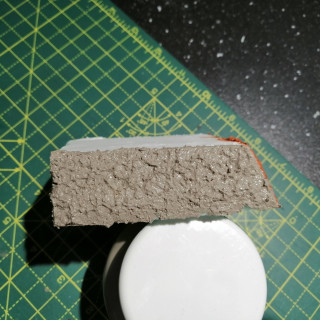
Option 2 is good old polyfilla. I’ve used it loads before but perhaps not in this quantity but I at least know its properties.
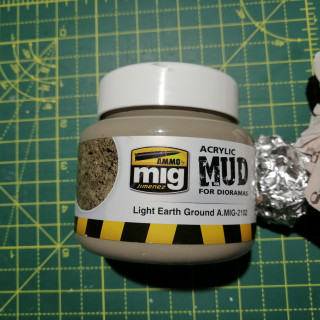
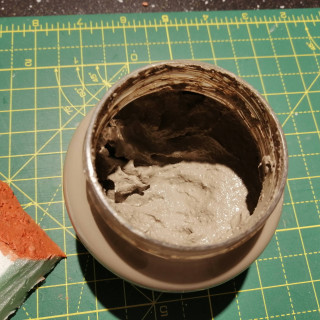
Option 3 is some MIG acrylic mud. I’m thinking that its texture could look rock like and it will stick to most things.
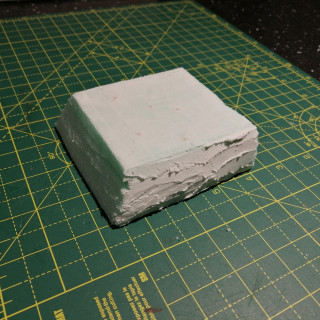
Below is option 1 after being applied. Getting it to stick to the foam was a problem but application of water really helped.
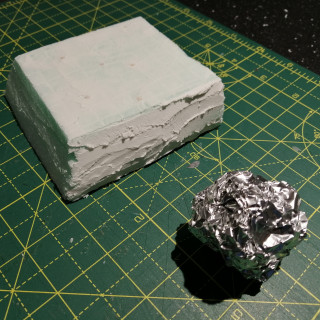
Option 2 and the polyfilla went on fine (as I was expecting) and then I used some rolled up tin foil to create a ‘rock’ texture by rolling it over the top
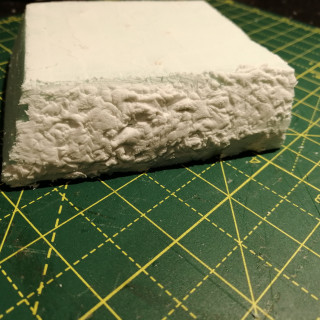
Option 3 went on easily and clung well to the foam but is difficult to ‘sculpt’.
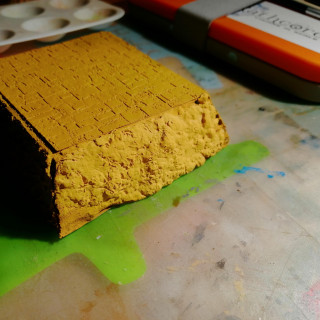
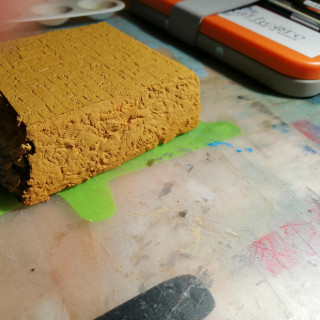
Once dry, I gave them all a spray with the primer I’m thinking of using to see how they look. Here’s the results in order
The verdict?
The clay didn’t really stick too well to the foam and was already starting to come away at the edges. While there are probably solutions to this, it took a long time to apply and requires a lot of effort to sculpt to look good. Almost certainly skills and time that I don’t have. I’m also concerned about the clay flaking off which will annoy me. So it’s a no for the clay.
The polyfilla worked OK. It stuck well but the foil rolling didn’t look particularly convincing. I’m sure that this could be addressed easily but getting into the corners is a challenge. I’m going to call this my back up plan for the time being.
The acrylic mud stuck well and is lovely and hard. Problem is that it looks like mud which is not the look I want. It will also be expensive to cover the whole model with, so this is a no as well.
So where does this leave me? It leaves me having to cast my own rocks in plaster. So with the plaster on order, I plan to try casting for the first time and if they look good, sticking these to the outside.
3D Printing vs Scratch Building
This topic came up (I’ll say for ‘discussion’ :-)) on the uHH last week. I thought it was interesting as I’ve never considered it before, so I thought that I would put my thoughts here, particularly as I’m scratch building and 3d printing in this project.
Firstly, I guess the discussion was aimed at people who at least don’t try to scratch build and that technology is the first answer. I agree that not giving this a try is a shame and a big part of the hobby. I still remember my crude attempts at scratch building when I was young. But for this project, I’ve considered my skills and time as to how best to tackle what I’m trying to achieve.
For the actual terrain, scratch building is the only practical solution, especially given the size of what I have so far. I think it can also be fairly easy to produce in a series of steps.
The buildings for this project is a different question. I could probably take the time to cut plasticard, foam or other material to make the buildings and they would certainly look unique. But they would look shit. My skills aren’t at that level and while practice makes perfect, I’m not sure I have the time or patience to get to a level that I would be happy with. In addition, I don’t have a permanent hobby space, so every time I want to do something, I need to set up and then clear away at the end. Sometimes I can’t be bothered and this, along with the set up, takes away hobby time.
So for me, I see 3d printing as another tool that can be applied to my hobby. I’m reasonably adept with a computer and set up is minimal – I’m even able to 3d model on the computer while sat in bed! So this actually creates more time for hobby, albeit in a digital format. Learning the FreeCad software that I designed the buildings in was fairly quick, and much quicker than developing the skills for scratch building. And the overall results (at least so far, I’ve not printed everything) I’m very pleased with. What’s more, if the prints work, the quality will be much higher than I could ever achieve, so I will be happy with the results. I accept that they might look more uniform but that’s a price I’m willing to pay for the added quality.
At least that’s my two pennies worth. Interested in other views.





















Leave a Reply