It takes a village to....
Getting something done
I’m working on the interior detailing and I am not having a good time.
Not sure yet how it will turn out. Some looks pretty good, some might look good put together and painted, but at this stage I might wait for my 3d printer to arrive and just print it out. Not sure yet.
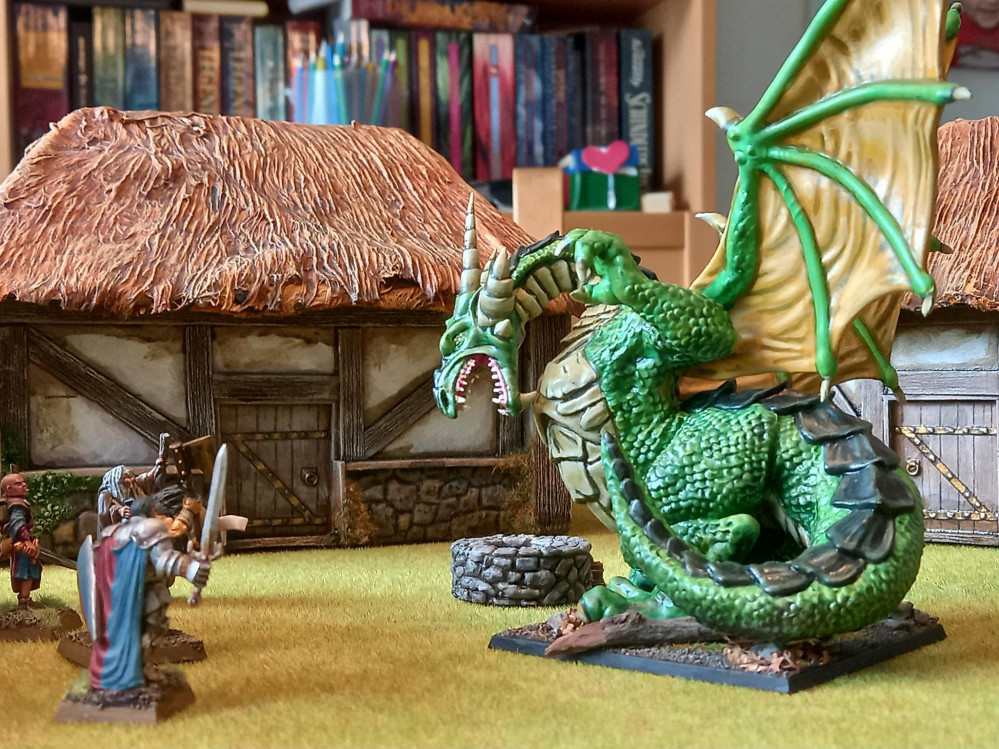
In the meantime I decided I might as well slap some paint on the buildings themselves as I can finish the rest of the detailing later, but still have some joy in my work. Hoping that seeing it all come together motivates me to finish the job. I bit of a bit more than was wise: making a set instead of just a building creates something great when you get there, but man, does it take a while and is it hard to stay motivated.
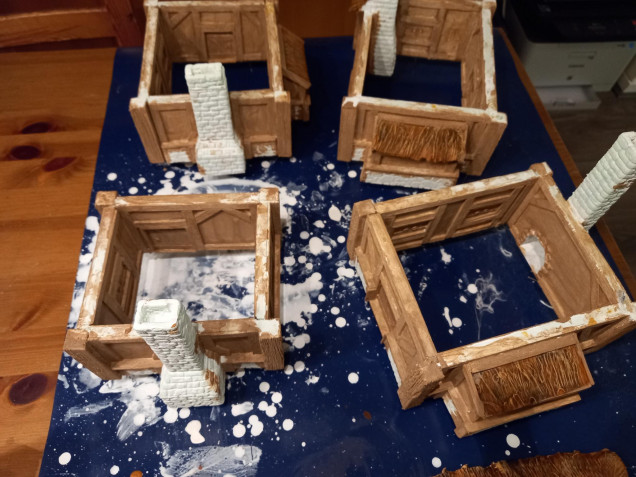
I covered all the models in a mix of white primer, pva and water. Make the mixute nice and watery and don’t overdo it on the pva. We just need a thin coat of the pva to protect the foam from spray can gas and a little bit of strength. The model is bigger, but as always: 2 thin coats.
To protect the models as they dried I put some pint in the bottom. This allows the excess fluid to drip of, without creating pools sticking it to the surface it’s drying on. This will not end up looking good when drie so it’s best to avoid.
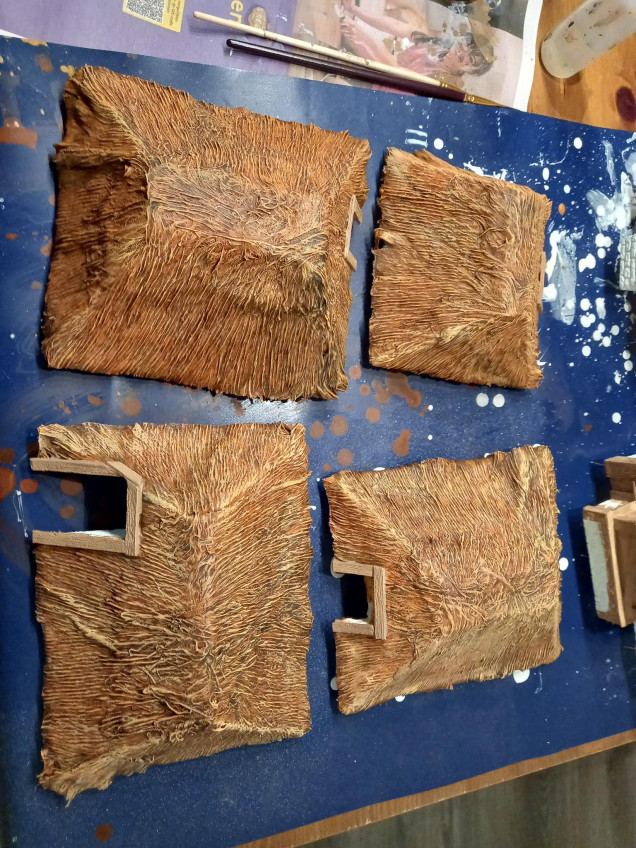
After this I used some cheap craft paints and mixed the colour I wanted in a empty pickle jar. Make enough of this, so you won’t run out and end up with two different badges on the same model. Thin the paint as it is pretty gloopy and again. Thin coats. I added some grean to the mixture and spread this on random places. Don’t over do this. I then created a wash of a darker mixture and applied this liberally. Again with the models resting on pins. I also added a small glob of black on some random places before washing. The wash would spread this around, creating some colour variation and weathering.
After this I made a new mixture looking like a lighter version of the base coat and used this as dry brush. I use a new batch because I don’t want my drybrusch paint to runny.
I also managed to put 2 coats on the wood after this. This still need washes and drybrushes and then I can get to the stonework. Making sure I get some colour variation in the model.
While painting the wood, I paid special attention on not getting any paint gattering in corners and details. Don’t want that ruiined.


![TerrainFest 2024 Begins! Build Terrain With OnTableTop & Win A £300 Prize! [Extended!]](https://images.beastsofwar.com/2024/10/TerrainFEST-2024-Social-Media-Post-Square-225-127.jpg)


You are taking a different approach to building medieval houses ?
It’s starting to look real nice and I am looking forward to see the final pieces! Especially like how the roof painting came out.
And I do feel your pain about tackling on a large project when it feels like it will never be finished.
It’s getting there. Problem with becoming more confident in your skills, is you become more ambitious as well.
Yeah, it’s a different take. I like my fantasy a bit fancifull, but there’s certainly enough to say about your nice dark and gritty feel. So many roads to take.