Joan of Arc Paint Log
The Devil WIP
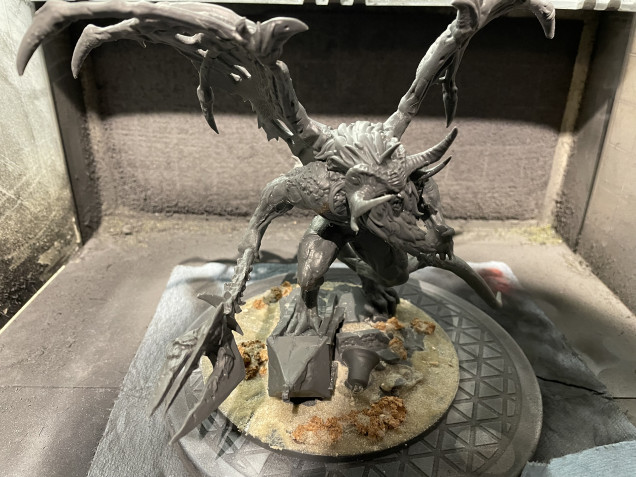
I’m making a “hell of a return” to painting Joan of Arc: Time of Legends. With few extra days of during the holidays, I wanted to tackle a bigger model and what better than to go with the Devil himself.
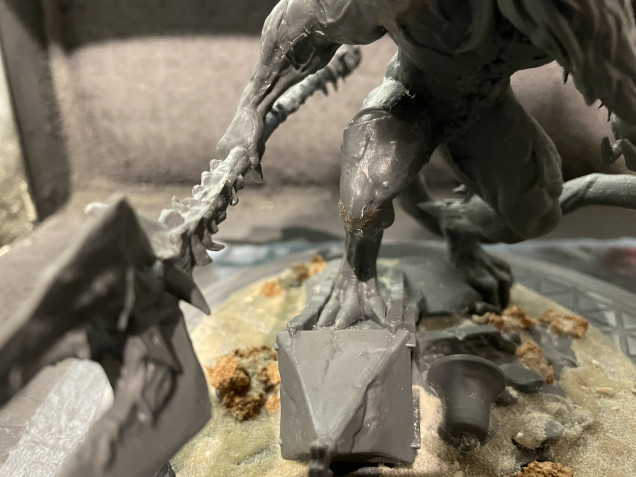
There’s a fair bit of mould line scraping to do, which was a quite laborious due to the plastic and this being a pre-assembled multi-part kit — it’s very difficult to follow the mould lines as you don’t really know the components.
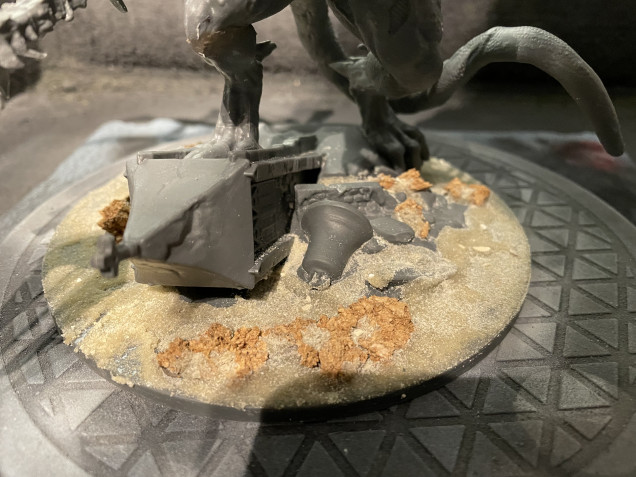
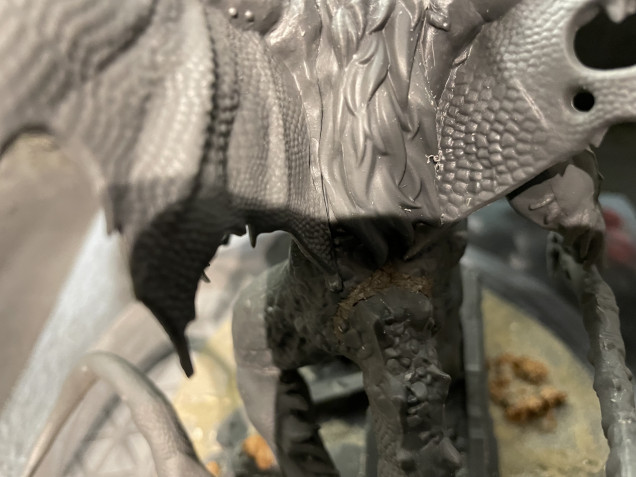
Few gaps also had to be filled, one below the knee and one where the tail joins to the main body. Nothing too terrible, but would have been an eyesore on the final model.
Before priming, I also added some extra stuff to the large base, bits of cork and fine modelling sand.
Using an airbrush I primed the entire model black, using Ammo One-Shot primer. Despite its name, it takes few shots to get a good coverage.
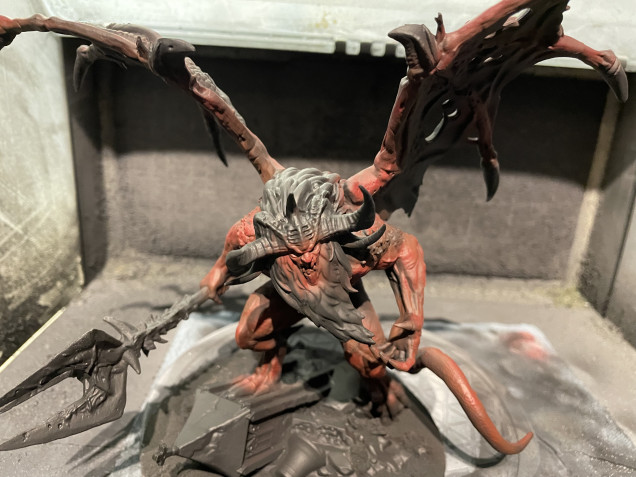
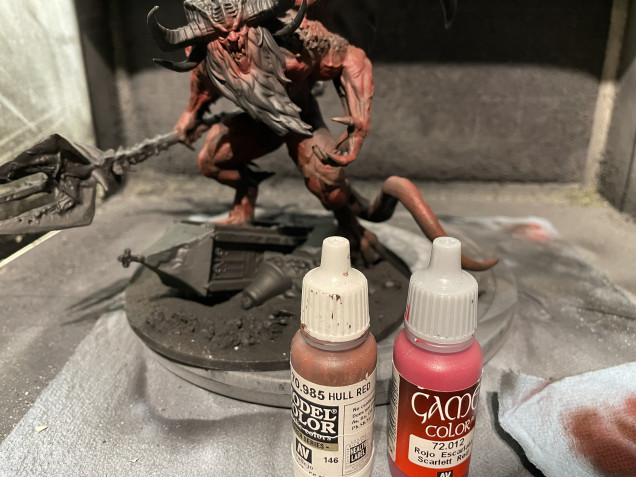
Most of the model will be devilish red, of course, which I layered on with the airbrush, using Vallejo Hull Red and Game Colour Scarlett Red.
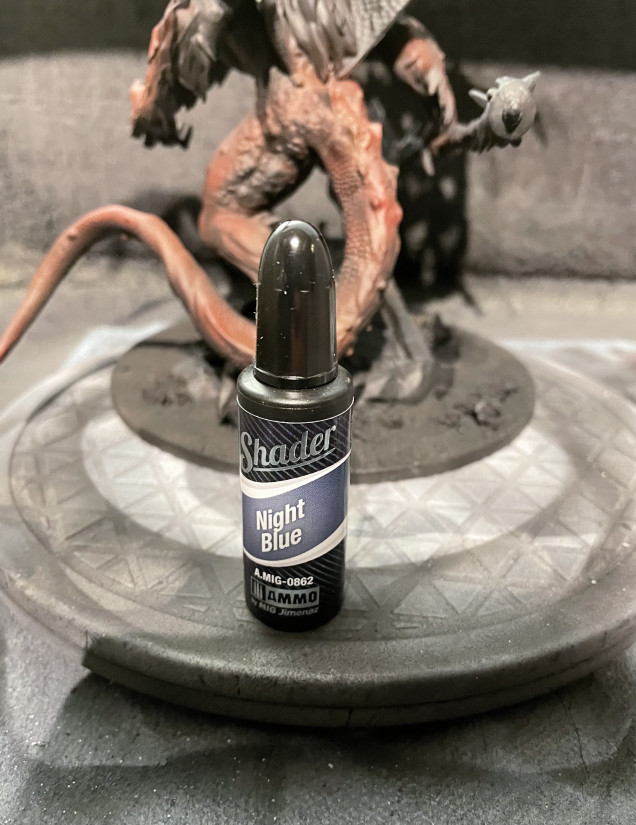
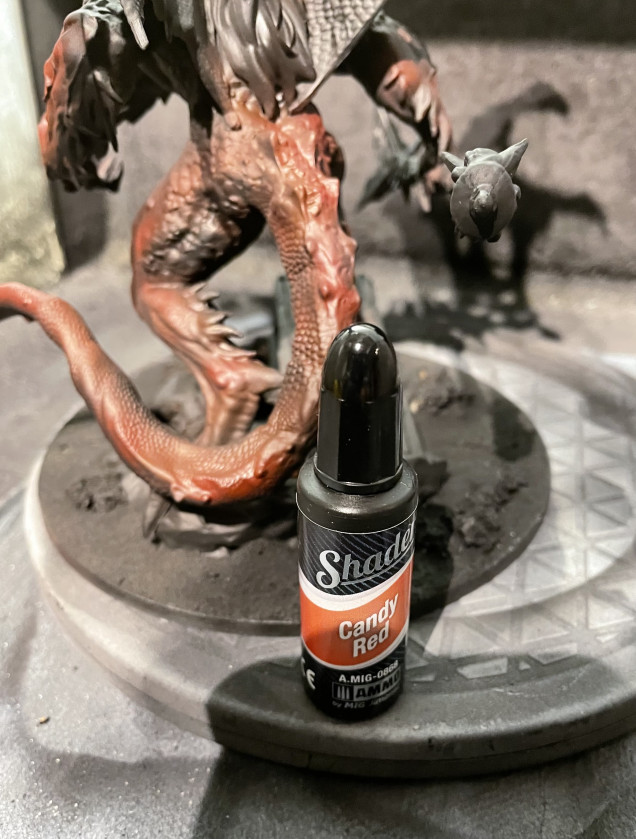
I used Ammo Night Blue shader for the shadows. I hadn’t used the product before, so this was sort of an experiment. The pigment is not super strong (less intense than Vallejo Inks or Citadel washes), making it ideal for subtle shading.















Leave a Reply