
Bot War - Cult of the Destroyer
Basing part 1
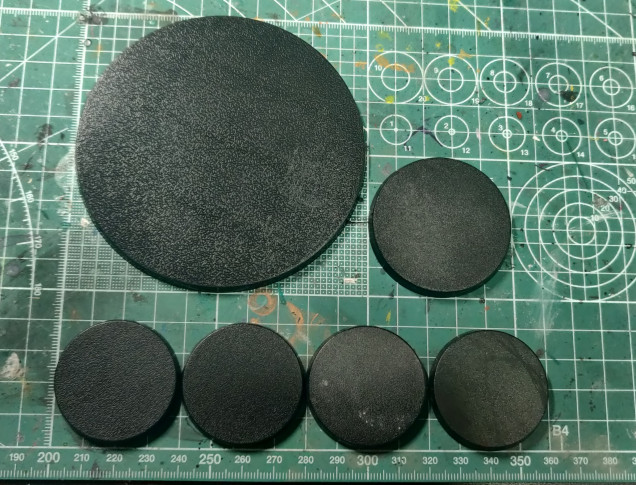
As I enter the later stage of the project its time to make a start on the bases for the bots and big guy. Most of the builder come on 40mm bases, with the “squad leader” Dumptruck running on a 50mm. Destroyer has a large 100mm base which should be sufficient to help stop him from toppling over.
100mm Destroyer
50mm Dumptruck
40mm Roller, Digger, Dozer, Loader
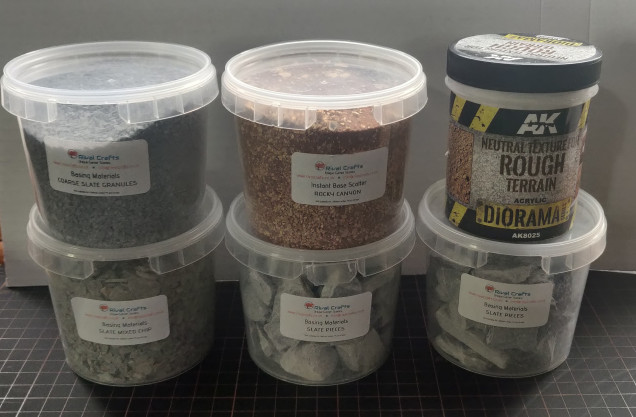
To keep these bots online with the rest of my collection I’ll be using my tried and tested basing technique which involves using a foundation of AK Interactive Diorama Rough Terrain, to which I add bits of slate, gravel and sand. All of the tubs in the below shot were from Rival Crafts based in the UK, I really like the tub of rocky terrain which has varying sizes of sand and grit, as well as gold foam pieces that make nice rocks for this scale.
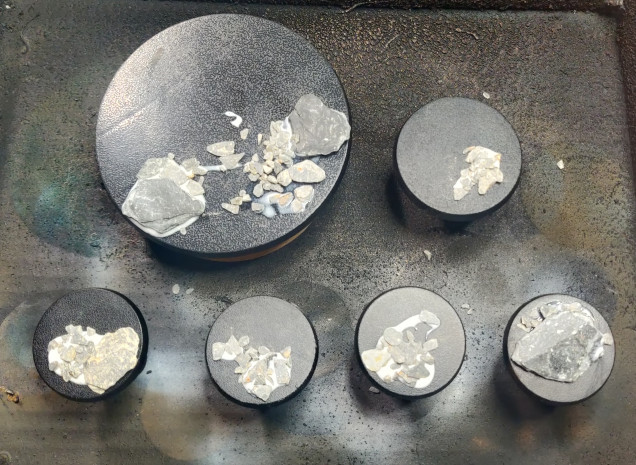
After cleaning any rough bits or flash from the plain black bases I use extra strong pva (not watered down craft pva) to stick down some large pieces of slate and a scattering of smaller pieces to some of the bases. There’s no logic to the placement, just trying to get some randomness but naturally looking formations.
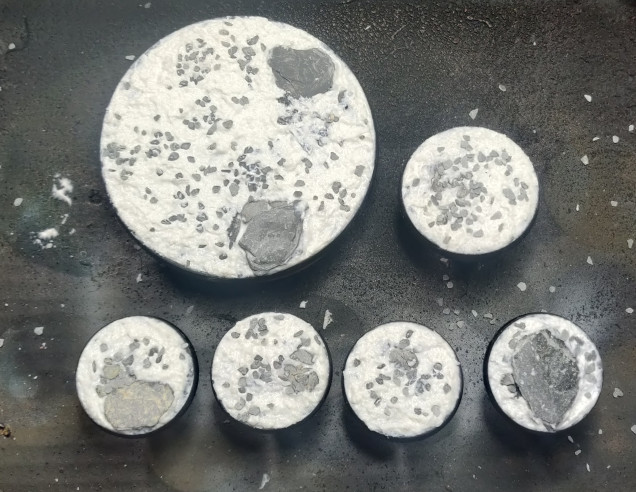
Once the slate has mostly dried and is fixed in place I use a spatula to thickly spread the AK Interactive rough terrain paste over the whole bases and around the slate, making sure some of the slate is covered and others bits are poking out. This adds to the natural look and shows that the slate isn’t just placed on top of the ground.
This can take a while to cure and there will be some shrinkage in the paste, so after an hour or so I add in some more to any weird looking gaps around the edges. It’s worth also going around the rim of the bases with a clean finger to rub away any paste that overspilled, we want the rim to be extremely clean and smooth so it looks nice when painted, it will be a light brown colour by the end so will show any imperfections quite obviously.
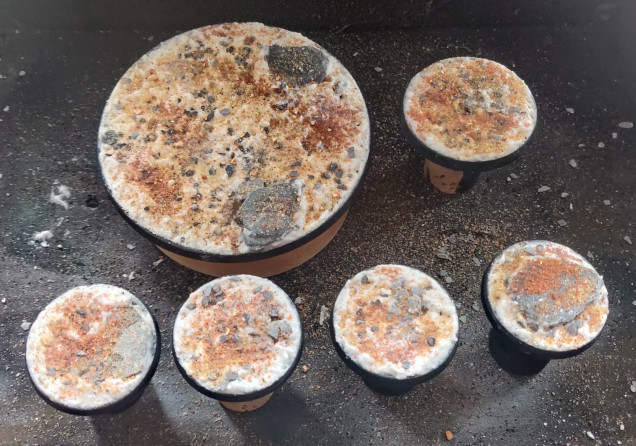
With the rough terrain paste drying I lightly apply patches of watered down PVA and sprinkle over sand and the Rocky Canyon scatter mix from Rival Craft. Like seasoning meat for a BBQ it’s best to sprinkle from high up as this allows the grains to fall randomly and not clump up in too close an area.
After another hour or two with things starting to set hard, I give all the bases a blast with an Army Painter anti-shine varnish rattle can. This really helps solidify everything and give the slate a decent layer for the primer I’ll be applying to adhere to.
And that’s it for part 1. These will fully cure overnight ready for painting tomorrow.


![TerrainFest 2024 Begins! Build Terrain With OnTableTop & Win A £300 Prize! [Extended!]](https://images.beastsofwar.com/2024/10/TerrainFEST-2024-Social-Media-Post-Square-225-127.jpg)




Leave a Reply