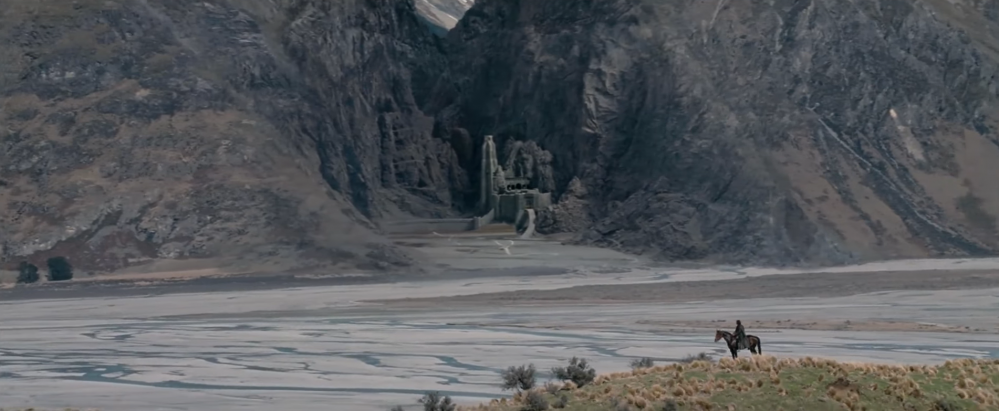
Helm deep from the lord of the ring
the foundations of the earth
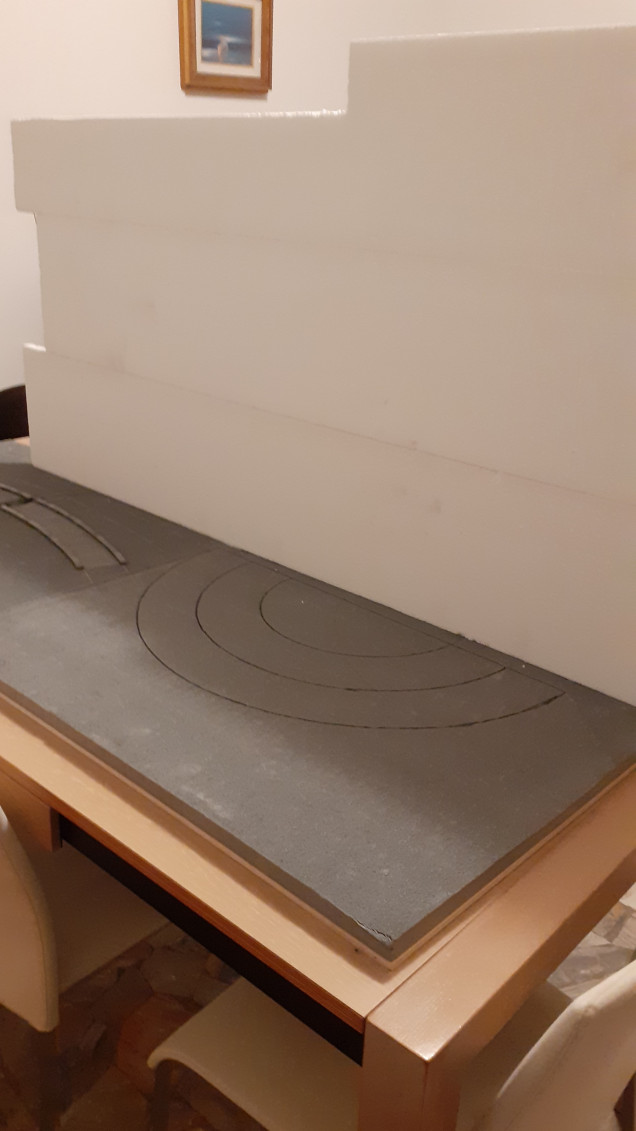
In this phase we place the structure that will support the mountain. Let me start by saying that I needed several polystyrene panels plus other pieces of polystyrene that I recovered at the bottom of some drawers. Let’s start with the largest panel that will hold the fake stones that will be the background.
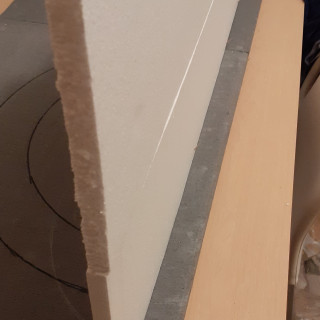
The panel measures 75 cm in height, and is made up of three 25 cm panels glued with pva; for further safety between the panels I have inserted toothpicks, in this way you avoid that one panel slips on the other during the drying phase, moreover you can speed up the work as the toothpicks guarantee a sufficient grip to go on.
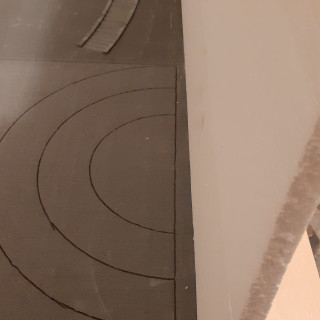
When I glued the panel to the base I deliberately placed it about halfway between the edge of the base and the beginning of the trace of the circular structures for two reasons; the first is that the whole main structure of the helm’s deep extends into the mountain, so I left some space to be able to create the illusion that the mountain has been excavated; to do this, when I build the walls of the circular structures, I will go slightly beyond the limits that I have drawn on the base in order to cover the excess wall with fake stones, in this way I will avoid having holes; the second reason is of a structural nature, that is, the panel will have to bear a lot of weight once I have applied all the stones, filler, etc. etc., then on the back of the panel I will mount some props in order to keep the panel in position.
This panel in length extends far beyond the dimensions I need, when everything is dry it will be cut to the right size and with the profile of a mountain.
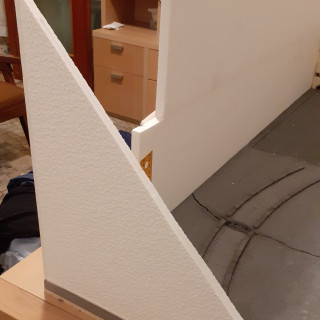
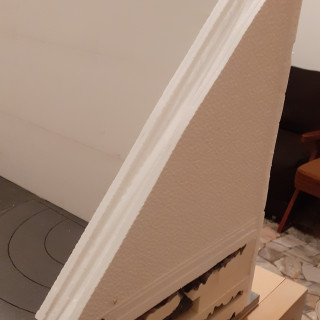
For the support structures on the short sides of the base it was sufficient to cut several triangles from decorative polystyrene panels measuring 50 x 50 cm. In reality, it does not matter what material you use, as long as it is light and workable. Given the size of the panels, I raised the support near the entrance to the helm’s deep by 25 cm using waste polystyrene. Again everything will be cut to the right size and shape. Although overall the structure now looks ugly, remember that everything will be covered with rocks and filler so I will have time to correct all the errors.
One last tip, during this whole phase, whenever you think it is necessary, use toothpicks or needles to help you fix the panels.
Until next time!


![TerrainFest 2024 Begins! Build Terrain With OnTableTop & Win A £300 Prize! [Extended!]](https://images.beastsofwar.com/2024/10/TerrainFEST-2024-Social-Media-Post-Square-225-127.jpg)




Leave a Reply