Muster the Rohirim, Another OTTer's Heading Into Middle-Earth!
Battle of Pelenor Fields - Painting the Fell Beast
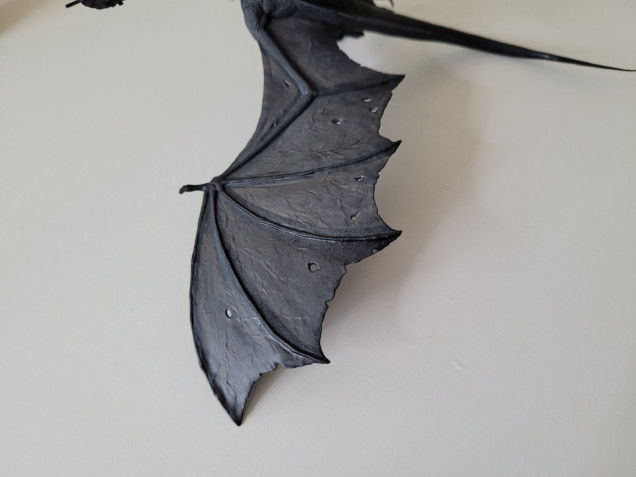
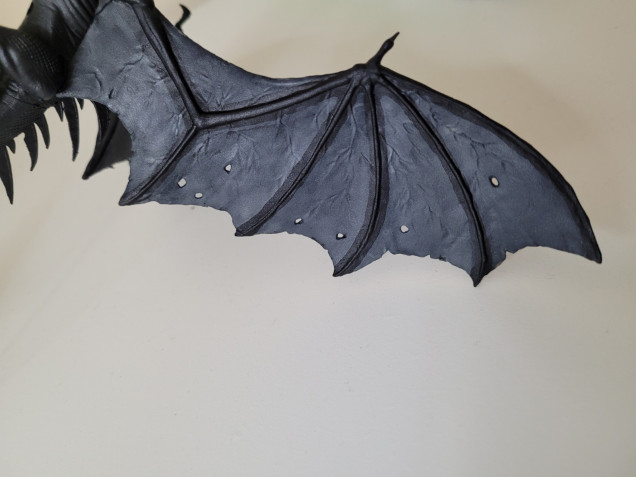
The largest part of this model was the wings, and that is exactly where I wanted to start. Fellbeasts are not exactly well kept creatures, their skin is worn down and weathered. When a wingspan of a Fellbeast is spread, you can see the lighting from the other side peer through, ceating a lighter colour.
As I was painting on a black base – something which I rarely do. I wanted to water down the body and wing paint as much as possible to ensure I get the gradual effect I desire.
However gradual fades may look pretty, but they take time to build as layers have to be measured being a thin-almost-transparent paint.
I split my paint with 2 drops of Vallejo Model Color Dark Grey 70994 with equal part water to thin out the paint.
One layer of this thin paint front and back, leaving space around the edge of the wing where the bones would be, allowed a subtle colour to come through.
I added two more coats to this mix, which created a marbley, almost uneven but solid colour to add further deapth to the first layer of the wings.
I am very aware that I look like I am hobbying into some form of taxidermy, but I swear – teeny tiny fell beast.
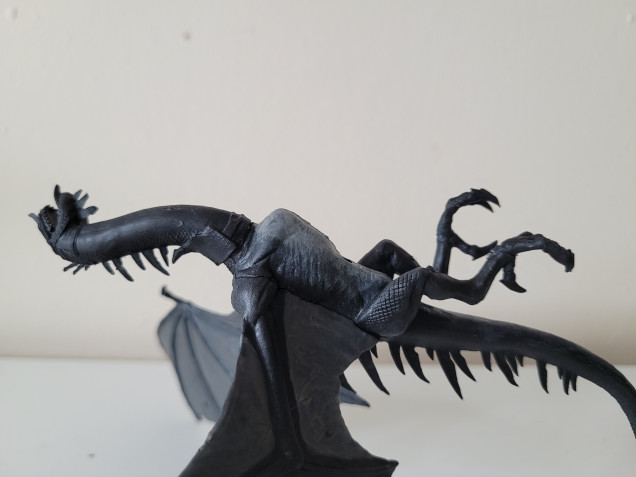
I wanted to use the same effect that I had on the wings to create a gradual tone on the underbelly too. Using a lighter grey with the same watered down technique. I began to layer after layer when drying. As each layer dried, the next layer would become smaller and place more focus on the centre.
I layed about five thin coats until I was happy with the effect until I continued down the bottom of the tail and neck.


Looking forward to see how you progress with this. I’ve got my own fell east to paint. Though I’m saving it till last as a goad to get me to finish!
Your process seems very involved, no doubt to get best results. How are you finding your motivation considering the amount in the box? I’ve found I compromise good detail to get quantity done or else my motivation wanes.