Crisis Protocol
Cleaning Airbrushes
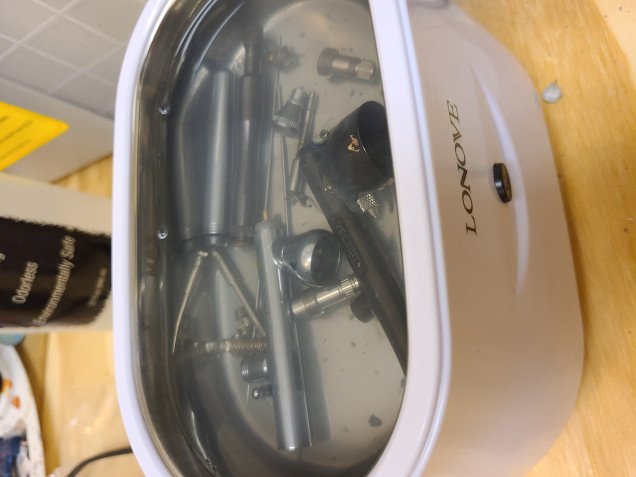
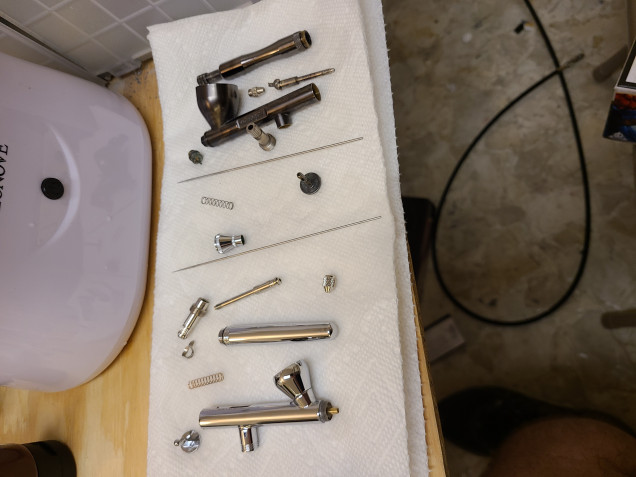
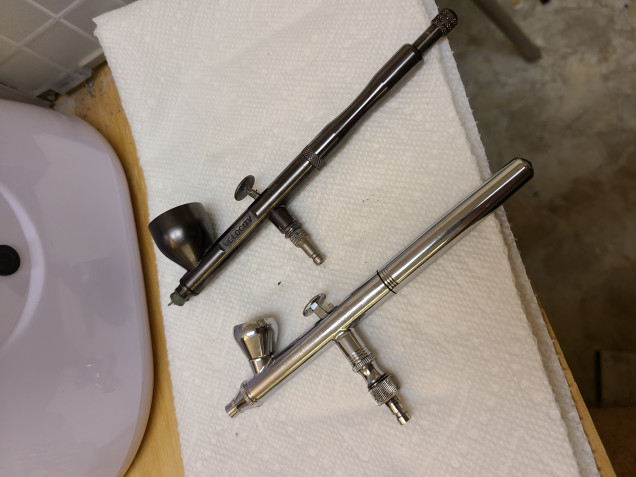
As stated in my previous entry my airbrushes needed cleaning. So I broke them down and put them in a jewelry cleaner.
There are about 1000 videos on youtube about how to do this, so I am just going to mention the highlights.
First a jewelry cleaner can be purchased on Amazon for about $40, you don’t need a fancy one, mine has one button. You can spend as much as you want on one, with all the “features”, all I need is the one button that turns it on.
Second what to put in there. My mix is about 4 parts water 1 part airbrush cleaner. Windex is also a good choice, as long as you get the ammonia free version. DO NOT USE THE WINDEX WITH AMMONIA, it will take off the coating on your airbrush that makes the paint not stick to it real well.
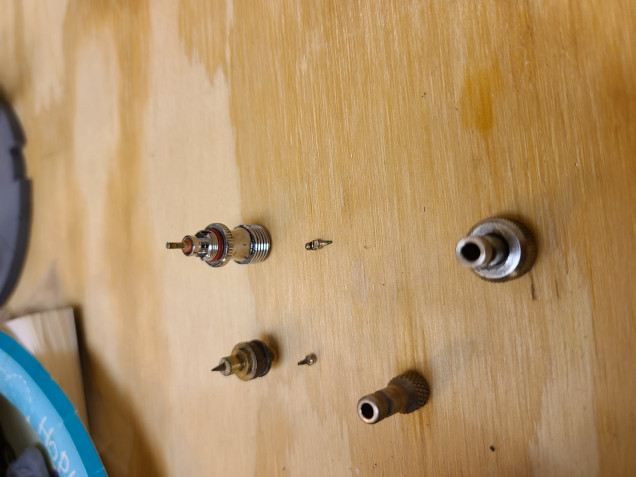
Note there are about 2 or 3 parts you do not want to put in the cleaner.
Anything with a rubber seal. Most cleaners will break down the rubber if it is in there long enough. Depending on how strong the cleaner is will determine how long you could leave it in there without it breaking down.
I just use an old toothbrush to clean these parts.
Second is the tip. I am not 100% sure about this one, but pretty much every video I watched on the subject says you shouldn’t put the tip in a jewelry cleaner. It can strip the metal coating on it. I am going to GenCon this year, if the owner of Badger is there again, I’ll ask him. If anyone knows he would.
I have 3 parts because I use a quick release hose, so I have the quick release attachment for my airbrushes. Most will have 2 the tip and the air valve.




Leave a Reply