
Getting roads to just ruddy lay flat
A lot more cobbles
Having settled on the caulk cobbled option as per the previous tests, time to knock out a lot of roads. This is just about mass production and, while it is a process that needs to be run over a few days, mainly due to the drying time at each step, each step was less than an hour in total. I’ve managed to produce about 3 metres of road in total plus a couple of junctions and a ‘town square’.
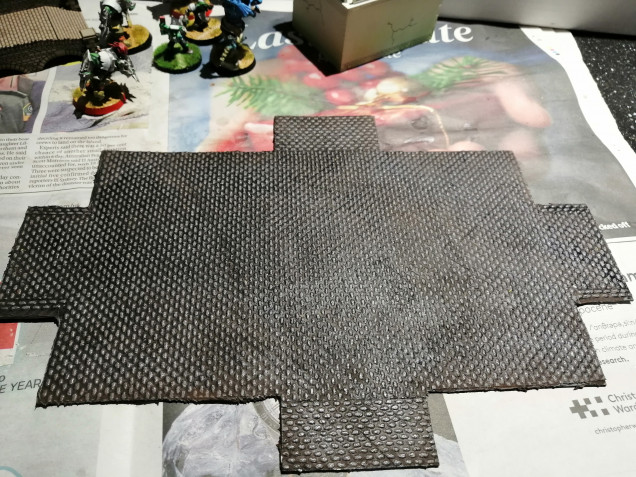
As previously, I’ve started with the strips of rubber and sprayed with carpet tile adhesive. The wallpaper is stuck straight to it and then left under compression while it dries to ensure a good contact. For the junctions and town square, I’ve had to cut the curbing and roads accordingly to make the cobbles look right.
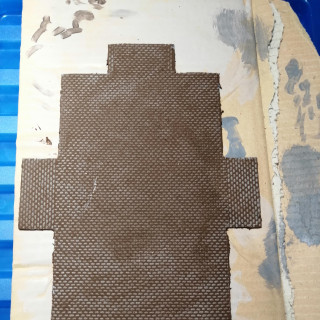
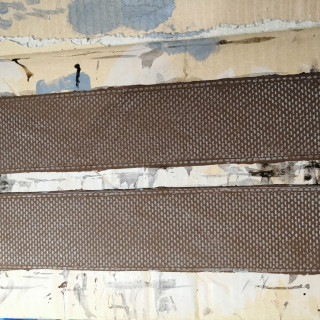
Once dry, using a piece of cardboard (to avoid ripping the wallpaper) I’ve spread the brown caulk over every piece.
I’ve left the caulk overnight to dry but apparently it can take paint within one to two hours – not worth the risk though.
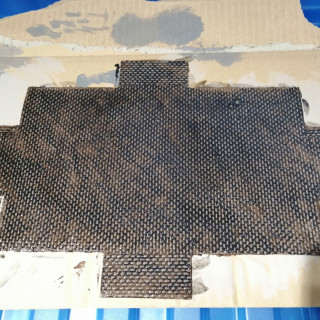
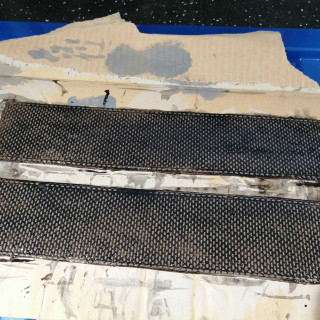
Next step is a black/brown wash. Two coats to really accentuate the cobbles.
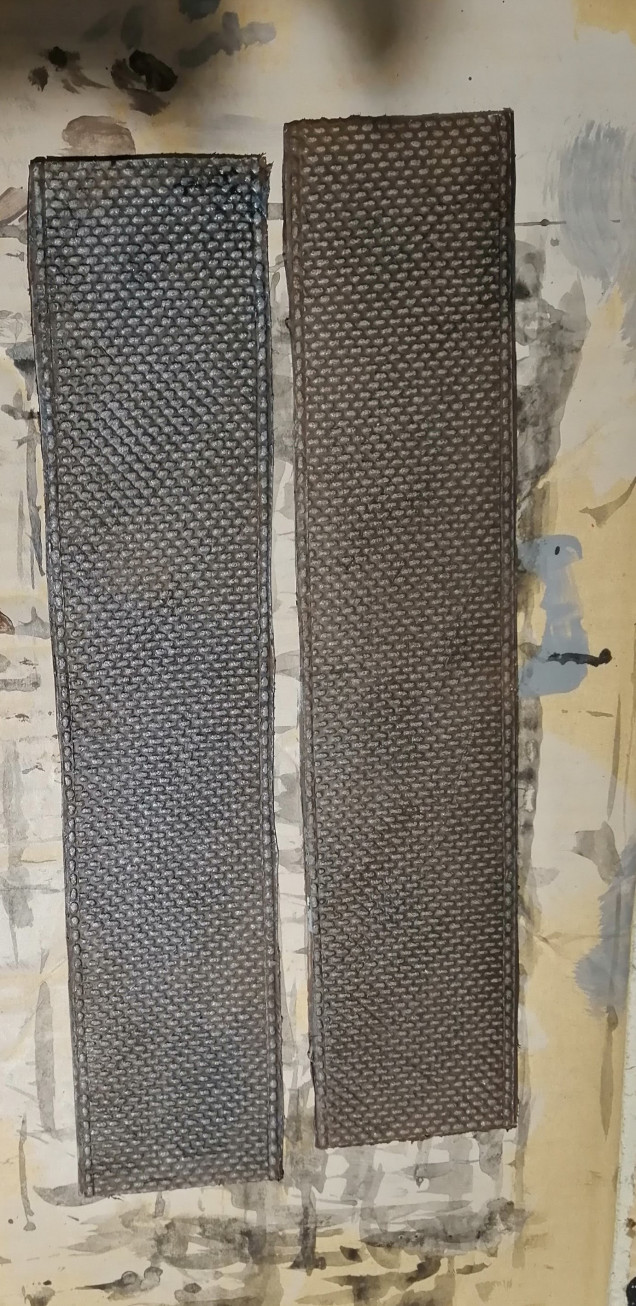
Then a quick dry brush using a grey to really pick out the tops of the cobbles. You can see the difference between the painted version on the left and the unpainted version with the caulk (which also looks ok, so you could stop there for simplicity).
And that’s about it. This looks about a simple a solution that I can get to and is also dirt cheap. My rough calculation is less than £1 per 30cm of road and I still have quite a lot left over if I want to make more.
I’ll set some road up for the ‘money shot’ just to round this project off.
Oh, and this was a surprise. Never thought I would win a golden button just for sticking wall paper to rubber sheeting! 🙂




Leave a Reply