Very Slow League of Infamy Project
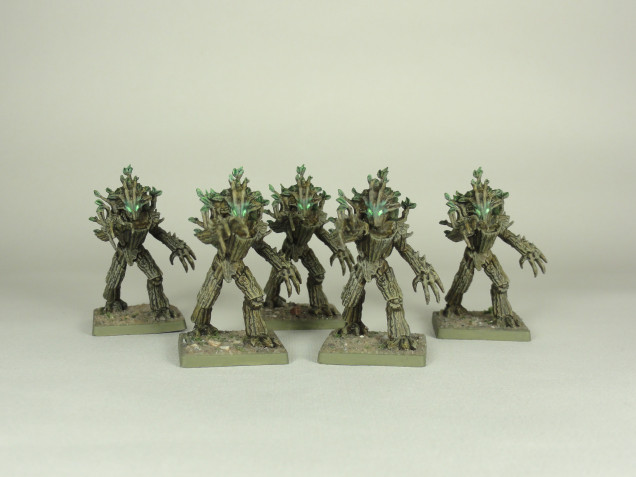
Week 18 Dryads
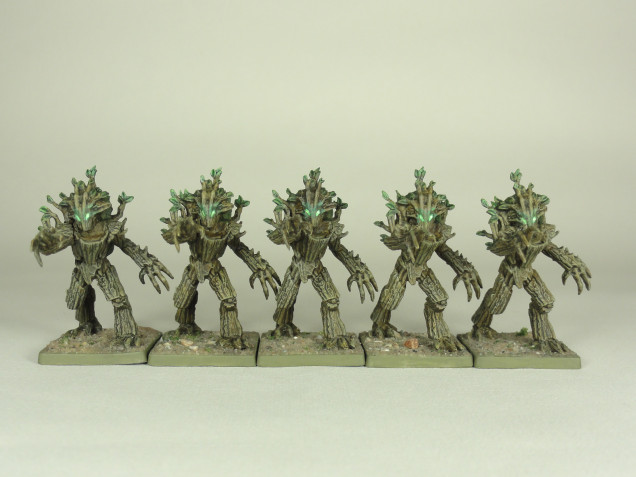
Tried to use the technique from Vince Venturella’s ‘Hobby Cheating 47 How to Paint Rich Sylvaneth Wood Tones’, but tried to get a slightly greyer tone rather than a rich one. https://www.youtube.com/watch?v=RLHsE7SgZyc
The Dryads had been primed in week 7 with IDF Israeli Sand Grey Vallejo Surface Primer then Titanium White Liquitex Acrylic Ink was sprayed from above.
I applied a Paynes Grey Wash to the whole figure (1 part Daler Rowney Paynes Grey Ink to 3 parts wash medium – see week 14), then dry brushed Pale Sand (Vallejo Model Color).
The highlights were tidied up using Pale Sand. Undiluted Sepia Ink (Vallejo Game Ink) was applied to all the wood and Black Green Ink (Vallejo Game Ink) to the foliage.
The wood was then dry brushed with Green Grey (Vallejo Model Color) and washed with a Sepia wash (1 part Vallejo Sepia ink to 4 parts wash medium).
After the wash had dried the wood got another drybrush of Green Grey mainly on the highlight areas. The foliage was tidied up with more Black Green ink and a second coat added to the shadow areas.
Although not that noticeable a green glaze (Black Green ink plus Vallejo Glaze Medium) was applied to random areas of the wood and the same was done with an orange glaze (Rust Orange Vallejo Model Air plus Vallejo Glaze Medium).
Basing was applied and the minis were gloss then matt varnished.
For the eyes I looked at Sam Lenz’s technique from ‘How to Paint Glowing Eyes – Painting with the Pro’ (Tabletop Minions). https://www.youtube.com/watch?v=aOCaK3H-EmM
I went for a green to try and tie the Dryads into the Green Lady fluff from Mantic. A purple, blue or magenta would have been more poppy.
- White in the sockets
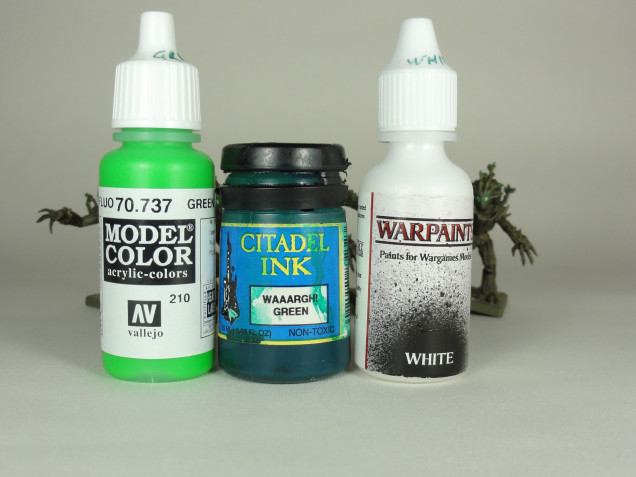
- A mix of Green Fluo (Vallejo Model Color) and white in the sockets
- Edge highlight the areas around the eye with the previous mix
- Diluted Waaargh! Green Ink (Citadel Ink) in the eyes and around them, wiping excess ink from the eyes
- Repeat the edge highlight with the Green Fluo and white mix
- Dot of white in the eye
- Thinned Green Fluo (no white) in the eye and over the edge highlights
If I painted these again I would go for a different ink on the foliage of each Dryad (violet, orange, blue, red, green etc) and paint a smaller area of the eyes with the initial white.
Highlights could be improved. Some of the paint has a satin sheen before matt varnishing so I should go higher for the highlights before the matt dulls it down.
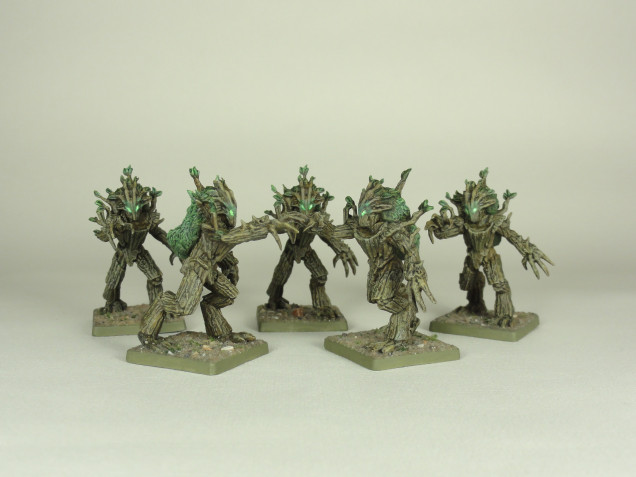
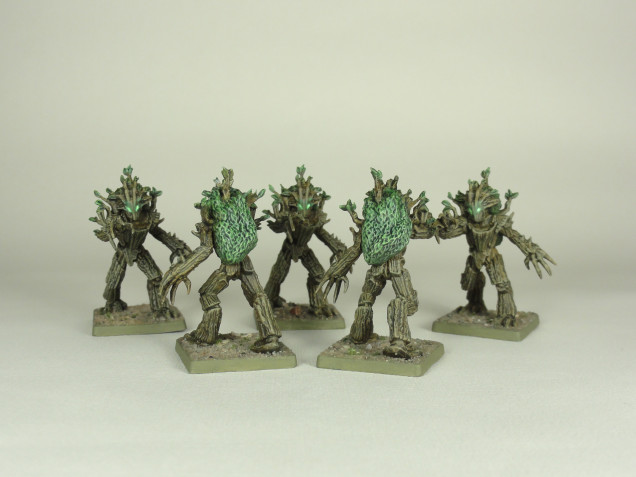
Overall I’m happy enough with these for a tabletop standard.




These are awesome. The eyes are perfect