Egyptian Mythology Display - Spring Clean 2024
First results with gold leaf
For my first attempt I used some misprinted parts from the large Apophis model. The model has a ridge of large articulated plates along the length of its snake-like body that are rendered gold in the Raging Heroes images.
I didn’t take photos but I learned something. These misprints had not been through the UV curing process and still felt a bit rubbery. This is enough for the gold leaf to stick to, so I had gold leaf on parts of the model where no glue had been applied. For the rest of the project I will have to put all the models through a UV curing process before applying the gold leaf.
Apart from that the gold leaf applied to the ridges seemed to look good. Applied to the whole model it looked like the results would be what I wanted.
After purchasing a UV curing box and curing all the models printed so far it was time to try again.
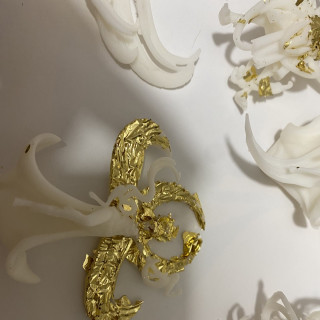
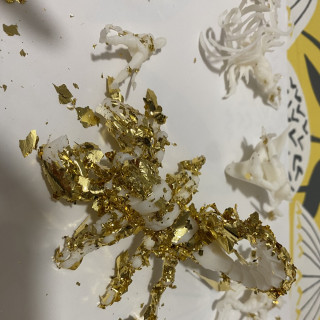
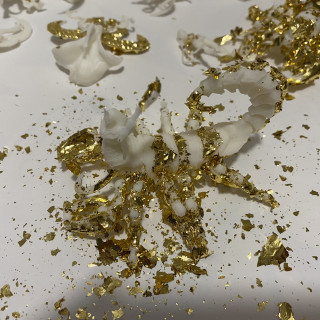
These models have had the gold leaf applied and have been left to fully dry. I have not yet brushed off the excess.
However at this stage I have run into some problems. I am finding it very difficult to apply the gold leaf except in relatively large flat areas. In hindsight this is not a great surprise as that is where gold leaf is traditionally used. The fine details of a 35mm mini is perhaps pushing the technique too far. That said there are a number of things that I could be getting wrong:
- The glue might not be great
- I might not have waited the correct amount of time for the glue to go tacky
- The kid’s craft brush being used to apply the gold leaf might be too stiff or too soft
- It might actually be going fine I just need to remove the excess then repeat the process one or two more times to get full coverage.


Leave a Reply