Skip to toolbar
Aurorainbags Dunkeldorf

Aurorainbags Dunkeldorf

Supported by (Turn Off)

Building the Palanquin - part 2

Tutoring 8
Skill 8
Idea 8
No Comments
Building the Palanquin - part 2
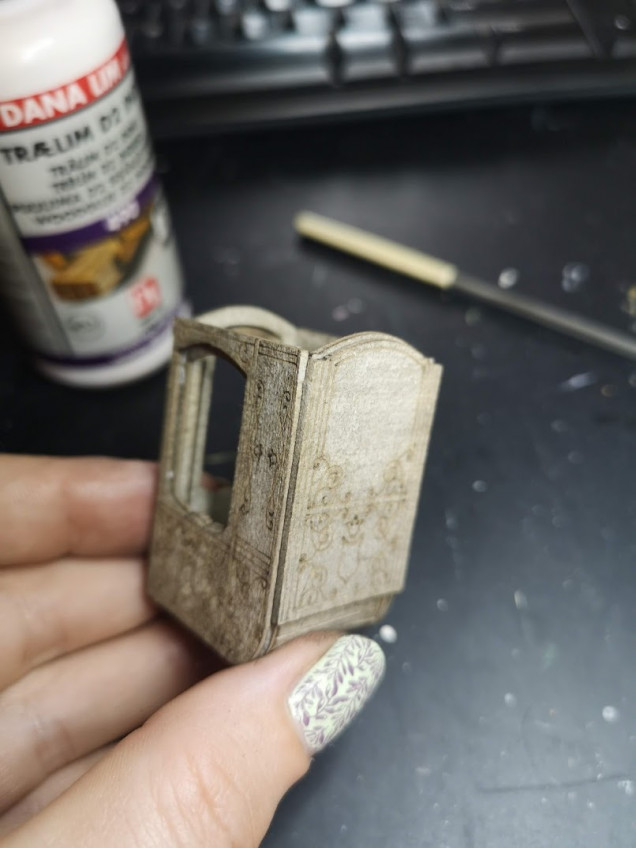
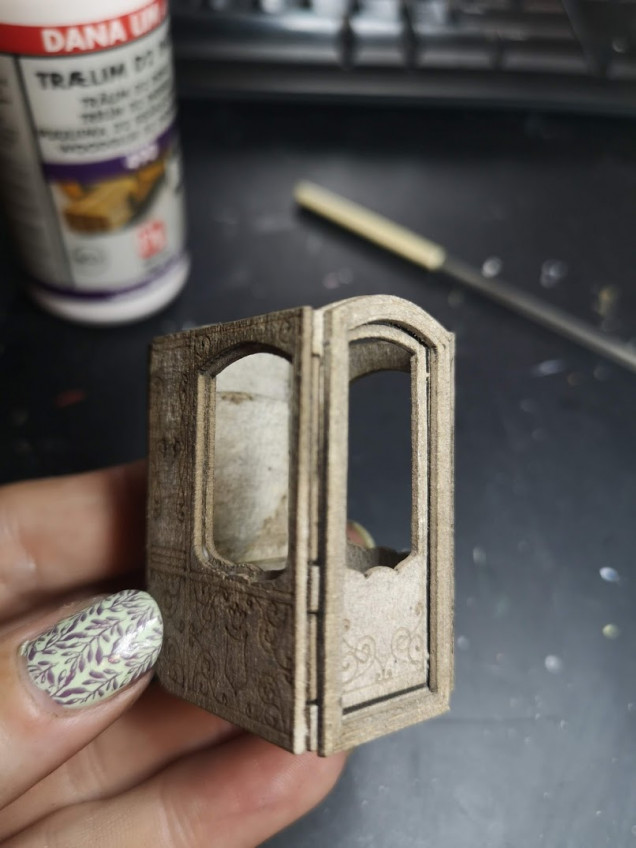
F – Details. Again, super easy, barely an inconveinience. I added the two sides first, then the front and lastly the back. But honestly the order of which you do this doesn't matter. I'm a little dissapointed the front doesn't cover up where the frame has been glued together. So I think I'm gonna add a layer of plastic putty or something, to make it more smooth.F – Details. Again, super easy, barely an inconveinience. I added the two sides first, then the front and lastly the back. But honestly the order of which you do this doesn't matter. I'm a little dissapointed the front doesn't cover up where the frame has been glued together. So I think I'm gonna add a layer of plastic putty or something, to make it more smooth.
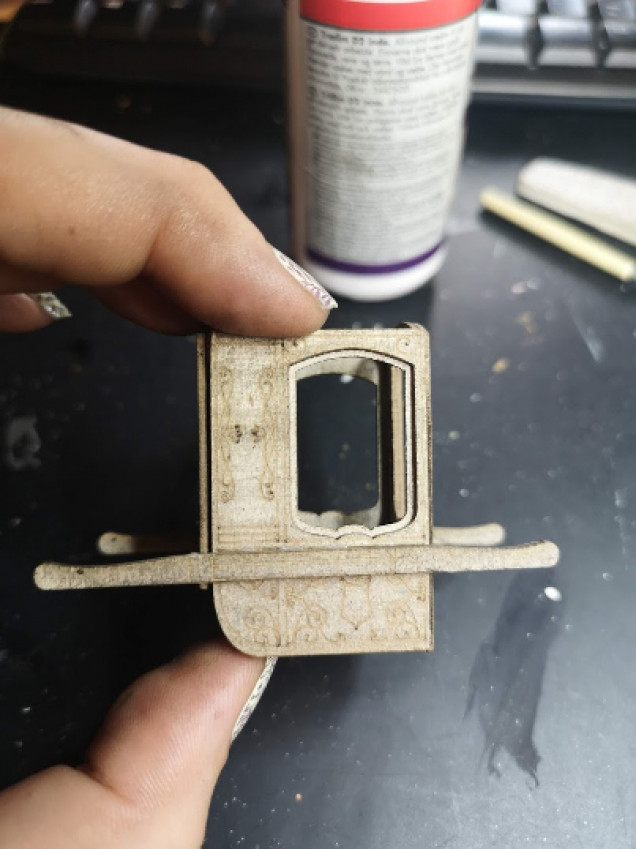
G – Handlebars. Glue two and two together, making sure any details are always on the outside, so they can be seen from any angle. I glued them on just below the window details. Didn't want to cover that up. Again, not entirely sure that's the right place. But it works for me.G – Handlebars. Glue two and two together, making sure any details are always on the outside, so they can be seen from any angle. I glued them on just below the window details. Didn't want to cover that up. Again, not entirely sure that's the right place. But it works for me.
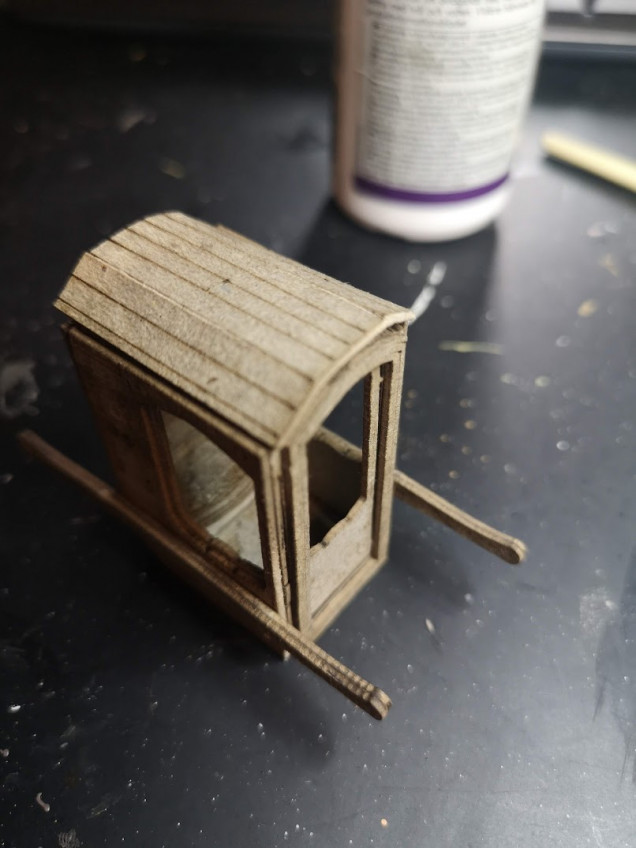
H – the roof Last is the roof. I will carefully bend it into shape, but I won't glue it on until the insides of the palanquin has been painted.H – the roof Last is the roof. I will carefully bend it into shape, but I won't glue it on until the insides of the palanquin has been painted.

Leave a Reply

Supported by (Turn Off)