How to be an Armoured Farmer, building Hobart's Funnies in Glorious 15mm (and maybe 28mm if they arrive in time!)
Applying Decals
The act of applying decals is something i have been doing for over 40 years. Having started off by chucking them in a side plate of water, waiting for them to float off and then apply them with the end of my finger, hoping that i didn’t fold them over, or rip them, i think i have moved on somewhat!?
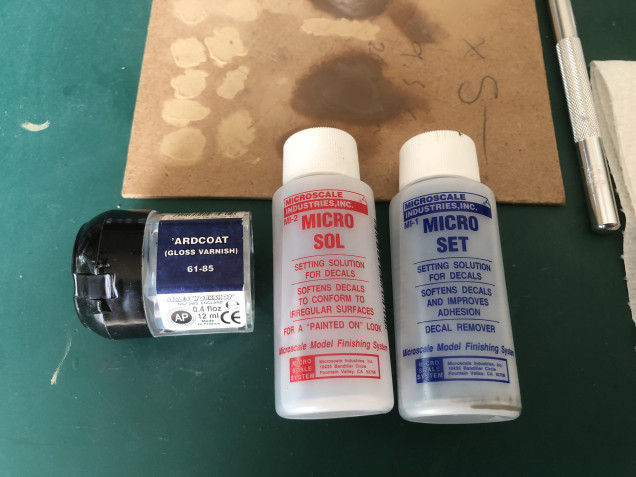
Nowadays i still use a side plate, i do my research to make sure that i have the right decal and correct location for it. Then carefully cut it out to leave the least carrier film possible and place it in water to soak the back paper and move it to the edge of the plate for a couple of minutes until it frees up. Meanwhile the location for the decal has been covered in an acrylic gloss varnish (Vallejo, or good old ‘Ardcoat from GW) and then i apply some MicroSol liquid to the spot the decal will sit. then using either a scalpel or tweezers, i pick up the decal and gently slide it off the backing paper with a moist brush (usually of a suitable size for the size of decal). The micro sol on the model allows me to adjust its position easily until i am happy. Then depending on whether the decal is on a flat, or rough surface i will either: If it if flat gently wick away the MicroSol with kitchen towel and press the decal in place, then add a bit of MicroSet to just cover the decal and fix it in place. If the surface is rough i leave the micro set to do its stuff and literally melt the decal in place, watching and adding a tiny bit more as necessary to get the decal to contour to the surface. Please Note, NEVER try and move a decal after applying MicroSol has been on it for more than a couple of minutes, it will disintegrate on you! Once dry i will then apply another varnish, matt if i am not going to weather the vehicle, and gloss if further weathering is to happen.
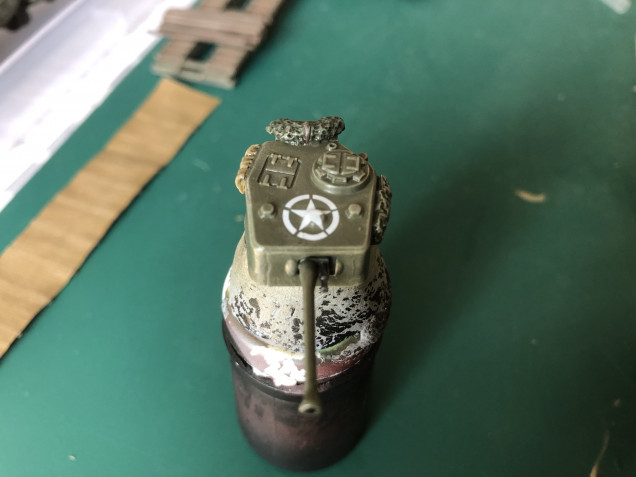
 As a test i have applied an allied air recognition star to this turret. it was placed over what i think is and air vent cowl so the star needs to conform to this shape. if you zoom in you will see that it pretty much has without any creases. Although you will see a tiny rip in the outer circle that was caused by me ignoring my don't move it after 2 mins rule! not too worried about this as i will be painting the outer circle as a solid line, so can touch this up at the same time.


Leave a Reply