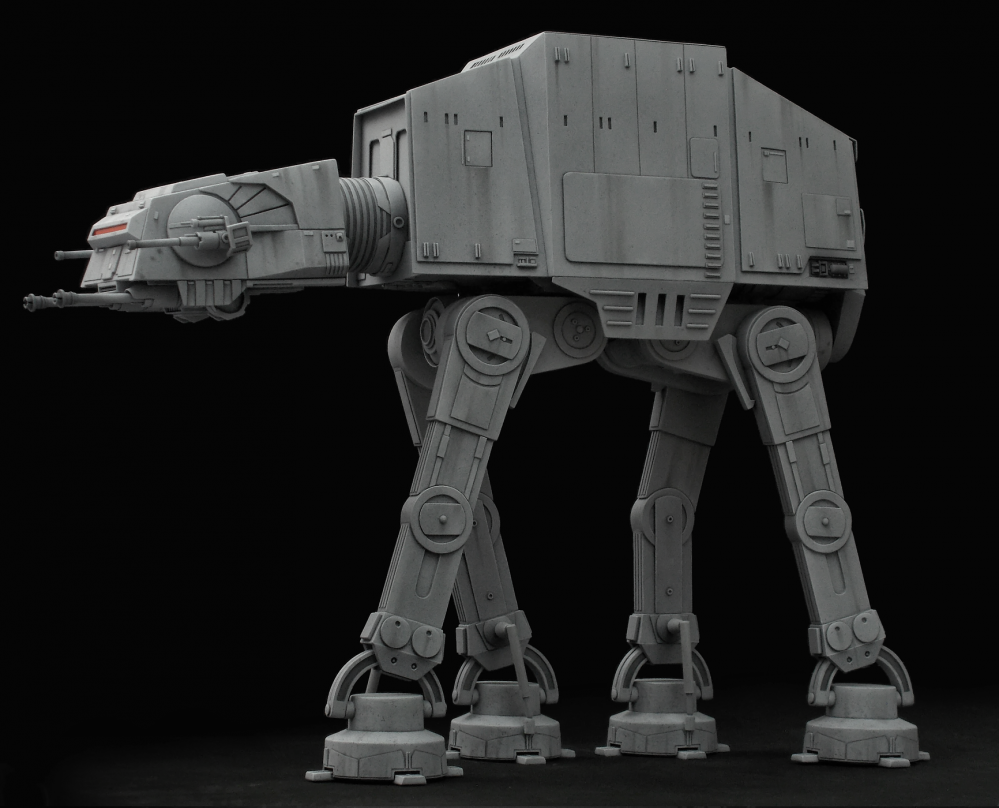
Spring Cleaning - with an AT-AT!
My process of and thoughts on painting faces
The first thing I do is to apply the base colour of the skin. When it is dry, I mix the base colour in equal parts with a warm darker shade and a bit of thinner medium, and paint the very thin mixture where I want shadows: under the chin, under the nose, in the eyes, optionally under the cheekbones, and on the sides of the nostrils. Where I want the shadows to be stronger, I darken them further with a darker shade of the base mixture: Under the chin, under the nose, and in the hollows where the eyes sit. Please note: I’m painting the shadows specifically here, and not applying the mixture like a wash slapped all over the face.
In the next step, I lighten the mixture of the base skin colour, dilute it with water or thinner medium, and carefully apply it in several layers with the tip of the brush wherever more light falls on the face: the upper half of the chin, the bridge of the nose, the forehead, the area between the upper lip and the nose, the cheekbones, and the upper edges of the ears. A second layer is then applied in spots all over those areas that should be emphasised even more in order to bring out the character’s facial features. If the character has a strong chin, the upper half is additionally emphasised; if the character has a pointed nose, the tip of the nose is emphasised; if the character has a hooked nose, an additional highlight is applied to the first third of the bridge of the nose. In the same way, cheekbones can be additionally emphasised, the parts of the forehead above the eyebrows, the cheek areas directly under the eyes, and so on – depending on how the character’s face is to look. By deliberately placing shadows and highlights, you can shape features of the face beyond what the sculpt dictates.
Now we’ve reached the point that requires a steady hand, a very fine brush tip, and practice using thinned paint and a brush very lightly charged with thinned paint – but it’s all a matter of practice, as I said, so don’t be intimidated, just do it.
The first thing I do is take care of the eyes. To do this, I dilute white to a milk-like consistency, using a fine brush tip loaded just a little with the diluted white, I apply it to the small depressions that define the shape of the eyes. Here I only use the capillary action through the modelled eye depressions to bring the colour into place – I don’t paint with a brush here! It’s best to be very gentle and repeat the process several times if necessary until you achieve the desired brightness. The eyes should end up sharply defined and almost white. Now we come to the pupils. I always mix a dark, saturated colour in the tone I want the iris to have. This colour mixture is diluted again, a little of it loaded into the brush tip and then applied as follows:
I don’t paint the whole pupil right away, but first only a very small, transparent dot as a guide in both eyes. Then the dot is carefully widened step by step and both pupils are slowly built up. This way I can make small corrections in each step and thus avoid the figure squinting at the end. When you think of the pupils as a circle, the circle should be slightly covered by the upper eyelids and just barely touch the eyelids at the bottom. When I’m done with this, the eyes are accentuated with eye shadow. To do this, I again paint diluted black or black-brown in a thin line on the rim of the upper eyelid in an arc. If you are not quite sure, you can overpaint a little upwards into the eyelid, and touch up the overpainted areas by counterpainting with the colour of the eyelid – always with just a little bit of the heavily diluted colour in the tip of the brush! For female figures, make the eye shadow darker on top and emphasise it a little more than for male figures. Next, paint an eye shadow at the bottom in the same way, only it should always be thinner and less dark, and for male characters you can leave it out.
The eyes are not quite finished yet, because the eyebrows are an important part of the eye area and also contribute a lot to the character of the miniature in shape, position and strength. The eyebrows play a major role in shaping the facial expression of the figure – angry, determined, sceptical, amused, thoughtful, and so on. For the untrained, I recommend taking a look at pictures of characters from comics and studying how the artists convey states of mind through the eyebrows, because the knowledge gained from such observations can be excellently transferred to painting miniatures’ faces.
The mouth completes the painting of the face and can be designed to literally underline the desired expression of the eyes – smiling, pouting, lips pinched together, shouting or screaming, open mouth, and so on. As a general rule, paint the upper lip darker and slightly narrower than the lower lip. Make sure that there is some of the skin colour of the face left between the upper lip and the nose. On the lower lip I often apply a gloss effect in a much lighter colour. As a rule, the lips of female characters should be painted a little darker and more voluminous than those of male characters.


Leave a Reply