
Spring Clean Challenge: If I build it - will they come
Landscaping Part 3
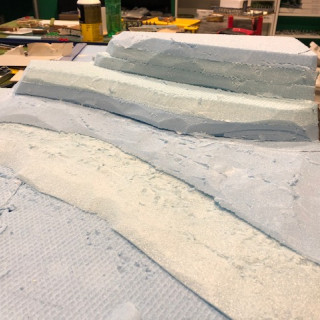
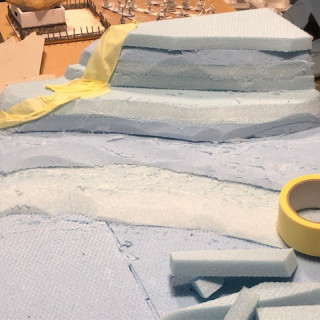
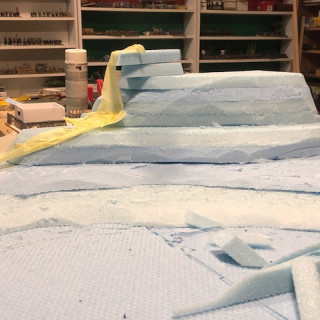
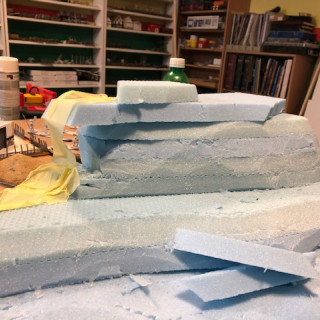
Been a delay since the last update – sometimes real life can interfere with things! So, where am I with the general layout of the table? So far, the base is now all in place. The table has the high r=ground on one edge, fairly flat area on two, and small hills on the opposite side to the higher ground as in the pictures.
But I then started to think about adding some more features, and to Strat to learn some new skills, which was one of the main drivers fro the Challenge anyway. So I’m back to thinking about a water effect. However, I don’t want this to be on the main play area, so thought a nice idea would be to add a waterfall on the high ground.
To this end I added eve more height and the tape in the pictures is approximately where the waterfall will be placed.
While this will be mainly for the look of the thing, it would still be possible for someone to be on the high point – like a sniper etc. – so it still has some play value.
The final water effect is not yet resolved but will not be a massive thing.
However, this means I have to learn some techniques. I have no access to water terrain materials here, but I did see somewhere on line (it might have been Luke’s site or Mel’s – can’t recall) a way of using clear bathroom filler as a substitute, so that’s my next step. I am sure I can get the tubes of clear acrylic here, so some practice will be required. I’ll post my attempts on here.
In addition, I need some cliffs/rocks. I don’t have rock moulds either, but did see the way of using tin-foil, stoat’s the next step in my terrain building skill-set. I’ll post a separate blog on that side of things as well.
Finally, I want to coat the entire board with some form of surface to make it robust, and I have in mind “scuptmould” type materials. Again I will make this myself – I do know Luke has a video on this, and I will also check Mel’s terrain book.
So, lots of learning and experimenting coming up.




Leave a Reply