Husaria - Building a Polish army for the 1620s
From The Ground Up Part 2
THIS CONTUES AT STEP 3 FROM THE PREVIOUS PROJECT ENTRY
Step 4.
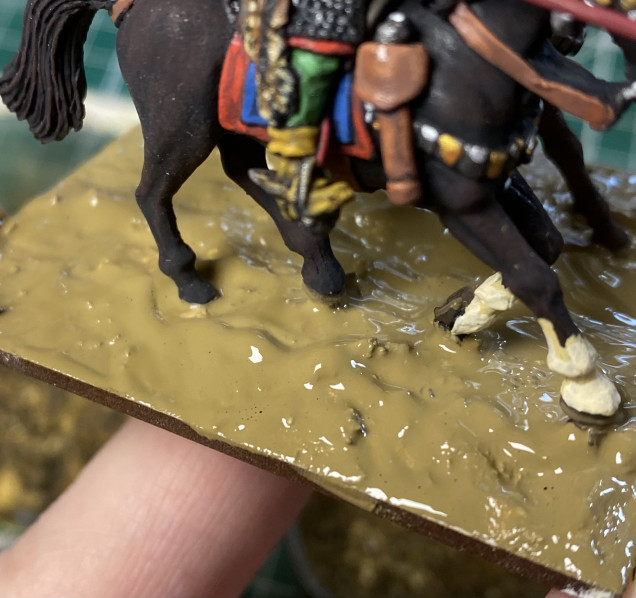
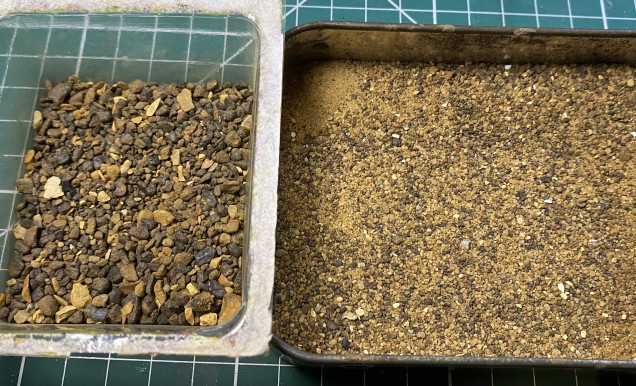
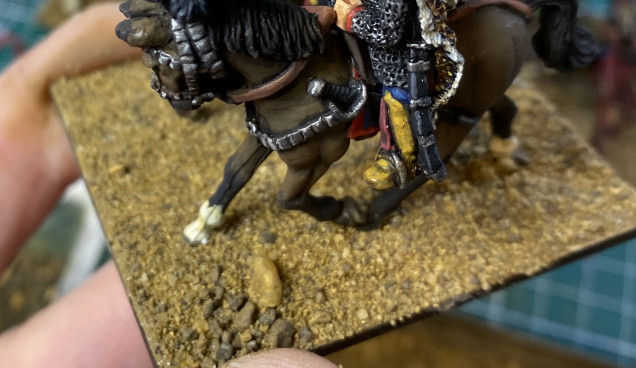
On top of this PVA and paint mixture, while it is still wet, I apply sand. I bought a 5Kg (roughly 10lbs) bag of builders’ sharp sand 30+ years ago and I suspect I will never need to buy any more! I sieve the sand (using the kitchen sieve – don’t tell the chief!) to separate it in to a fine sand and bigger bits (see picture below).
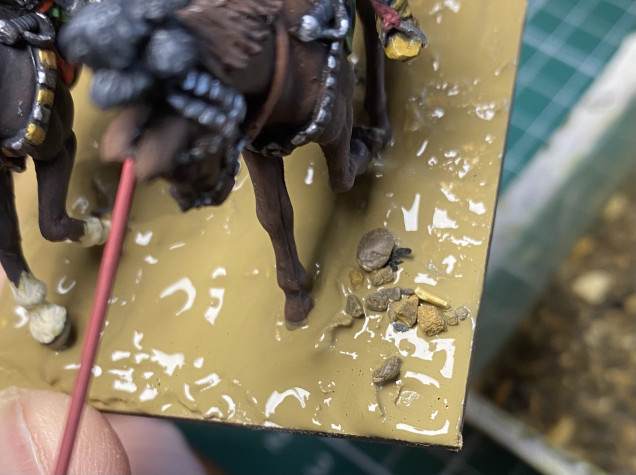
On top of the wet PVA + paint mixture I apply one or two small (one pinch) sprinkles of the larger bits of sand. This gives a bit of variety to the overall texture of the base.
With one or two patches of the larger bits added, I then cover the rest of the base in the finer sand. I tend to sprinkle this on by hand, fairly thickly, and then turn the base over and gently tap off any excess sand, which is reclaimed for further basing.
Step 5.
The figures’ cast on bases should now be disguised / hidden, and the whole base should have a nice rough, realistic texture. The sand provides a subtle variety in colour that works as an accent to the earth / mud coloured paint underneath. The base now needs a good amount of time to dry and I typically leave them overnight to make sure everything is really dry and firm.
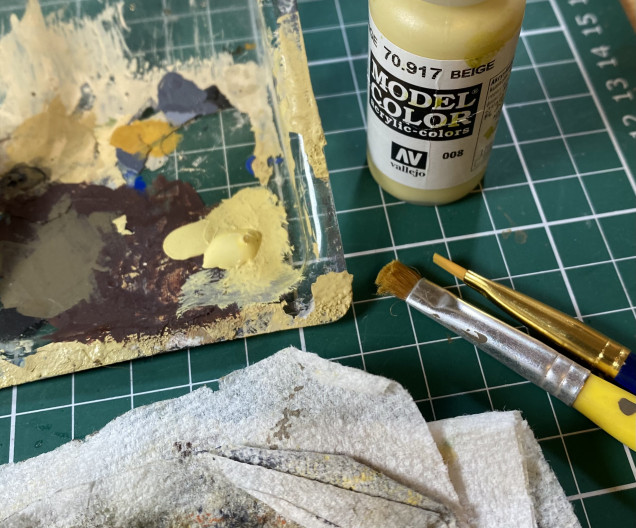
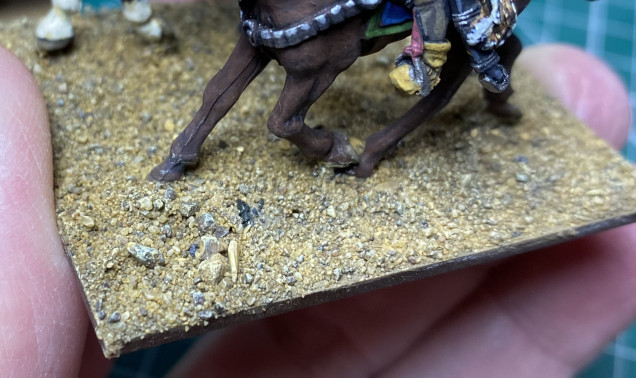
Although I like the earth + sand colour, it needs a highlight to add contrast, and also to tie all of the colours together. I have found a single, light dry brush with Vallejo 917 Beige works well.
Dry brushing sand is very tough work for a brush and they do not last long in this job. As the sand has provided a colour change from the base earth colour I think a single highlight is fine at this stage.
CONTINUED WITH STEP 6 IN NEXT PROJECT ENTRY





![TerrainFest 2024! Build Terrain With OnTableTop & Win A £300 Prize [Extended!]](https://images.beastsofwar.com/2024/10/TerrainFEST-2024-Social-Media-Post-Square-225-127.jpg)




Leave a Reply