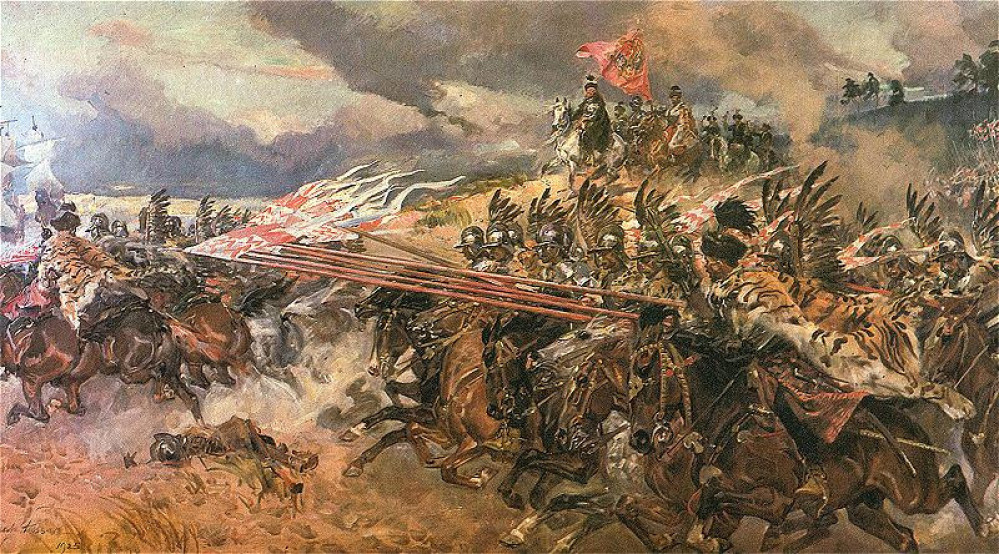
Husaria - Building a Polish army for the 1620s
From The Ground Up
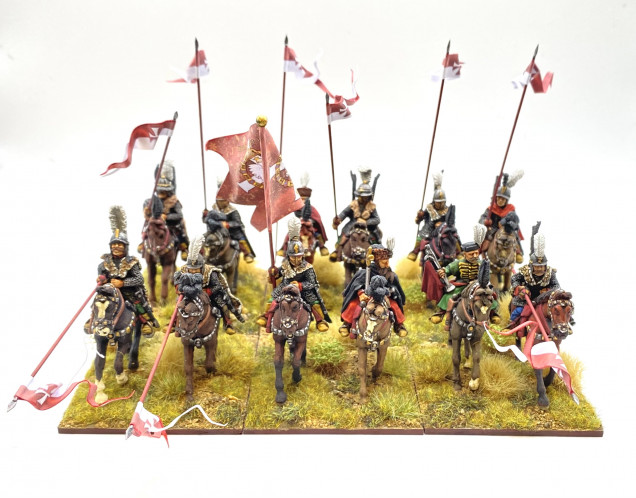
In this blog entry I describe my basing approach and also share some of the latest units of the painting table.
I thought some people might be interested to see my basing method. Even if you have a well practiced basing approach already, hopefully there will be some tidbit of interesting / useful information in the seven steps described below.
Step 1.
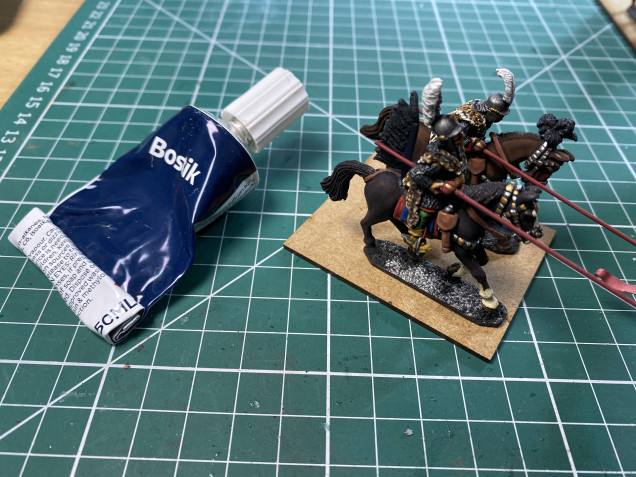
I paint figures separately and, once they are painted and varnished, add them to the final base. Normally this is 2mm MDF from Warbases. I typically use Bostick adhesive, or something similar, as it is relatively cheap and readily available.
Step 2.
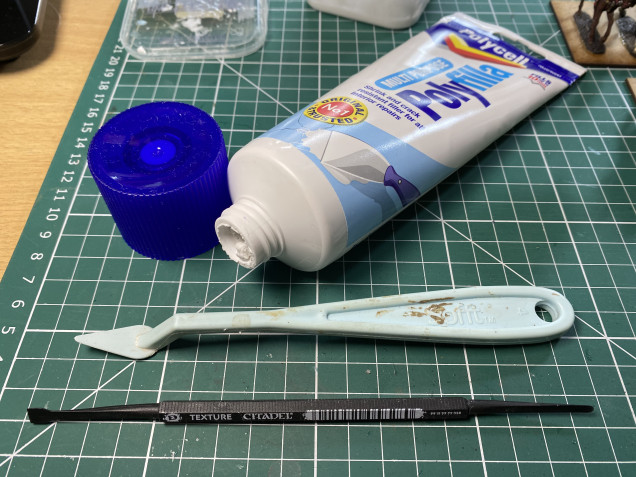
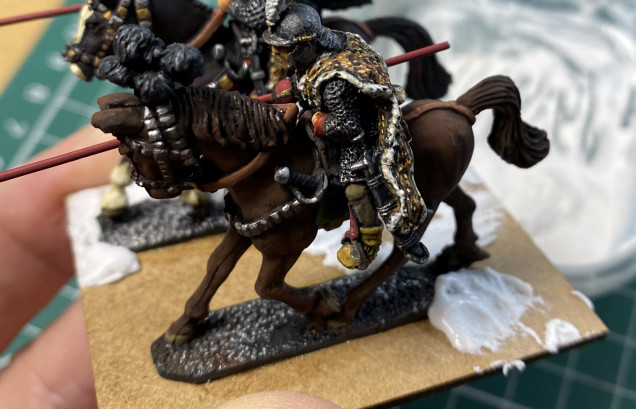
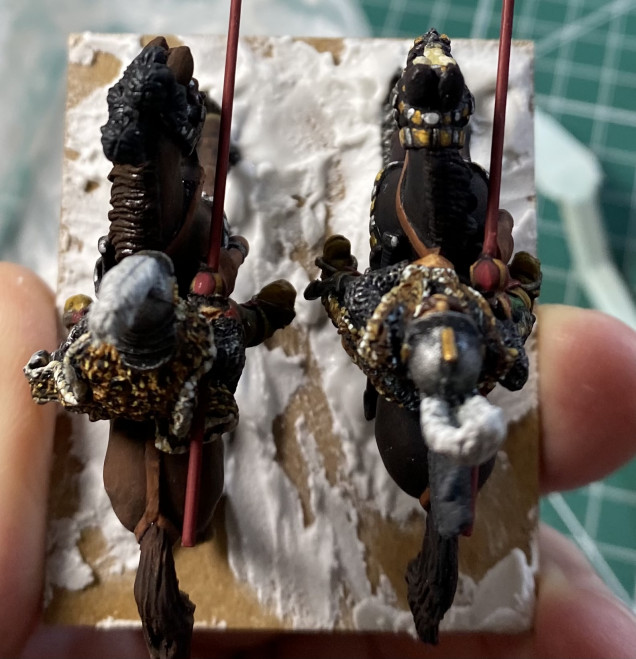
Once the figures are on the base, and the glue is dry, the next step is to try and disguise the metal or plastic base the figure is cast with. For this I use filler / spackle. I add a few drops pop water to make the stuff easier to apply, but don’t add too much as the filler will lose its ‘shape’ and will not hide the metal/plastic base. I have found a couple of tools that make this easier. One is from a collection of artist’s plastic palette knives, readily available on Amazon/eBay. I also have the GW basing tool to help me get in to smaller gaps around the figures’ feet (but you can easily use an old brush if you want to). These tools have a bit of flex and are great for applying thick or textured stuff like filler.
This is a rough and ready stage. The key thing is to go around the metal / plastic based that the figure is on. No need to cover the whole base as that will be done in a later stage. The more bumps and splodges the better as this helps add an uneven surface to the overall base.
(If you accidentally get some filler on the figure then a brush with water on can be used to wash it off.) When the bases have had the filler applied then it is best to give them some time to dry before the next step. An hour or so should do (it doesn’t need to be fully cured, just mostly dry).
Step 3.
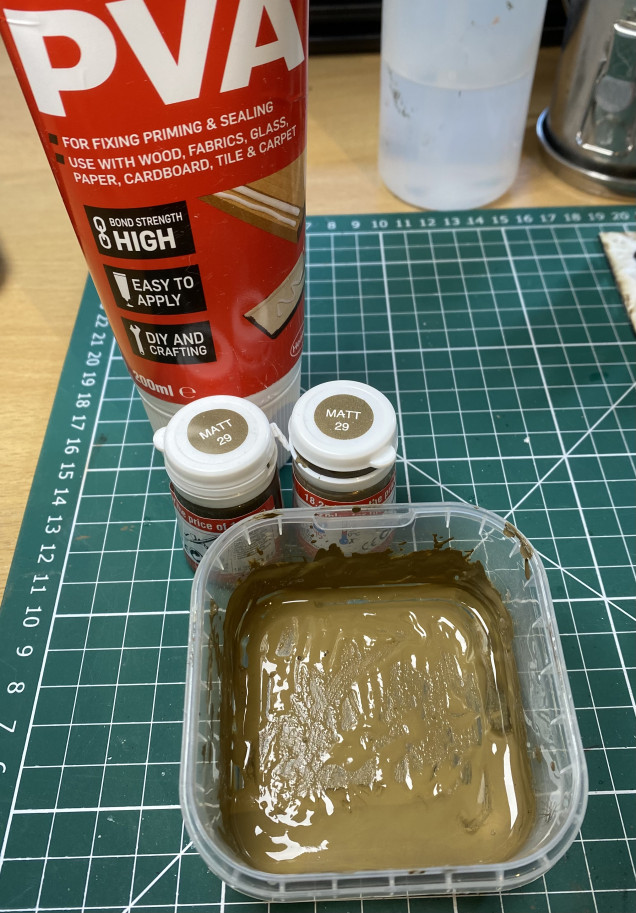
With the filler on, the next step is add more texture, this time over the whole base, with sand. To fix the sand I use a mixture of PVA, acrylic paint and water. You need to add enough paint so that the PVA ‘whiteness’ has taken on almost the complete colour of the paint. Then add a small amount of water, enough to make the PVA+paint easy enough to apply thickly with a brush, but not too much to over dilute the PVA so it will not hold the sand. My preference for paint colour is Humbrol Matt 29, Dark Earth. Nothing else is quite the same, but it is just a personal preference so you can use what you like. (I have found the Dark Earth works well with the sand I use in the next step.) The PVA and paint mixture is then painted over the whole base quite thickly. I tend to use old brushes for this job. I use a small brush first to go around the figures’ feet, and then a bigger brush to fill in the rest.
ACTIVITY CONTINUES IN THE NEXT PROJECT ENTRY


![TerrainFest 2024 Begins! Build Terrain With OnTableTop & Win A £300 Prize! [Extended!]](https://images.beastsofwar.com/2024/10/TerrainFEST-2024-Social-Media-Post-Square-225-127.jpg)




Leave a Reply