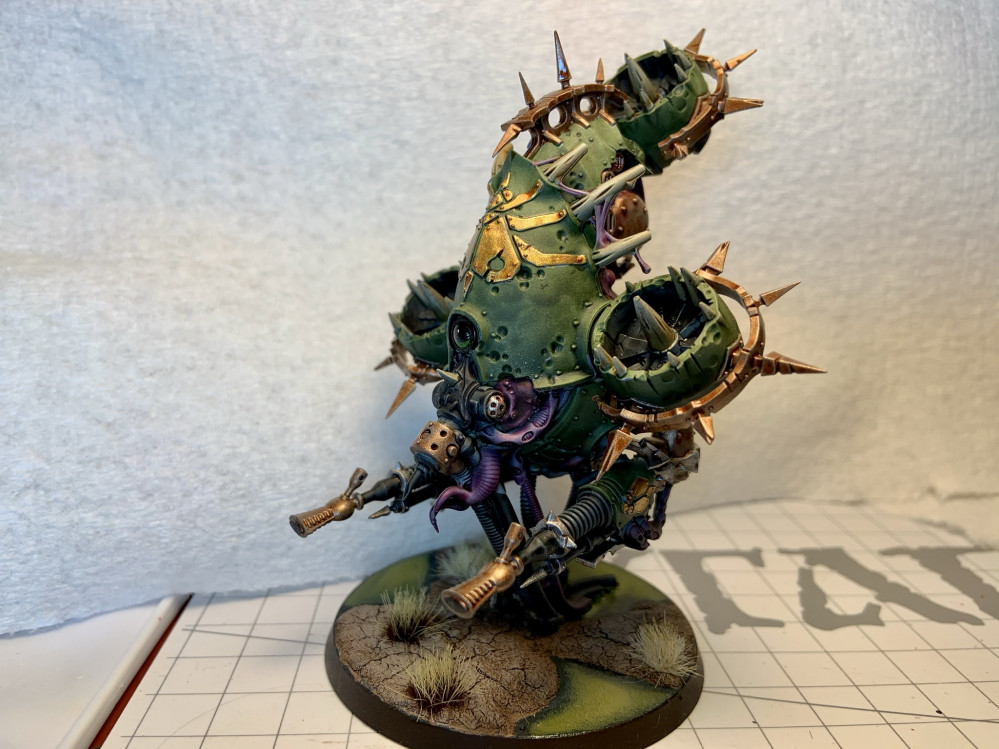
Know No Fear - Death Guard
Prime Time
The next step in my process is zenithal priming. I use a combination of techniques here that produces a nice smooth gradation of shade, but more importantly, makes the details in the model much more visible (which is very helpful for those of us getting on in age :). I use an airbrush for most of this…so first let me share a few hobby DIY hacks that I came up with…
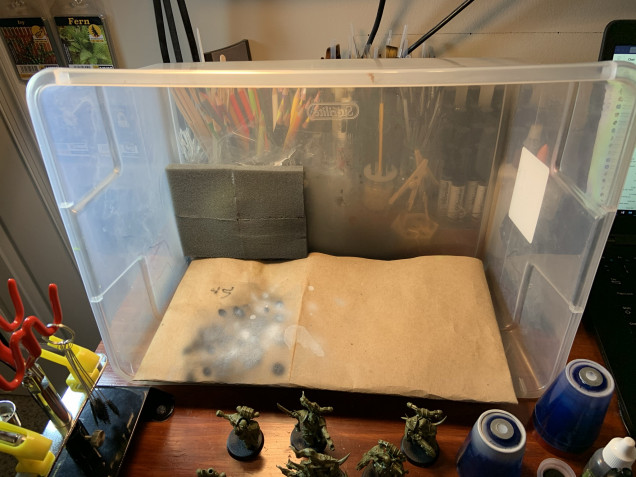 This is my homemade spray booth. It's a plastic tub that I've cut a hole in the bottom and secured a portable battery powered fan to. I then re-used some packing foam from some model kits and glued them over the hole as a filter. This cuts down on overspray quite a bit. Also, the clear container allows light from my desk lamps in. One more bonus is that I pack away my compressor and airbrush kit on top of the upside-down lid, pop the tub/booth over it, and store everything together (again upside-down).
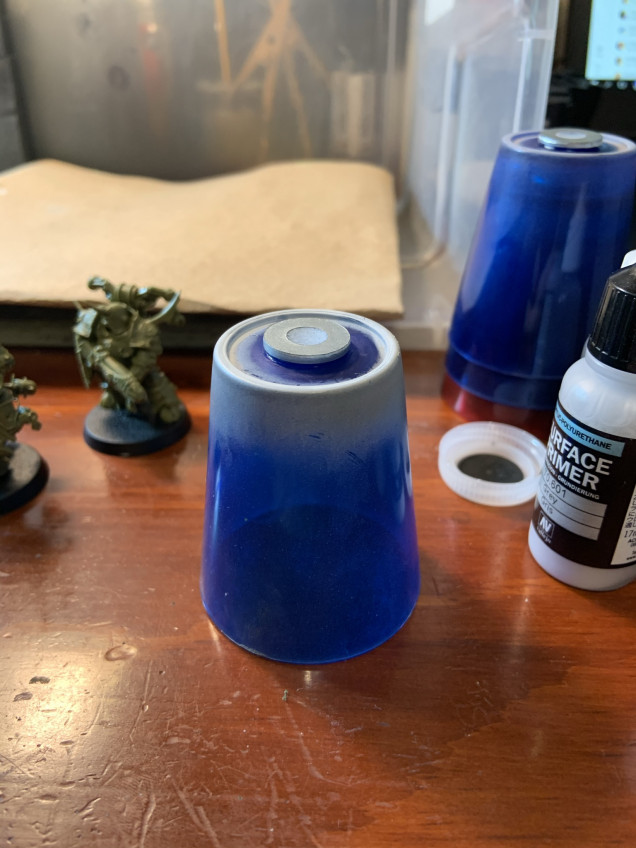 These are plastic shot glasses I purchased at Walmart for $0.20 a piece. I've super glued a washer to the bottom, so they make neat painting handles that I can easily swap magnetized models with (and I don't have to mess up my nice Citadel handles with overspray). The shot glasses also make it easy to dump paint/water/cleaner in when changing colors.
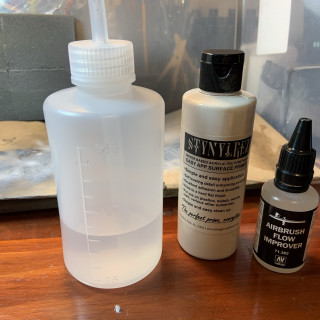
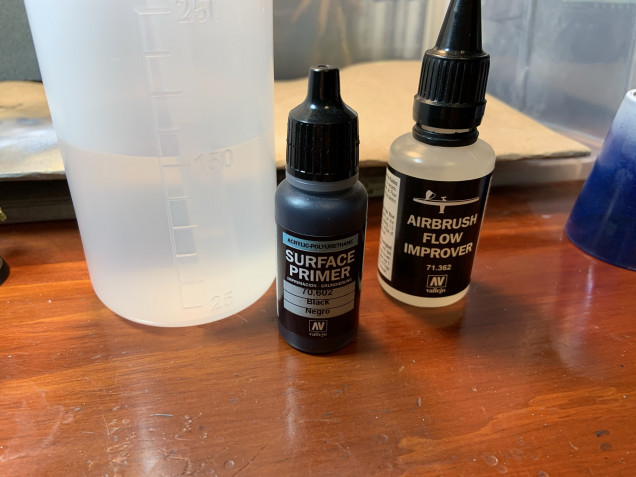 I start with Vallejo Surface primer (70.602 Black)...about 20 drops, mixed with 8 drops of Vallejo Airbrush Flow Improver and a little water. The flow improver helps reduce fuzziness on the model (as it extends drying time slightly) and reduces clogs a lot.
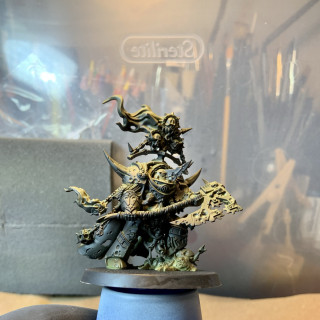
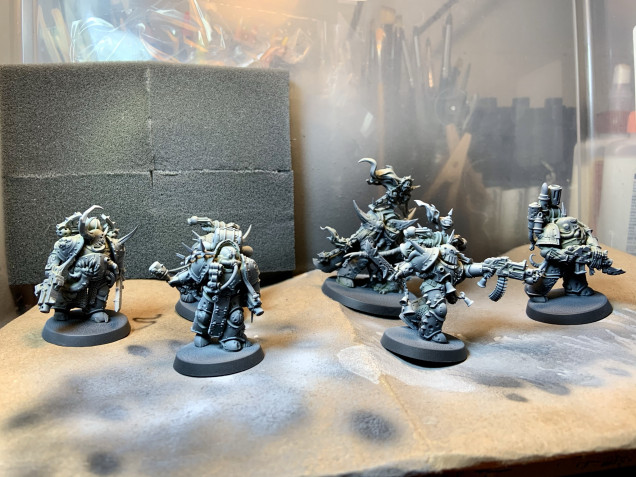
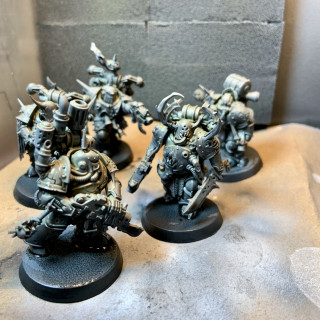
I hold the models at about 80 degrees tipped away from me to catch only the very underside them. After a few light passes (avoiding pooling or even the ‘wet’ appearance of too much paint) I also spray the feet of the model. Here are the results with just the black…
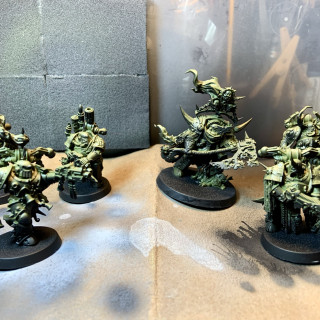
Next I use the same ratios with Vallejo Grey Surface Primer (70.601 Grey). This time I aim above horizontal (maybe 30 degrees…assuming zenith is zero). This covers most of the models in this very light grey except for the very tops of certain portions…
The next step is my clutch move for helping to see detail in the model when painting…I basically drown the entire thing in Citadel Nuln Oil wash thinned with a little water. This will darken the light gray slightly, add shadow to the original dark coat, and of course make the details pop.
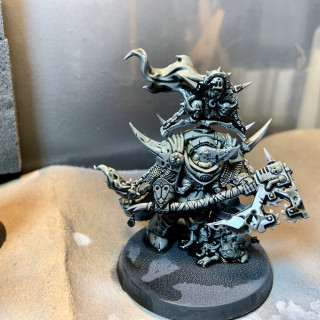
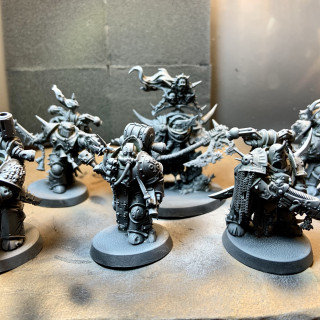
The last step is to spray Stynylrez White Primer (same ratios as before) at zero degrees directly over head. This will only catch the very tops and protruding edges of the details, creating a nice high contrast effect…which of course is an ideal starting point for using contrast paints.




Leave a Reply