HMS Gaming Table
10 - Move Closer
So close now. You can almost hear the dice rolling.
Now all the power supplies, cabling and lights were in place the lower surface was pretty much complete which meant that I could finally focus on the more important upper surface – you know the one that we will actually play games on!
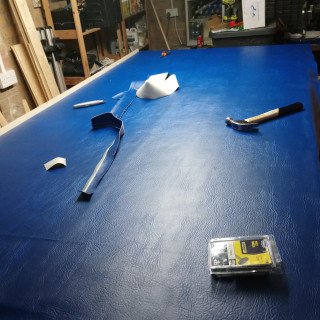
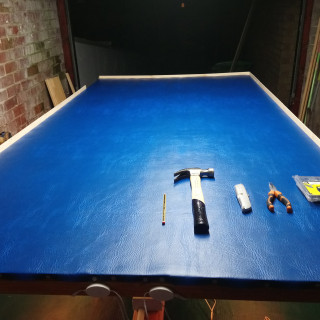
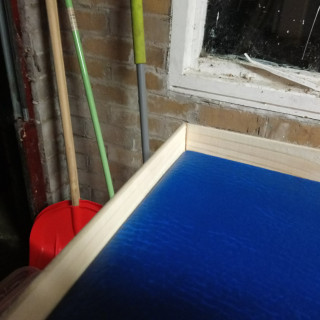
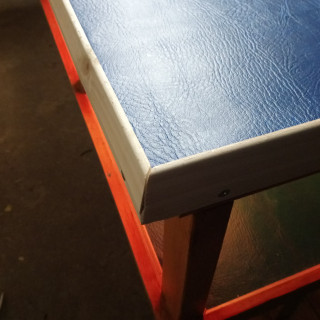
Laying the cover on this was a lot easier, much closer to laying roof felt (I even used felt tacs to fasten the covering to the edges). The roll of material turned out to be almost the perfect length and width for the table with only a small amount of off cutting required. I put a coat of PVS glue down onto the wood surface before laying the material over the top. I then used the felt tacs to fasten the material to the wood along two adjacent edges, trimming the excess from the other two edges before tacking those on too. I also screwed a length of wood along one of the long edges – there was always going to be a lip around the gaming surface to stop things getting knocked off the table. Adding the first piece before trimming the excess material off just further secured the covering making it a lot easier to trim down. I then built the rest of the lip which again just added more security to the covering.
At this point I would like to also take a moment to showcase my shoddy, amatuery joinery skills. I had measured everything so perfectly and tested it to make sure it fit. What I had forgotten to take into consideration is the additional 6mm that the leather covering would create… Luckily I had a bit of wood filler but I was pretty annoyed about this


Leave a Reply