HMS Gaming Table
8 - I Started Something I Couldn't Finish...
…Well, during this step there was a point when it certainly felt that way
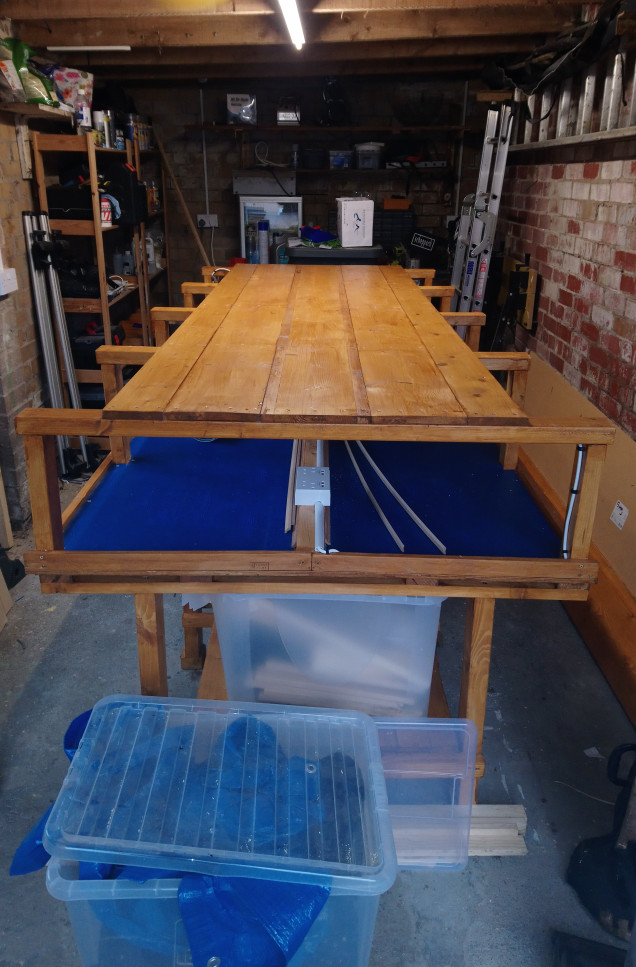
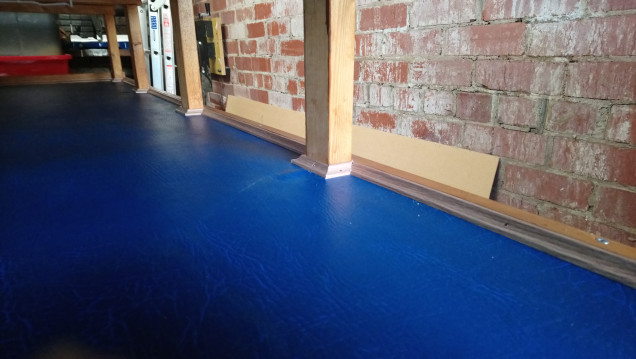
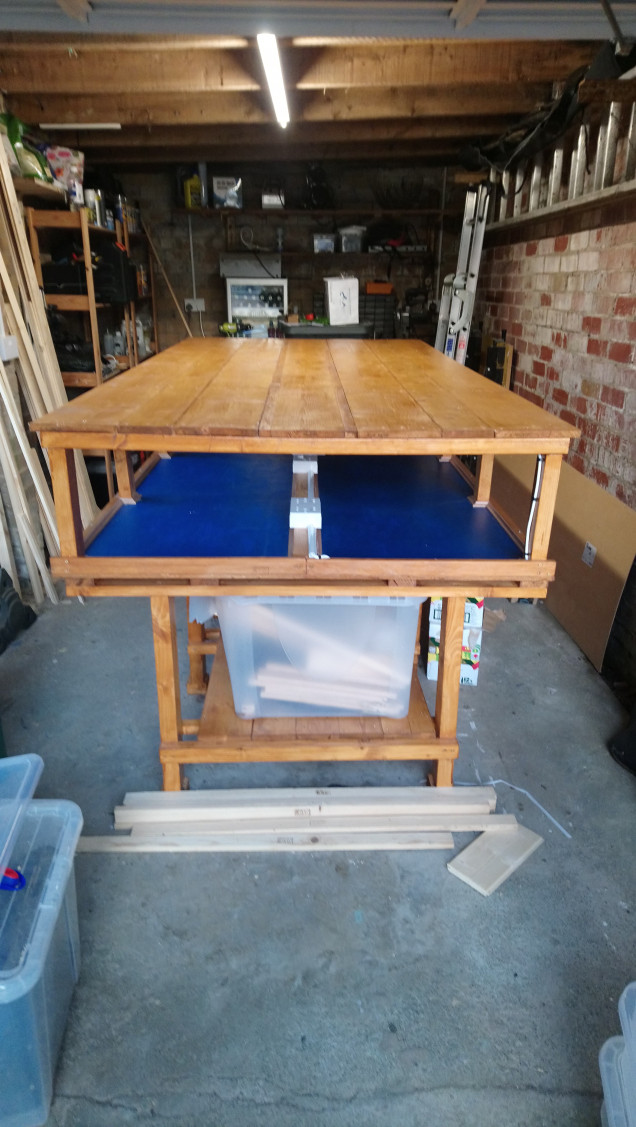
With most of the table built and stained, by this stage we were into the finishing touches stage. The table would be entirely usable if I just screwed the planks for the upper surface onto the cross beams. But this was a labour of love and I couldn’t abide that ugly plywood surface to be visible. So I lined the whole surface with blue fake leather to cover up all the blemishes and joints. I think the royal blue colour also looks really swish.
The problem with lining the surface was that I am in no way qualified to lay carpet and essentially that is what I was doing here. Now, I didn’t do a bad job but honestly the edges weren’t very straight, so I decided to head back to the DIY store and get some beading to cover up my mistakes. This also necessitated getting a mitre box in order to cut the ends of the strips of beading into 45 degree angles. It turned out, due to the way the supports for the upper surface are connected, that the beading was a royal pain in the arse. I didn’t just have to cut the angles for 4 corners, I had to cut angles for a total 36 corners – a total 72 cuts. Yeah, that got annoying real quick, even now I look at it and wonder if it was worth it (SPOILER ALERT – of cours it was!)
Once the beading was done, I finally screwed the planks in place for the upper surface. I actually quite like it at this stage, it reminded me a little of a table in a beer hall


![TerrainFest 2024 Begins! Build Terrain With OnTableTop & Win A £300 Prize! [Extended!]](https://images.beastsofwar.com/2024/10/TerrainFEST-2024-Social-Media-Post-Square-225-127.jpg)


Leave a Reply