HMS Gaming Table
7 - You Lift Me Up
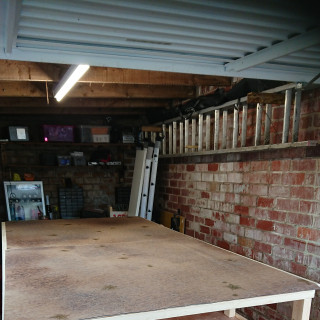
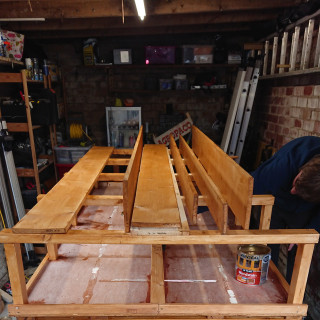
The first step to all this was to build the second (upper) surface, raised approximately 1.5′ above the first (lower) surface. The intention was to use a similar method to the bottom of the table – build a series of sub-frames based on two posts with some cross beams. However there were a couple of constraints that weren’t necessarily applicable to the lower frame. First, I need to keep as much space as possible free from obstruction, meaning that adding additional supports to the lower parts of the subframes wasn’t possible. Second, I wouldn’t be able to add any central supports because, again, the space needs to be as clear as possible to maximise storage space and also allow easy installation of electrics. There’s always one gamer in any group who just has a total lack of self awareness and who is usually also overweight and will lean on the table. Is that a horrible sterotype? Yes. However I am investing a lot of time and effort into the table and I am making this as idiot proof as possible to ensure that, well, those people can come and play without me worrying they’re going to break the table. It’s an inclusive table.
To solve this and create the stability and rigidity needed I decided to build a lip around the lower surface which would allow me to fasten the supports onto that via one side and also directly to the lower surface via the underside. I then decided to just use a thicker beam for the cross beams.
So, design decisions made, off to the DIY store to get wood…
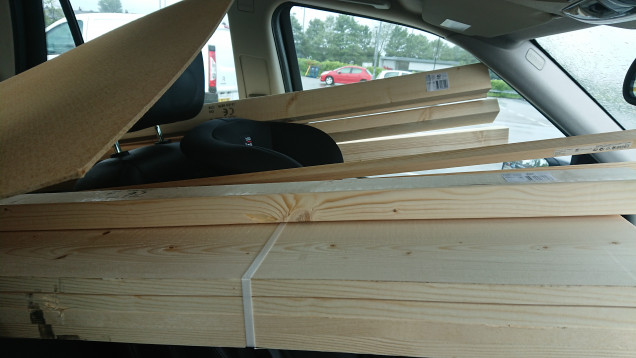
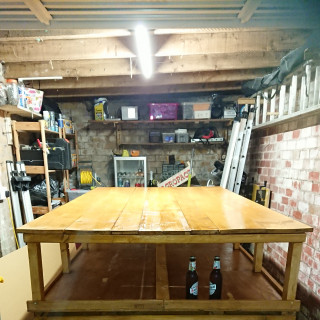
It was while I was browsing the timber section of the DIR store that a thought occurred to me. The intention is that the table will support an 8′ x 4′ gaming area which will predominantly be made using neoprene mats. However I have noticed something with the mats we have at the moment – they’re always slightly wider than 4′. I didn’t want there to be any overhang at the edges so that meant making the upper surface wider than 4′ and that in turn meant I wouldn’t be able to use the standard 2440mm x 1220mm plywood sheet. Some quick thinking and I opeted to go with two packs of sanded pine planks which I could lay flat, side by side, to create a play area a couple of inches wider than 4′. This also had two added bonuses; it looked a hell of a lot nicer (not massively important seeing as I was going to cover it anyway) and it was way sturdier.
Finally we stained the whole lot to protect it from the environment – garages tend to be cold and damp especially during the winter months – and we had a celebratory beer! Cheers!
The keen eyed among you will also notice an additional beam disecting thlower surface, this serves two purposes. First it helps keep the gaming areas tidy by creating dedicated spaces for each player or team. Second it will allow me to mount the power supplies onto something a bit more solid than a sheet of plywood.


I wish I had your skills.