Spring Clean Challenge: If I build it - will they come
A village hut
As I wait for glue to dry and other aspects of the build to move on, I put my mind to the issue of buildings for the table. As one of my main objectives is to revitalize my Samurai figures, I thought a couple of Japanese style buildings would be useful!
So with that in mind I decided on a village hut/small holding and later some kind of Sohei dojo/temple or whatever. First things first, what did I have in the box that would d the job. (I have a lot of stuff I purchased when last in the UK – prior to the CV19 pandemic – so did I have enough to do something?) And the answer was, YES probably.
First things first, planning!
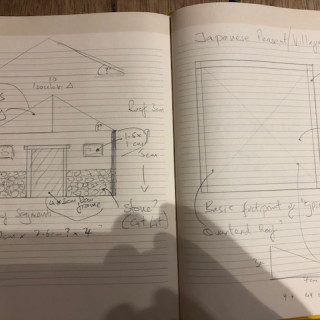
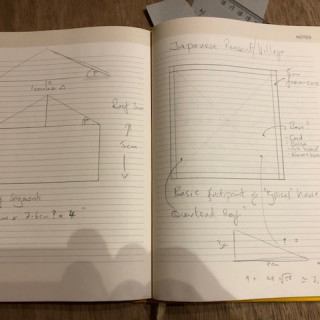
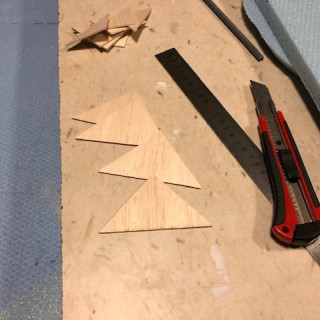
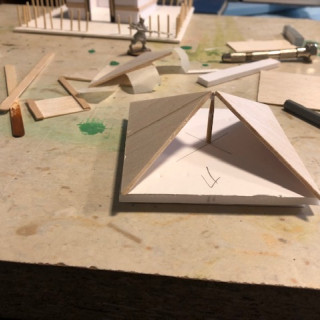
The pictures are the limited planning / design I did for a simple structure. The hut would be 10cm x 10cm and based on a 20x20cm Art board. I wanted to have a 4 sided roof, so a bit of “O” level geometry seemed to do the trick. The slope would be 3cm above the wall height which resulted in a triangle of 10×7.5×7.5cm
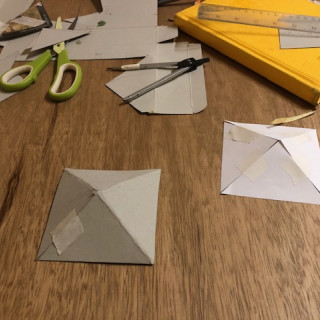
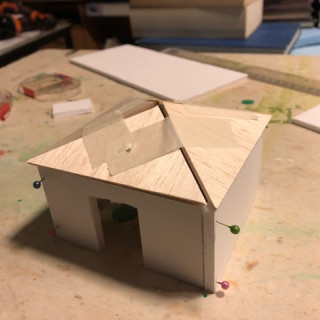
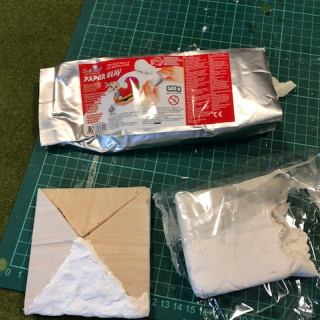
The images show the initial tester and the final construction of the roof. I added a central skewer to help hold the roof in place, and after the initial glue had set I reinforced them by additional PvA glue on each of the joints.
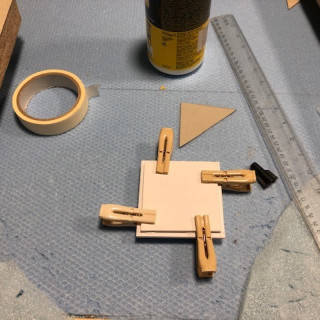
The roof base was constructed with 5cm foam core and a double layer as I want the roof to be removable to accommodate figures.
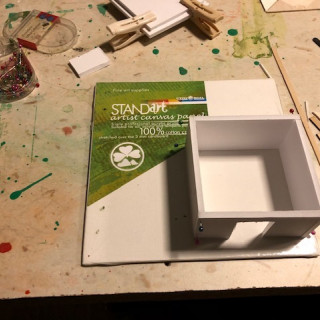
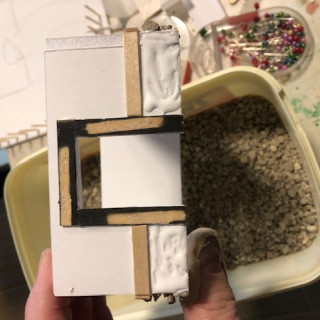
The hut is a simple square of 5cm foam core 9.5cm per side and joined with alternate “but joints” at each corner. The external dimensions being a 10cm square. PvA glue on edges where they join and pinned with tailors pins (the ones with the big ends).
The base is a 20x20cm Art board. I find these to be great for many terrain features or buildings as they are solid and with the art “canvas” glued on each side makes them attractive when completed.
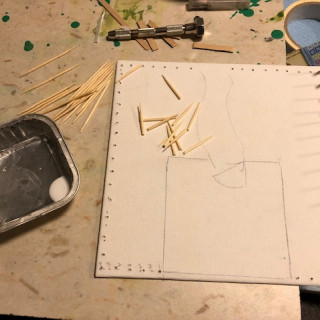
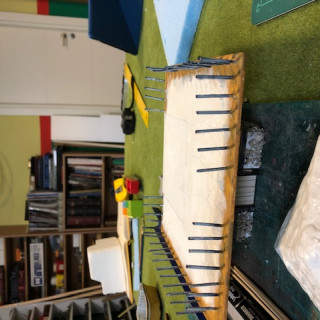
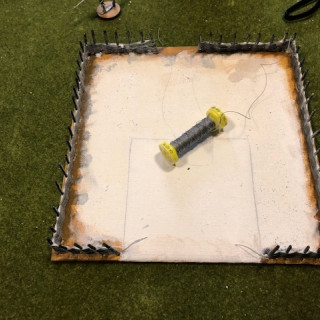
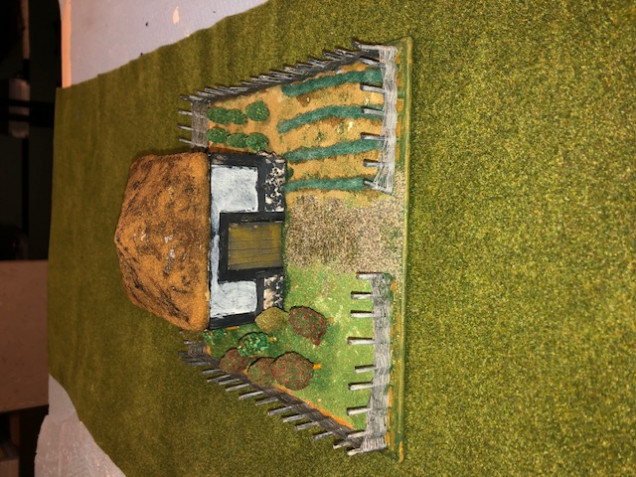
The second picture shows the base marks out for the “waddle” fences which I will make using toothpicks and yarn thread.
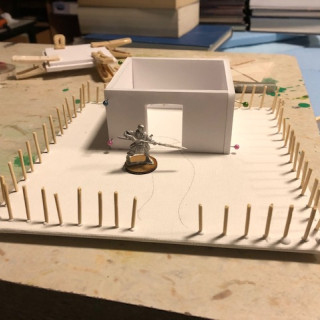
The Art board was marked out with holes every couple of centimetres leaving space for the hut and an opening. Holes were drilled to accommodate the toothpicks and these were glued in place and left to set. Each toothpicks was cut in half prior to gluing as these would be high enough to accommodate the terrain/wargame rules required.
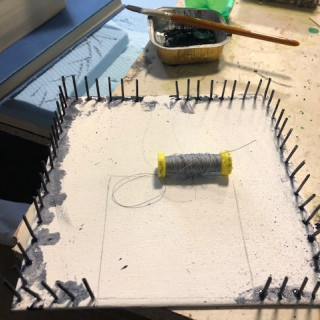
Once set, the toothpicks were painted black and then a rough dry brush on mid grey and lighter grey. Old wood tends to look more grey than brown in my opinion, and as the yarn was also grey, this seemed appropriate.
If doing this yourself (or something similar) make sure that there is an ODD number of uprights or the weaving will not work. It’s a simple but slightly tedious task to weave the yarn, so put on a podcast (The Weekender is a good choice), and weave away.
As I was running out of yarn, the hight of the waddle is a bit lower than ideal, but in the grand scheme of things, I think it still works.
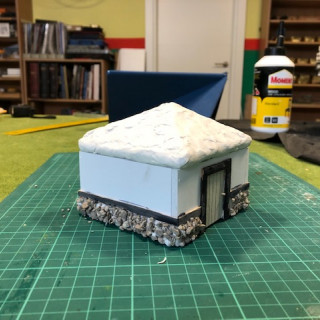
The finishing off of the hut was simply using well known techniques. I glued a strip round the building leaving space for the door frame, and glued “cat lit” to the lower walls to simulate a stone foundation. the upper walls were left plain.
Painting was black/grey/white for the rocks. Black for the wooden strips and “uprights” at each corner, and black/brown for the door. All the wooden items were made with balsa wood cut from a long strip I had in house.
The roof was finished off by applying a product I found which was a paper based air drying craft “paste”. It really shrank when it dried, and although I added more to fill these cracks in, I’ll not use it again. I think next time I’ll either try DAS (I’ve used this before but had none left) or opt for some kind of thatching based on hand towels. (I might use this method for the Sohei dojo).




Leave a Reply