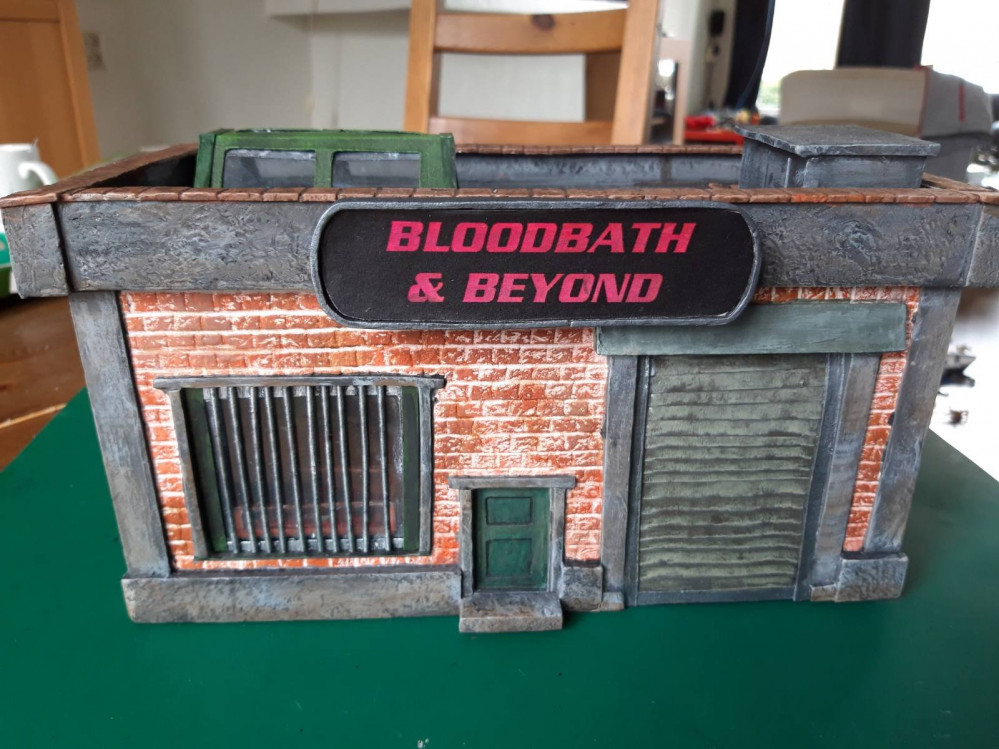
Zombiegame Gunstore
Lessons learned and some Irritating setbacks.
I’ve been working of and on on the project, but hit some snags. One of them being that I needed to varnish the model before placing the windows. A step I was looking forward to, but this is where things went wrong. I had two old cans that I soon discovered where no longer any good, No problem, as before the great pandemic I ordered some stuff online, so my hobby wouldn’t be to much interfered with any lockdowns. Including a brand new spray can of matte varnish. I rattled the can and gave it an experimental spray. Immediately varnish started to spray upwards and the can just wouldn’t stop. I placed it somewhere where it couldn’t do to much damage and had to order a new one. But I was slightly miffed.
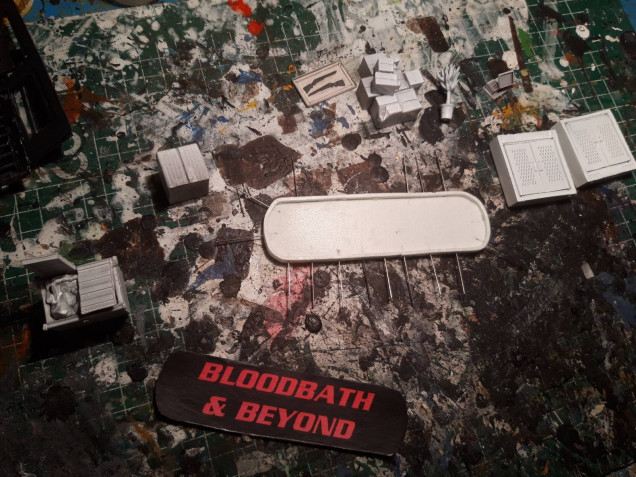
In the meantime, I tried to focus on some other stuff that had to be done. I needed to make a shop sign, some furniture and wanted to experiment with a graffiti transfer. I found a letter type I liked and printed the name of the shop. Then I made a thin slice in the appropriate form from foam and enveloped this with a small strip. I cut the printed sign on some cardboard so I could simply stick it in when all was painted.
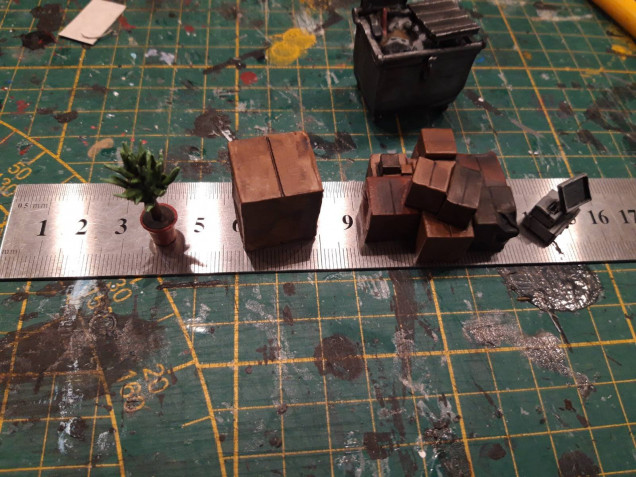
I also painted up some bits from mantic.
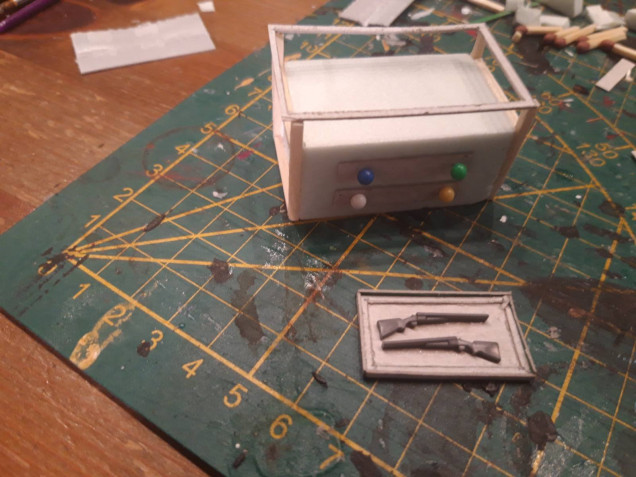
I also took some small pieces of foam and made some furniture. A display case and a desk for the register. Both would have a display case, covered with some overhead projector sheet, under which some guns from some warlord sprues where displayed. I simply used some matchstick, pins, cardboard and patience.
One neat little trick on the desk is: I’ll have a piece of can from some tomato-paste underneath the cardboard. I will also put a piece of this material on the back wall. This will allow me to magnetise the mantic terrain crate stuff and re-use it if I want to use other buildings in the future.
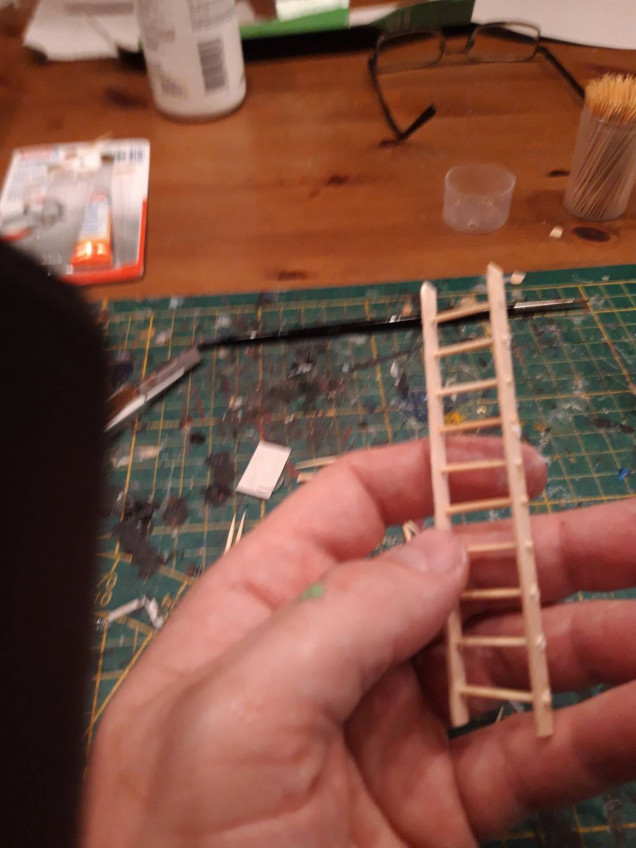
I also needed a ladder to get to the roof. Probably no-one would be to bothered if it wasn’t there, but I would.
I used some coffee stirrers I got from a Starbucks. (I walked in a asked for some, they where very generous). Using a small drill bit (I tried a bigger 1 but it split the wood, I drilled through to at the same time at regular intervals. Than I used a round needle file to increase the hole and I could fit some cocktail stick through. Stuck together with pva and snipped the stick away. Just needs paint now.
A bit labour-intensive, but I like it. I’ll probably make a lot more of these in the future.
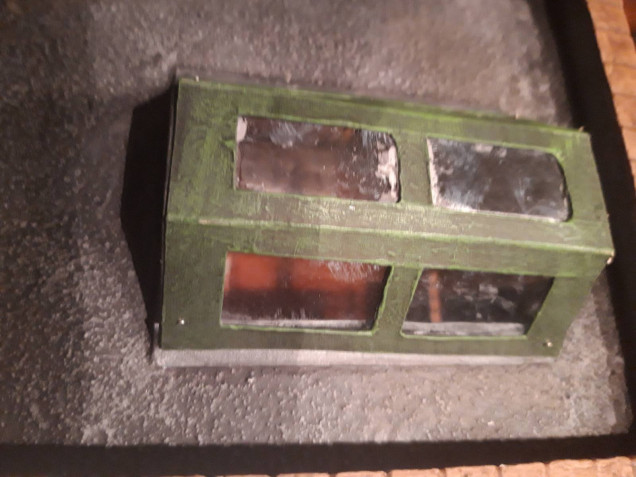
My varnish arrived and I sprayed most of the model. After this I tried sticking in the windows:
Learning points
– when putting in windows in the future, the wall should exist of 2 layers, one of which has a slightly smaller gap for the window. This will allow easier insertion and a fit without gap.
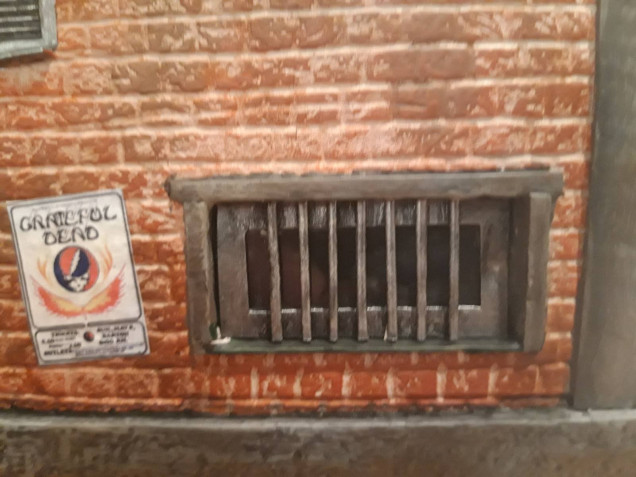
– Next time, if I put bars on windows and such, put them on after putting the windows in their place.
I spend far to long re-sizing the windows and wasn’t happy with how they fitted. I’ve been able to fix it, but haven’t got any pictures yet.
Last thing for this post is my experiment with a graffiti transfer.
I got some from a buddy that couldn’t use it anymore on his current printer. I should work fine with mine, since it was his old one.
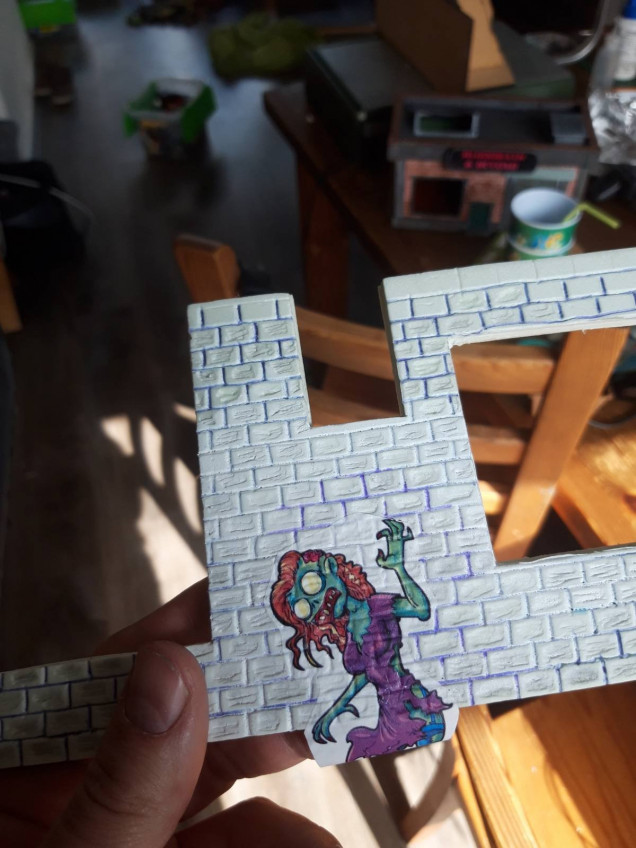
The transparent paper wouldn’t feed through, unfortunately, no matter what settings I used. The white did work. That made for a bit more hassle cutting them out, but I could work with that. I printed several test print. I had a piece of wall prepared. This was a store front from my 1st attempt for the project, of which I decided I’d take a different approach. I had coated it in my basic PVA/Primer mix so it should react the same as the rest of the wall. The transfer sheet was covered in 2 coats of varnish to ad some sturdiness to the transfer. After applying a coat of gloss varnish on the wall, I soaked the transfer in water. The gloss was dry so I applied some transfer solution to the target area. The transfer slid on reasonably well. It didn’t really comfort to the wall, however. I used a cocktail stick to smooth it between the bricks. This kinda worked, but I was afraid the thing would dry out if I had to do each brick. In the end the magic tool was dabbing it with my finger. It ended up looking great and I was confident enough to put in on my real model.




AMAZING job!
Thank you. I managed to wrap it up today. I’ll be posting the final work later tonight