Spring Cleaning Military Orders
Joan of Ark 2.0 - Part One.
I got started on painting Joan, This will be a sort of tutorial I purposefully didn’t refer to Angels book through my current painting style of Pano is very much in his style and he deserves a lot of credit. If you want to know how the master does it, get either of his books. Both are great and will go over fundamentals and covers just about everything you could wish to paint in his style.
Some of what he done in his book didn’t work for me. This would have been down to my experience and the fact that painting models is not paint by numbers. If you wish to be incredibly generous to my previous attempt the main difference would be the water we used. Possibly Spanish water has magic in it… I think this is down to inconsistencies in paint and measuring probably in my part but there are thousands of variables and you can see that from looking at the original model which has been painted by thousands of people and none look the same.
This is still my origin and my roots, I cant imagine painting infinity models in another way as his art style is interlaced with infinity in my mind. At this point as I write I still have not compared my process to his though I would almost be certain that there is cross over.
I am trying to crate another milestone moment in my painting. I will take longer than normal to paint this and will be trying to pay more attention rather than everything is painted by the rule of cool which is what I normally do.
I am nervous and excited. Cant wait to see what happens!
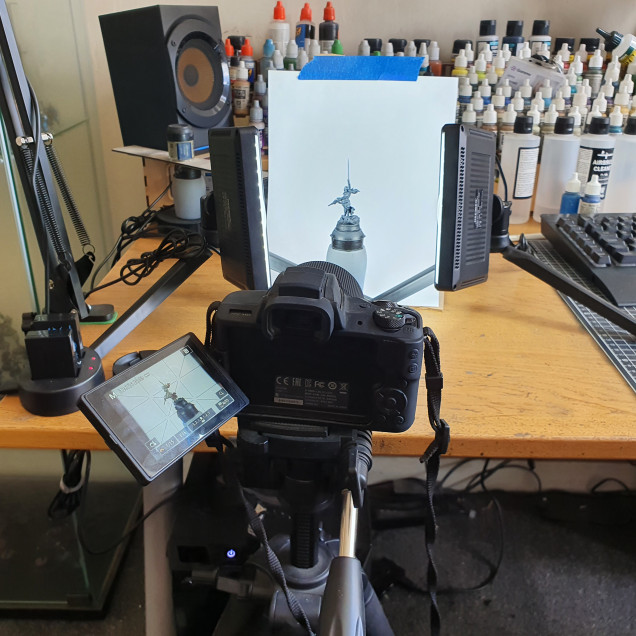 I am trying to make the pictures equal in terms of light and clarity. I have two small daylight led lights with white diffusers on them I have my camera setup with the same settings on a tripod though I am using manual focus to ensure it's done right. I didn't go the extra step of blacking out all other light sources or using a posh background as this would detract from what I am doing. The “stand” for the backdrop was made of two thin scrap bits of MDF and was superglued together.
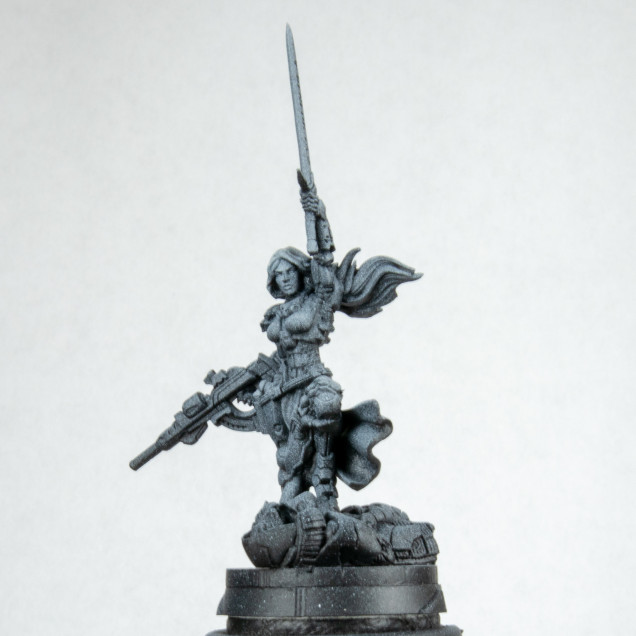 I started this by pepping the model. Cutting from the metal sprue using clippers. I used needle files and wire-wool on the gates. There was little flash or mould lines I could see though feel free to point out any you can. I then used superglue and model putty to join and fill. I then used black primer through my airbrush and then a zenith of grey from a 45 degree angle all the way around. This turned out a little rough but gave me what I need. Visibility of the volumes. I am going to be painting this imagining 4 points of light 45 degrees off the cardinal points. I could have put these in using the zenith but I wanted to see everything first.
 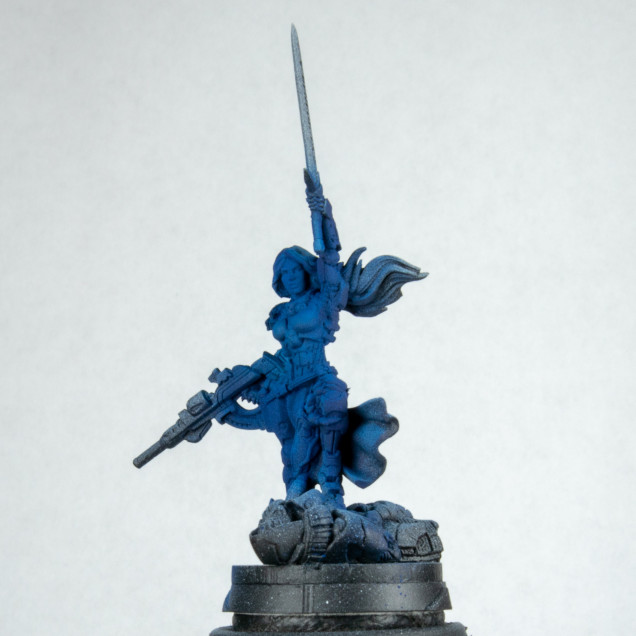 I then done a thin base coat of dark Prussian blue with the airbrush. Going over areas until this was quite saturated. You can still see the zenith underneath. If I was using a finer needled airbrush I may have been able to avoid coating the face and hair. Alas it was not to be. I was more concentrating on getting an even coat. I normally get overspray anyway.
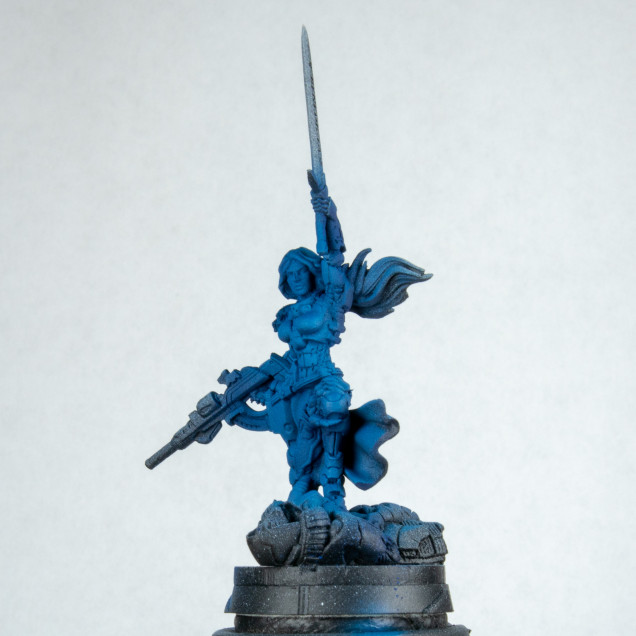 I then use what I call Pano Blue through the airbrush I changed to a 0.15mm needle. This is a mix of dark Prussian blue and blue green as far as I can remember. I made a bottle of it years ago. Believe it or not but I think it was the same mix I painted the other model with... This acts as the first highlight. But really this is the main colour. I focus on my 4 points but picking out area's of interest the light would hit.
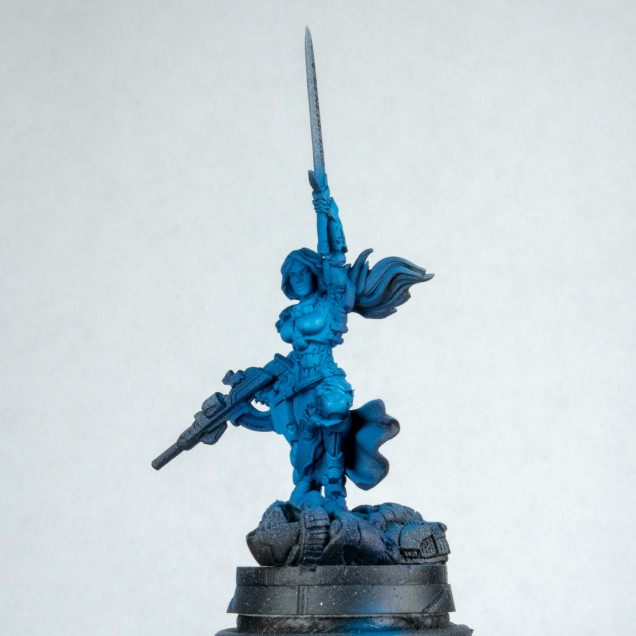 I then added some white and done a first highlight of the Pano blue. Again focusing on area's of interest that the light would catch.
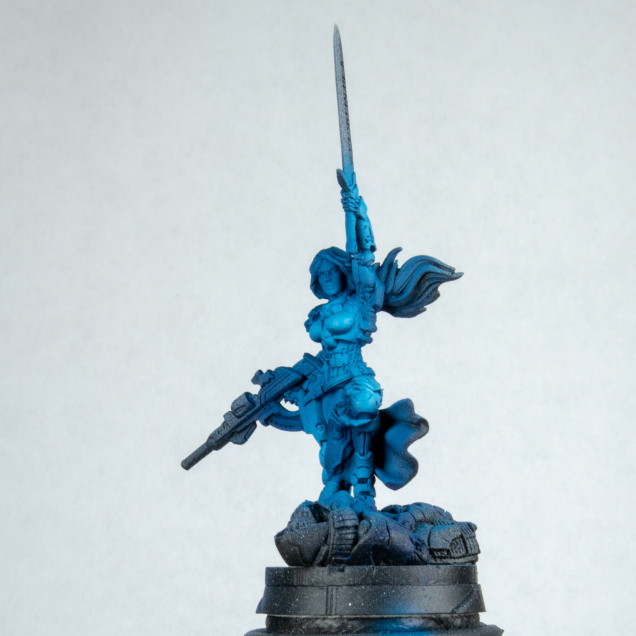 I add more white and do a final highlight through the airbrush making it smaller each time. These are not the lightest points on the model. I don't think I have enough airbrush control to do this reliably. There is another another 3 stages of highlighting above this. This is the last airbrush step. I have painted other models. Generally without an main colour all my hand before. It's the same main steps but takes more time in blending. I am also considering trying oils at some point and this is the main step I would do with them.
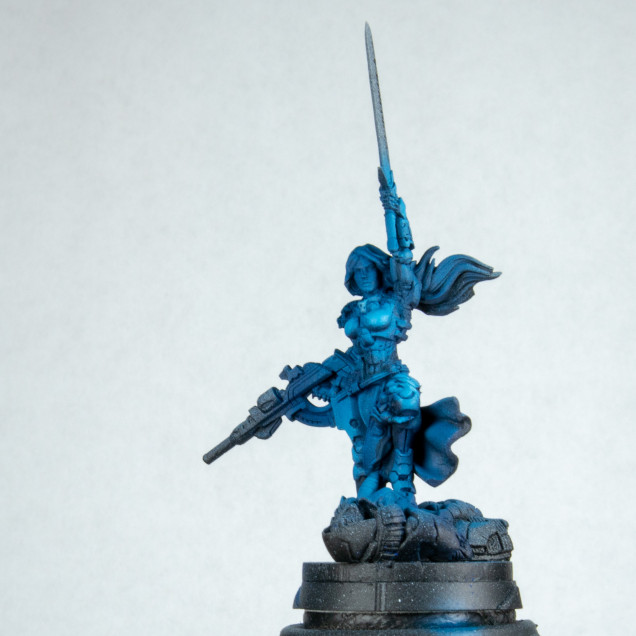 I get out my size 1 brush with a fat belly which I will use for most of the model. Then wash the model but almost like a pin wash with dark blue and back. This makes the fine details pop and allowed me to see the detail in the model.
 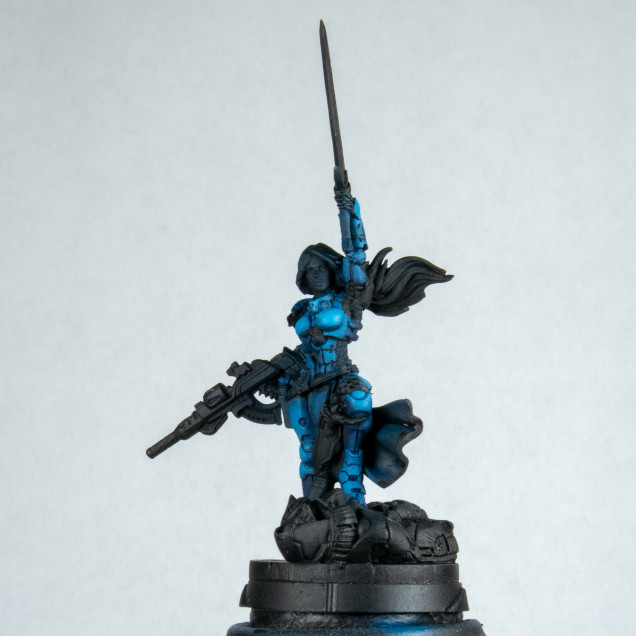 I go ahead and what I call black inline. I need this for my head. I paint all components that are not blue with black. Again this helps my head more than anything and provides a base I know how to deal with. It also helps with something I see a lot of especially on infinity models and is not having clear boundary between components. But this can be a stylistic choice as well.
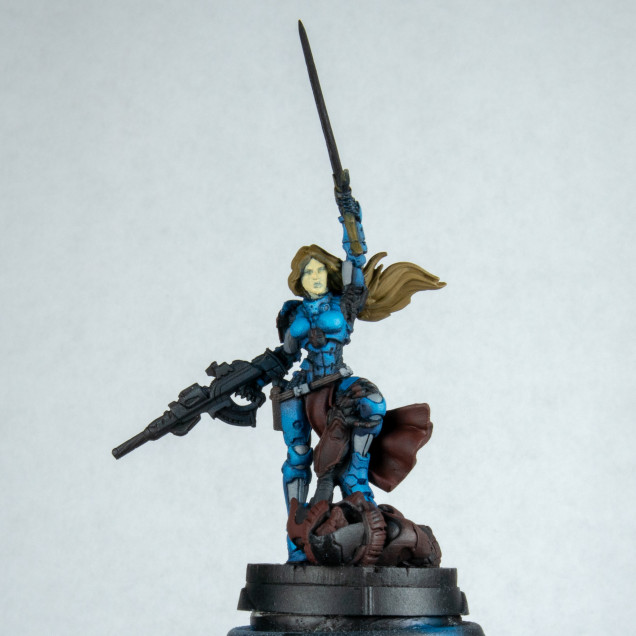 I then base coat the model before doing highlights. If there is going to be a stronger focal point close to it. I wouldn't highlight it as much so they don't compete. At this point however I painted the base the same method as the set but done additional highlighting steps to try and make this pop out a little more (but not much).
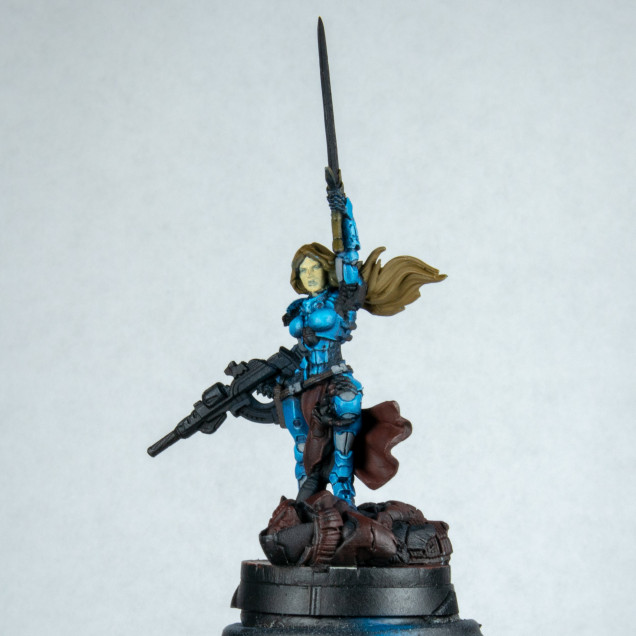 I go ahead and do my first edge highlight step. This is universal but I do use two colours in this. One is standard Pano blue and the other is with a lot of white added making it like an ice green blue. I prefer to do this in two steps as everything even in shade needs highlighted but to a lesser degree. I use the side of the brush for the actual edge highlighting. However I also paint around the full model. Though I am using thin glazes, washes and layers and stippling to do this. I don't think there is a section of the model that remains untouched by a brush. This is one of my pet hates (skip to avoid a rant). People sometimes ask first “what airbrush have you got?” or airbrushing is cheating it's the same thing when people see some photo's they like “what camera do you have?” I am fortunate to have equipment I add to every time I can. I 100% could get the same result with using lesser equipment or another technique. It would just take me longer. I am not a master at air brushing as you can see but it did save me 2 – 3 hours of pushing paint around. I am sure this is hobby quote from a YouTuber but he wisely said “you gotta piss with the dick you got” and this is a very true statement for all genders. It doesn't matter what you have it's how you use it. (rant over #wasjusttriggered)
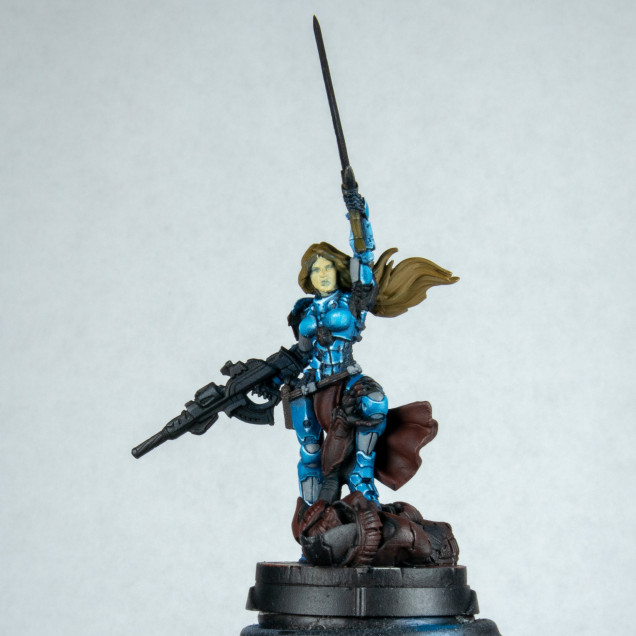 I then go ahead and add white (almost still has blue in it this is to try and keep the saturation of colour) highlights on parts I want to draw attention to. This stage is quite difficult as I have 4 sources of lights. Some of it is done in rule of cool others are considered. I even start to add some reflections in places. This is the most fun when doing armour. I was trying to keep in my mind breaking up each complex object into simple objects and highlighting them accordingly. e.g. spot on spheres and lines down cylinders. Others it doesn't matter to me and only one half is in the light.










Leave a Reply